Shutterstock Profile & Prints
Leave a reply
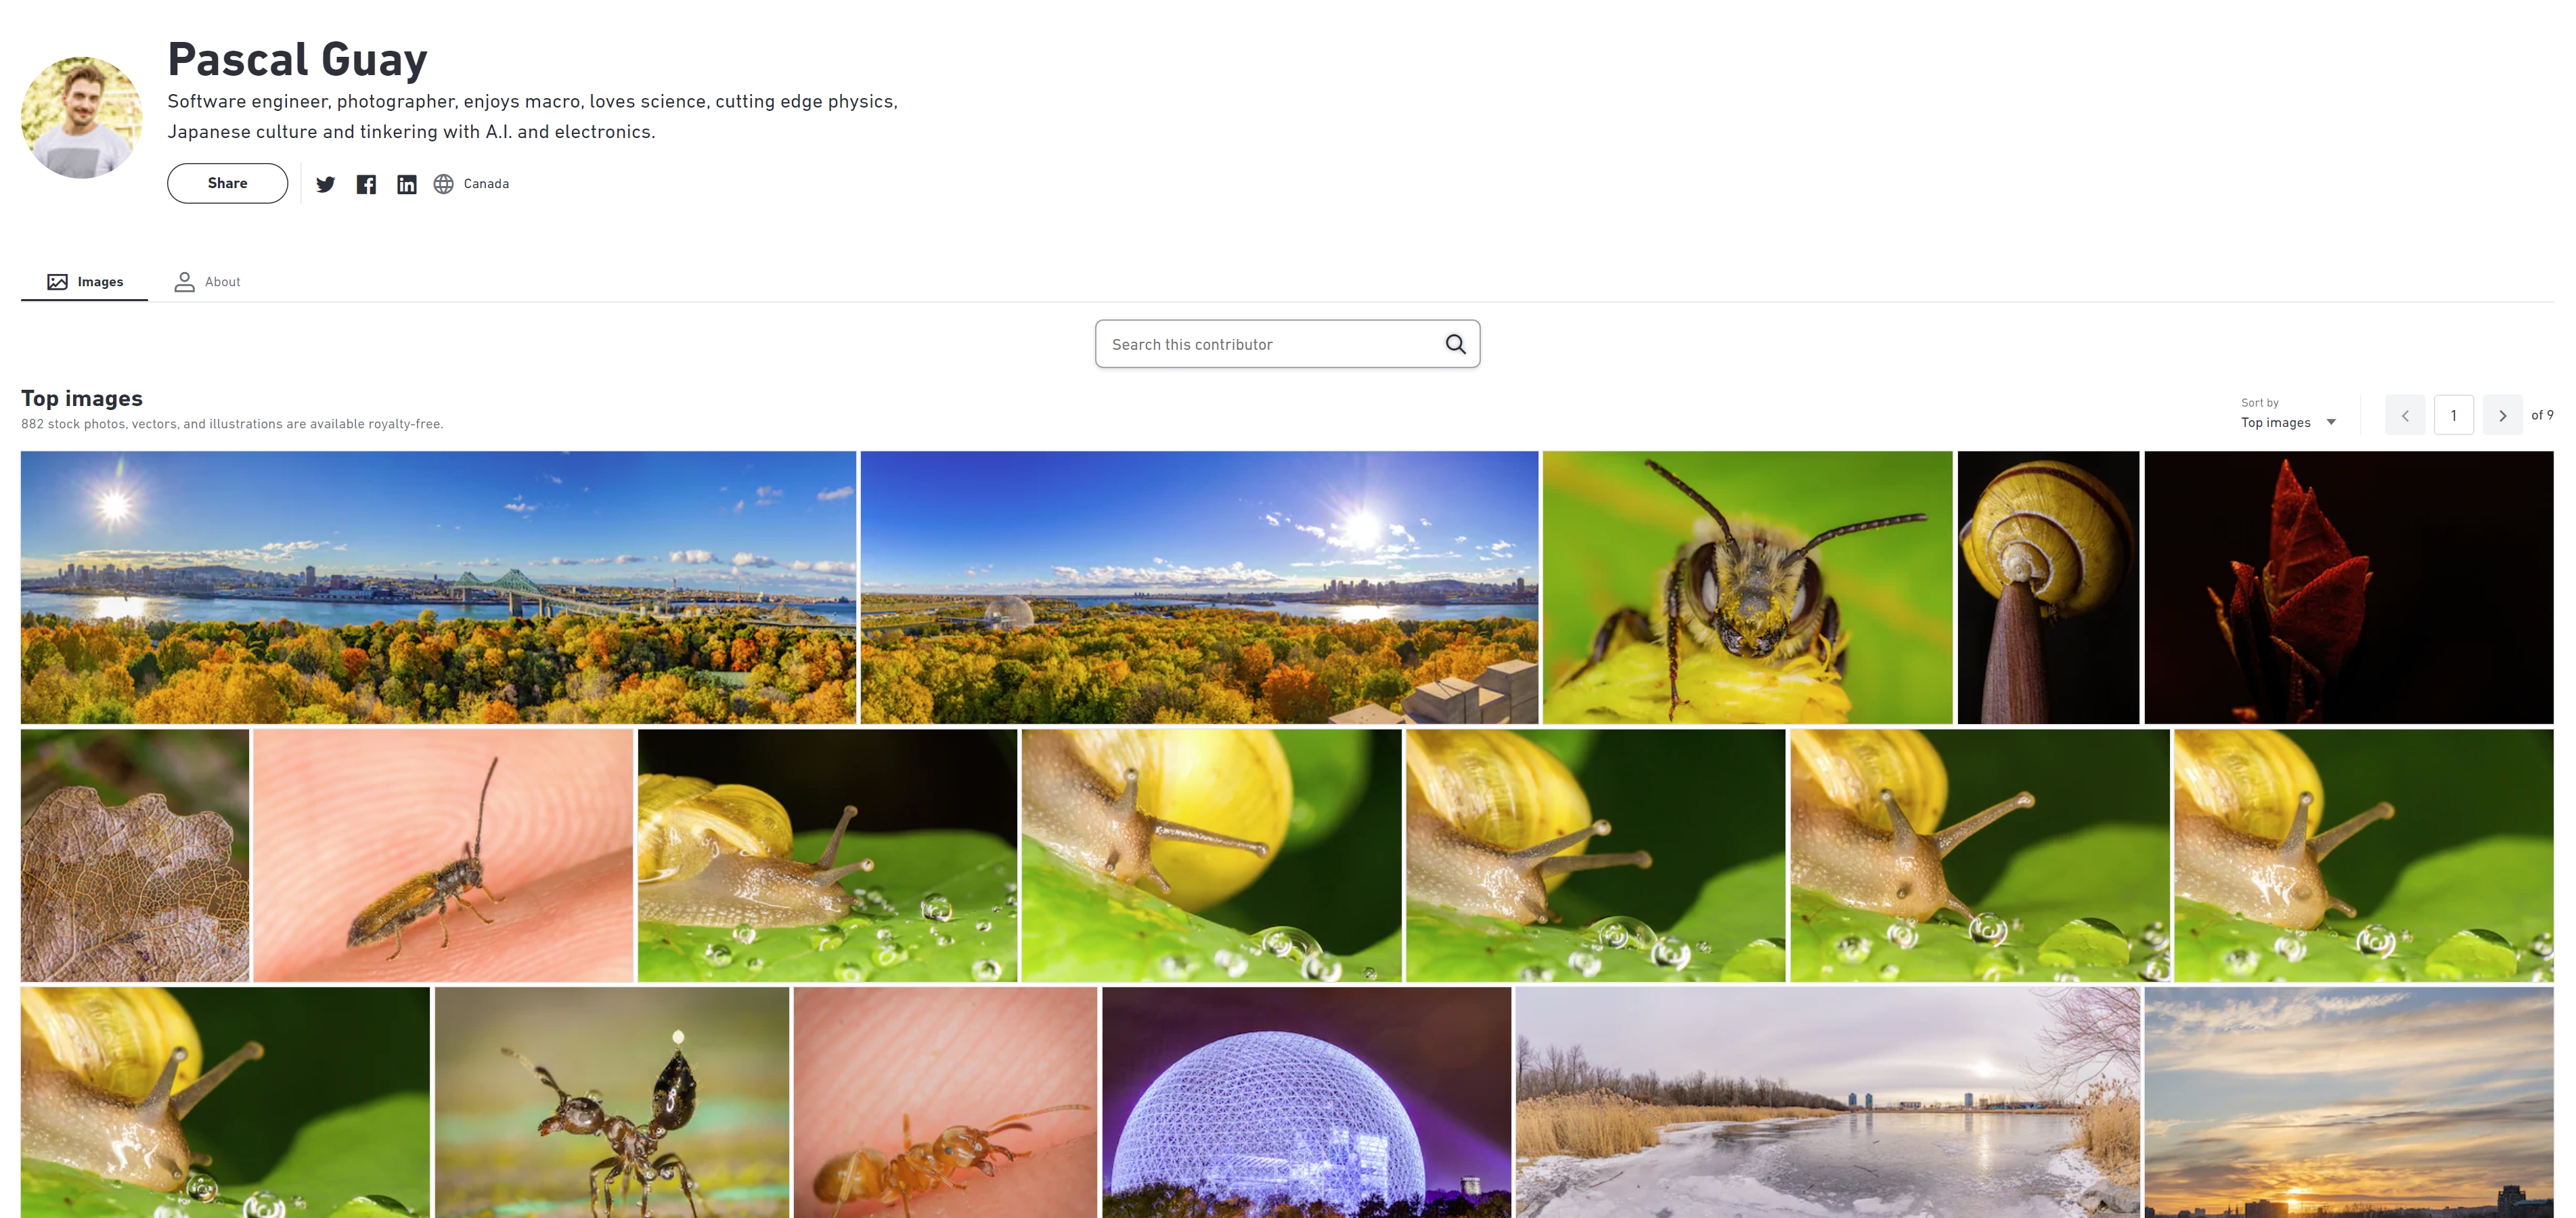 Pascal Guay Shutterstock Profile
![]()
![]()
![]()
![]()
![]()
![]()
![]() Last week Google launched a new app named Cardboard Camera.
Last week Google launched a new app named Cardboard Camera.
The app enables you to scan a 360 degrees panoramic image of your surroundings and then experience it in 3D with any Google Cardboard compatible headset.
It even records an audio clip while you’re taking the panoramic shot so make sure you turn the sound on when you admire the result.
The generated file is a .vr.jpg, when opened with a text editor you can clearly see that the file is made up of Base64 encoded files.
Data corresponding to the right eye generated image and a GAudio:Data representing the sound recorded.
In OS X, In order to extract all the information from the .vr.jpg file, you will need Python, Python XMP Toolkit, Homebrew and Exempi.
To install Python XMP Toolkit download it here.
In your terminal, type:
user$ sudo python setup.py install
To install Homebrew just use curl to download and install the script in the terminal:
user$ ruby -e “$(curl -fsSL https://raw.githubusercontent.com/Homebrew/install/master/install)”
Once this is done you will need to install Exempi using Homebrew:
user$ brew install exempi
Finally you can use this Python script to extract all the necessary files:
cardcamextract.zip
To run the script simply unzip the file and type in your terminal:
./cardcamextract.py IMG_FILE.vr.jpg

Original Image (Left Eye)

Transformed Image (Right Eye)
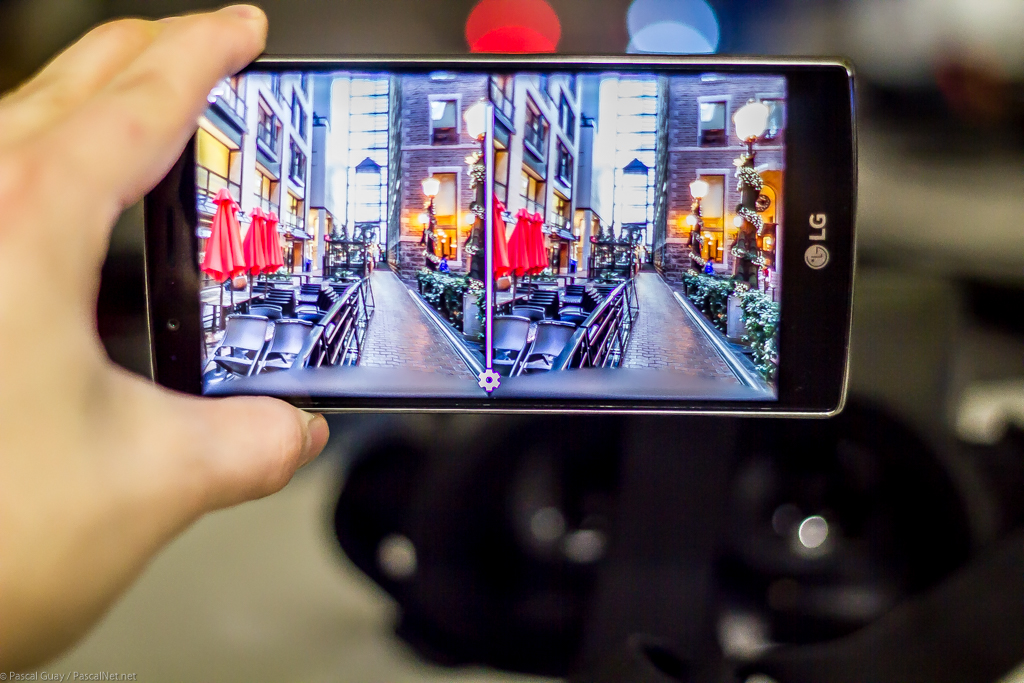
Images as seen on the phone using the Cardboard Camera app
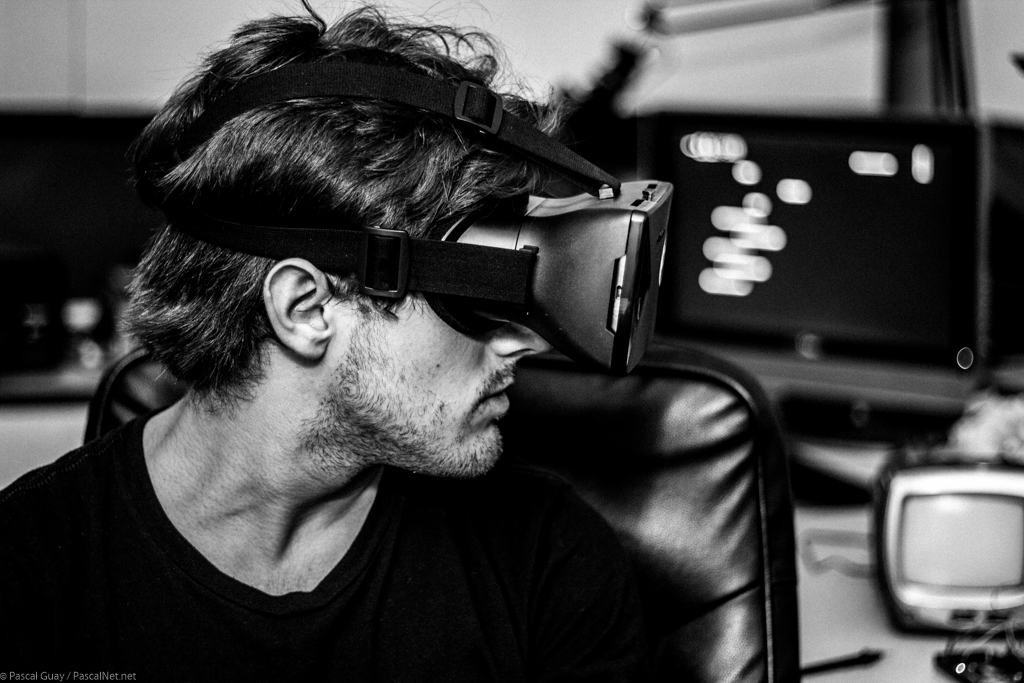
Trying Out the Headset
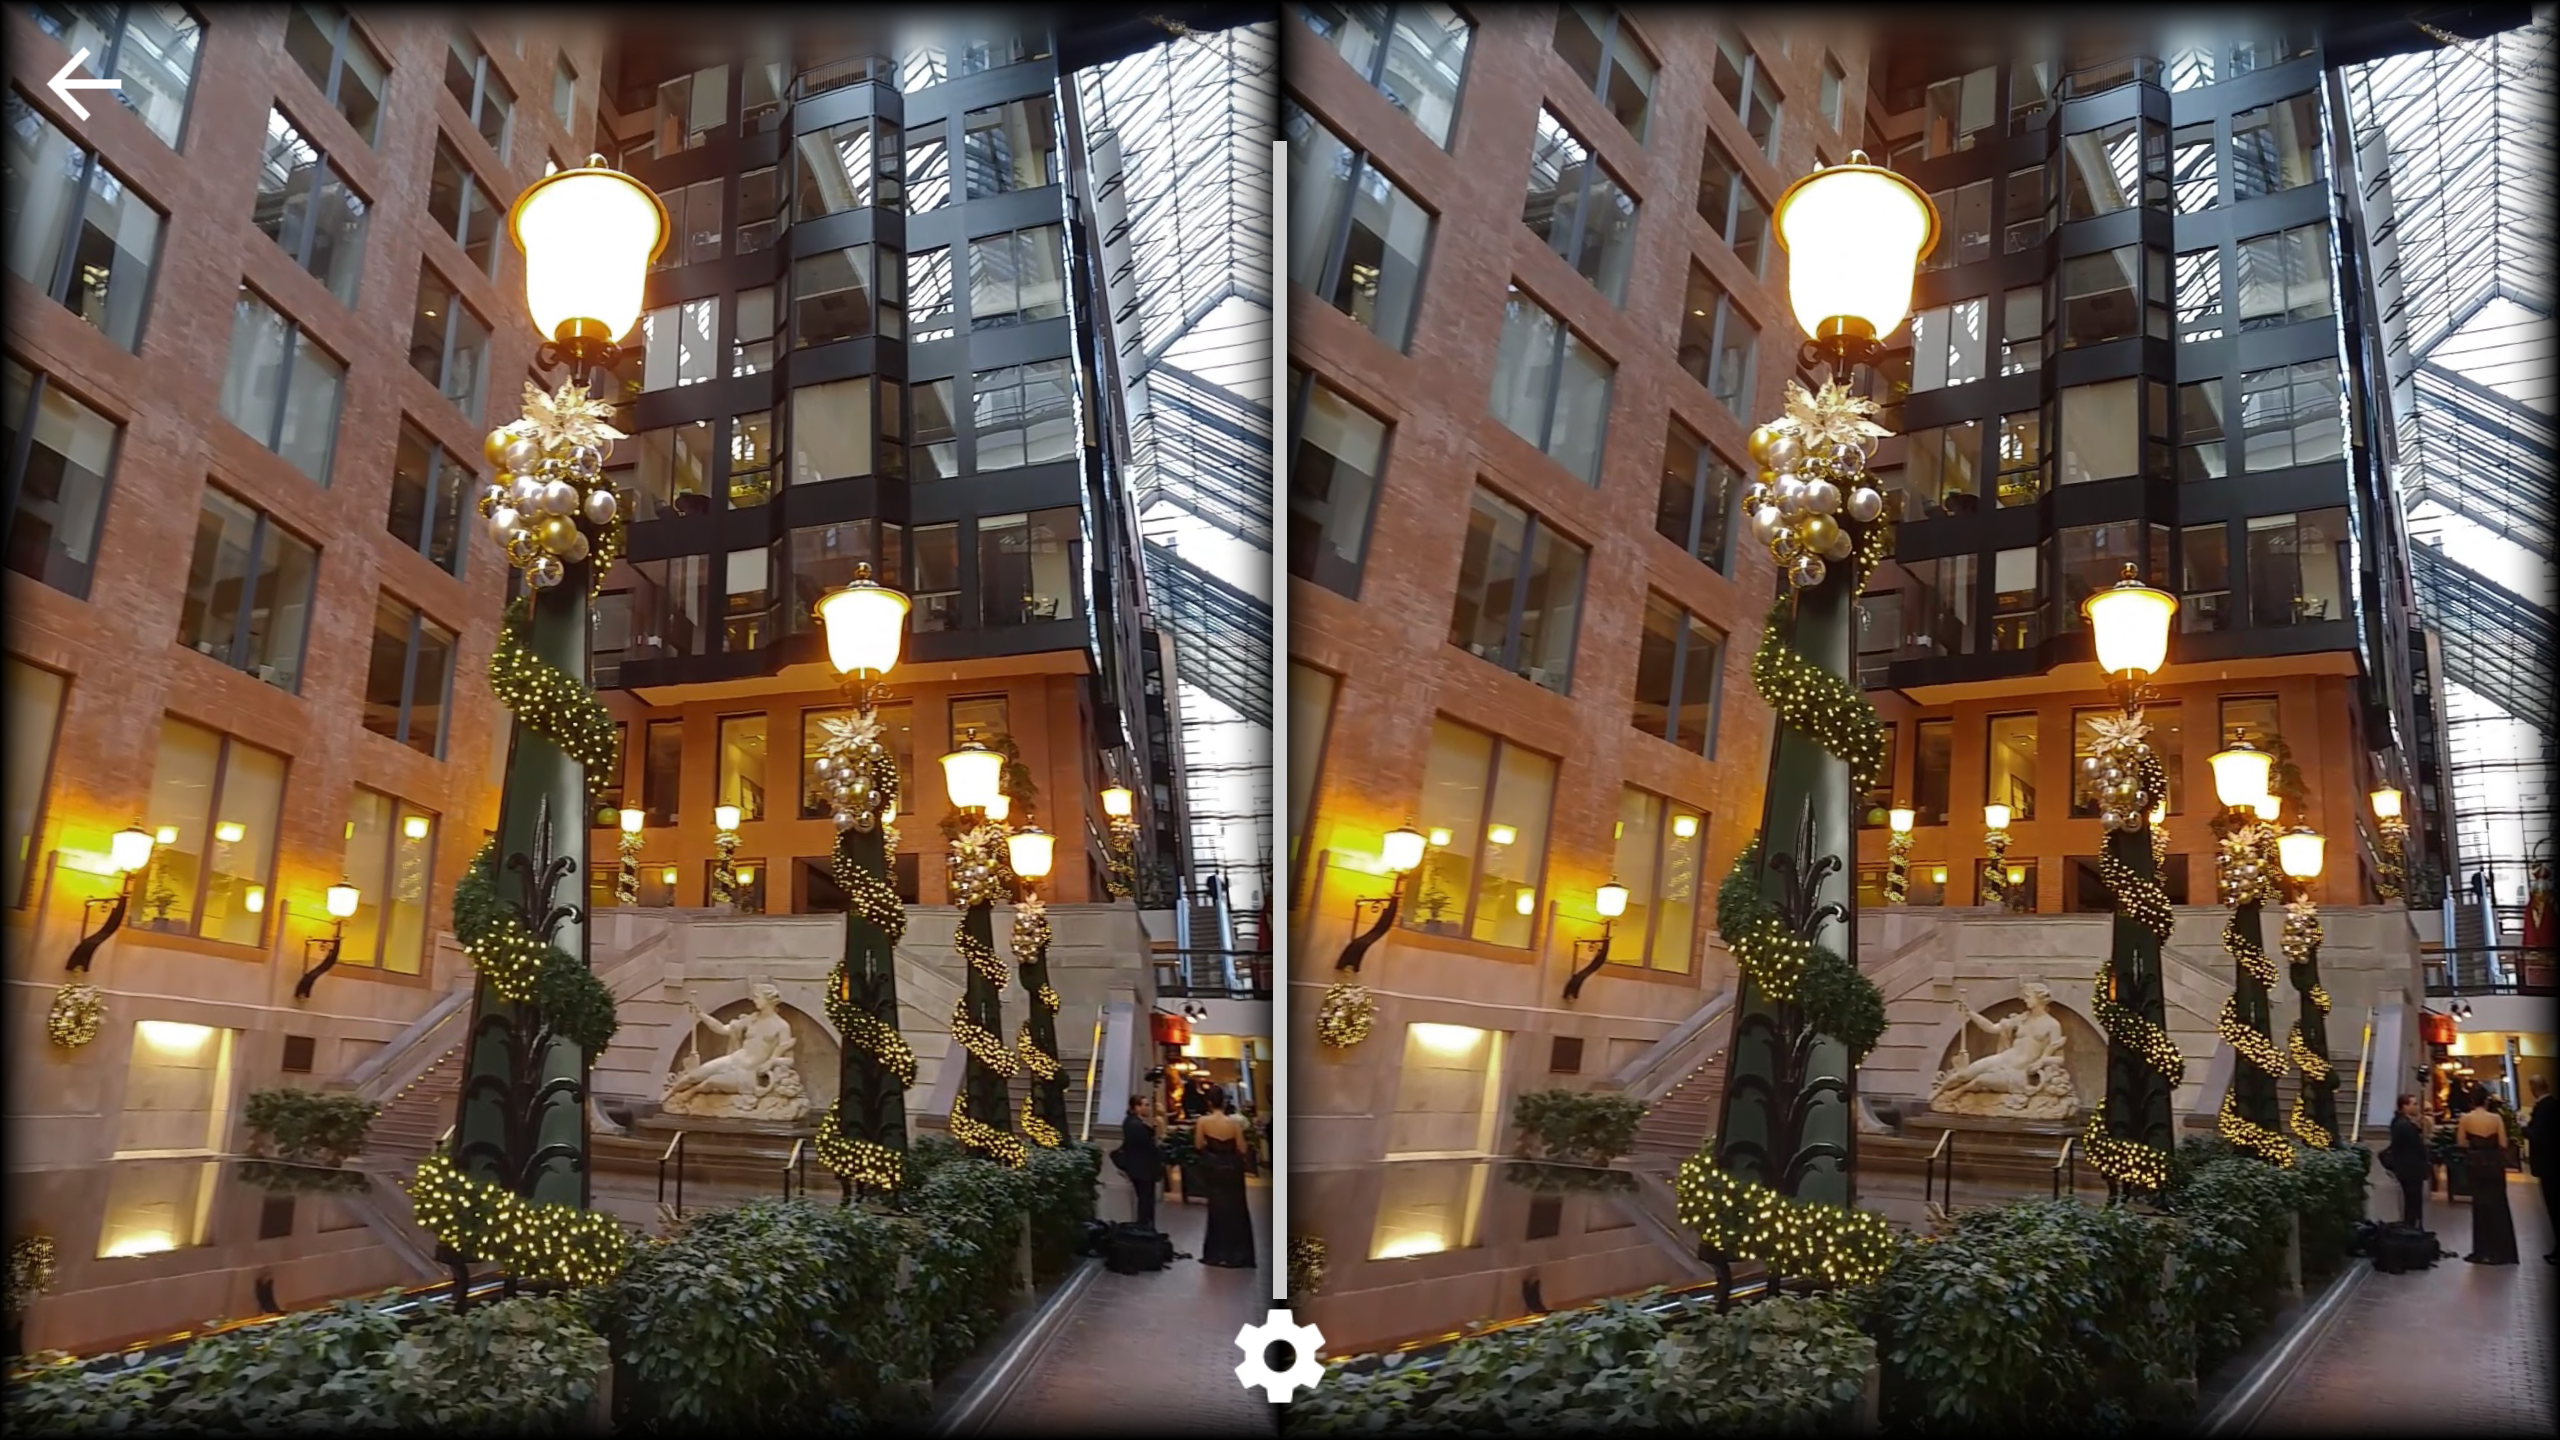
Screenshot from the Cardboard Camera application (cross your eyes and bring the image together to see it 3D)

![]()
![]()
![]()
![]()
![]()
![]()
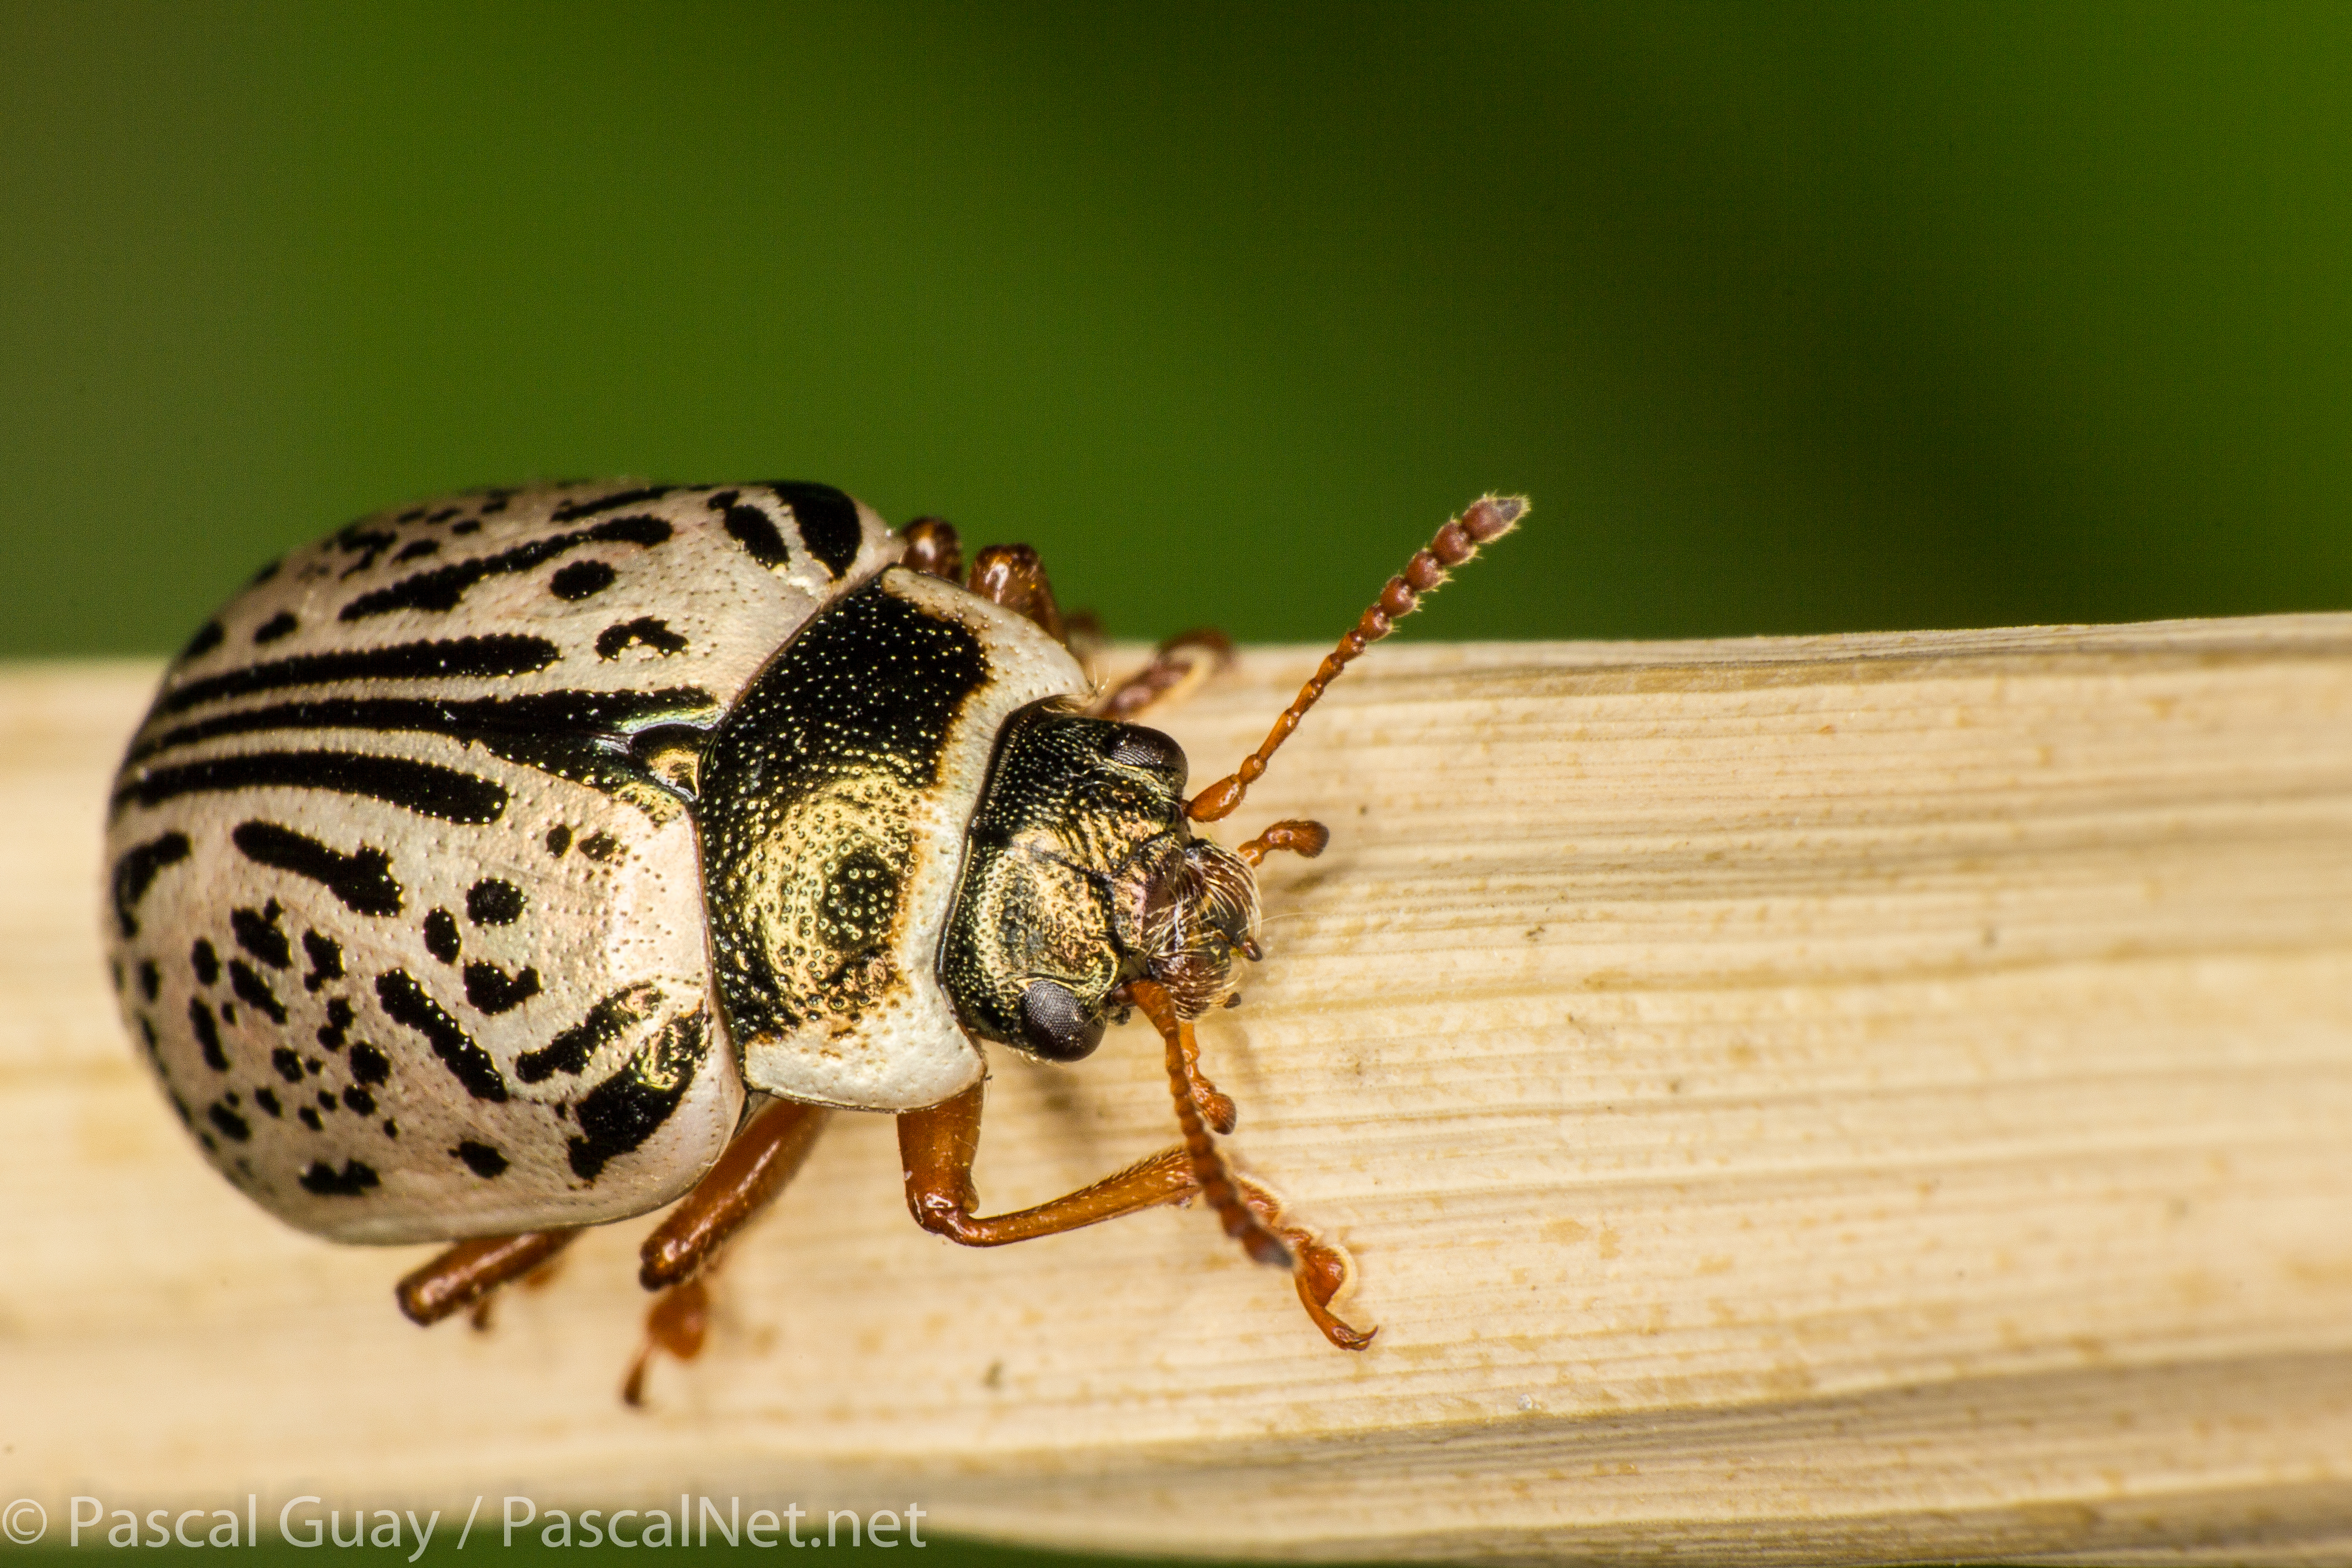
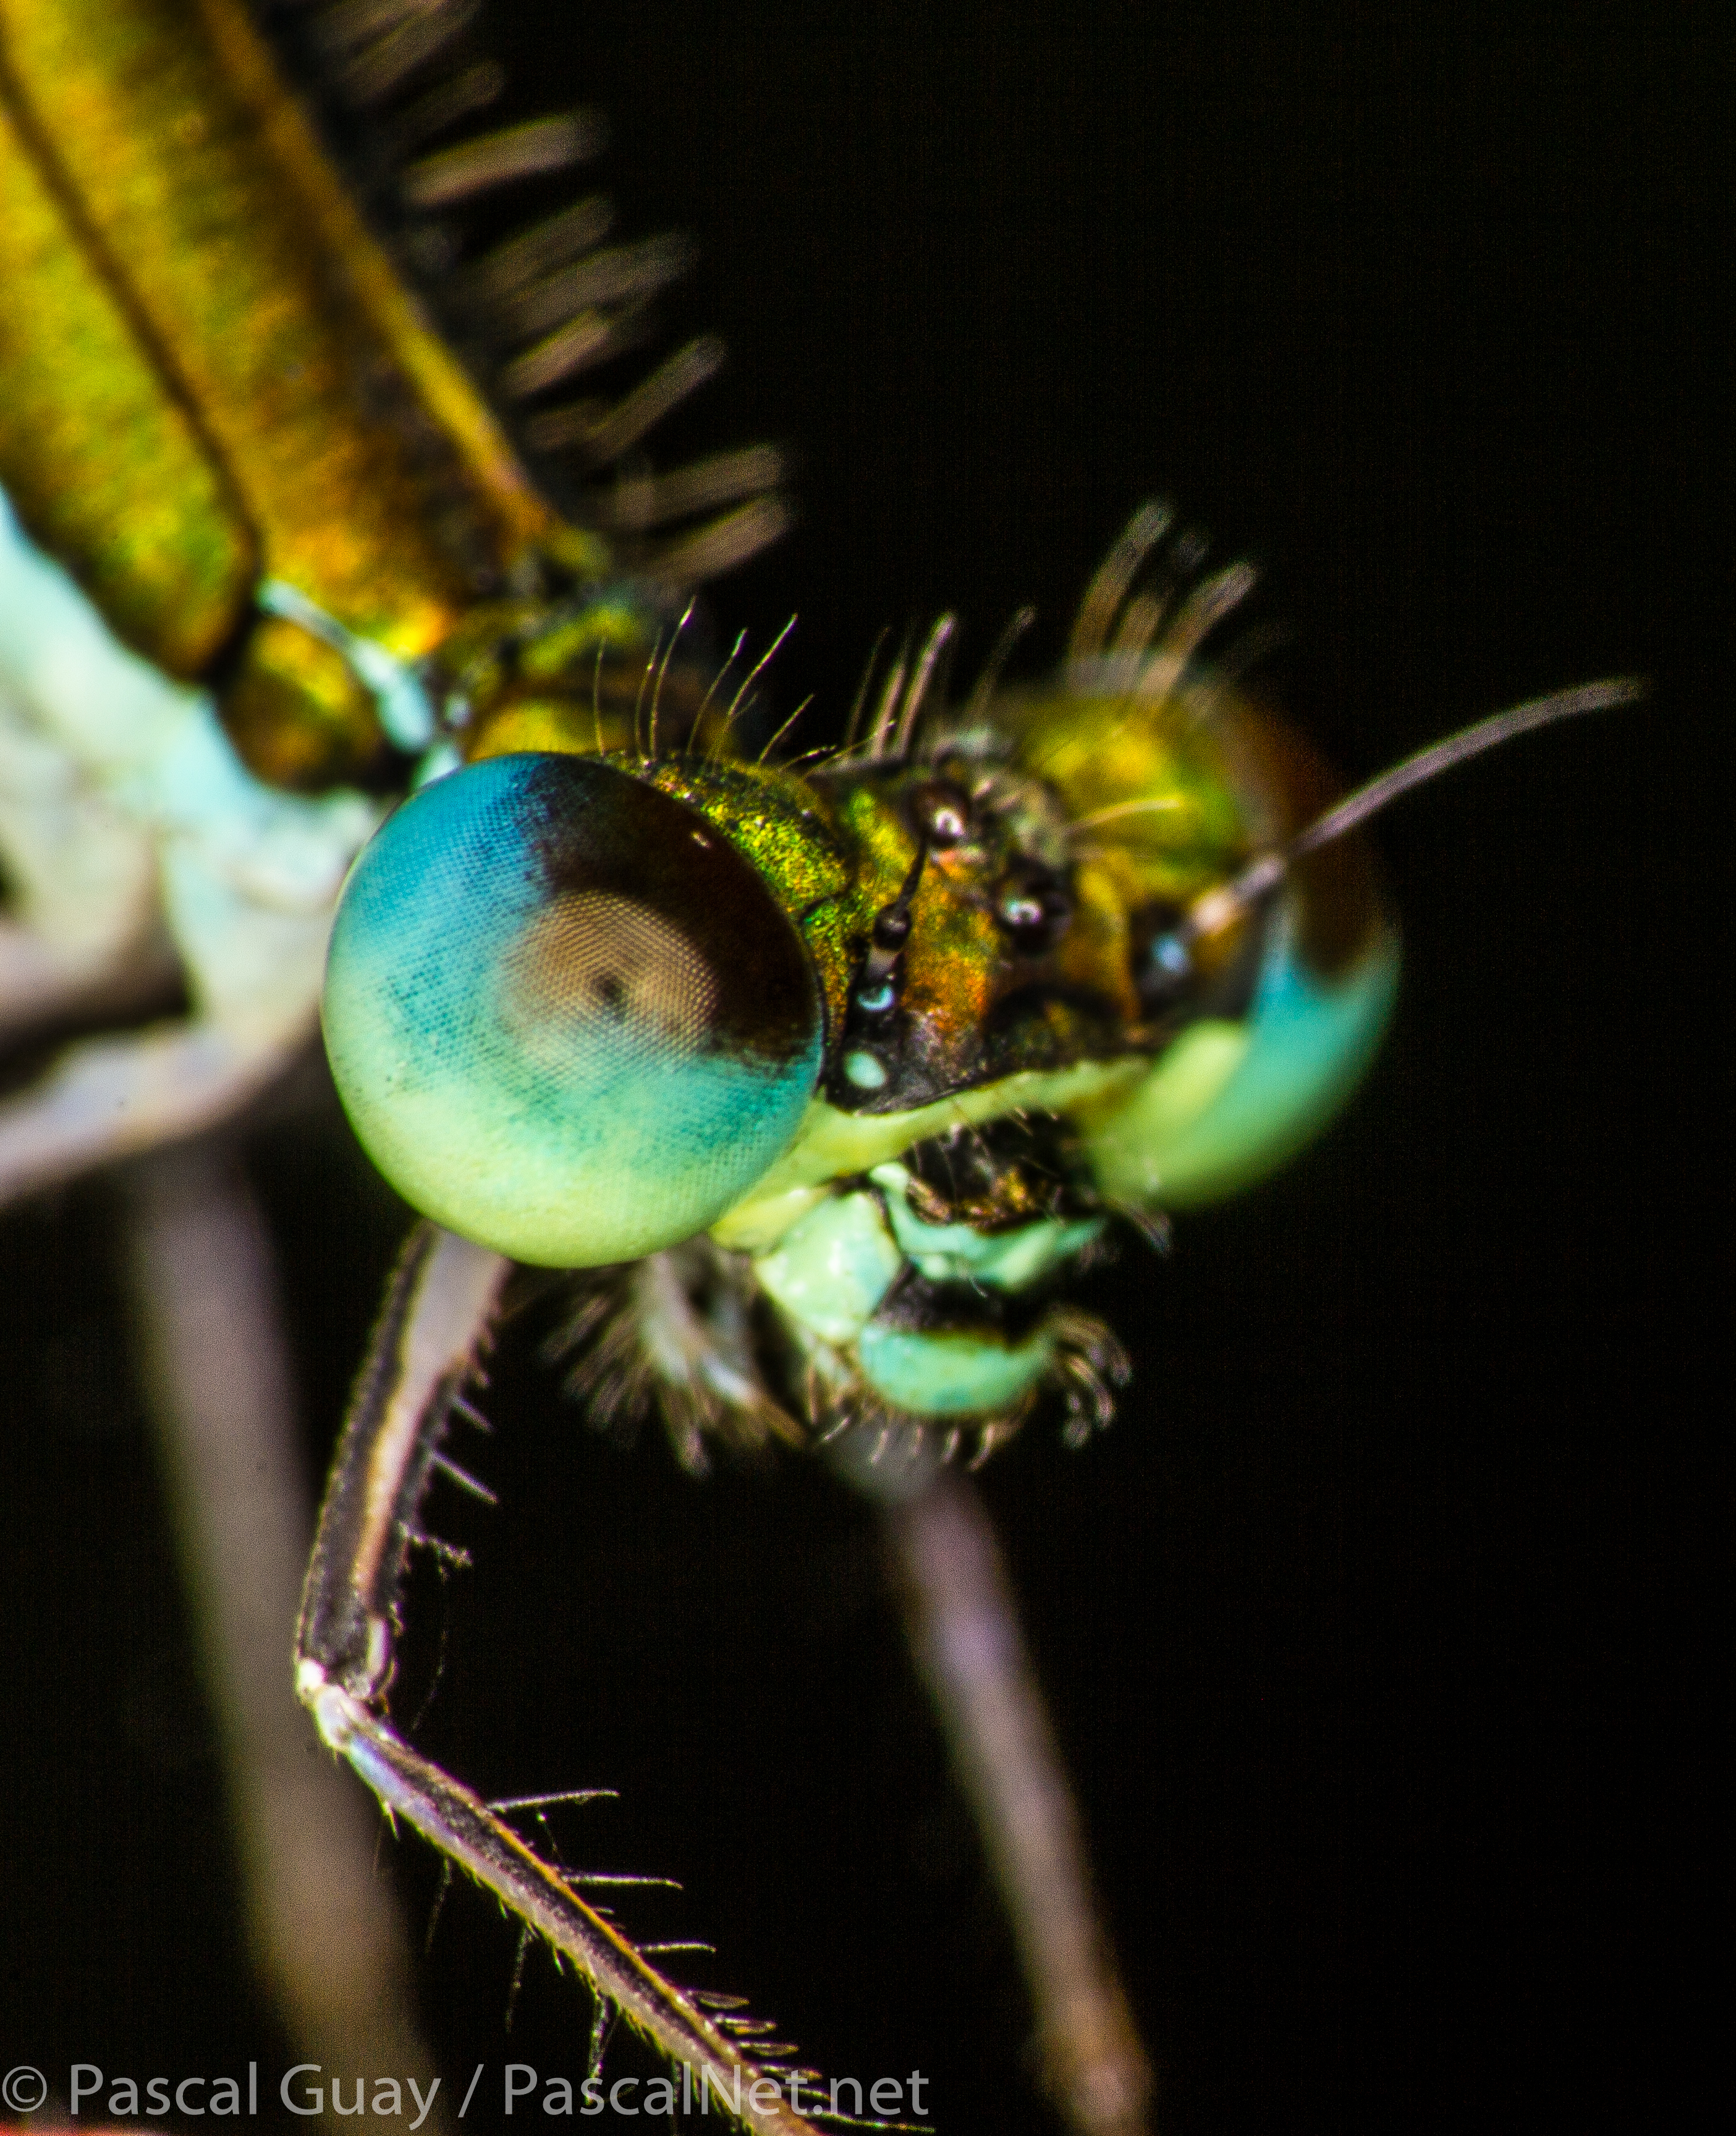
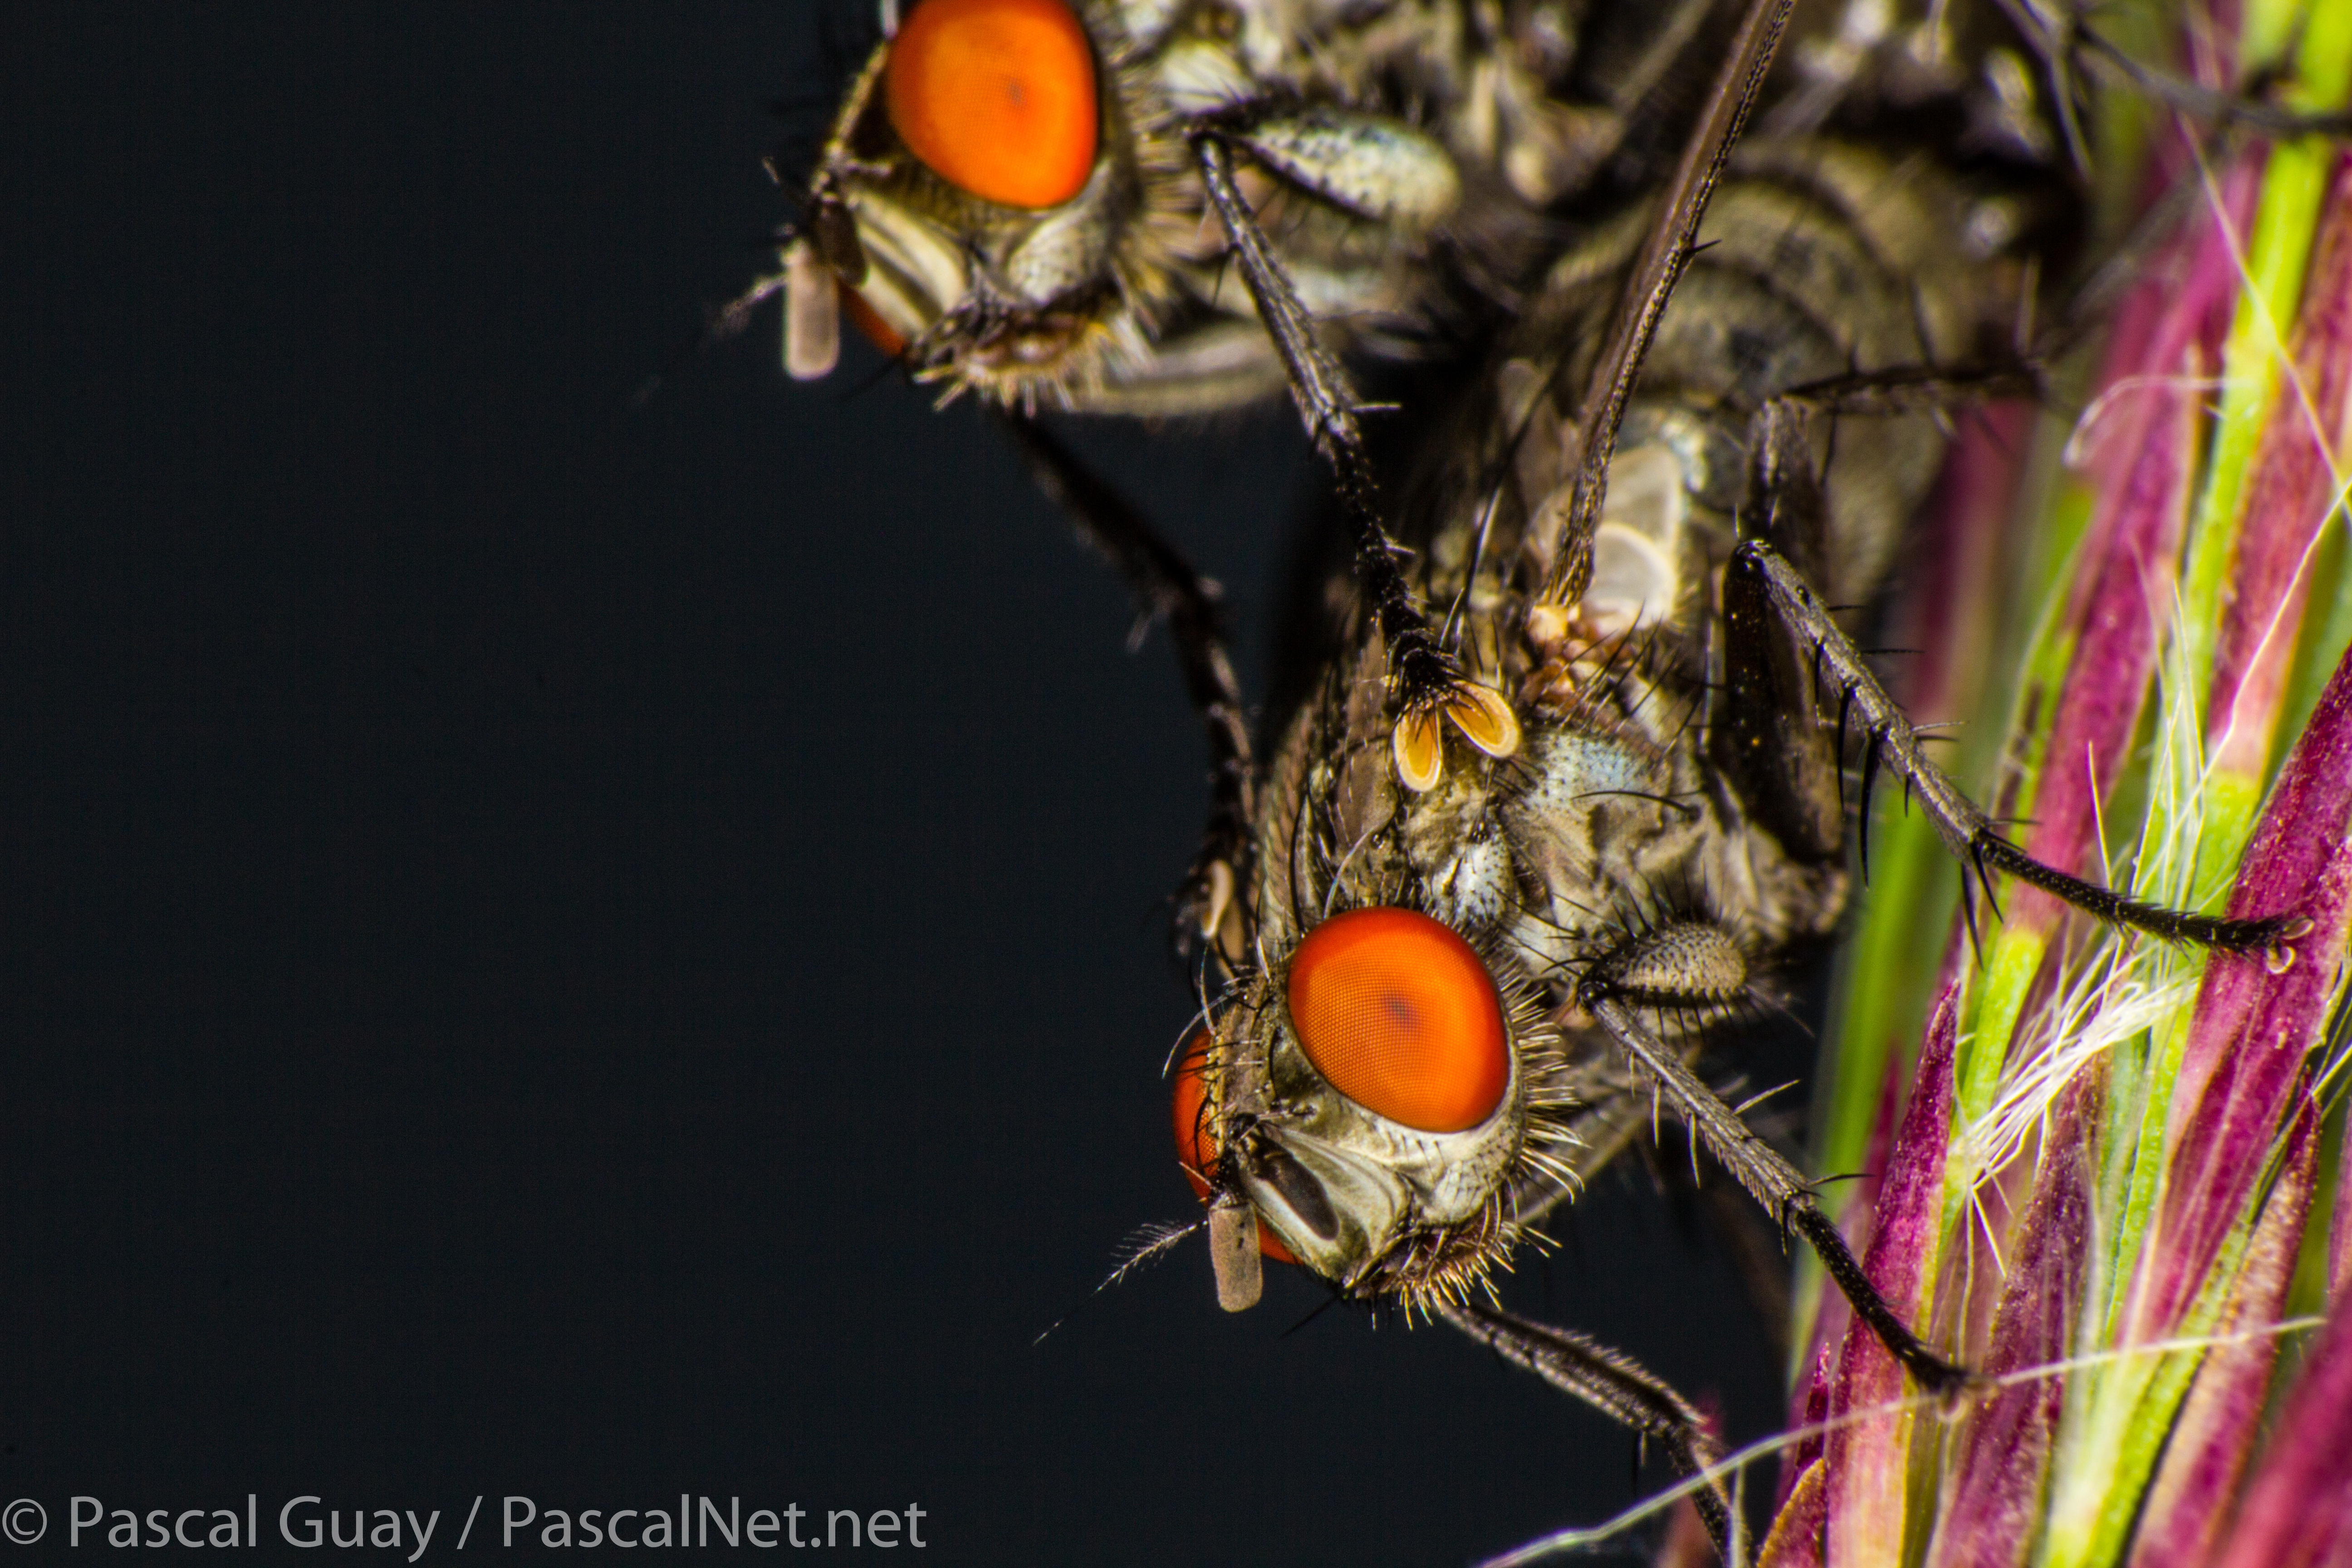
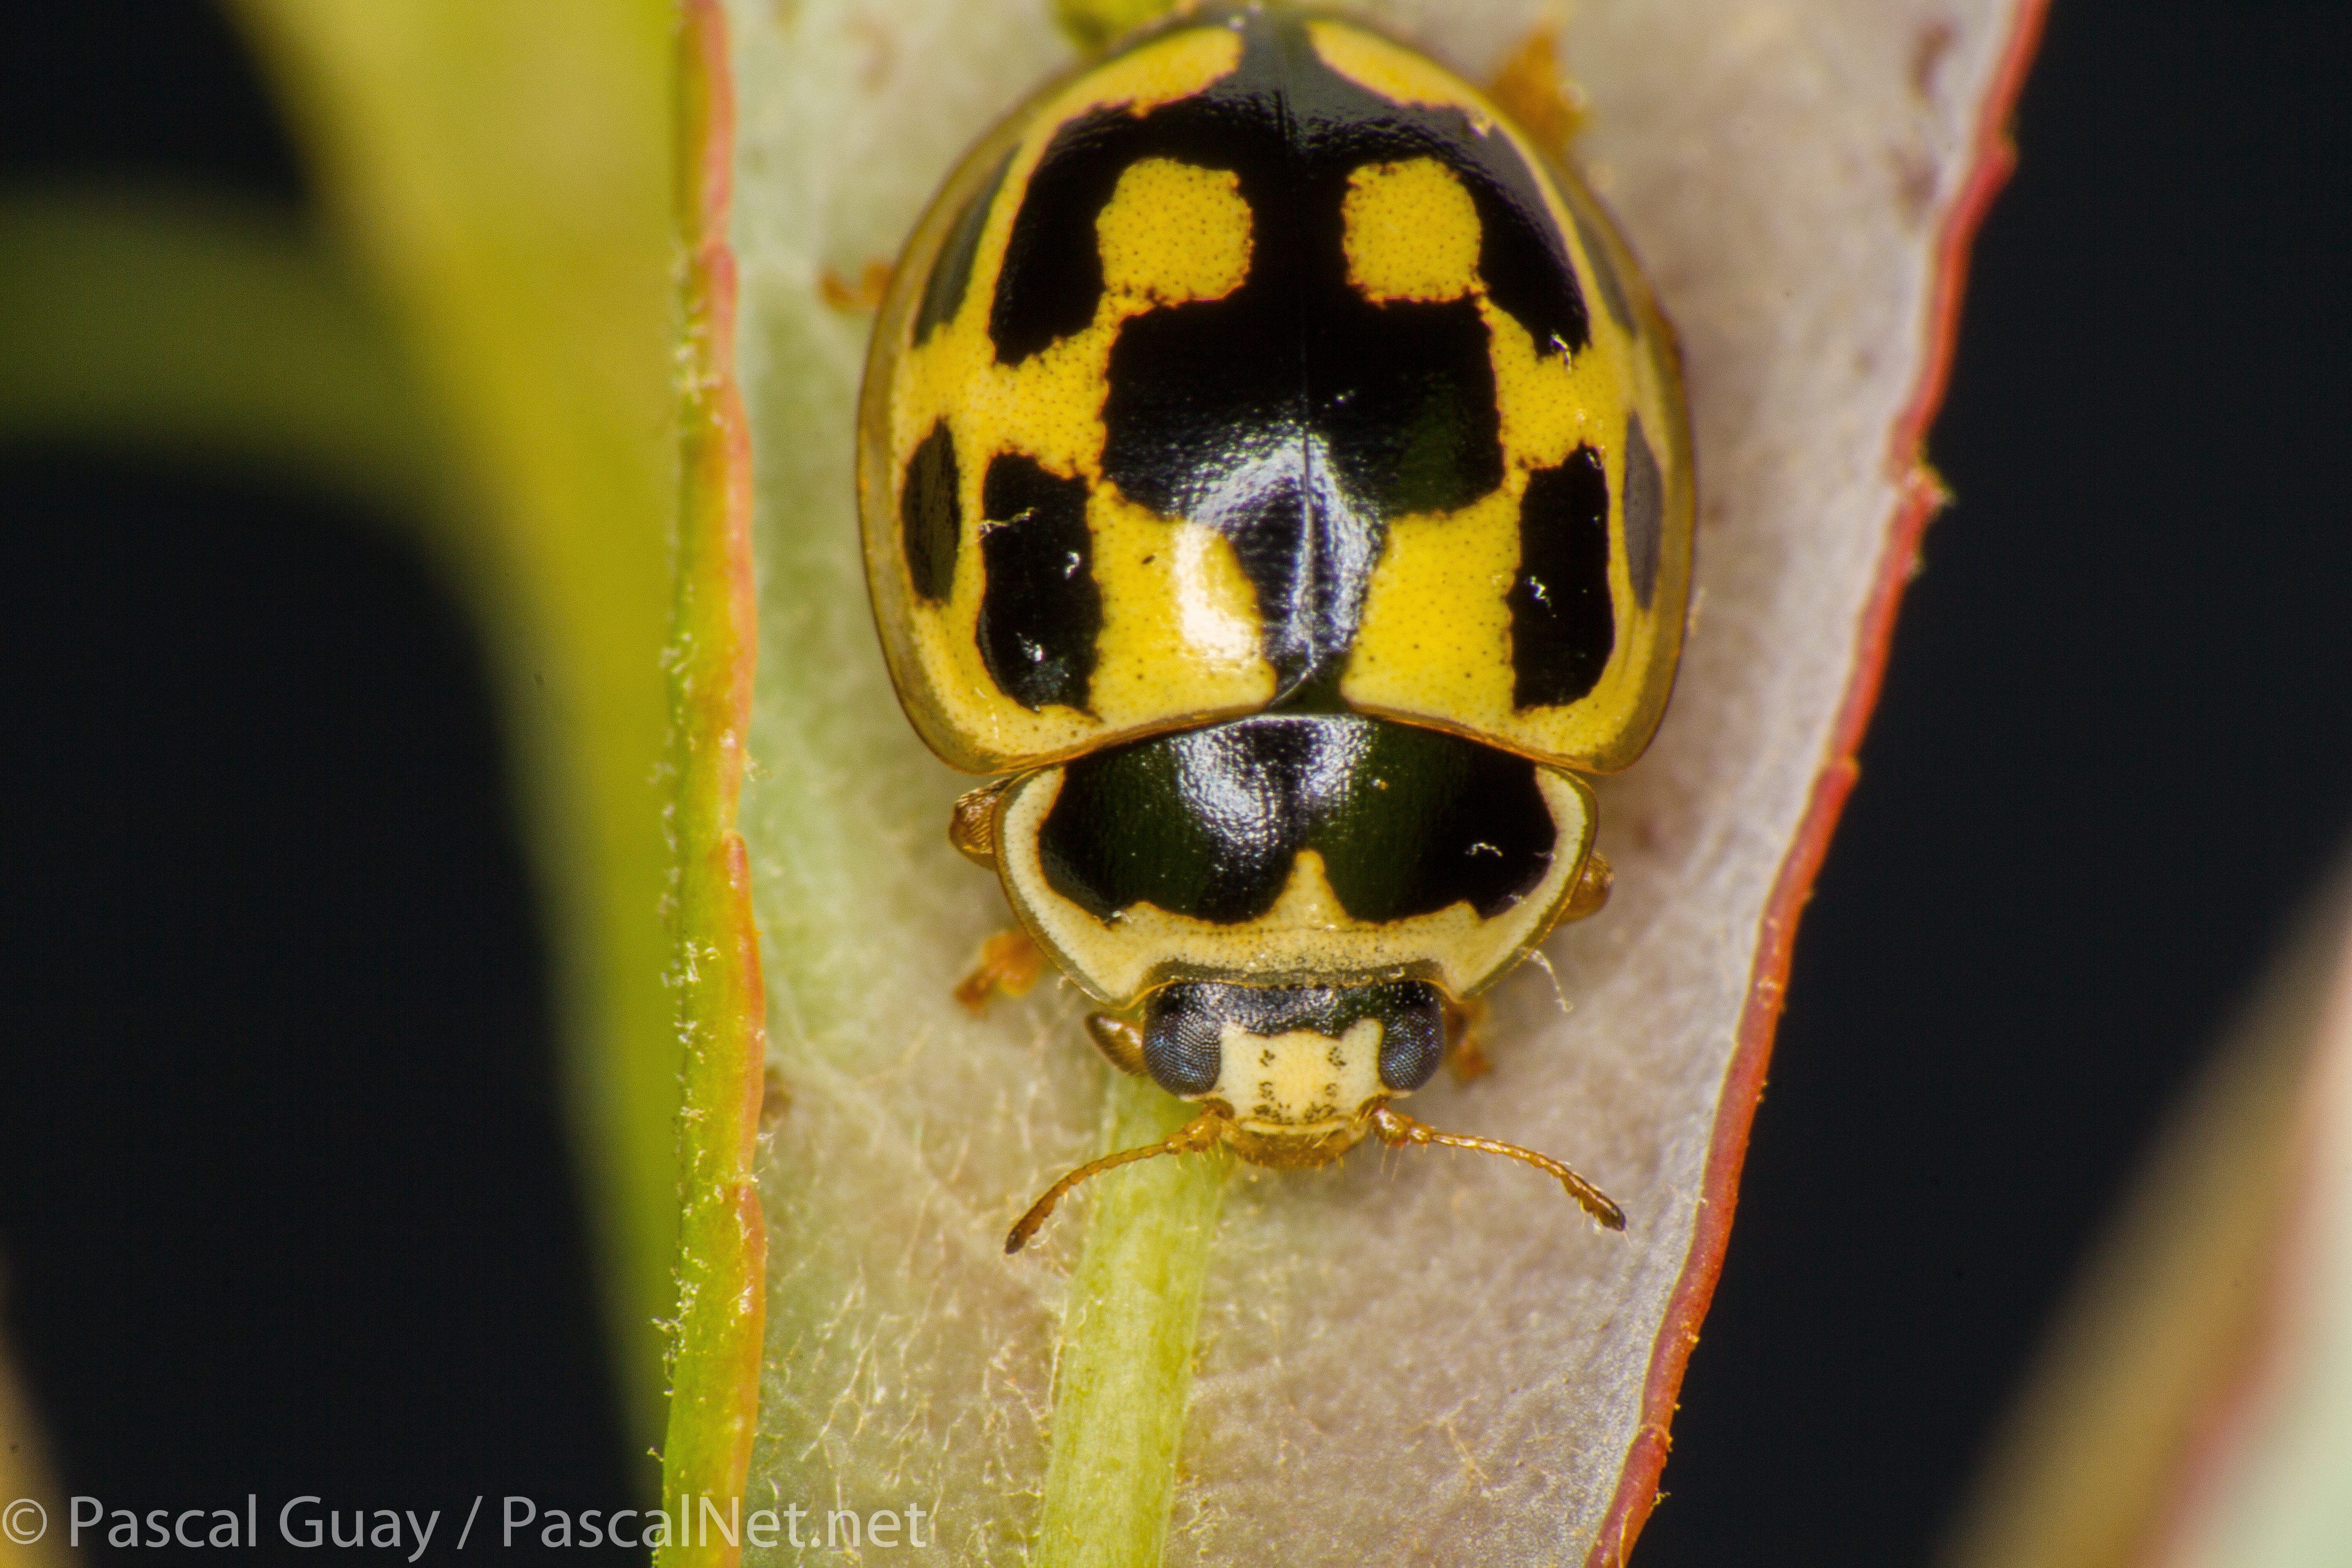
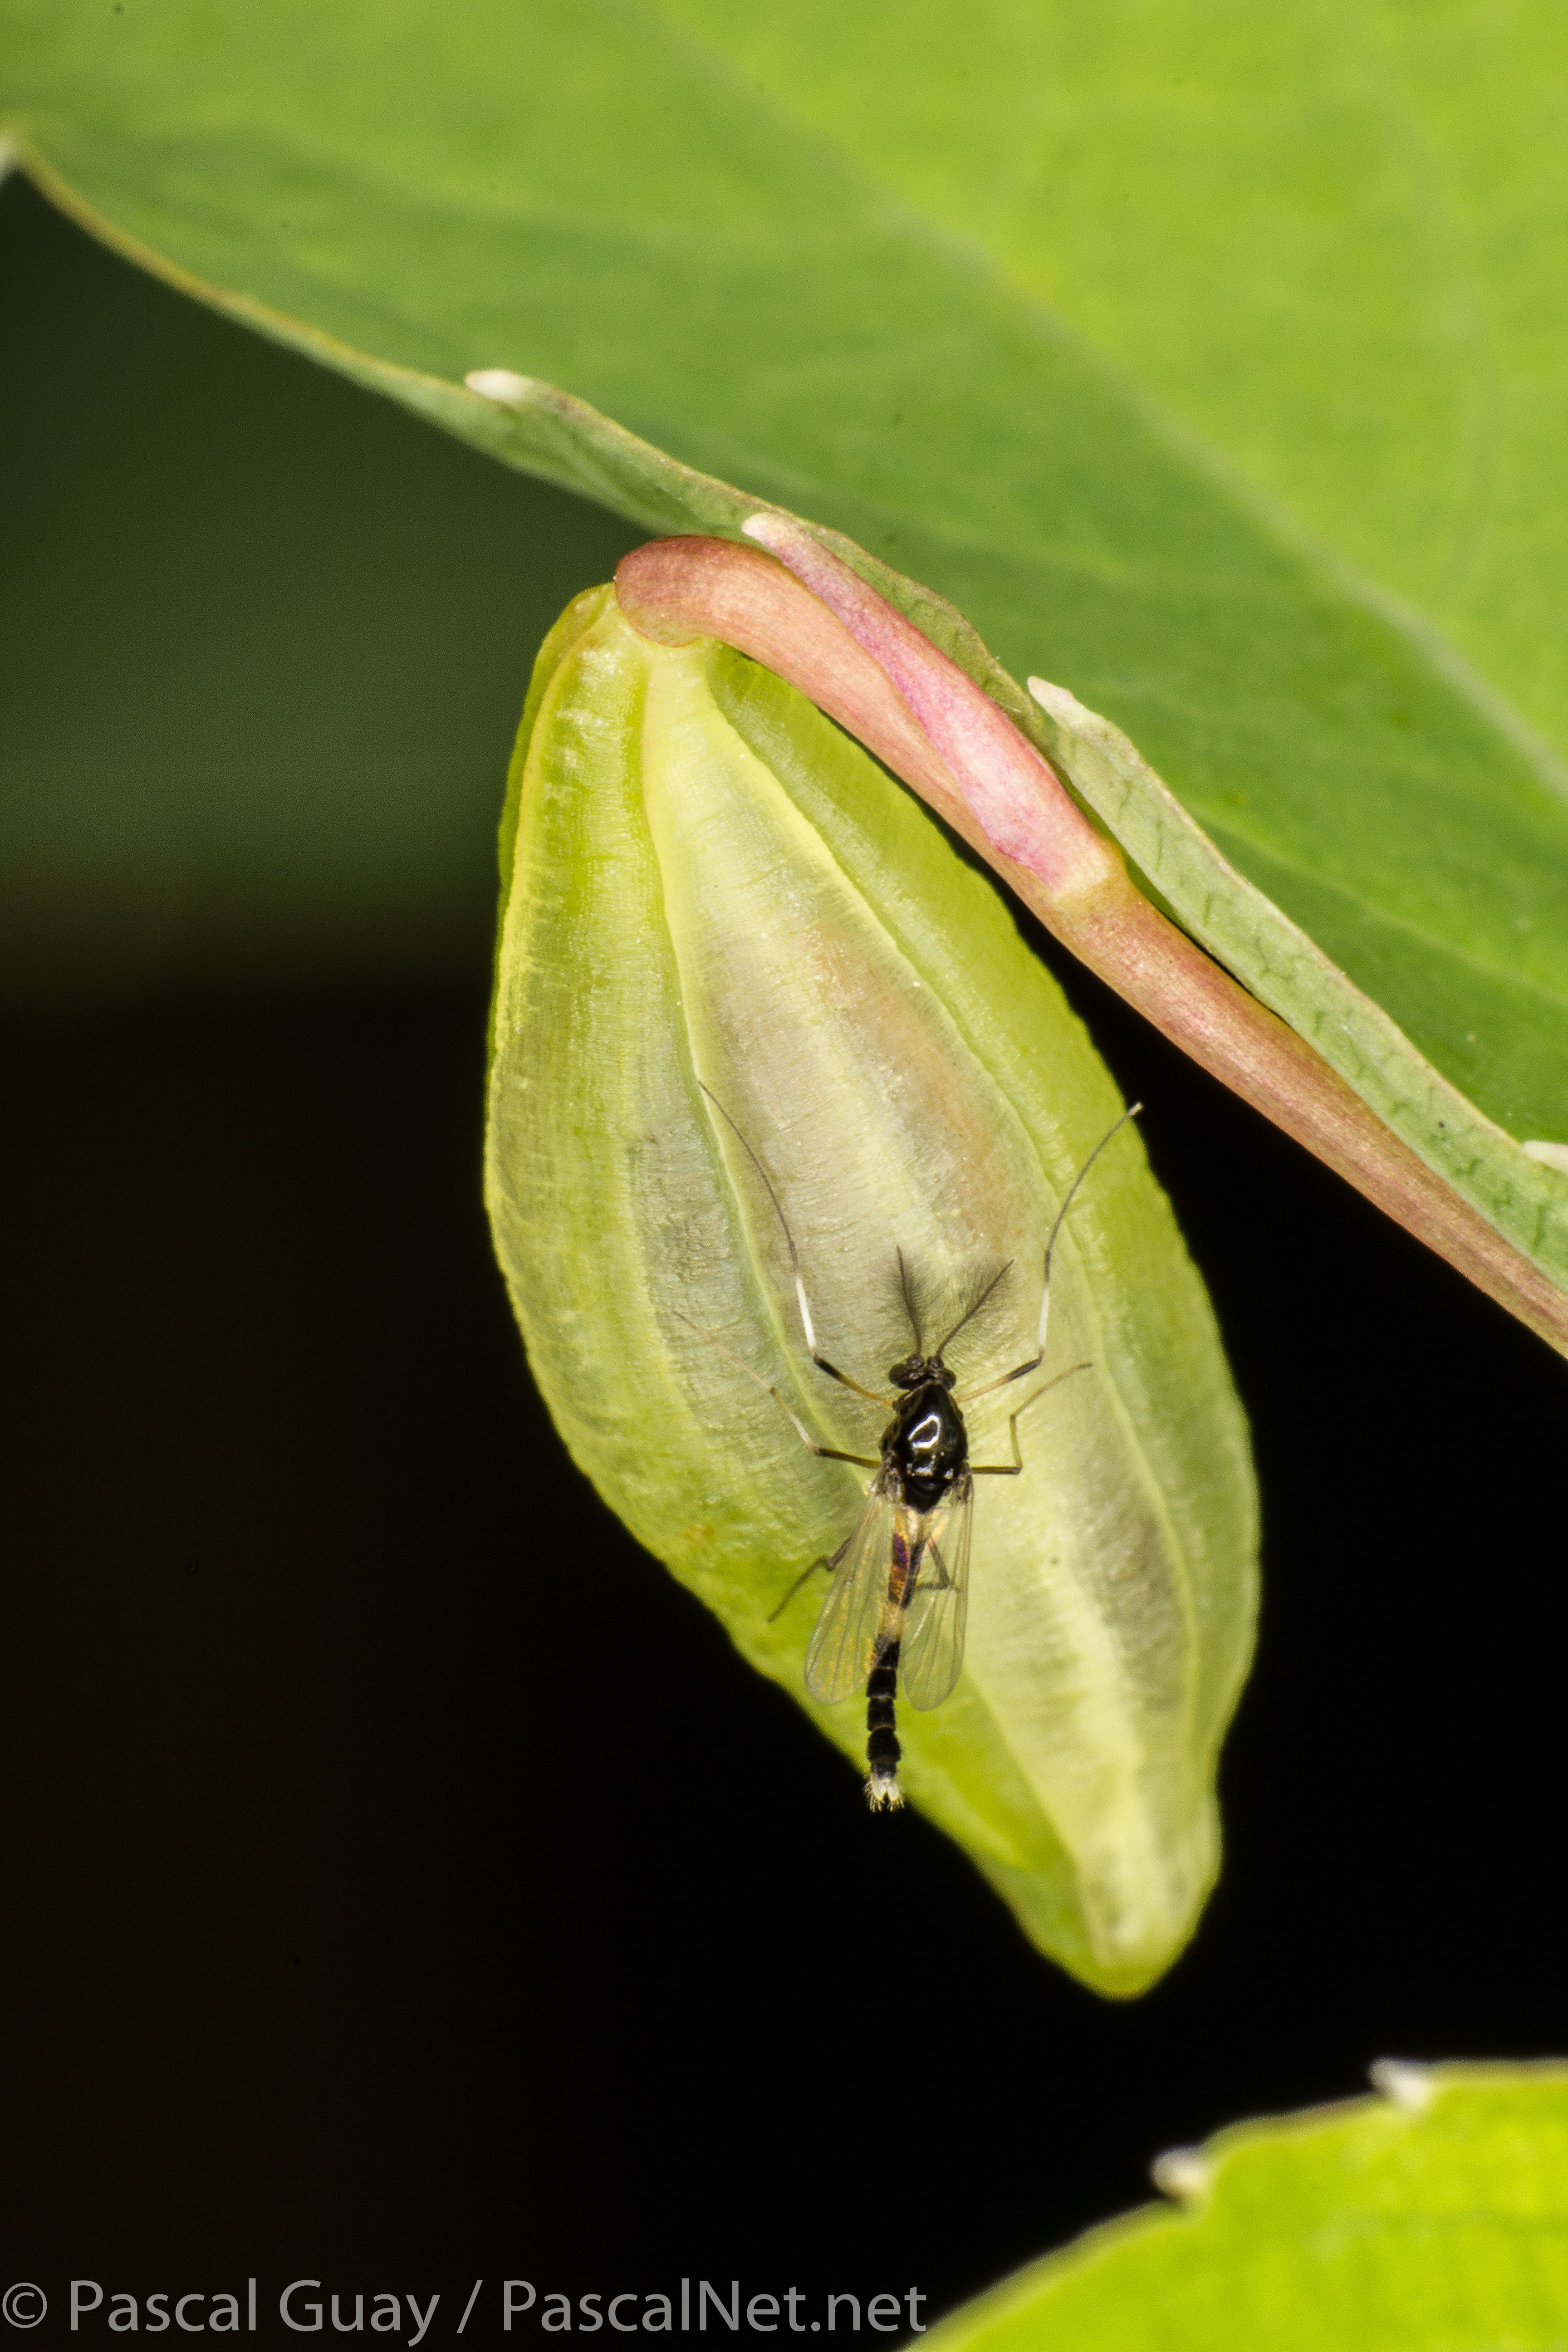
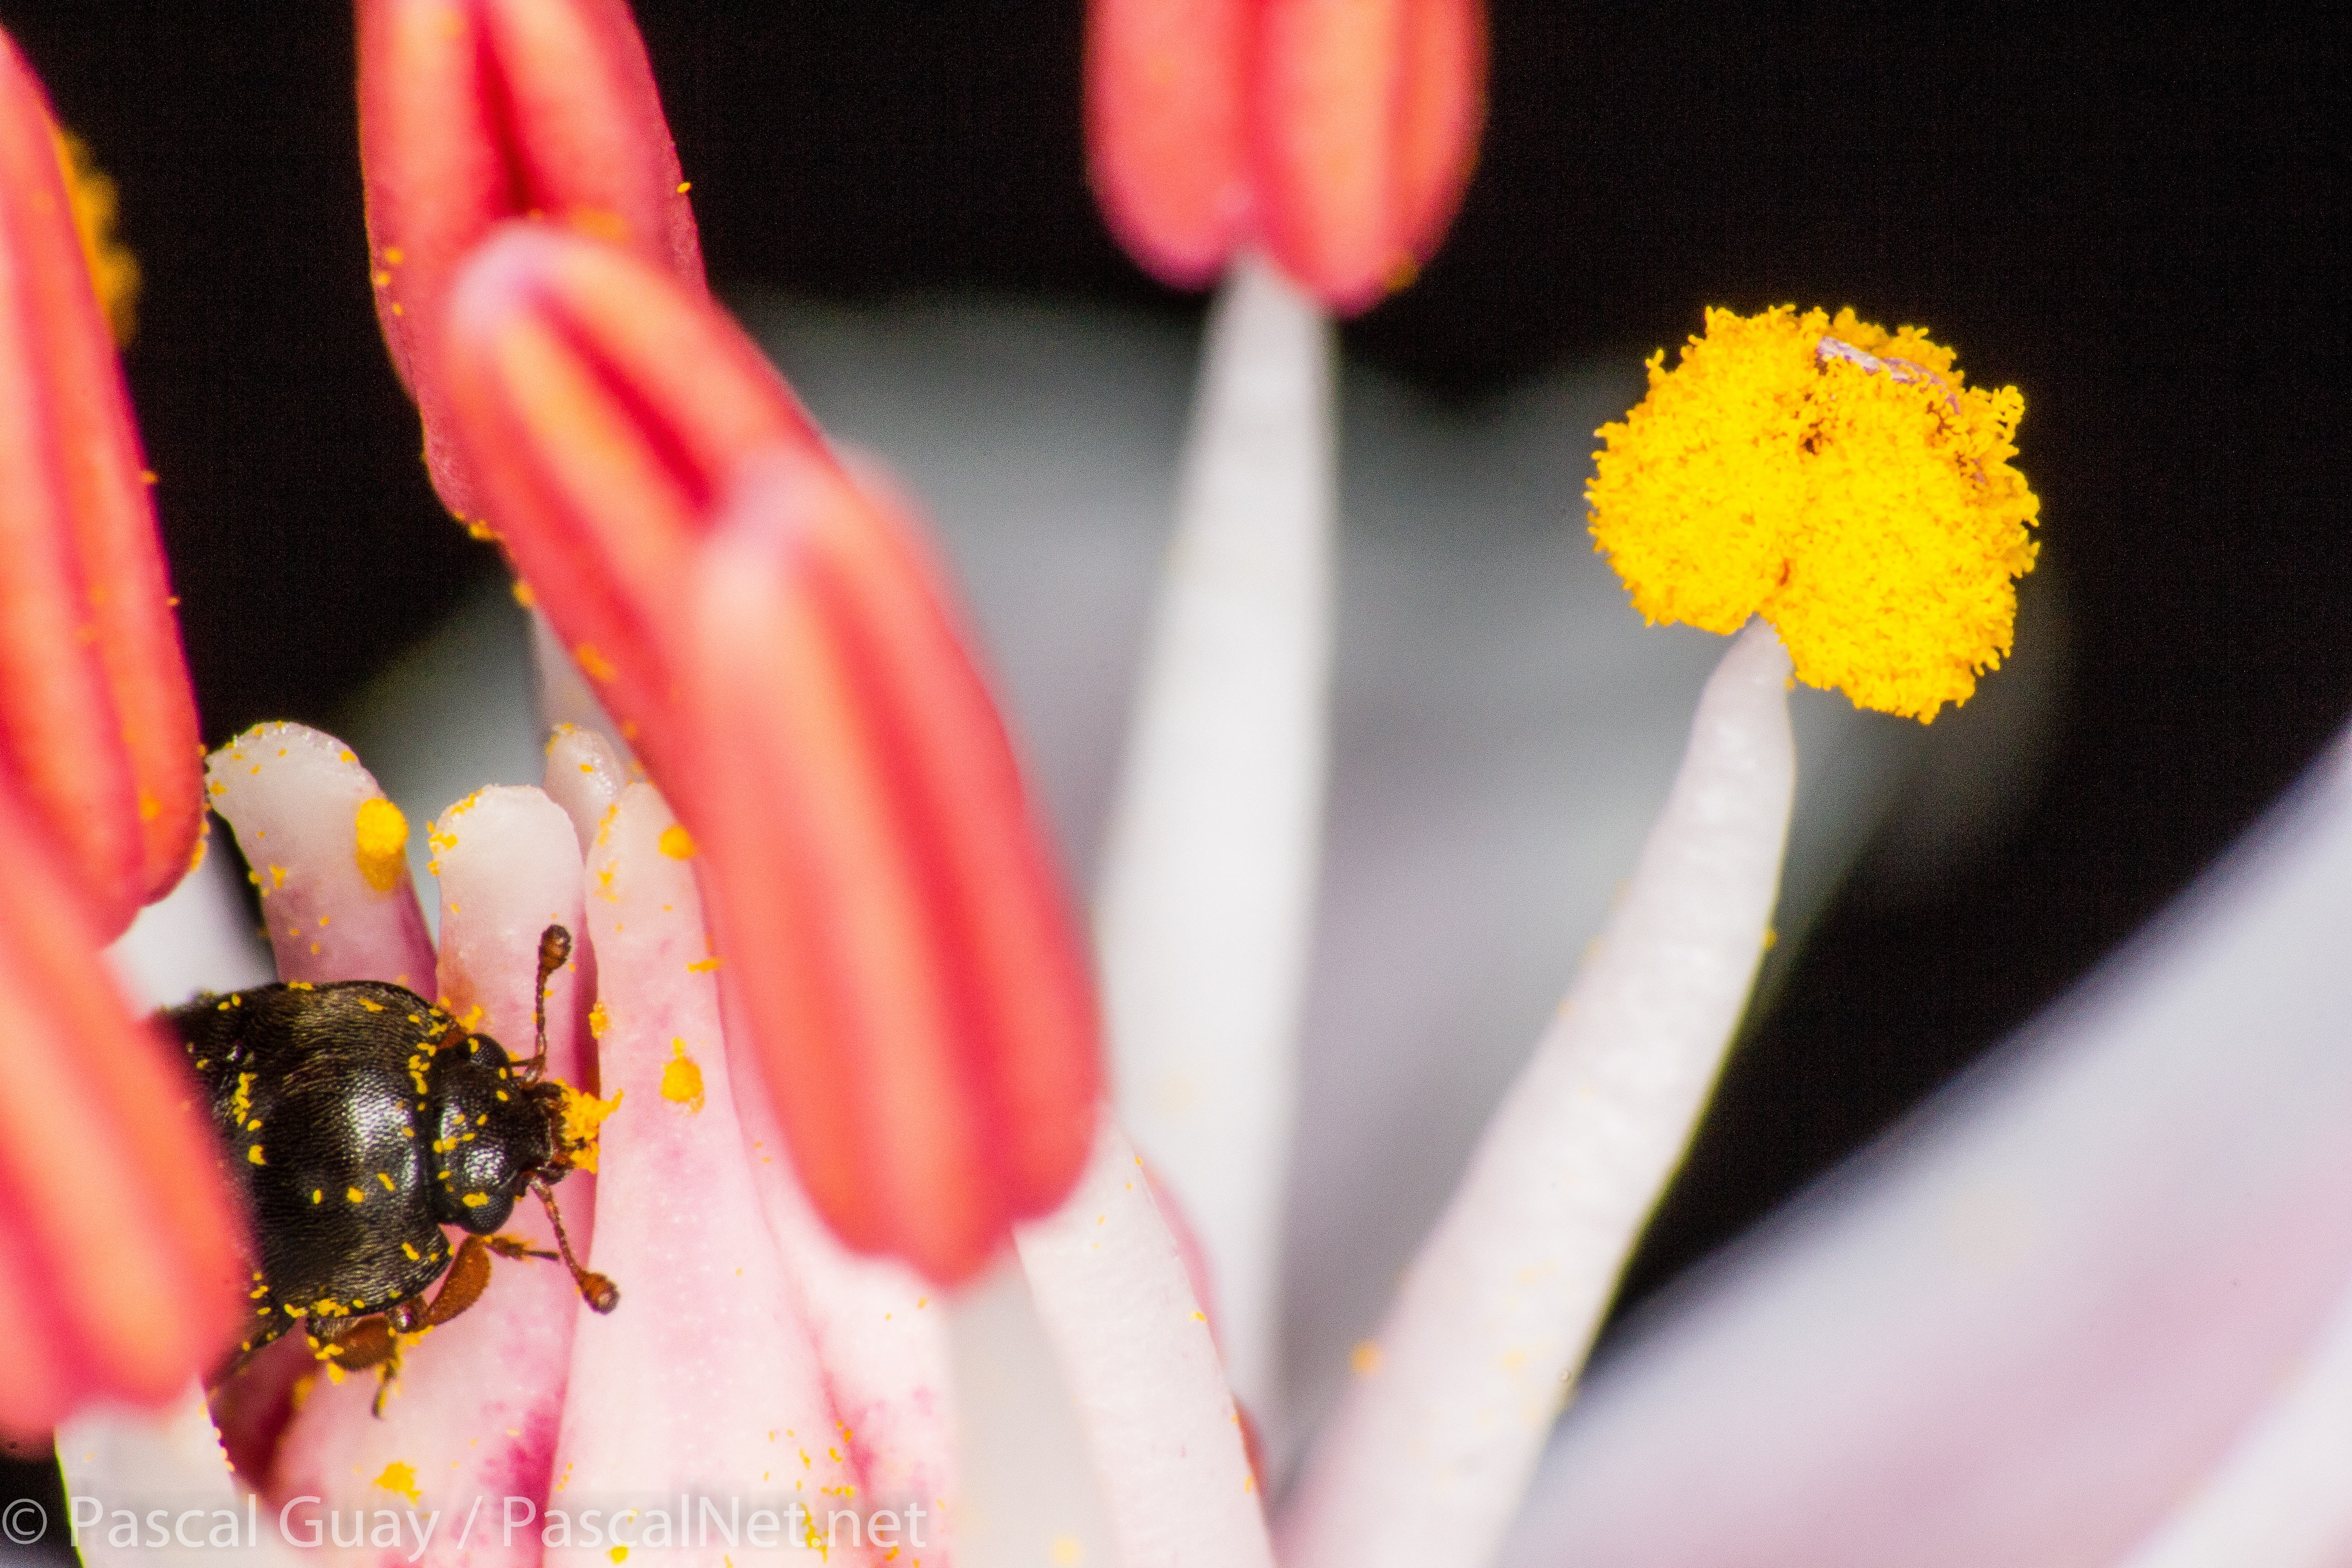
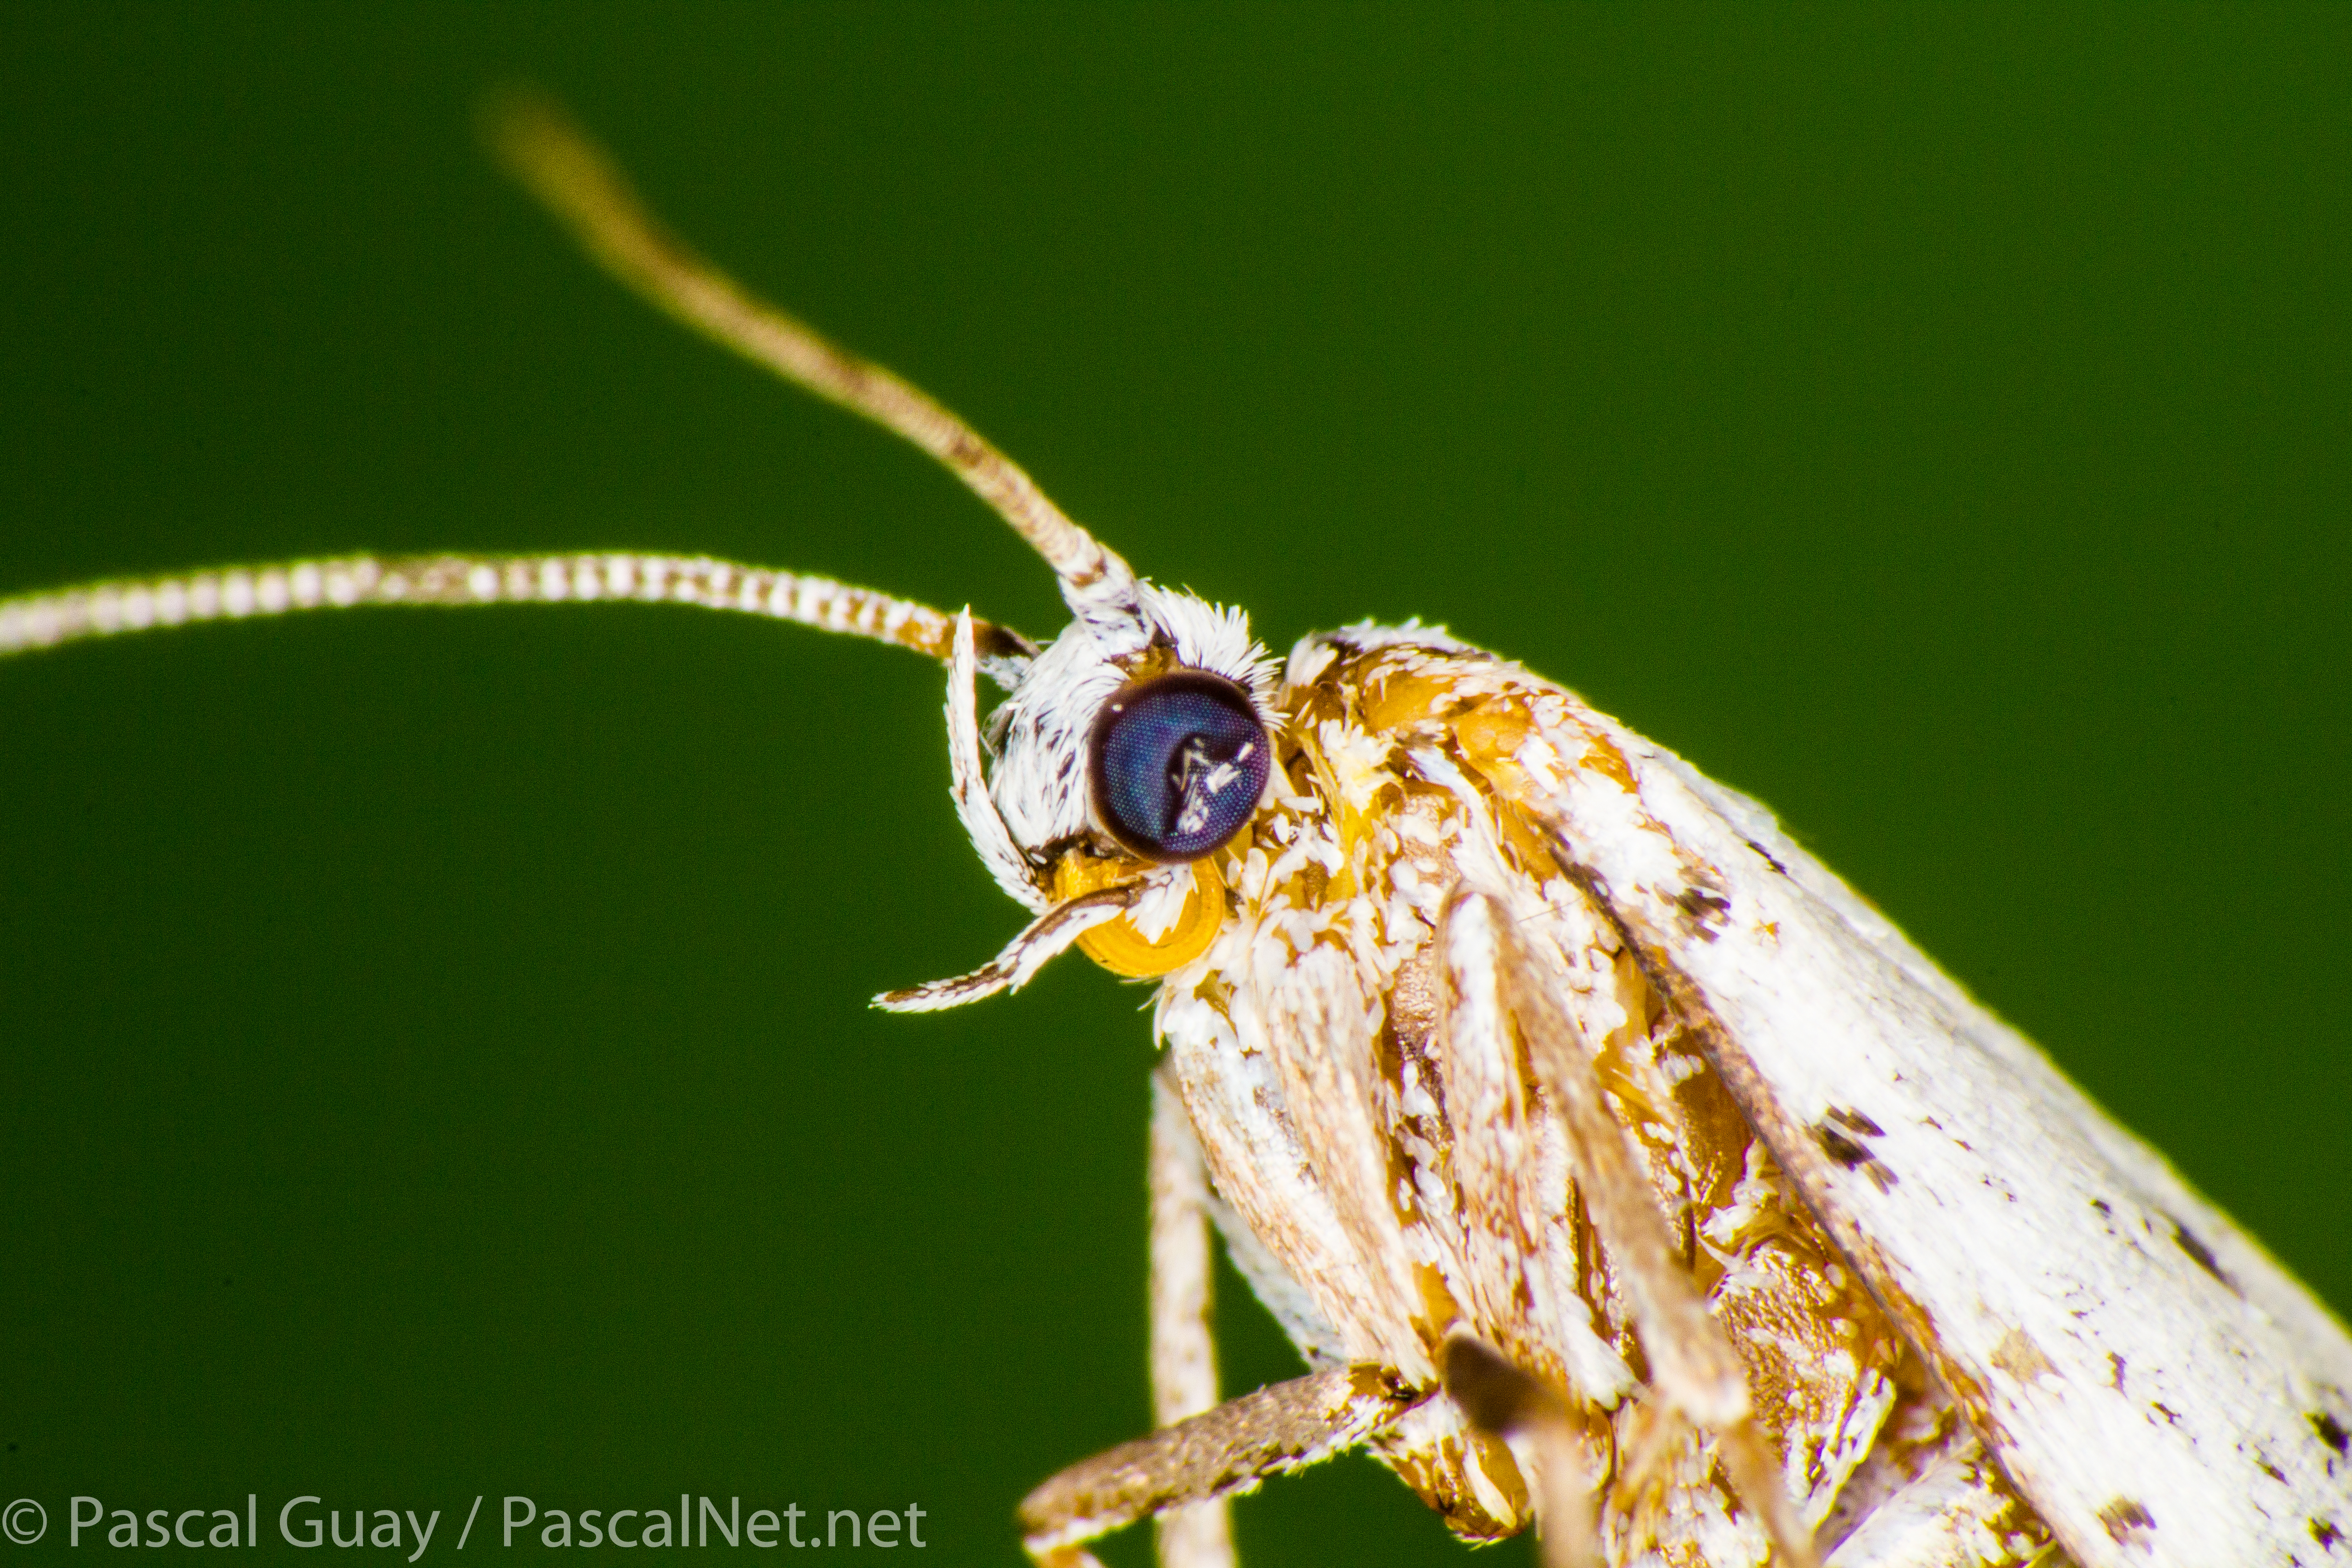
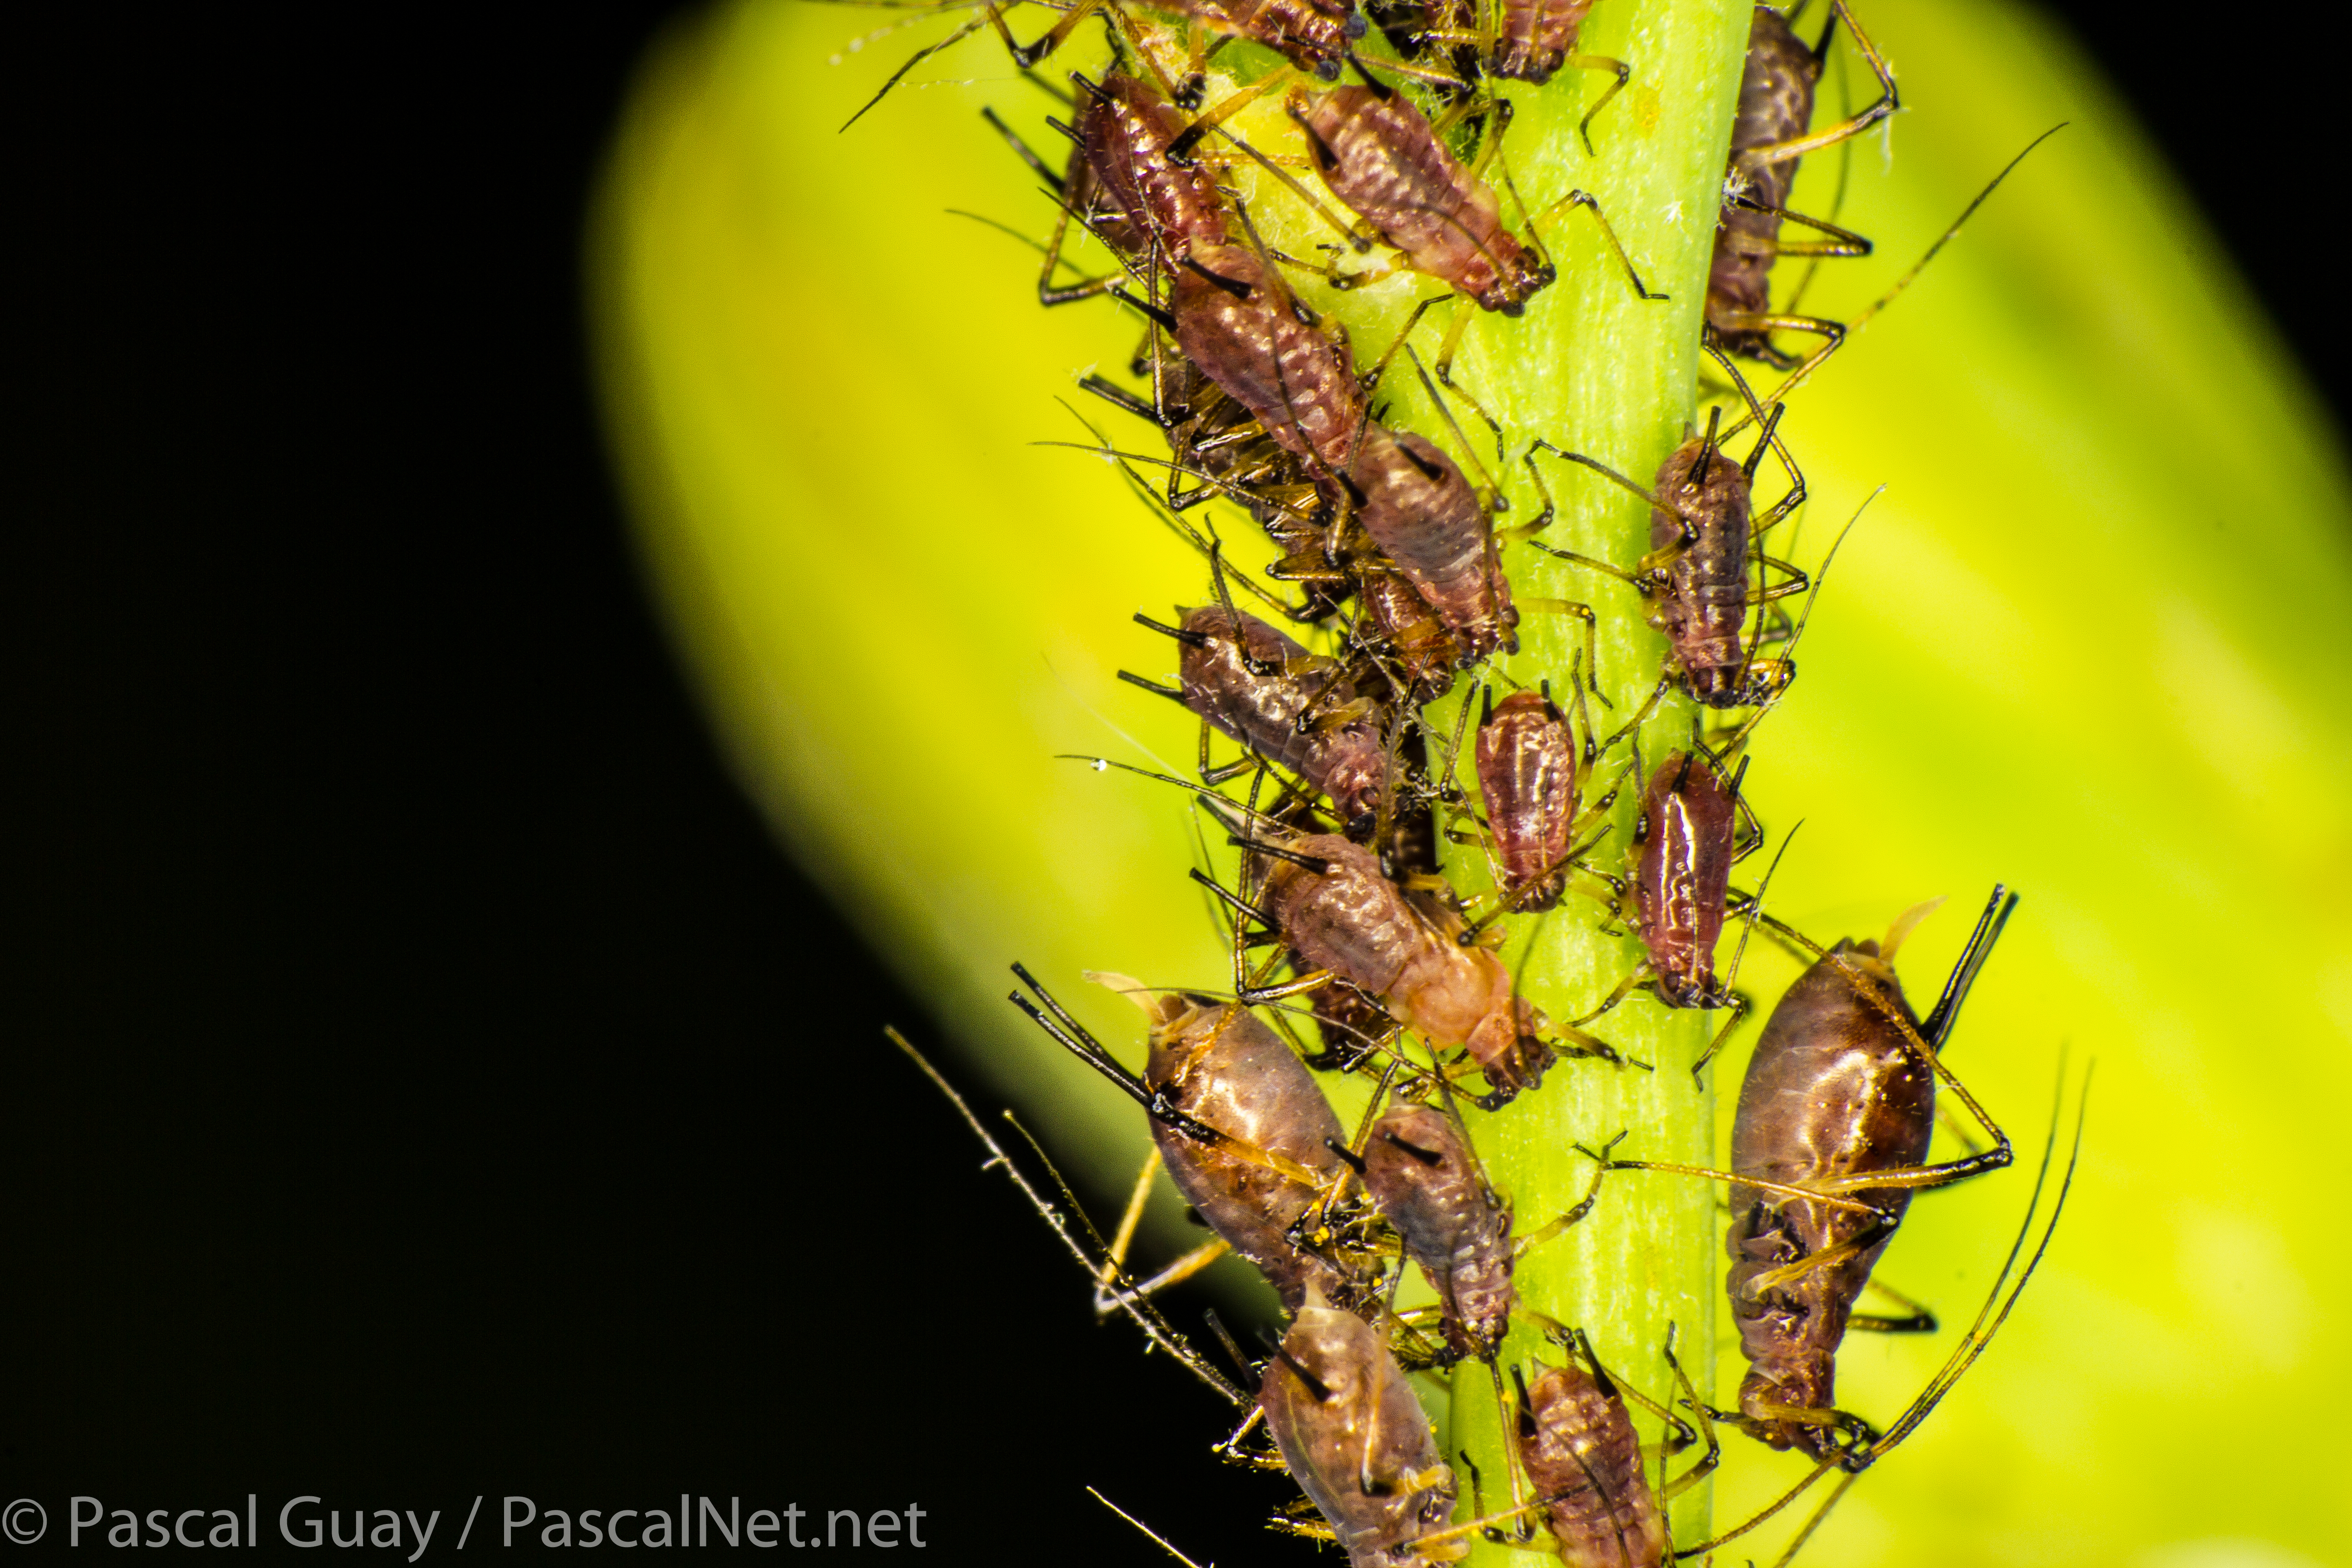
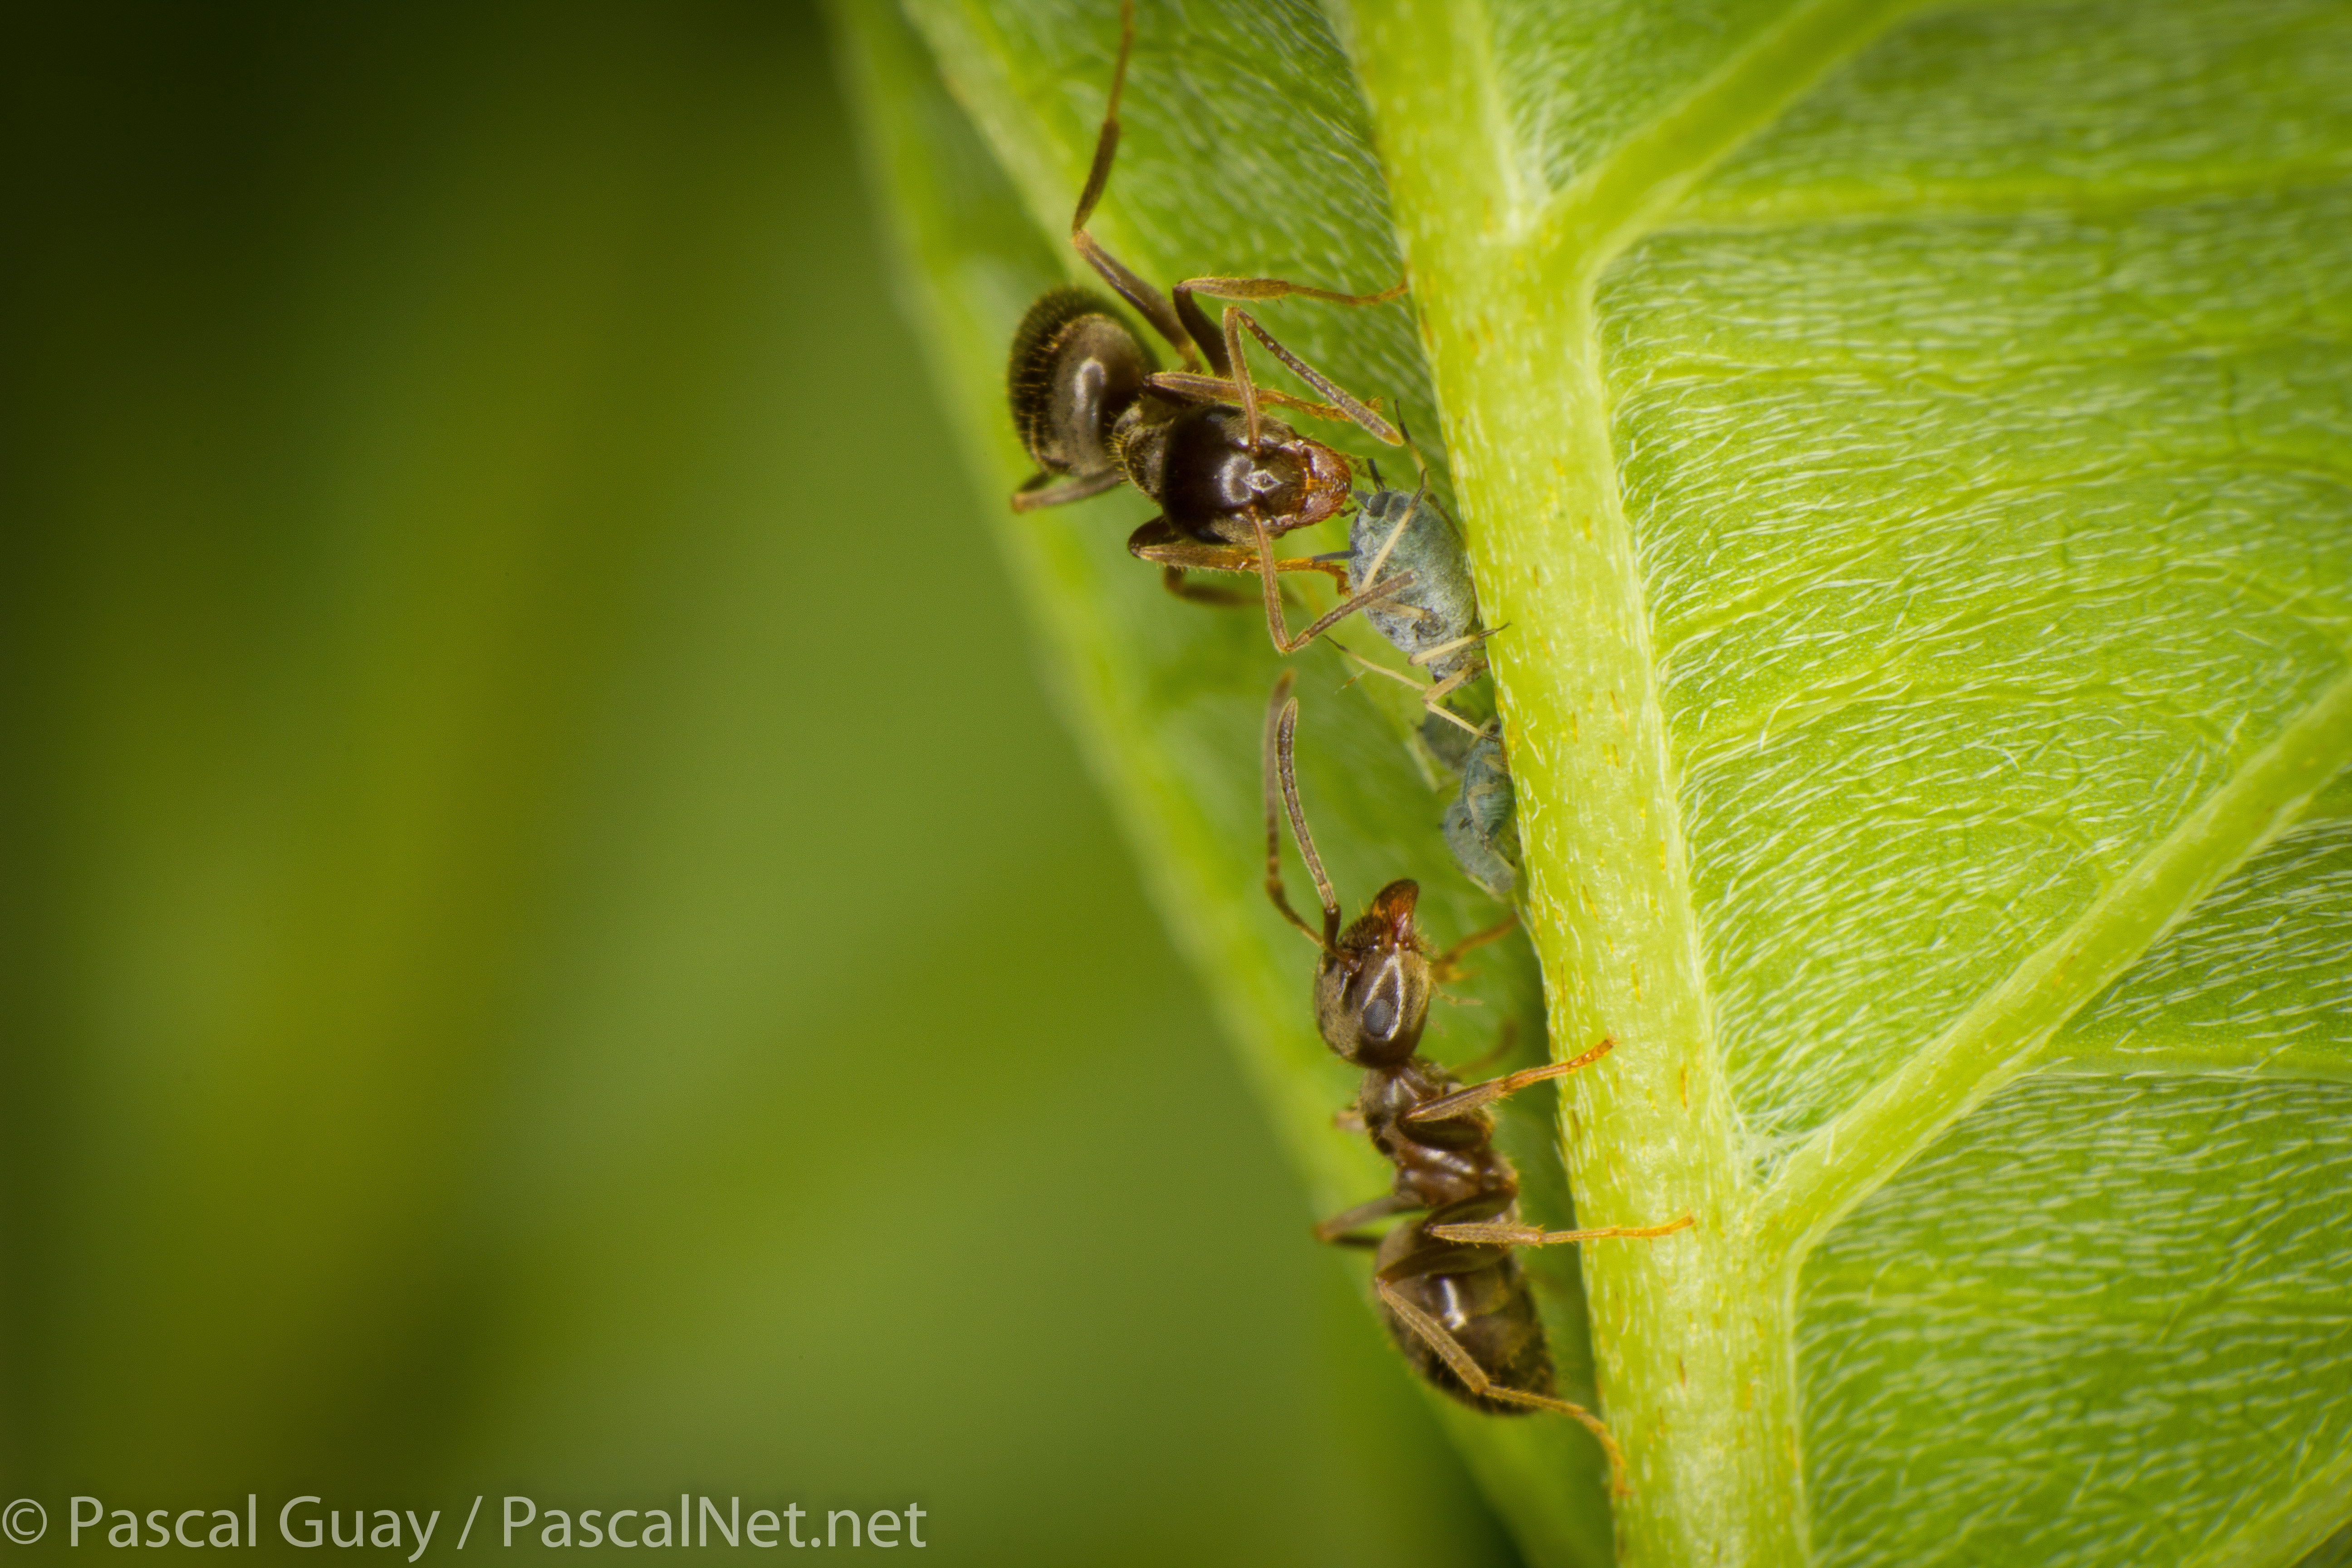
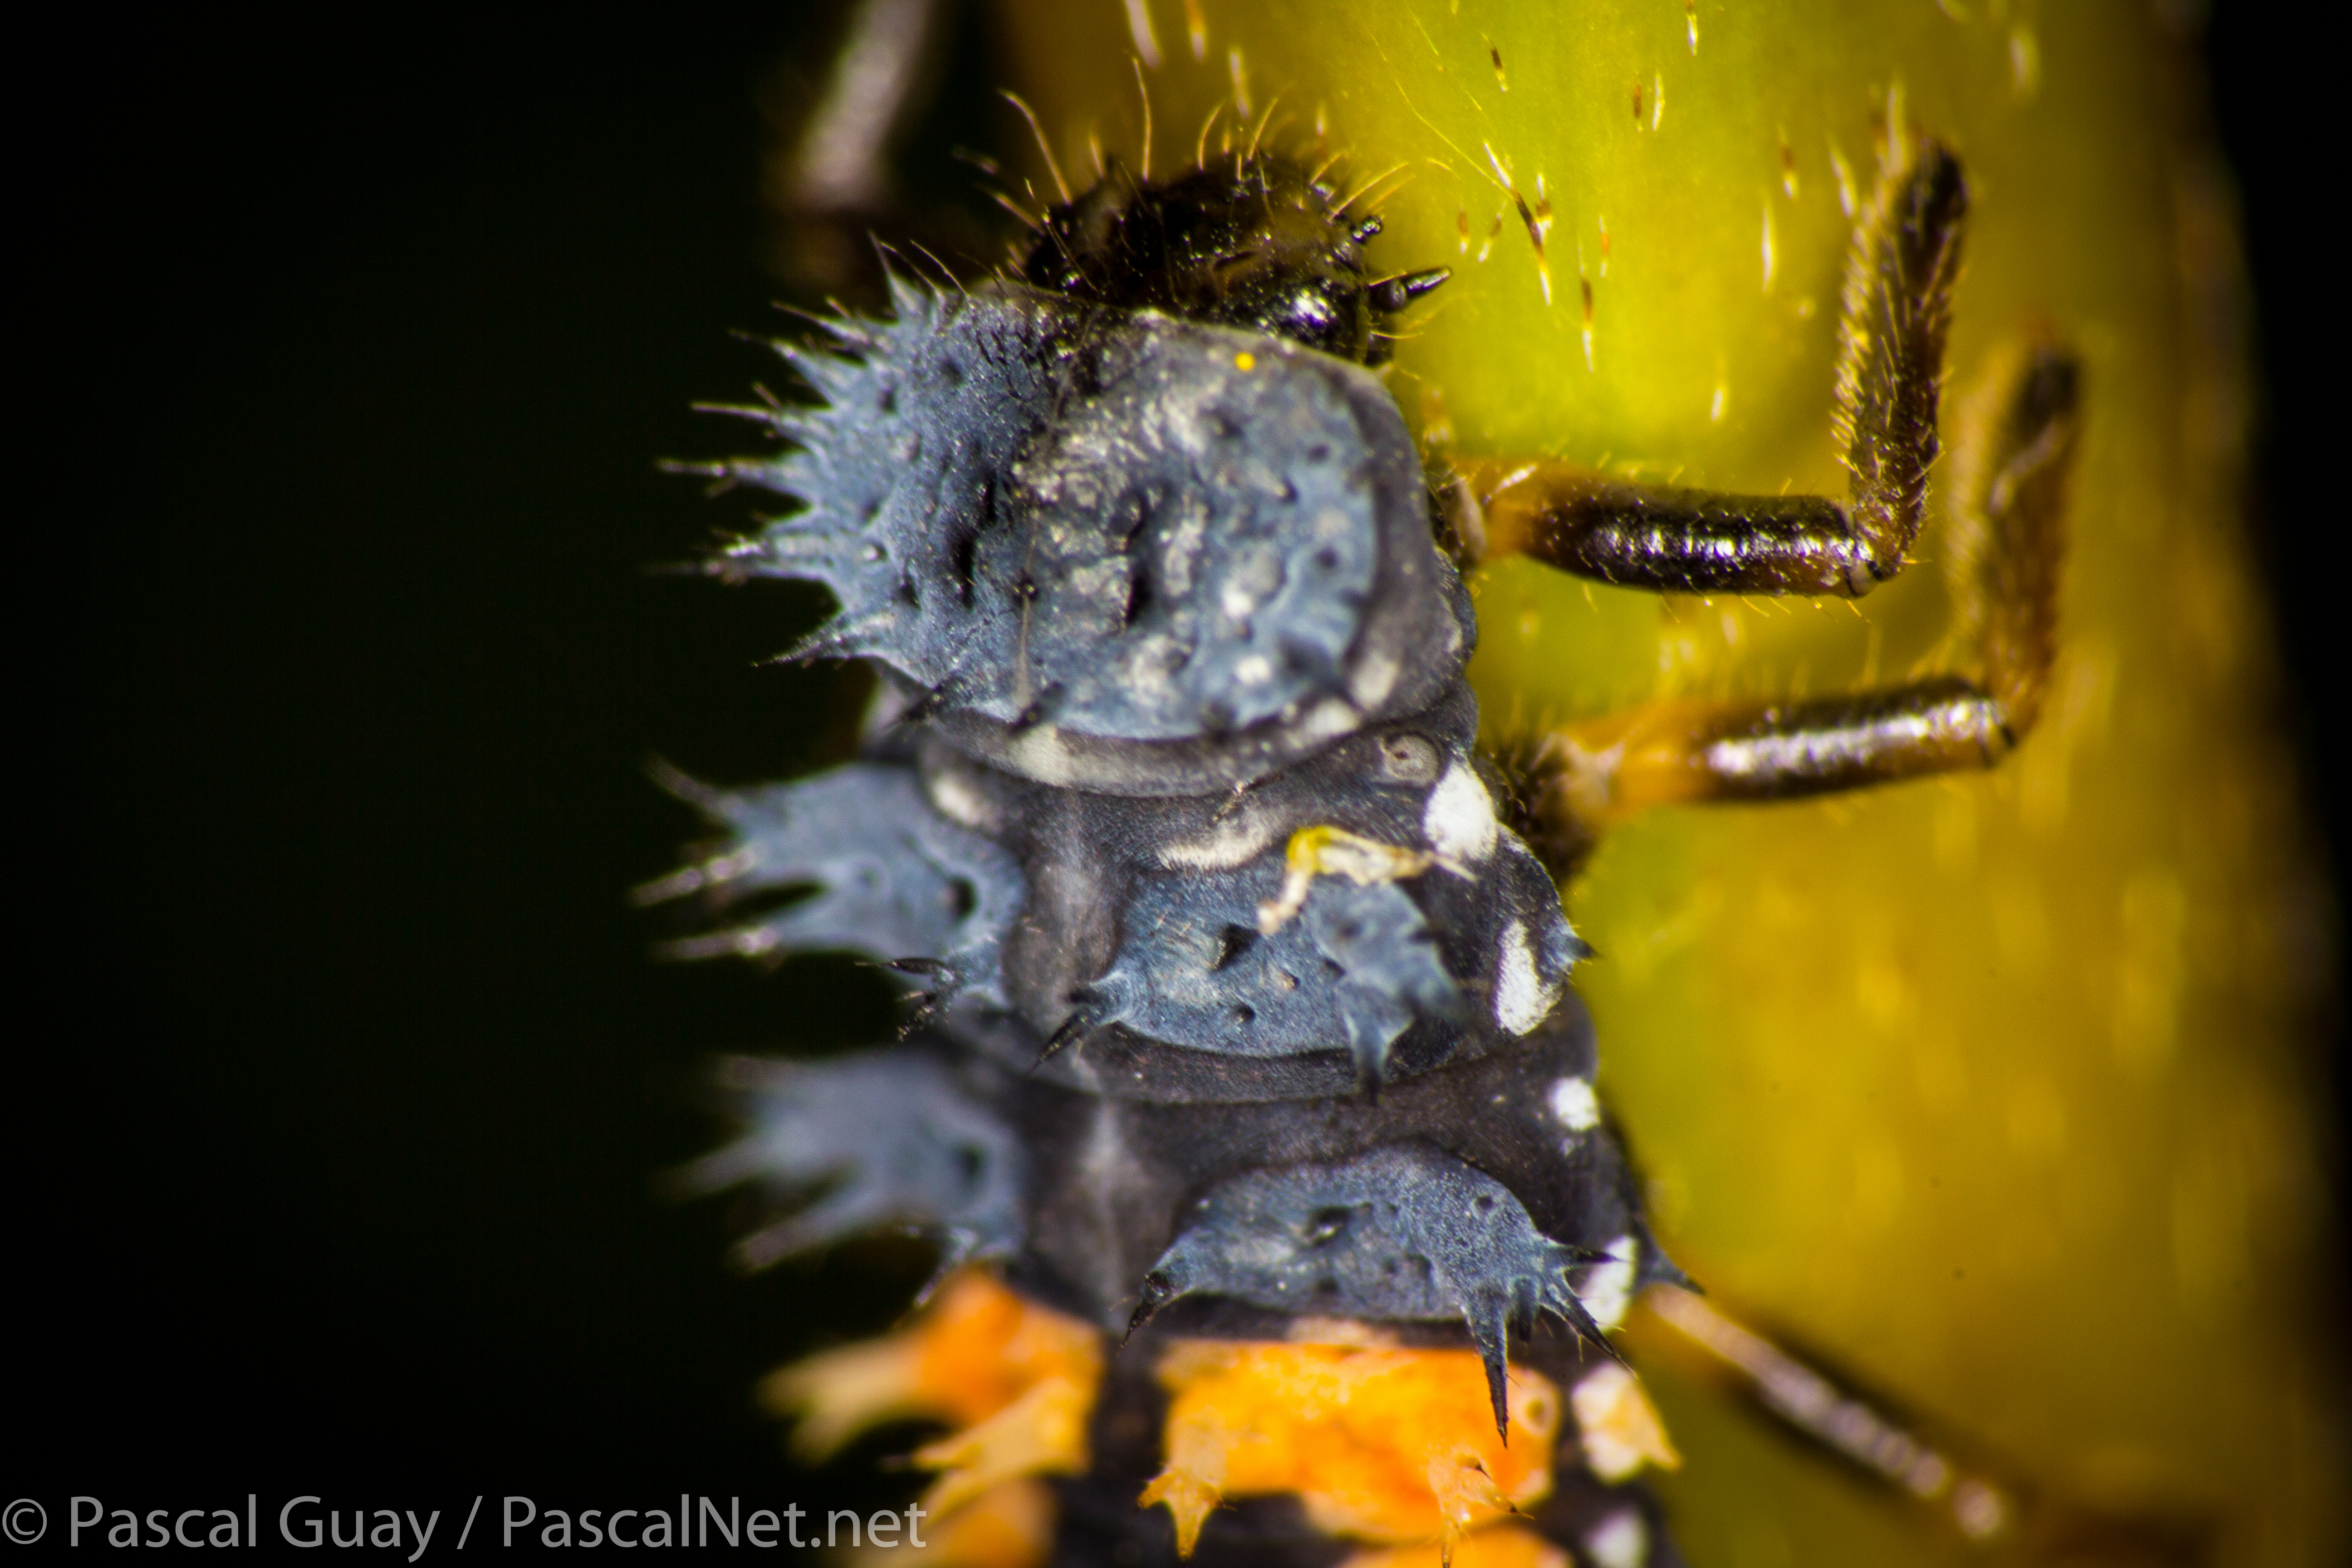
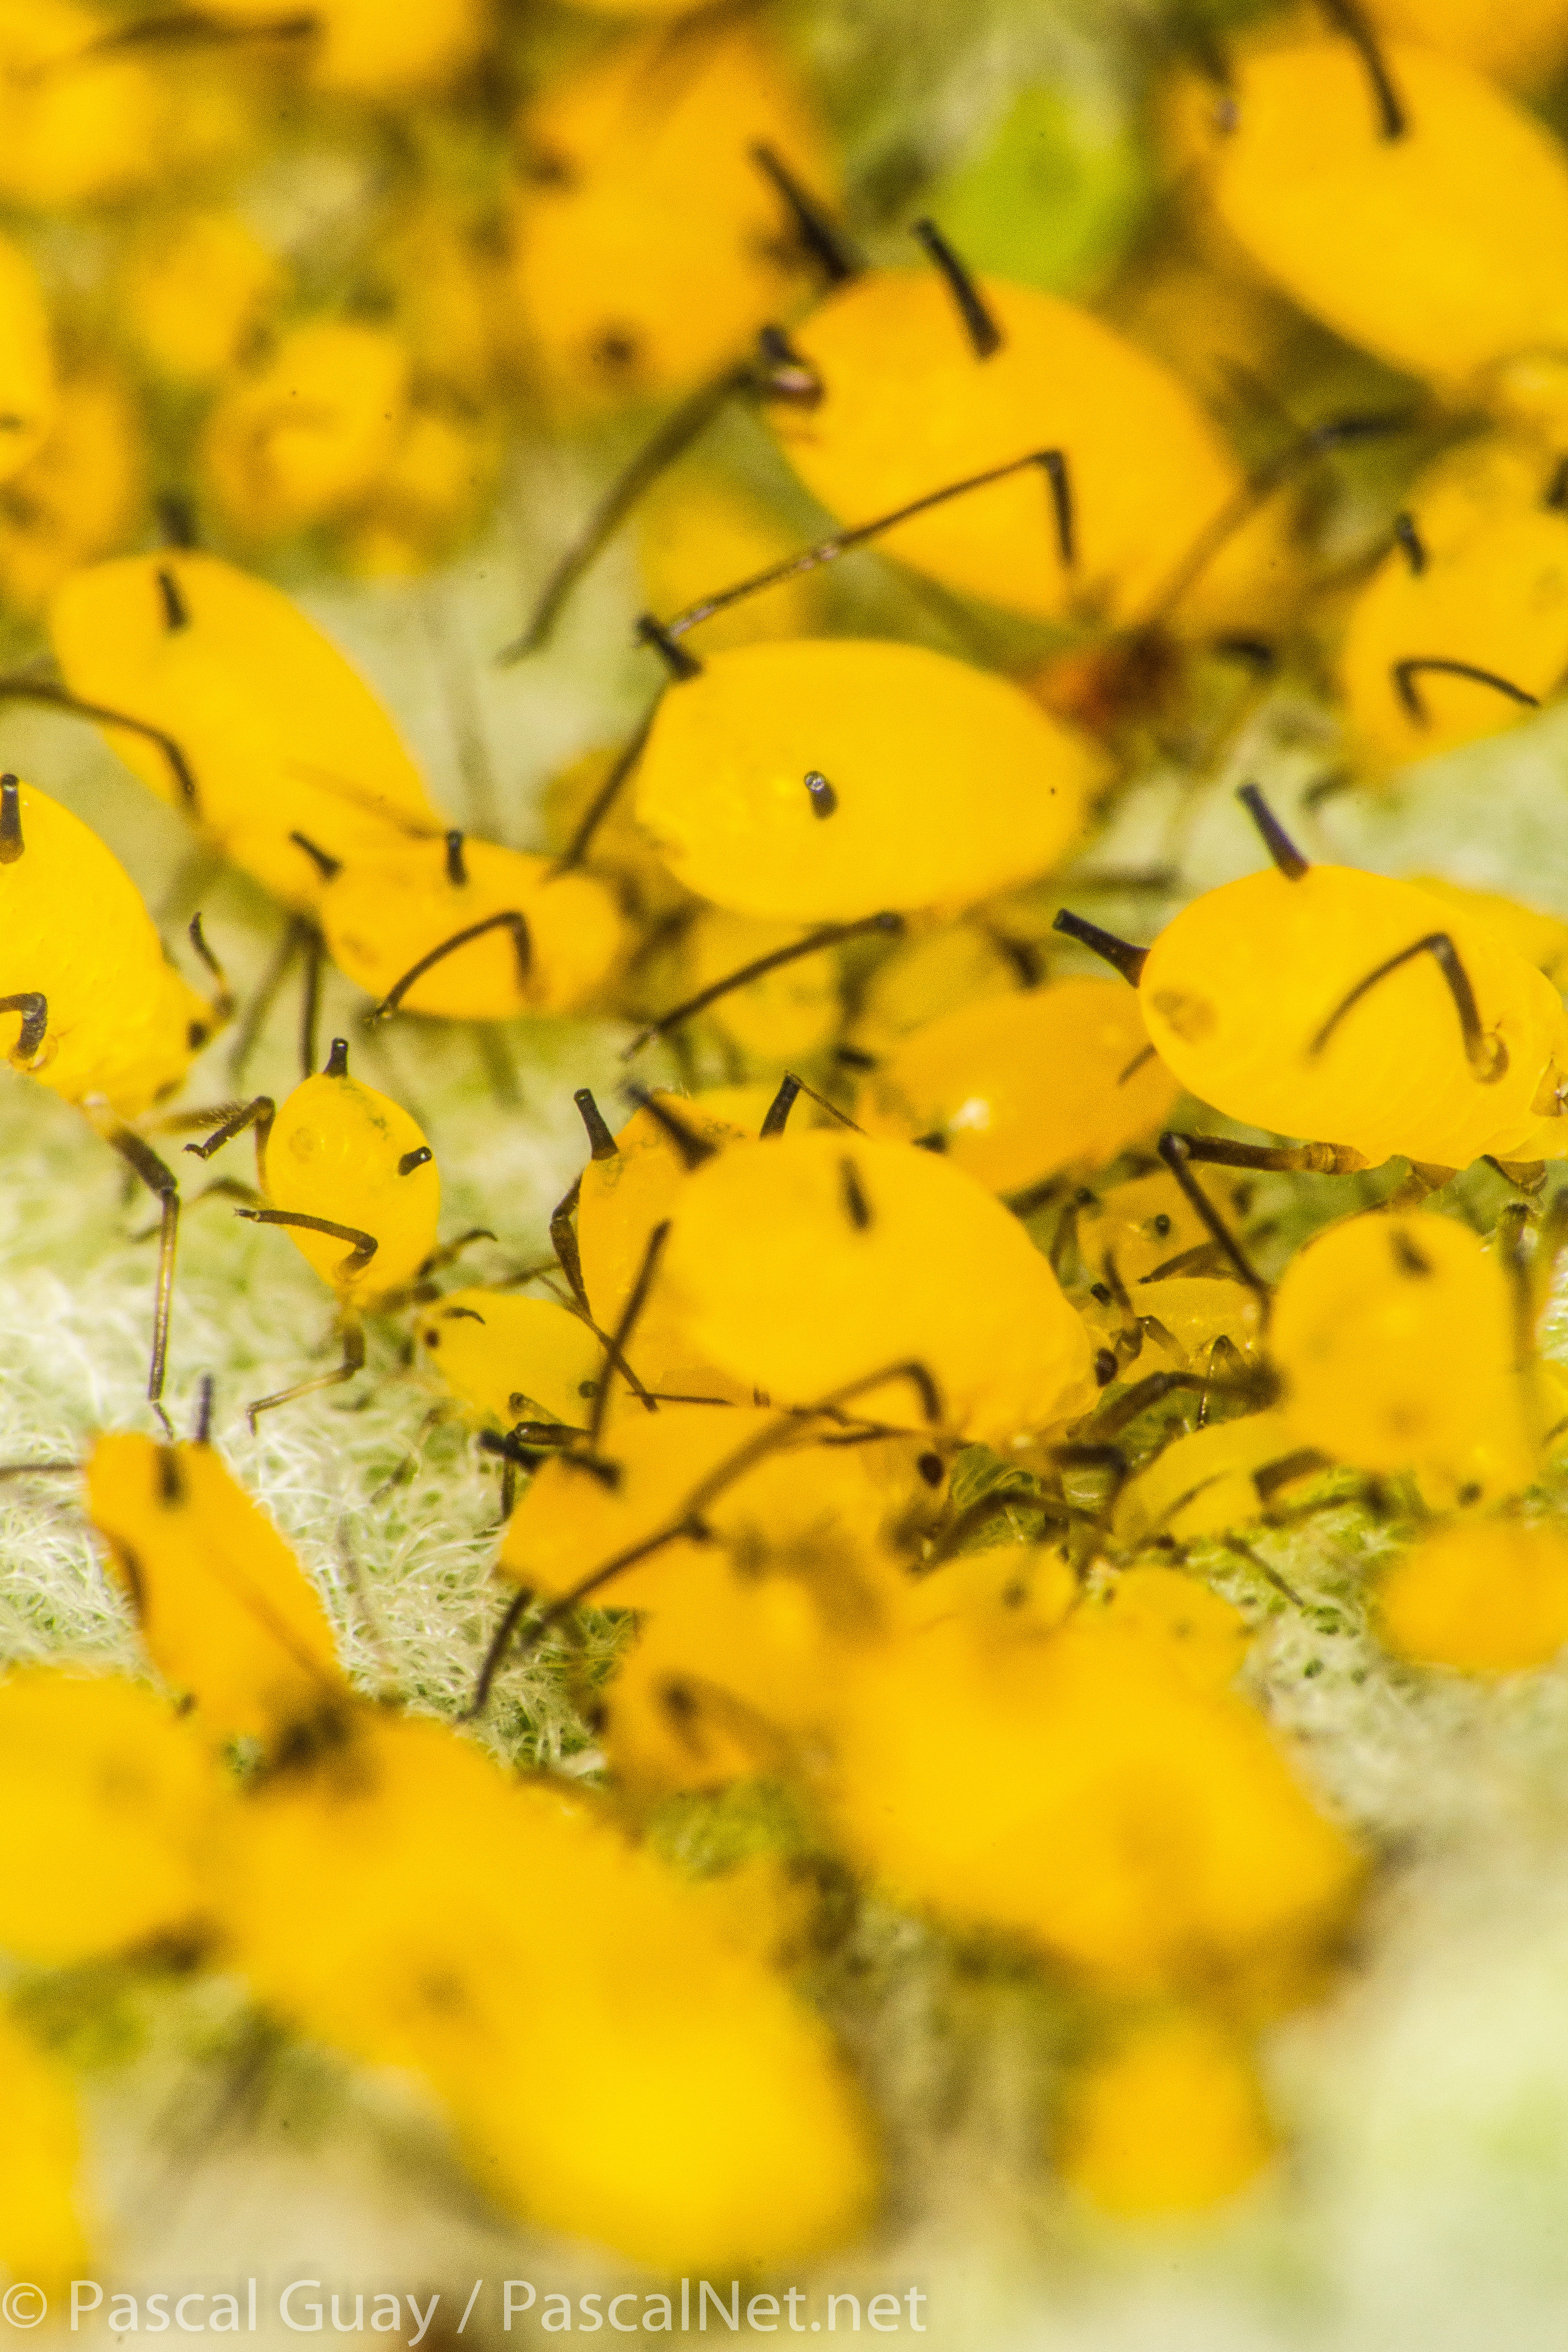
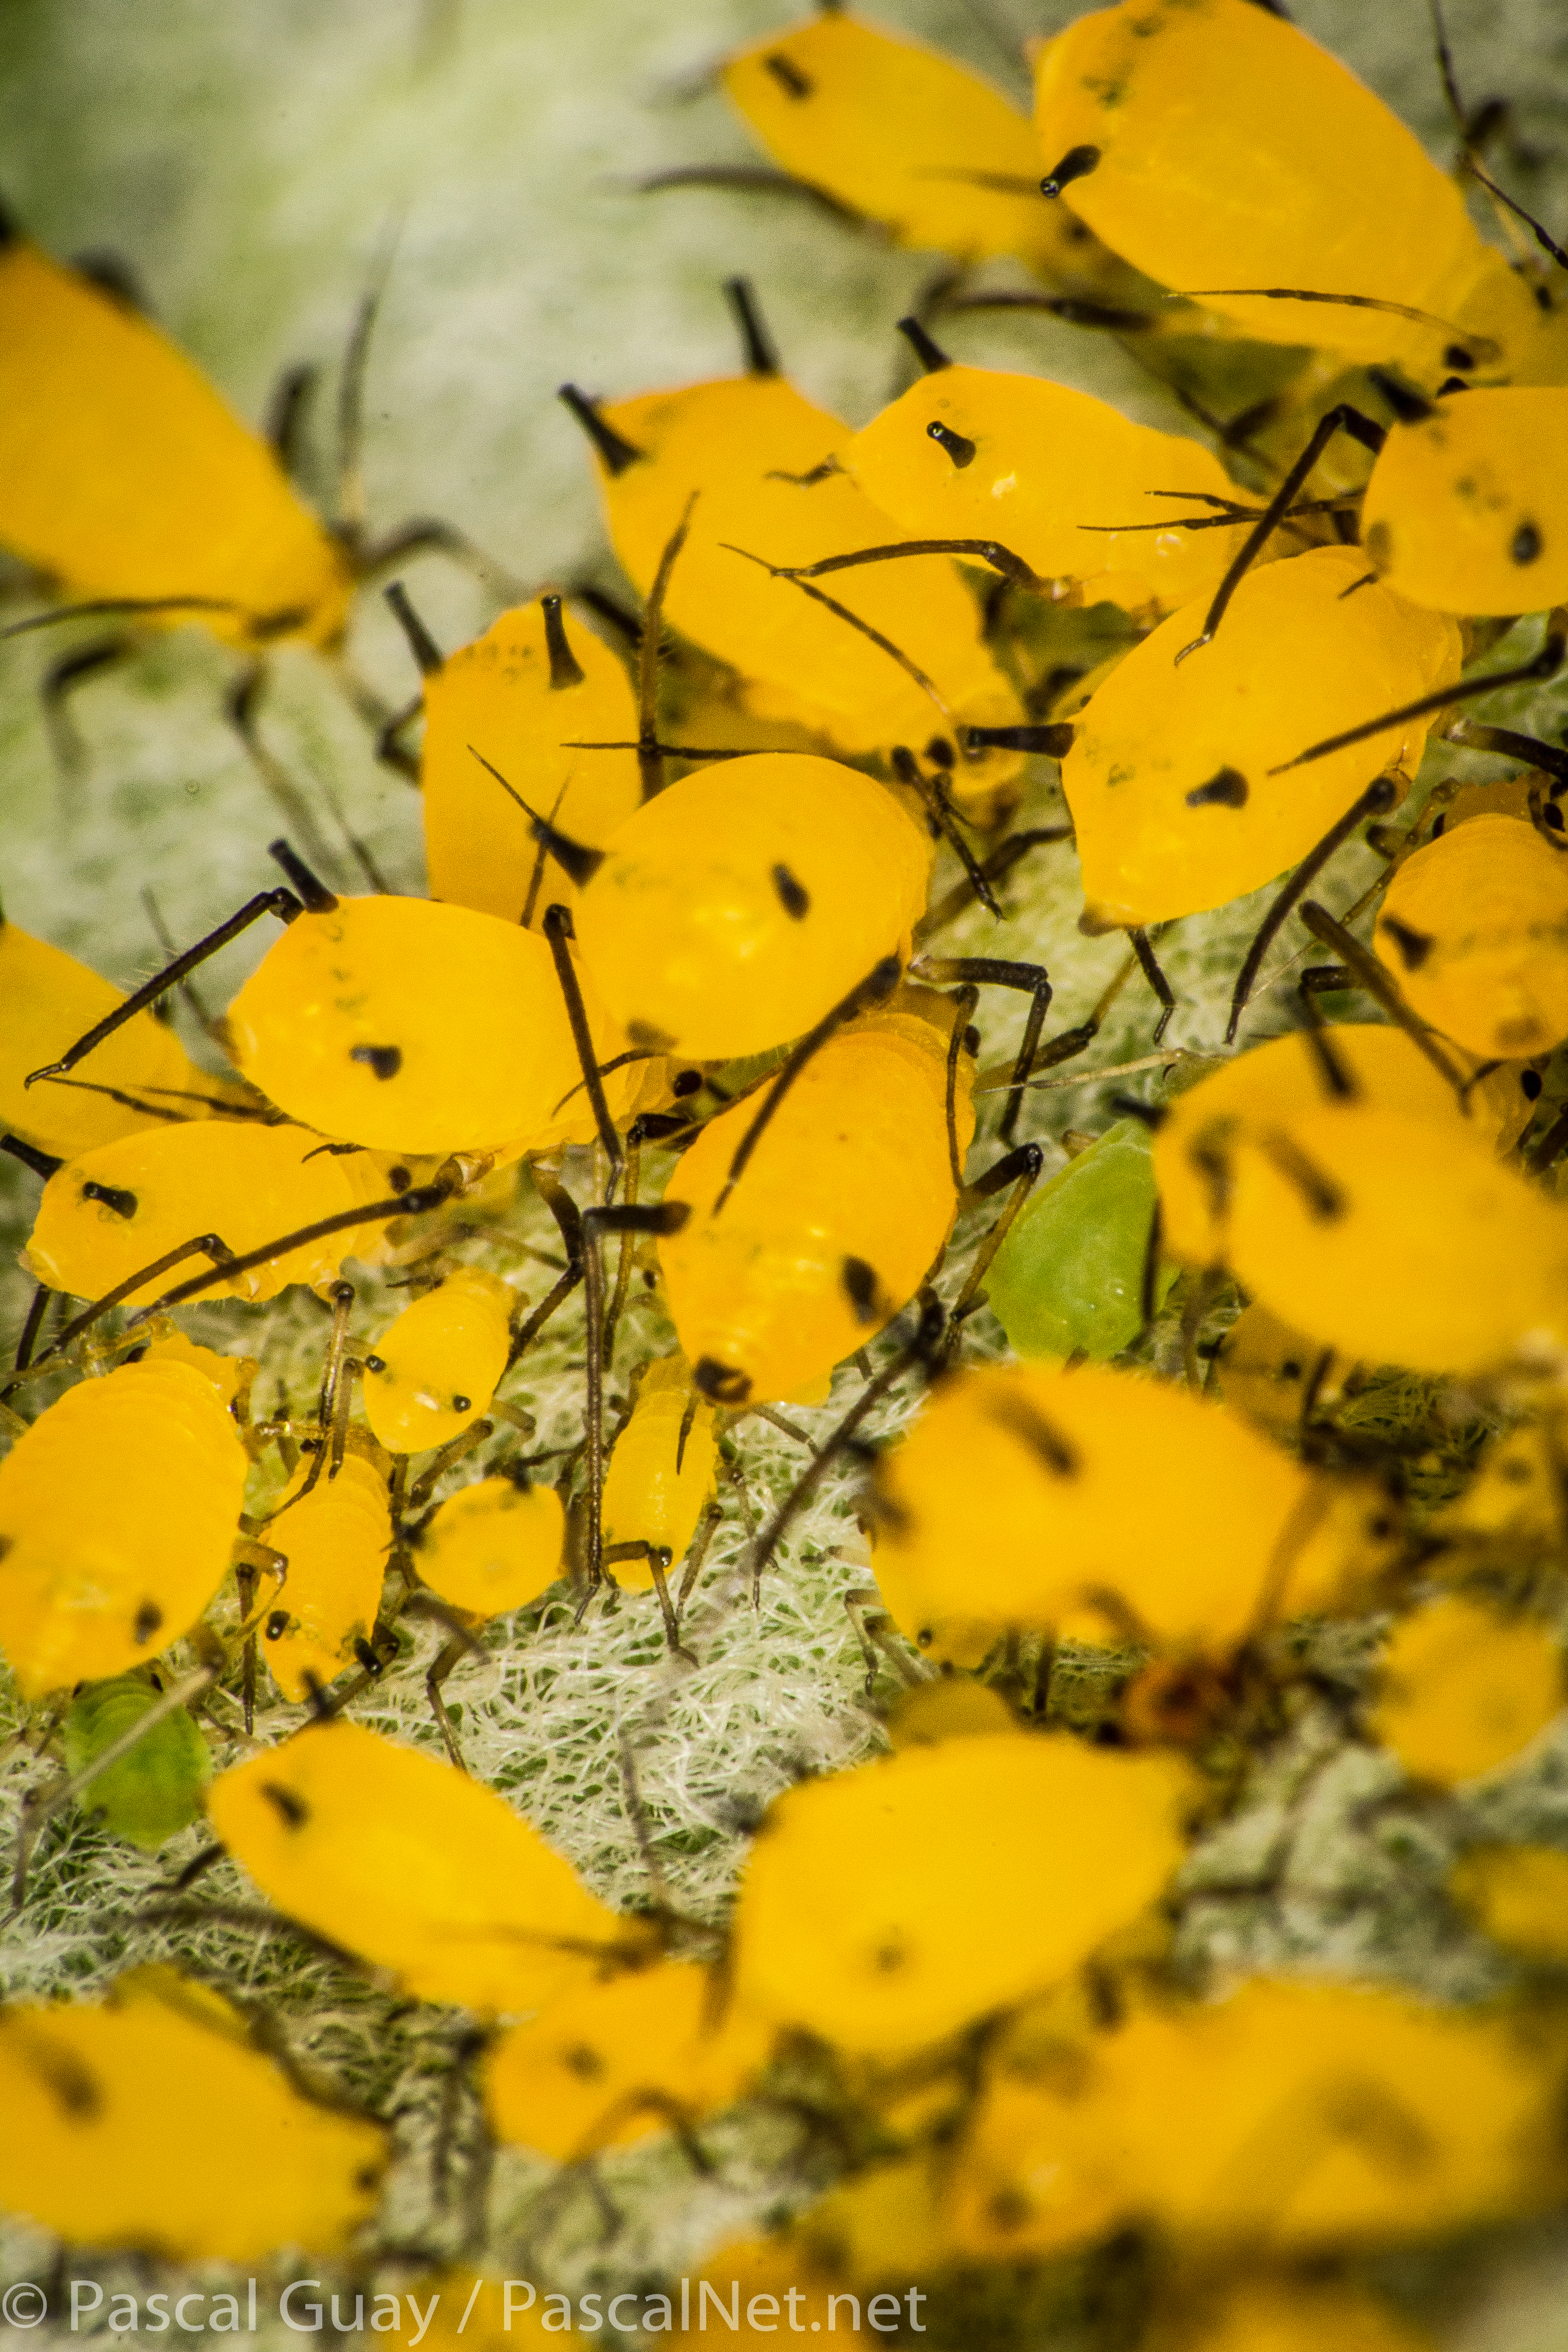
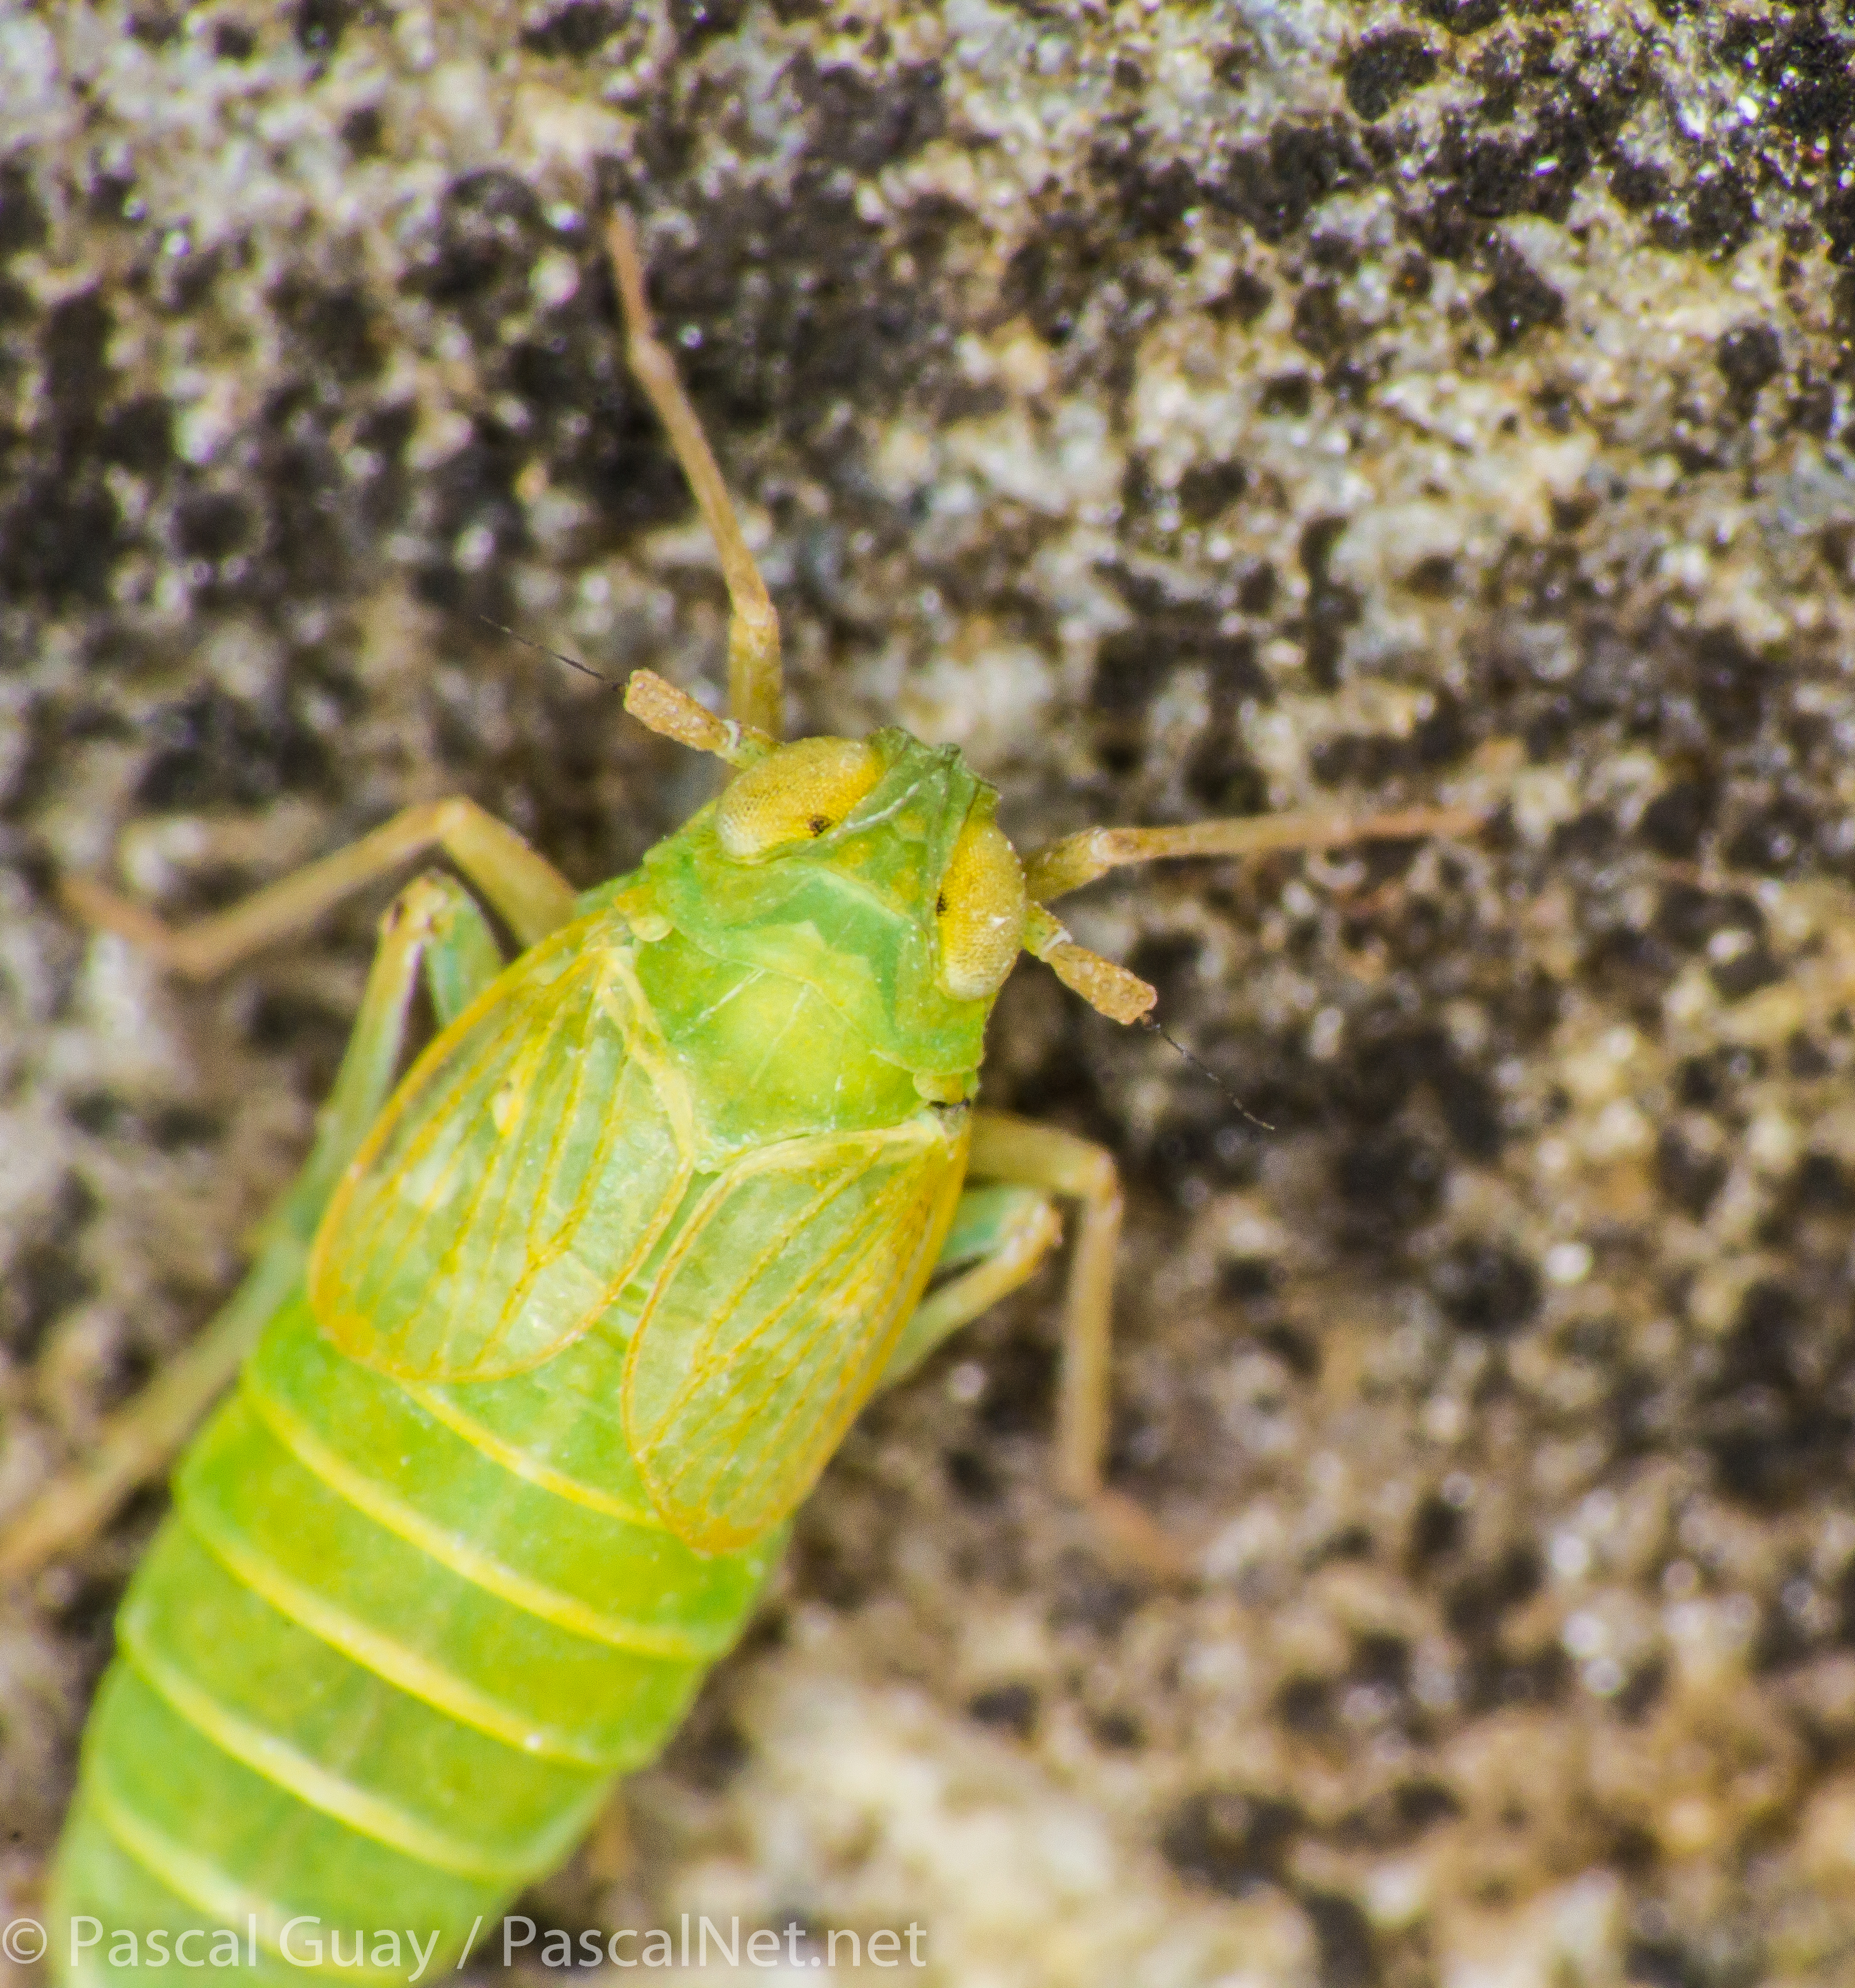
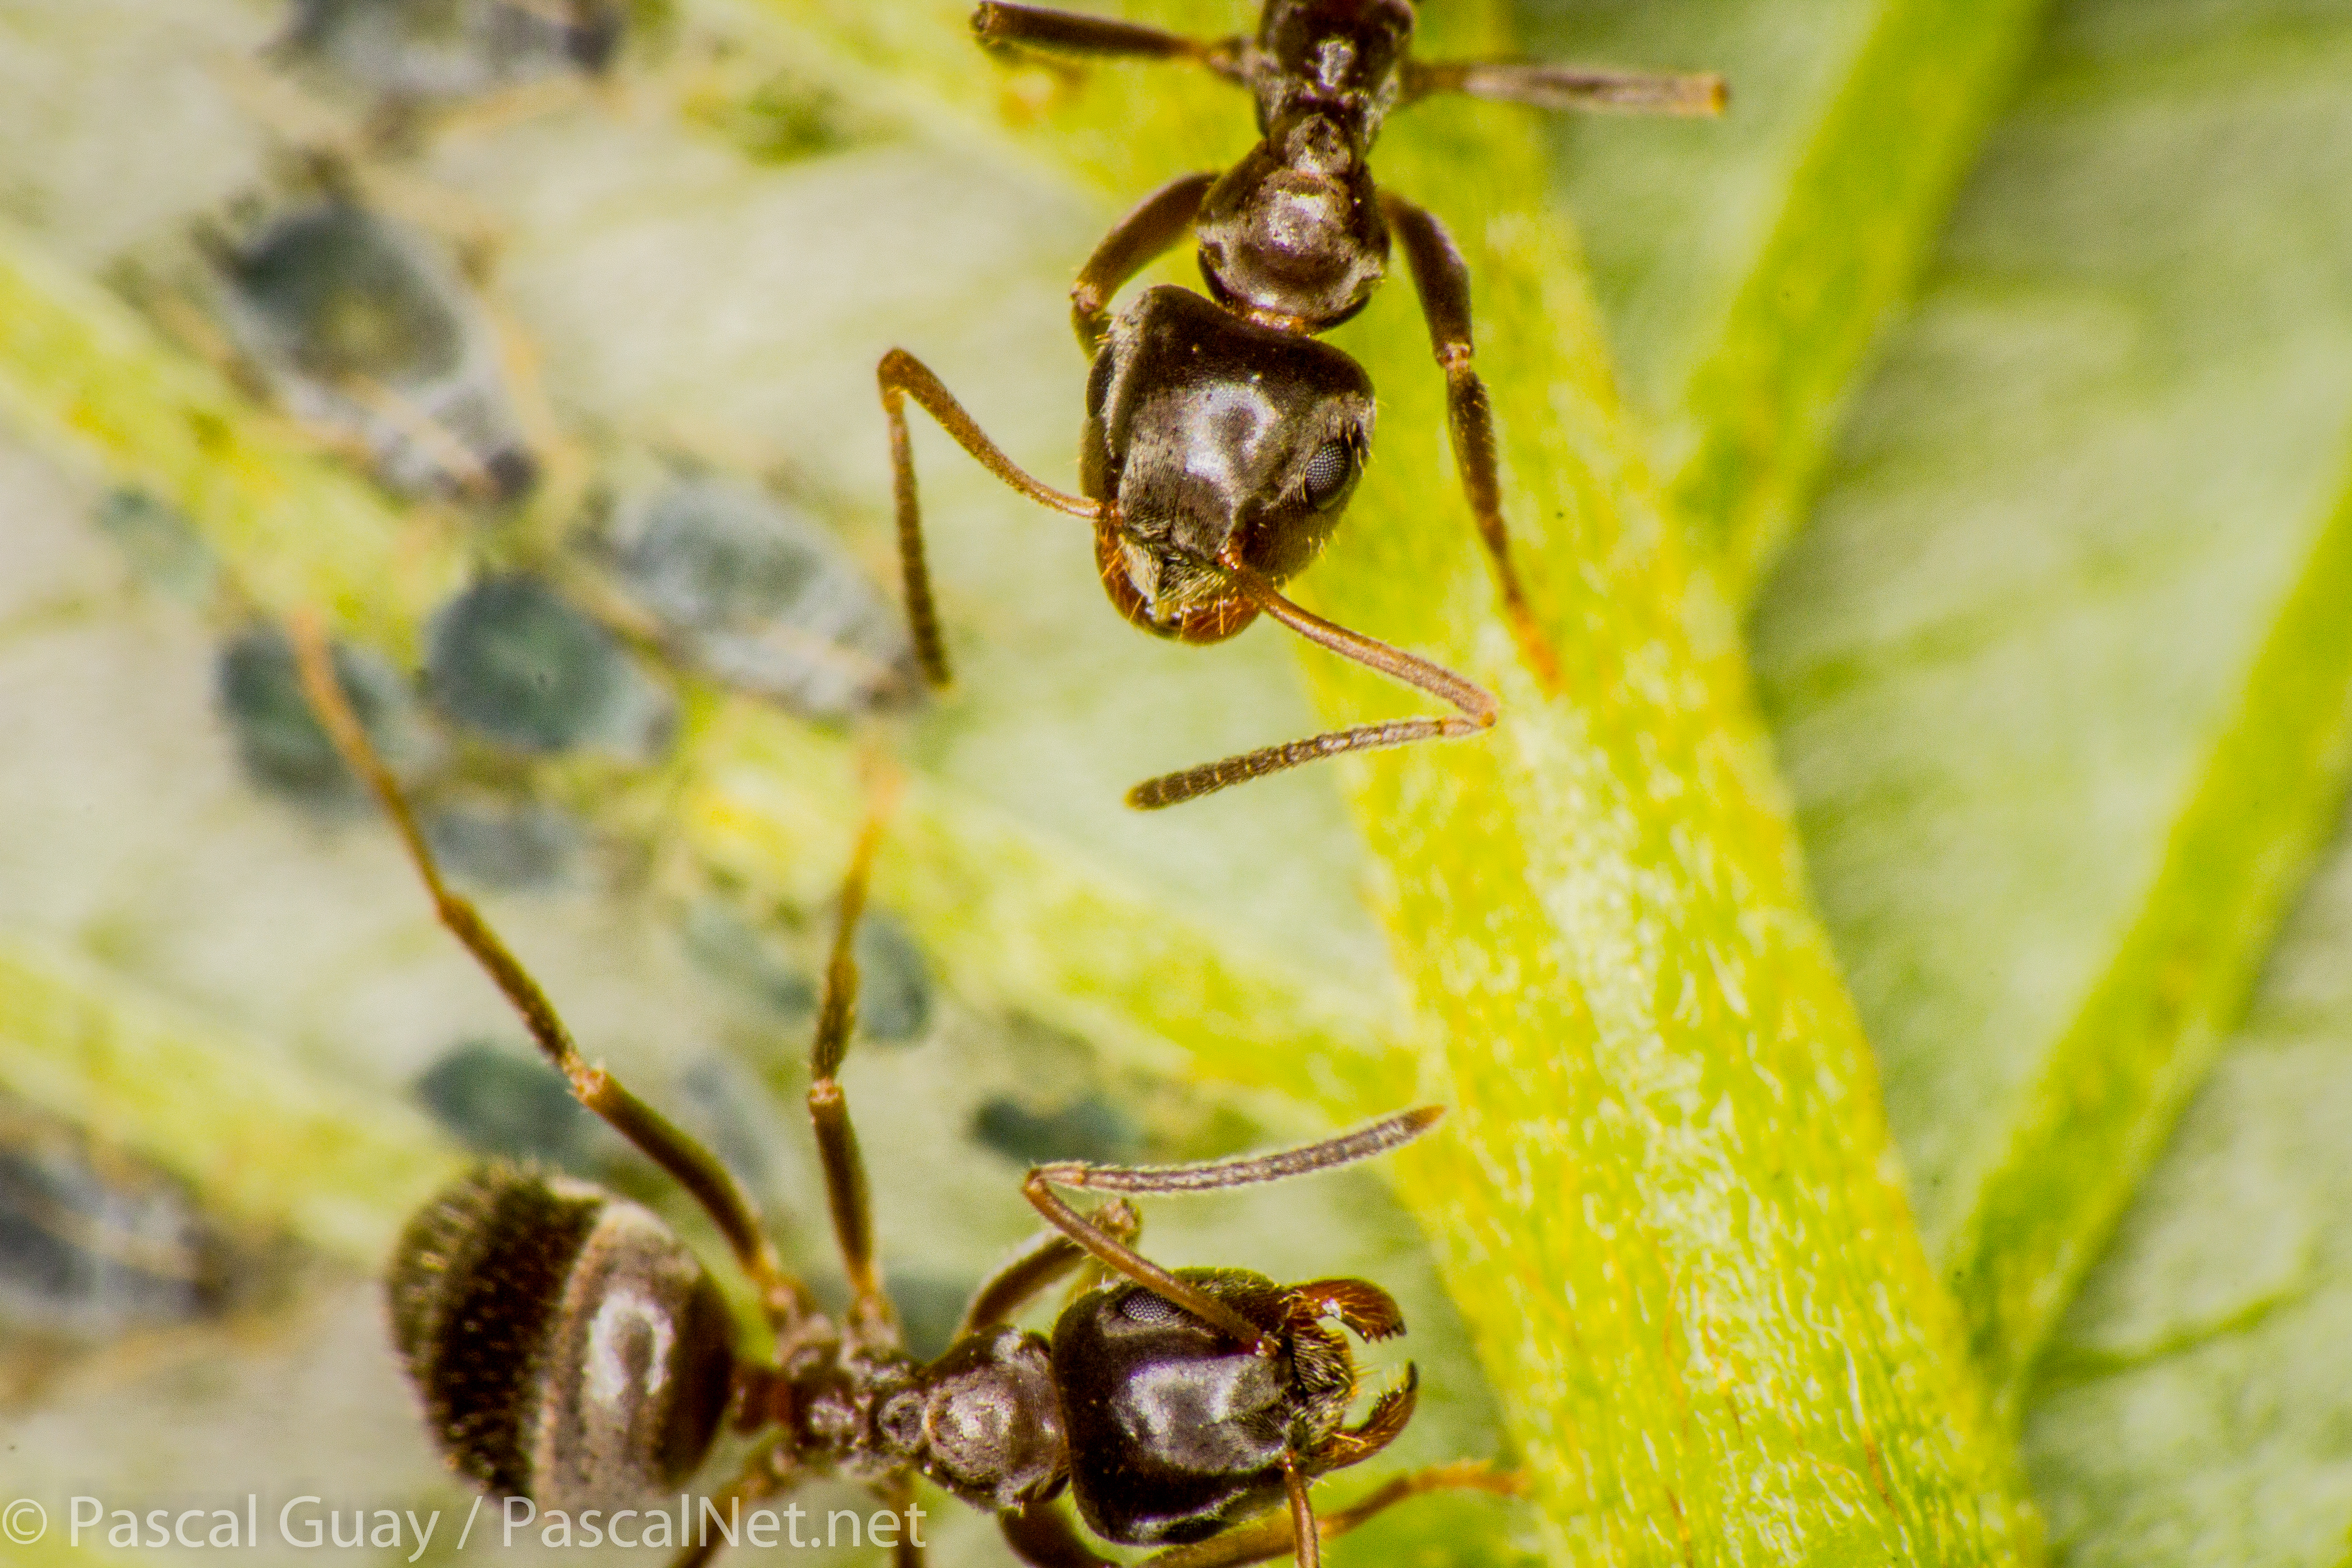
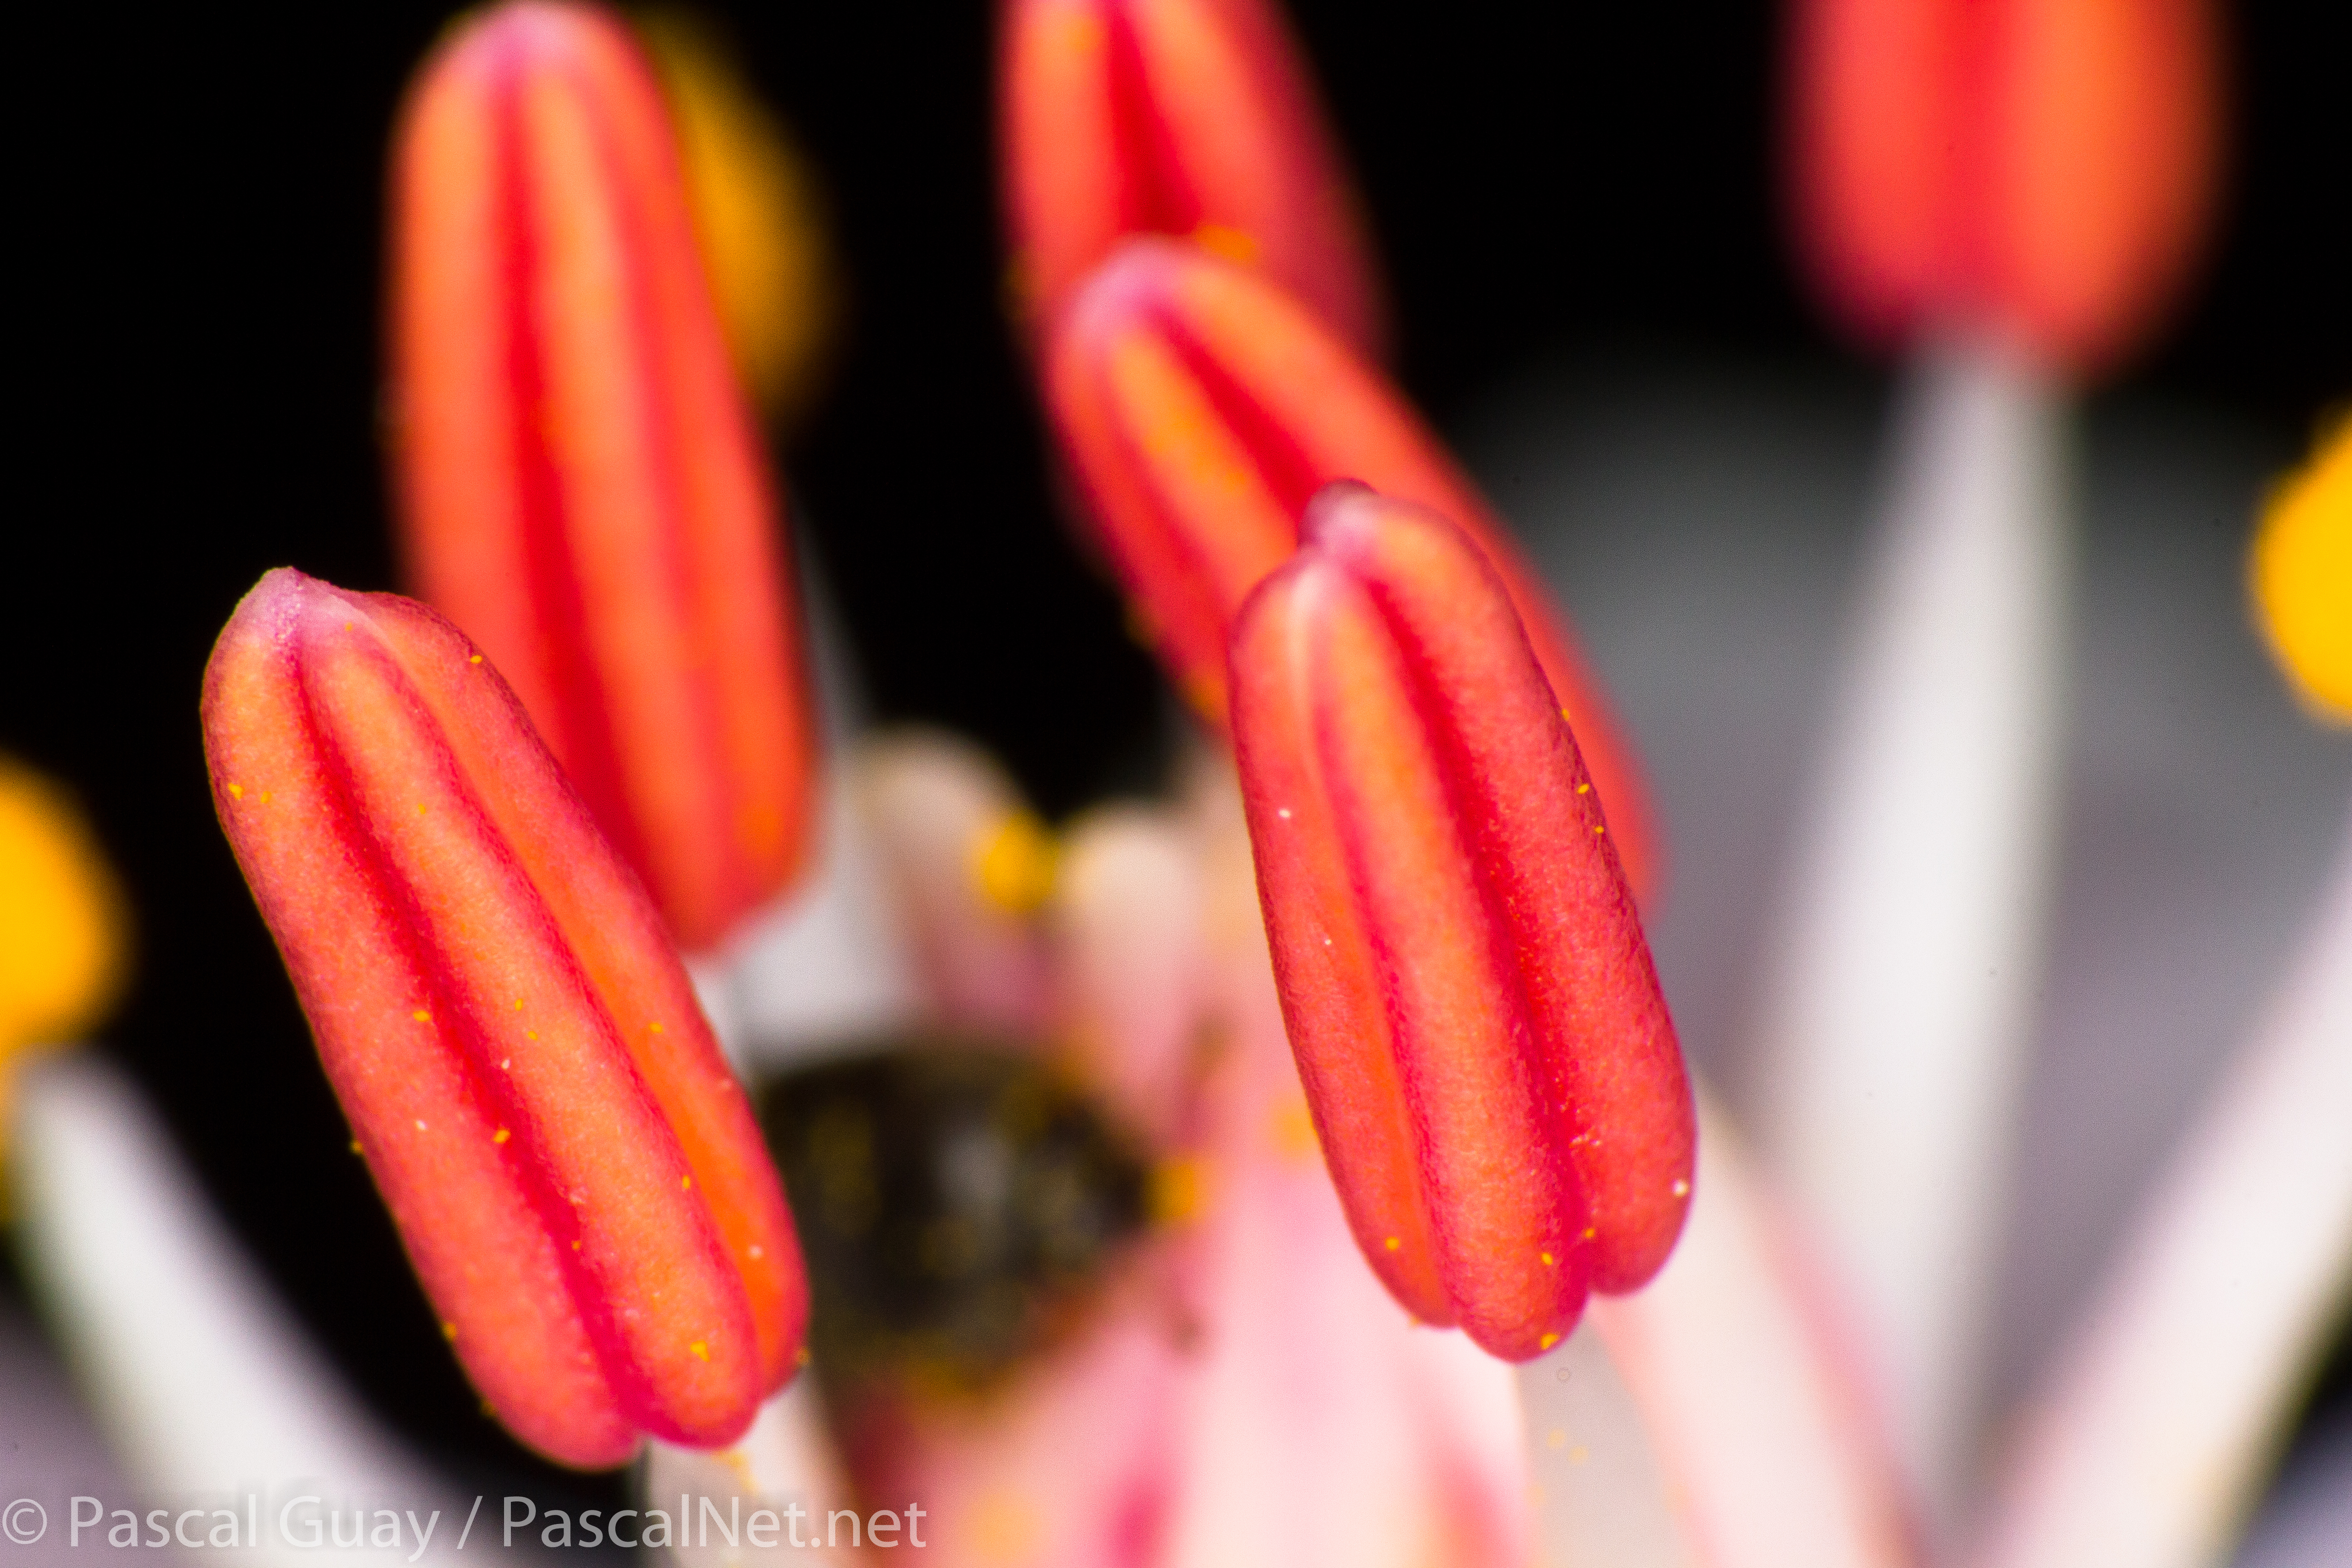
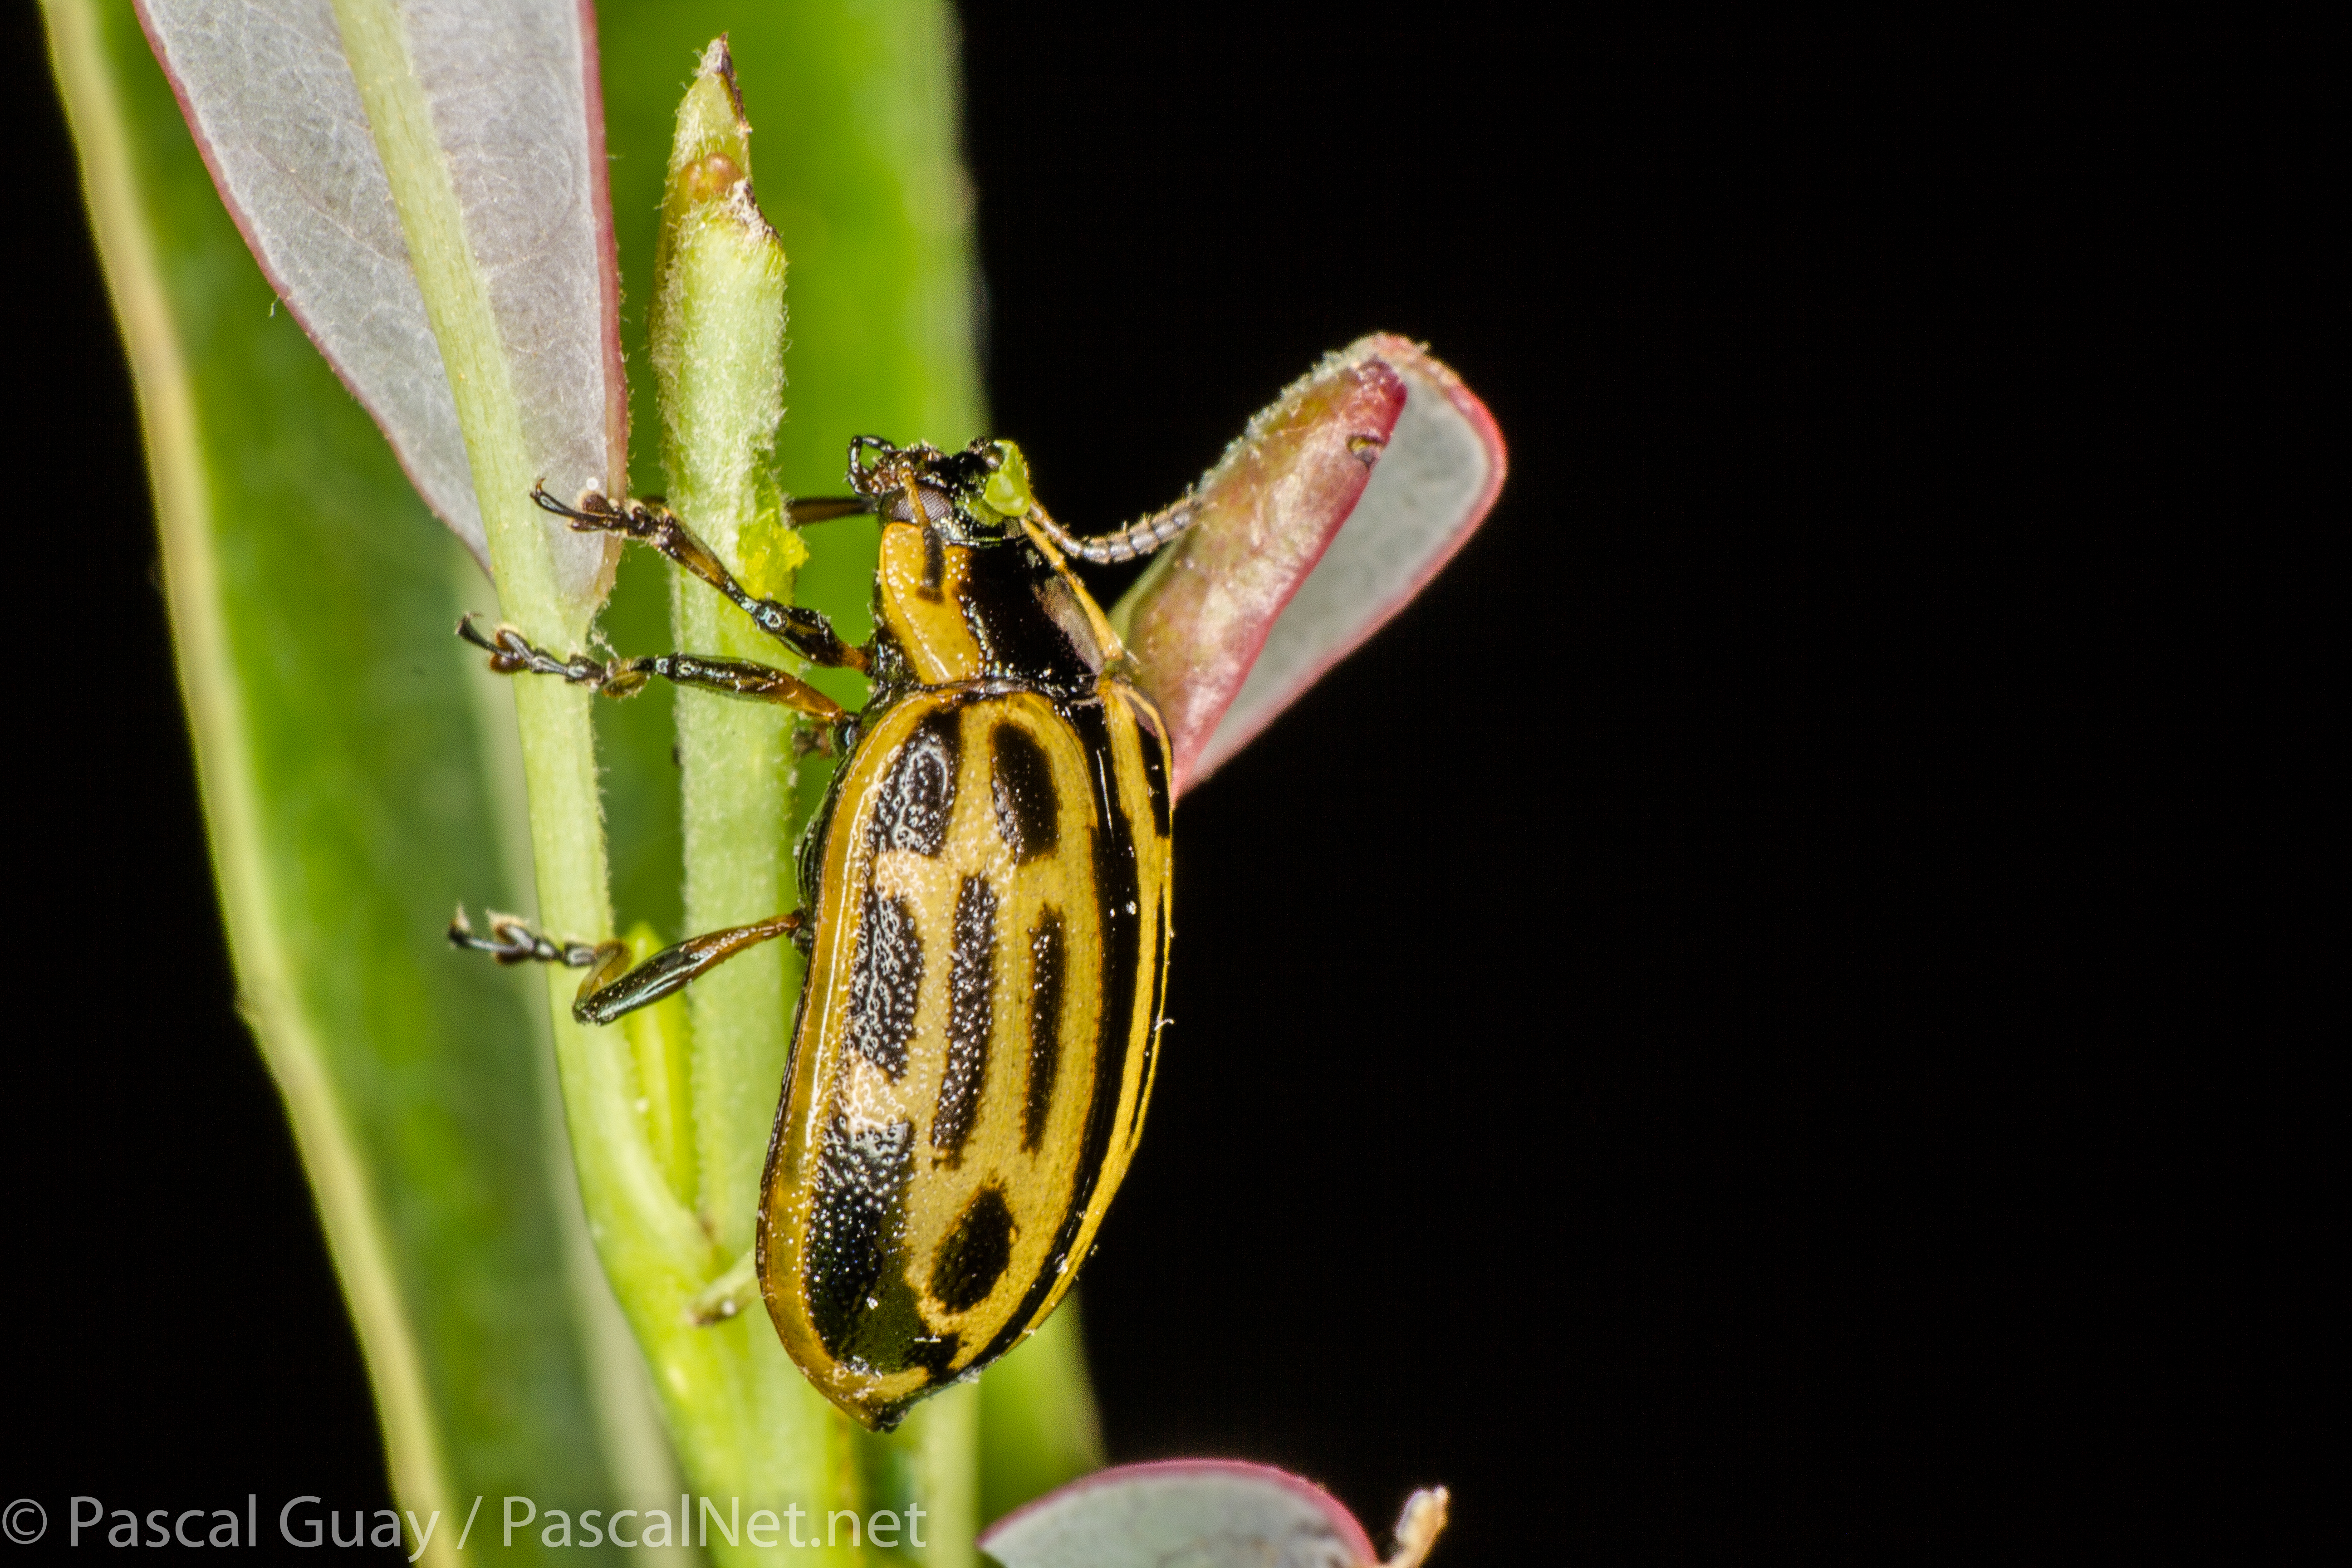
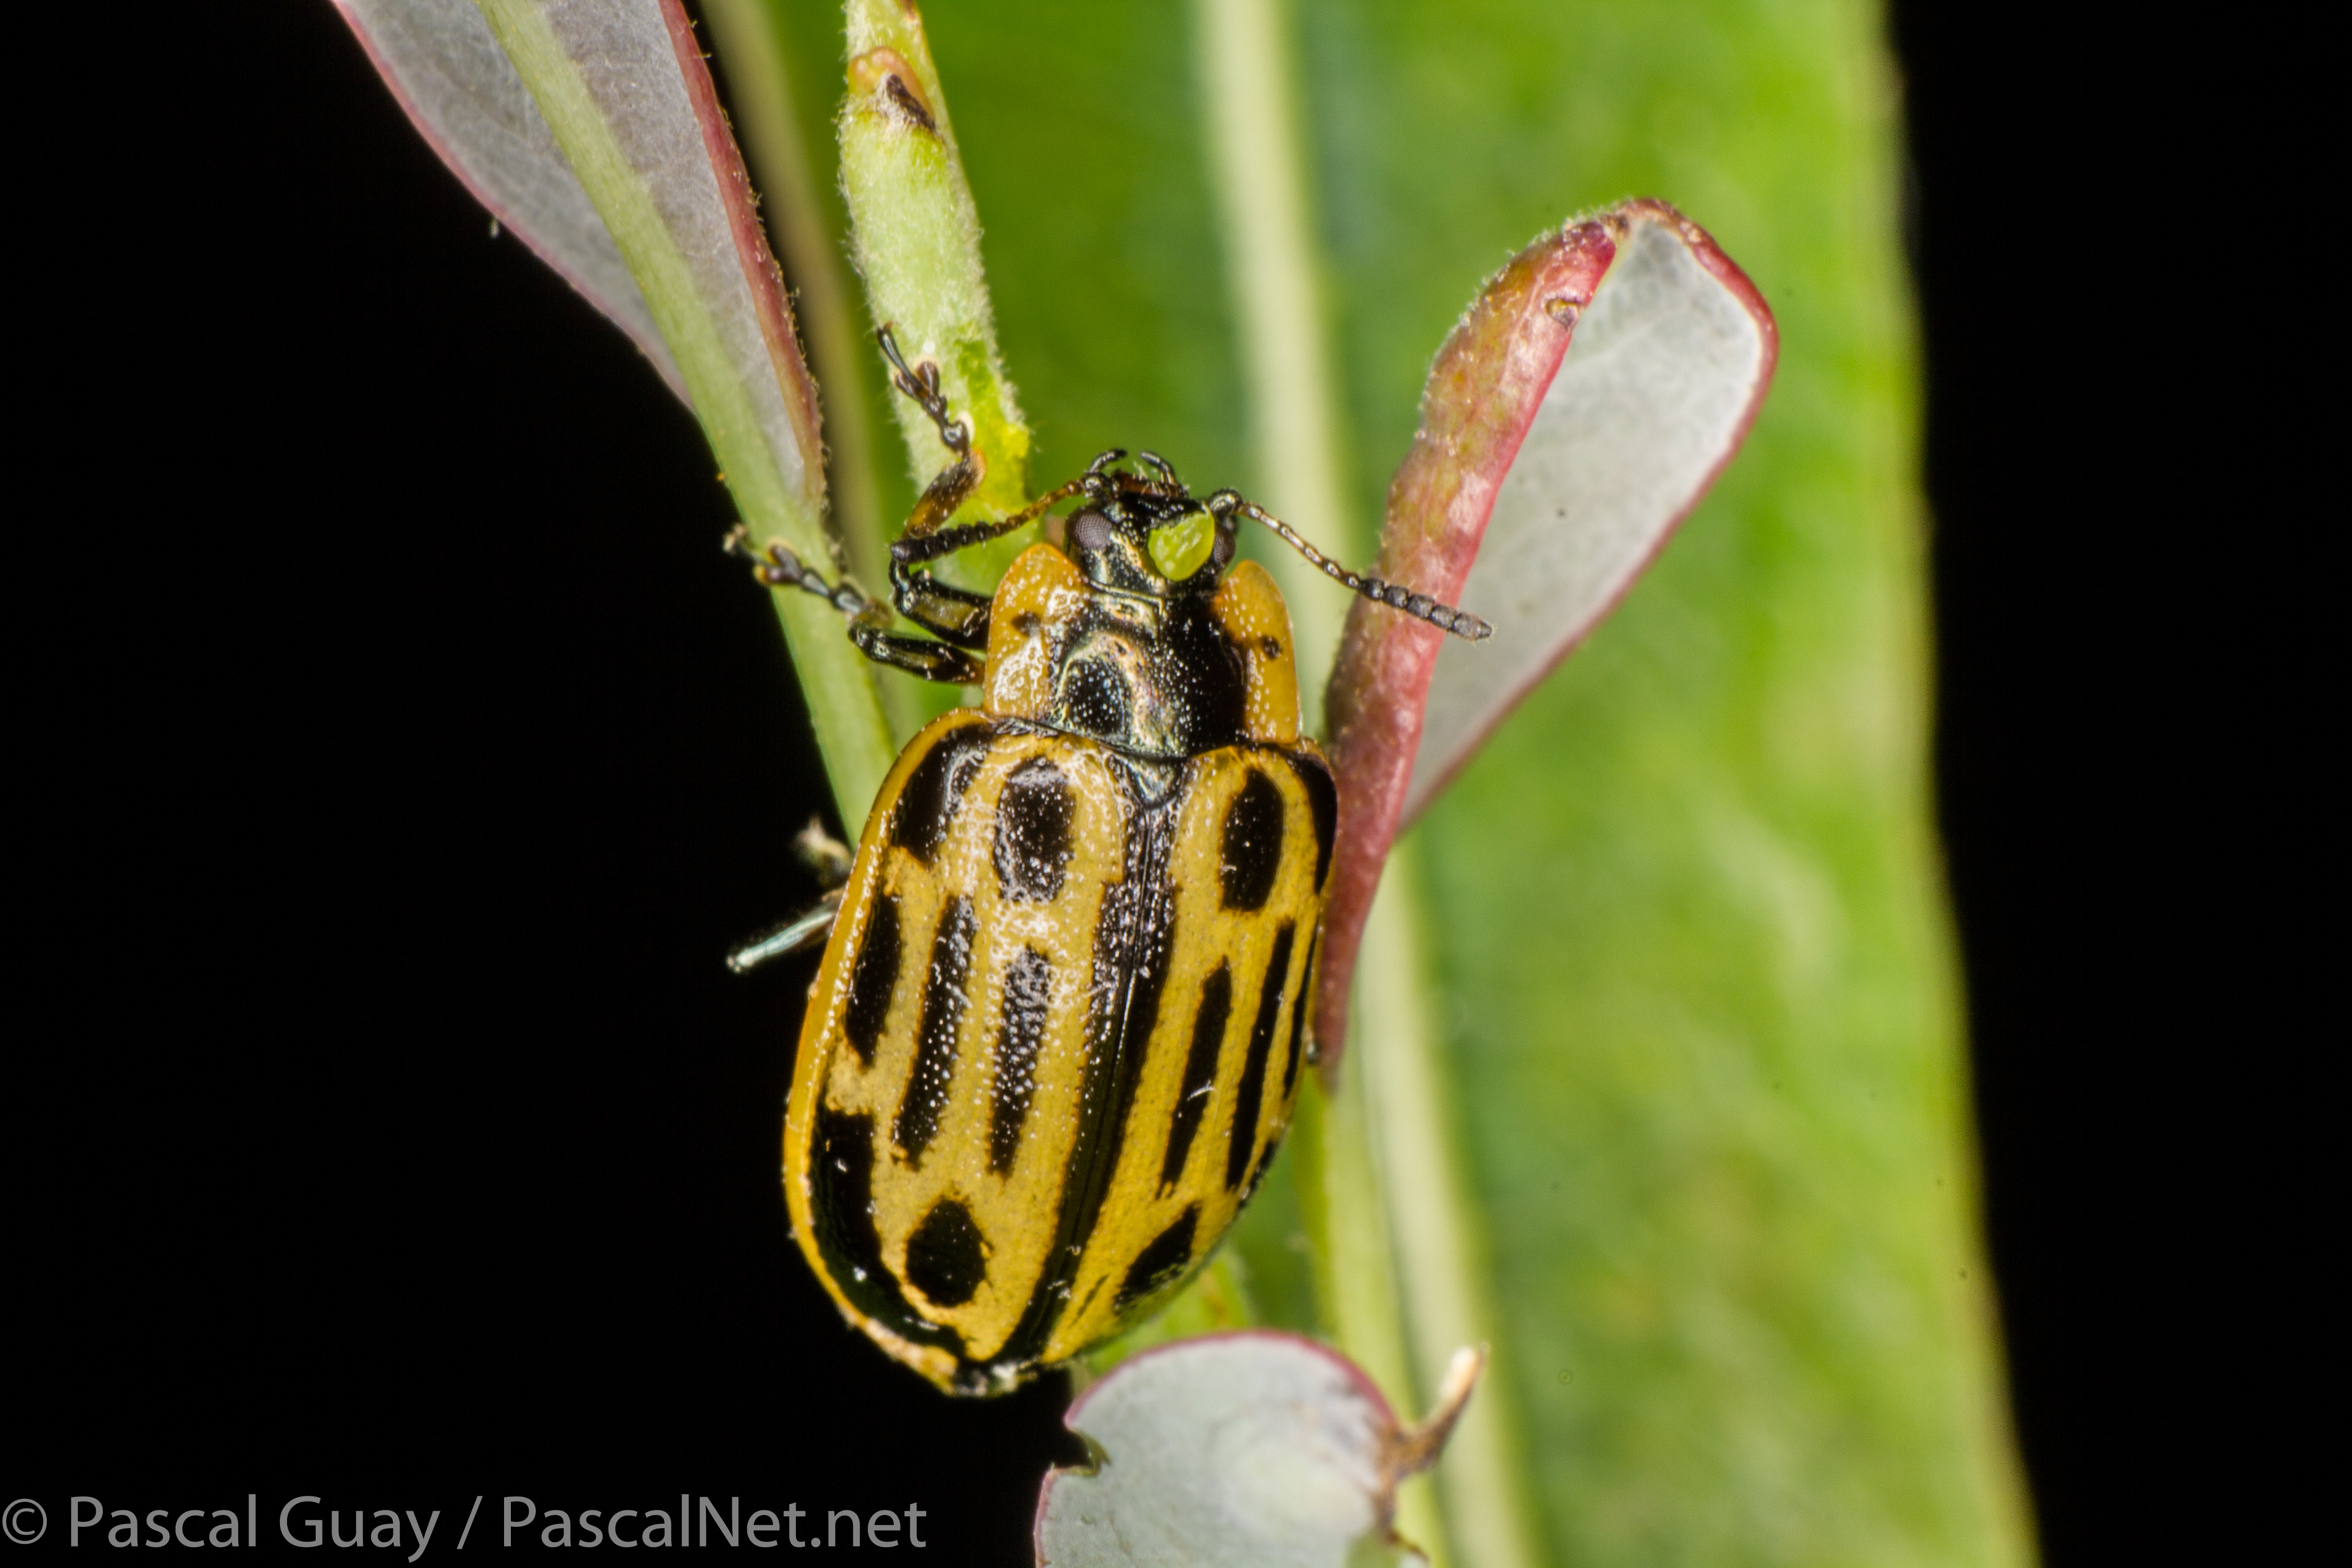
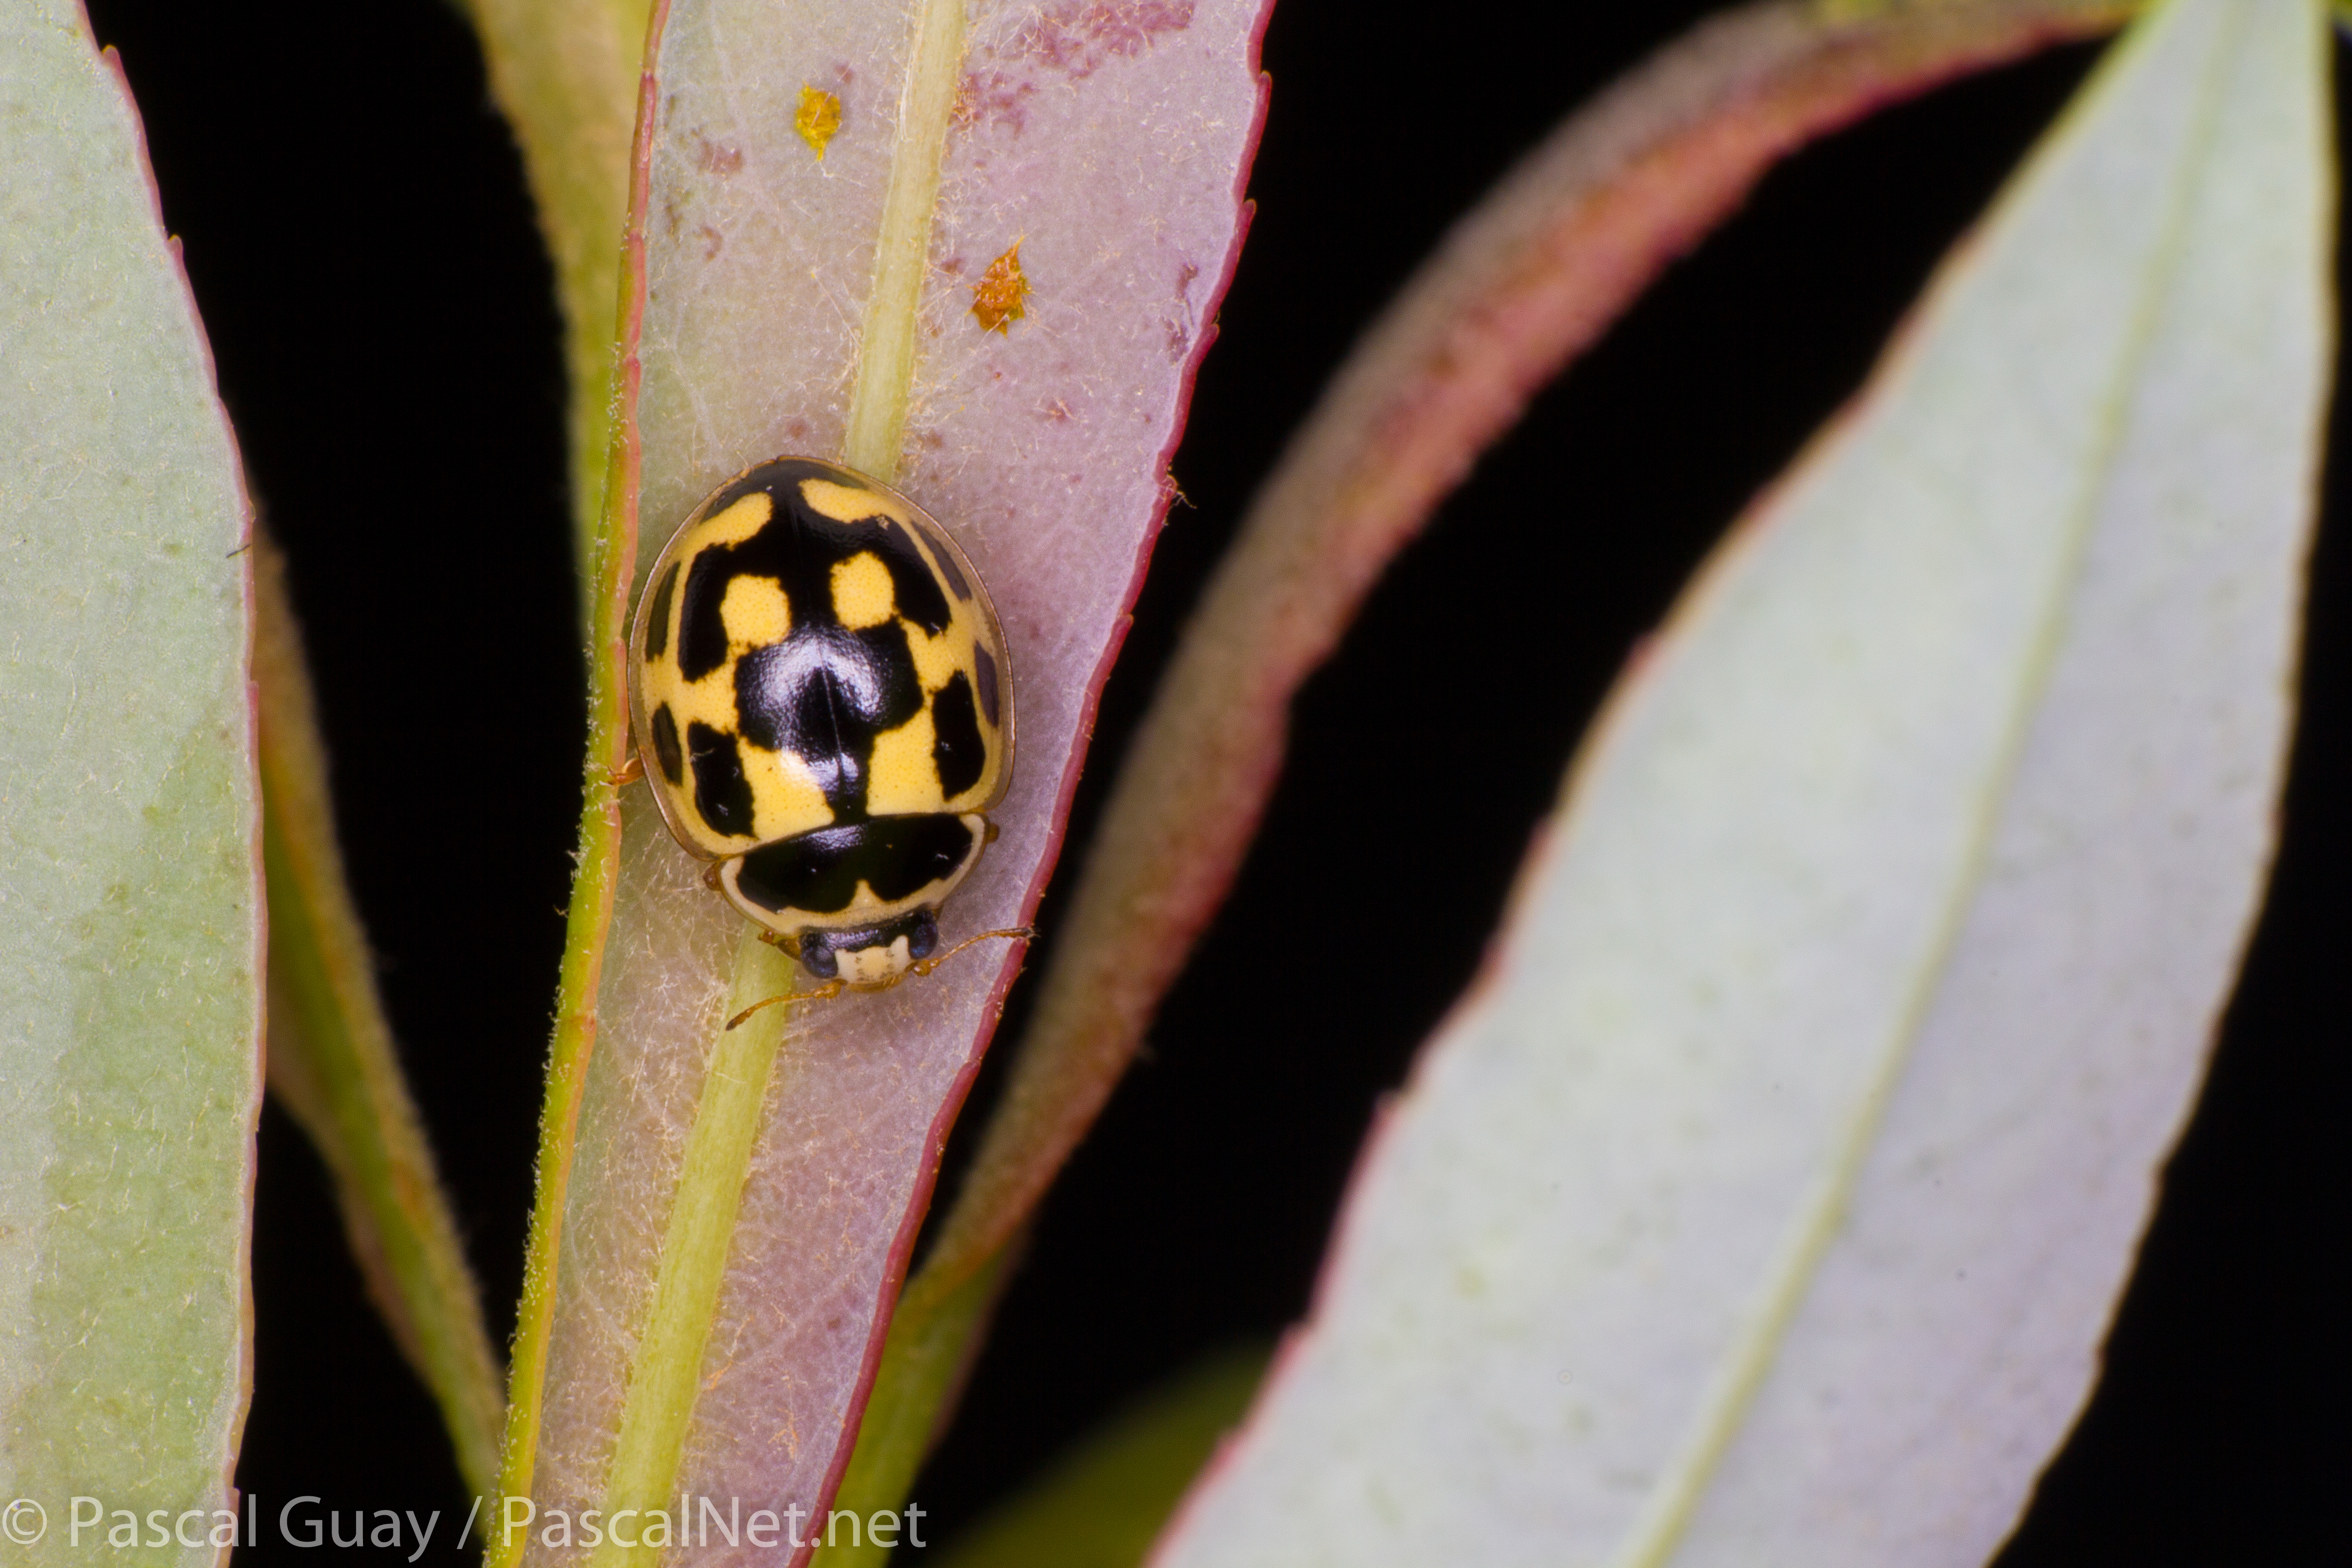
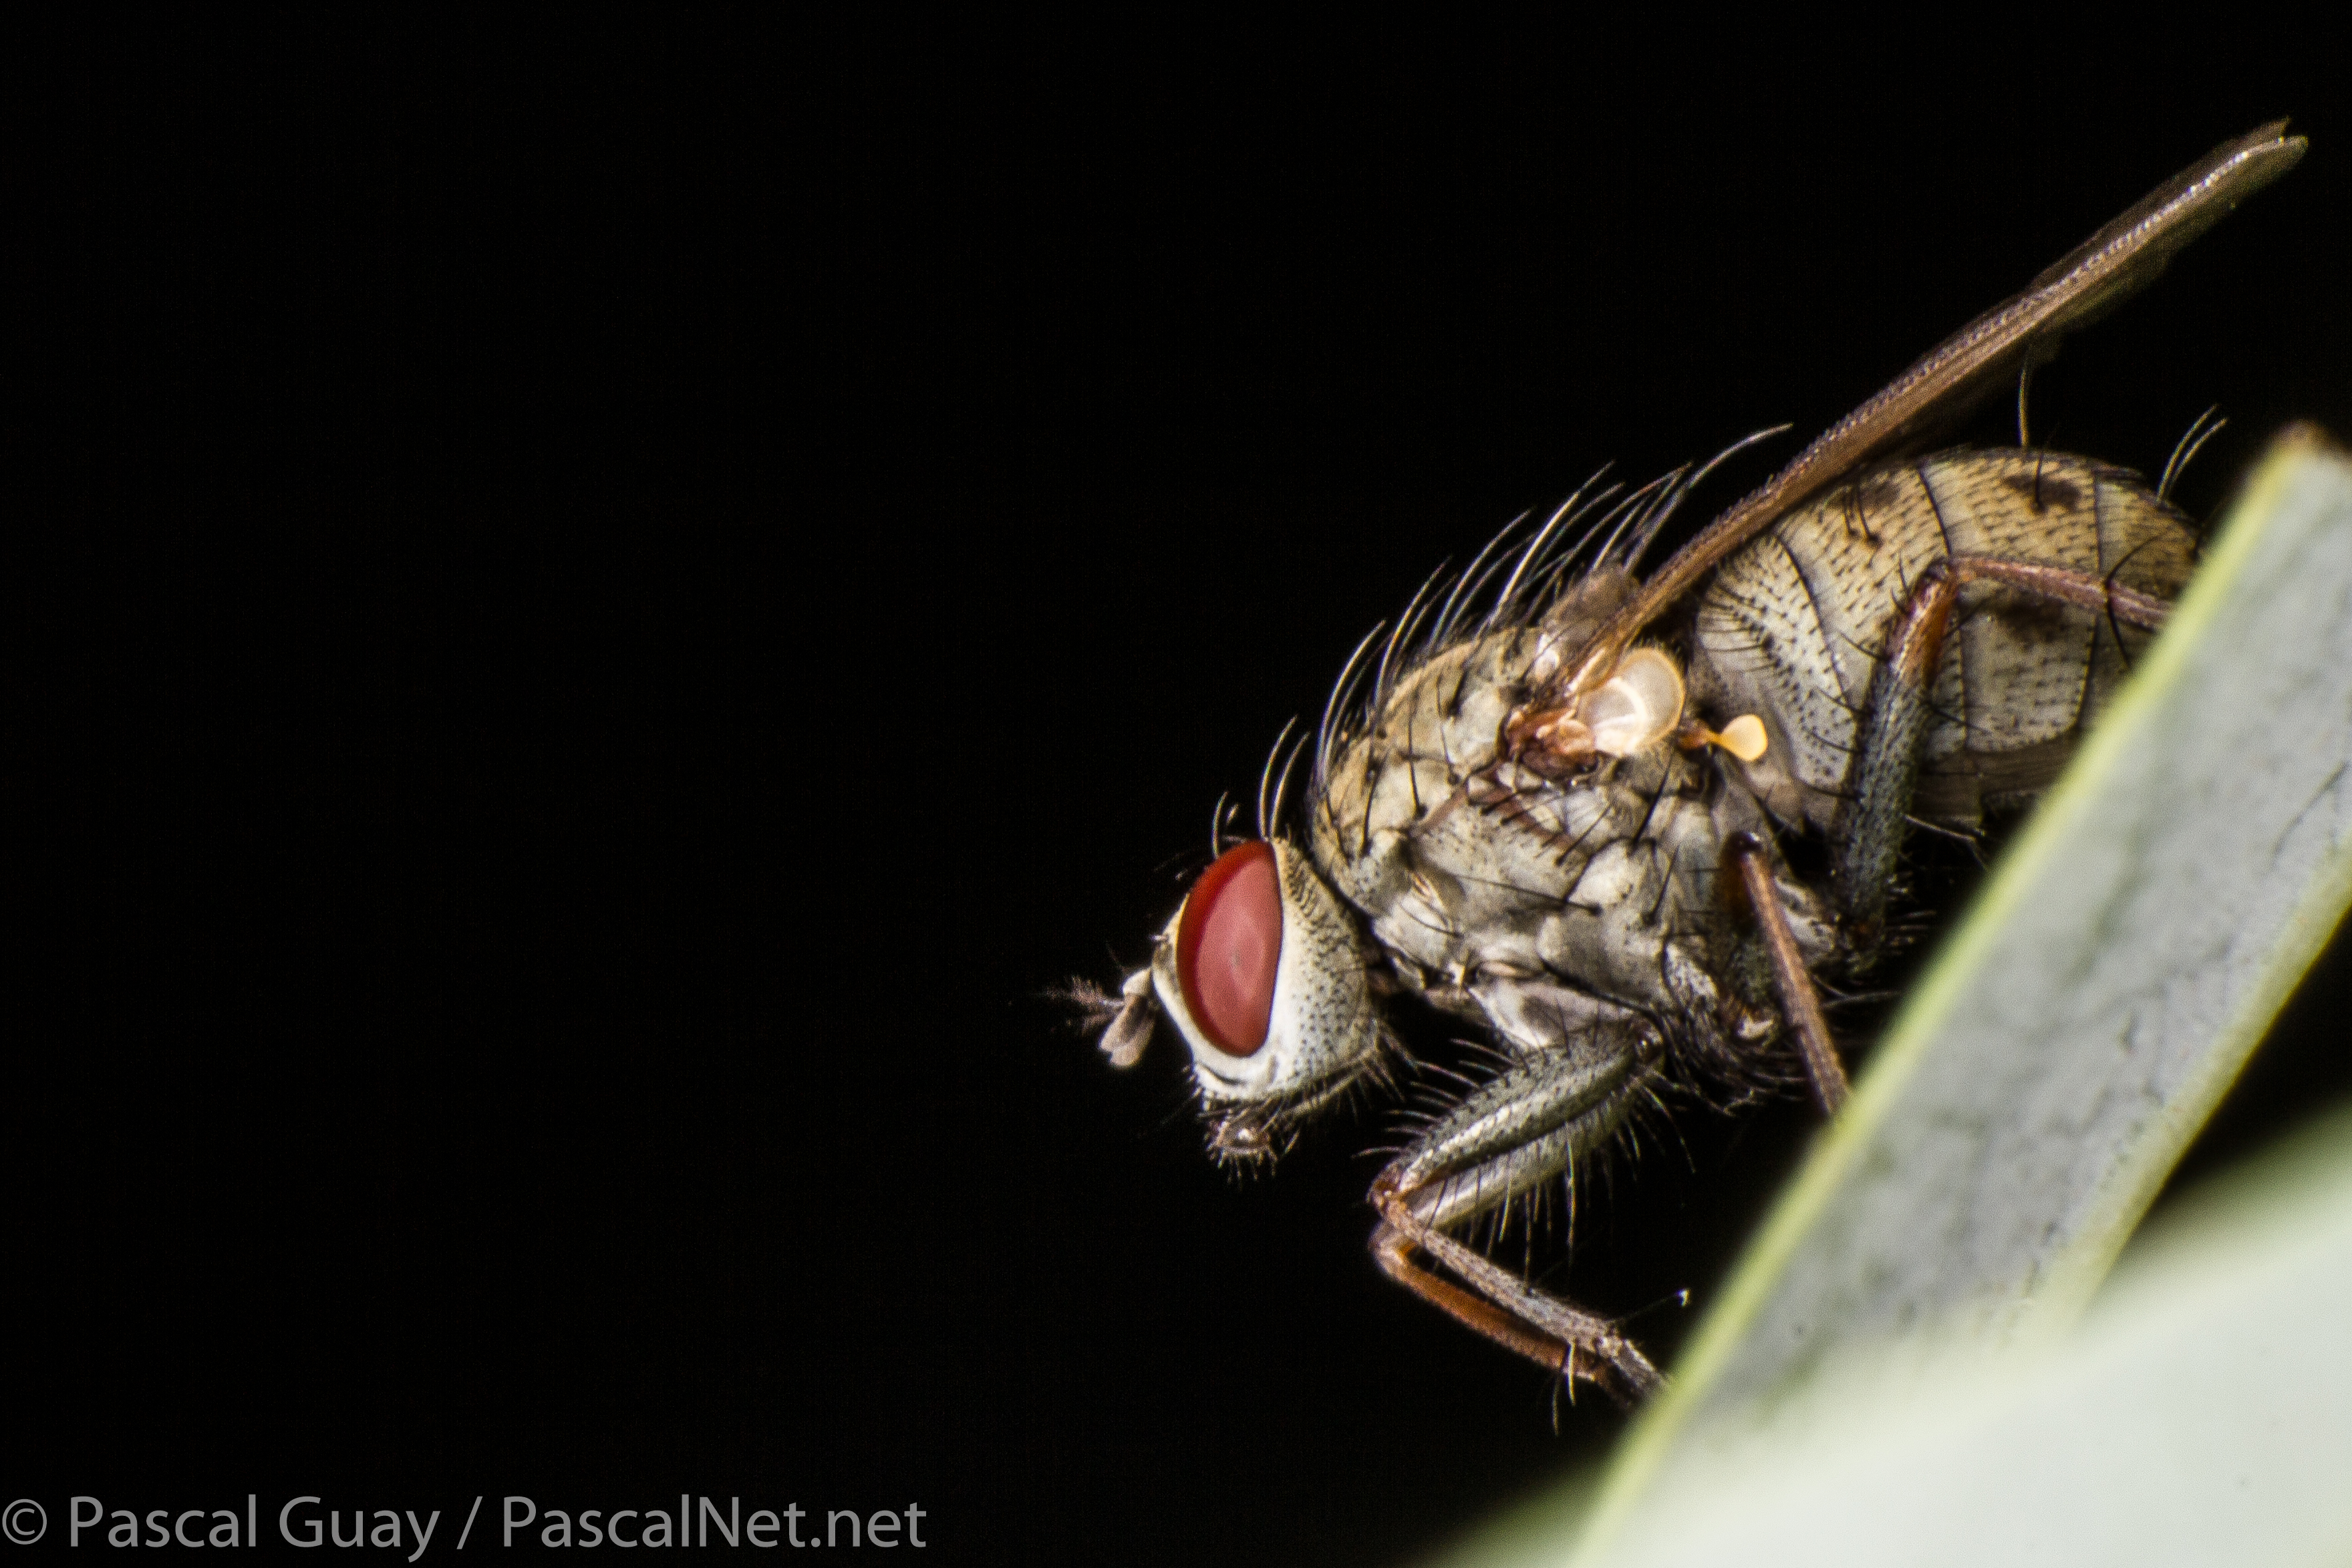
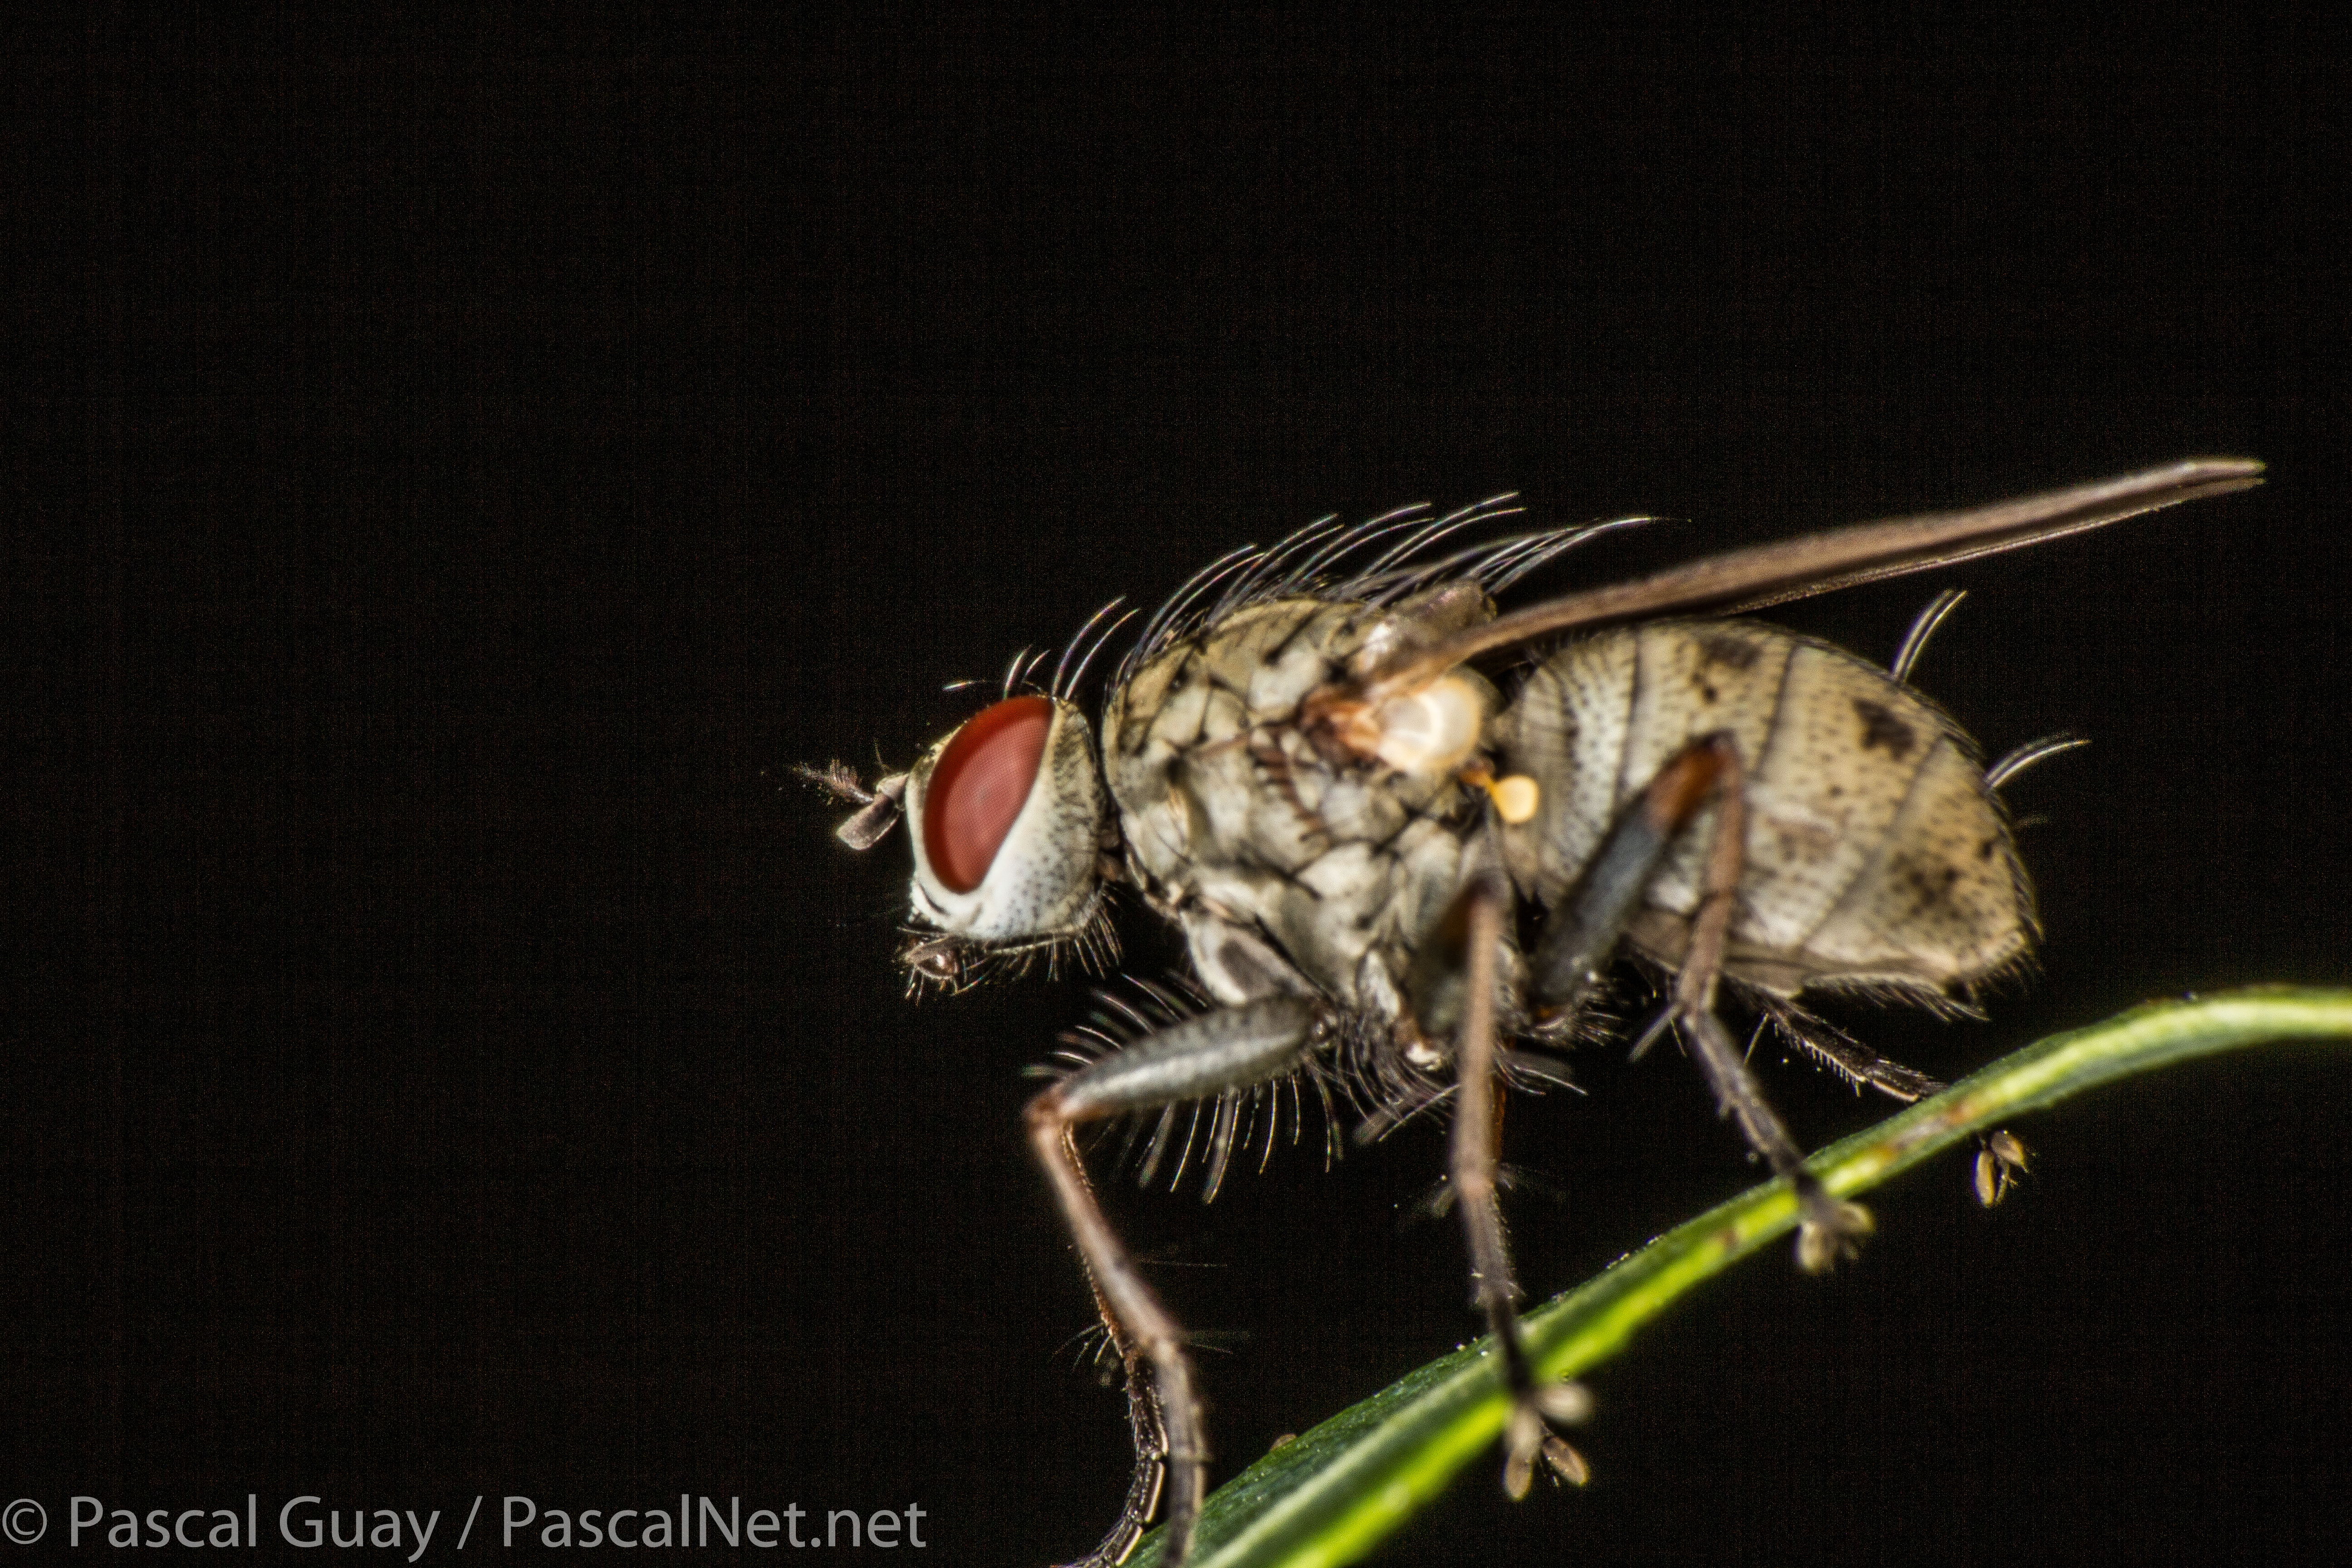
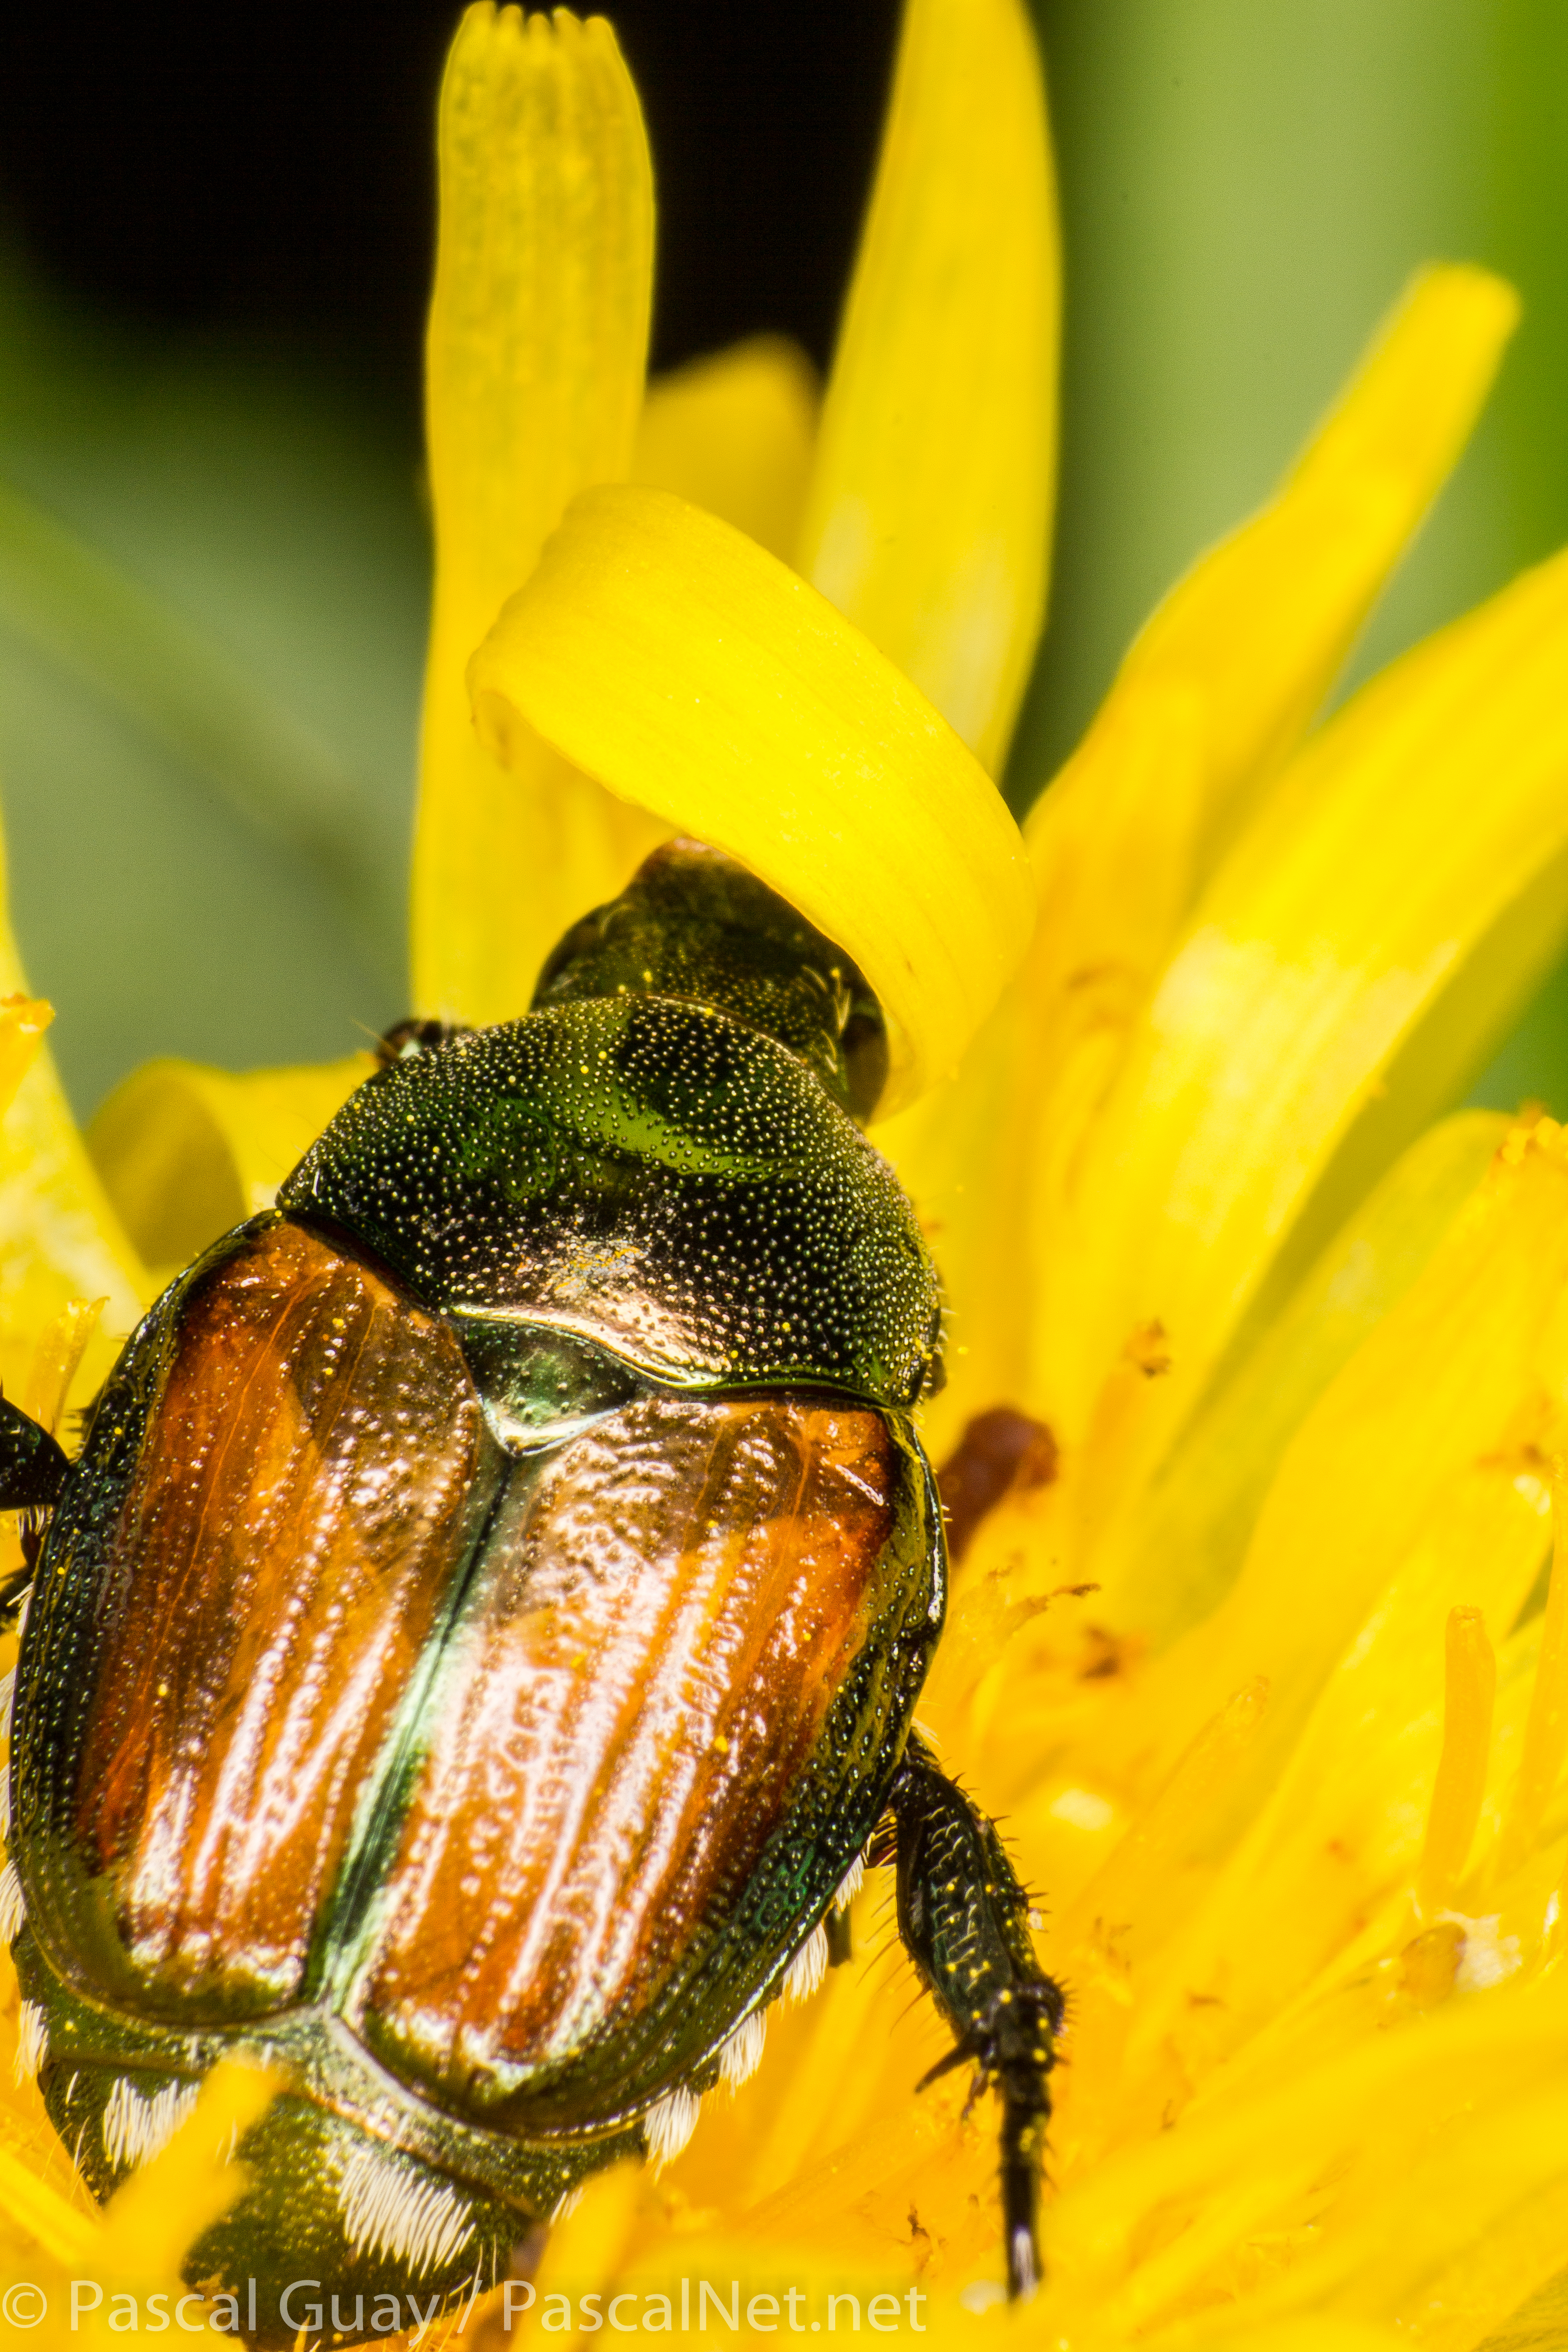
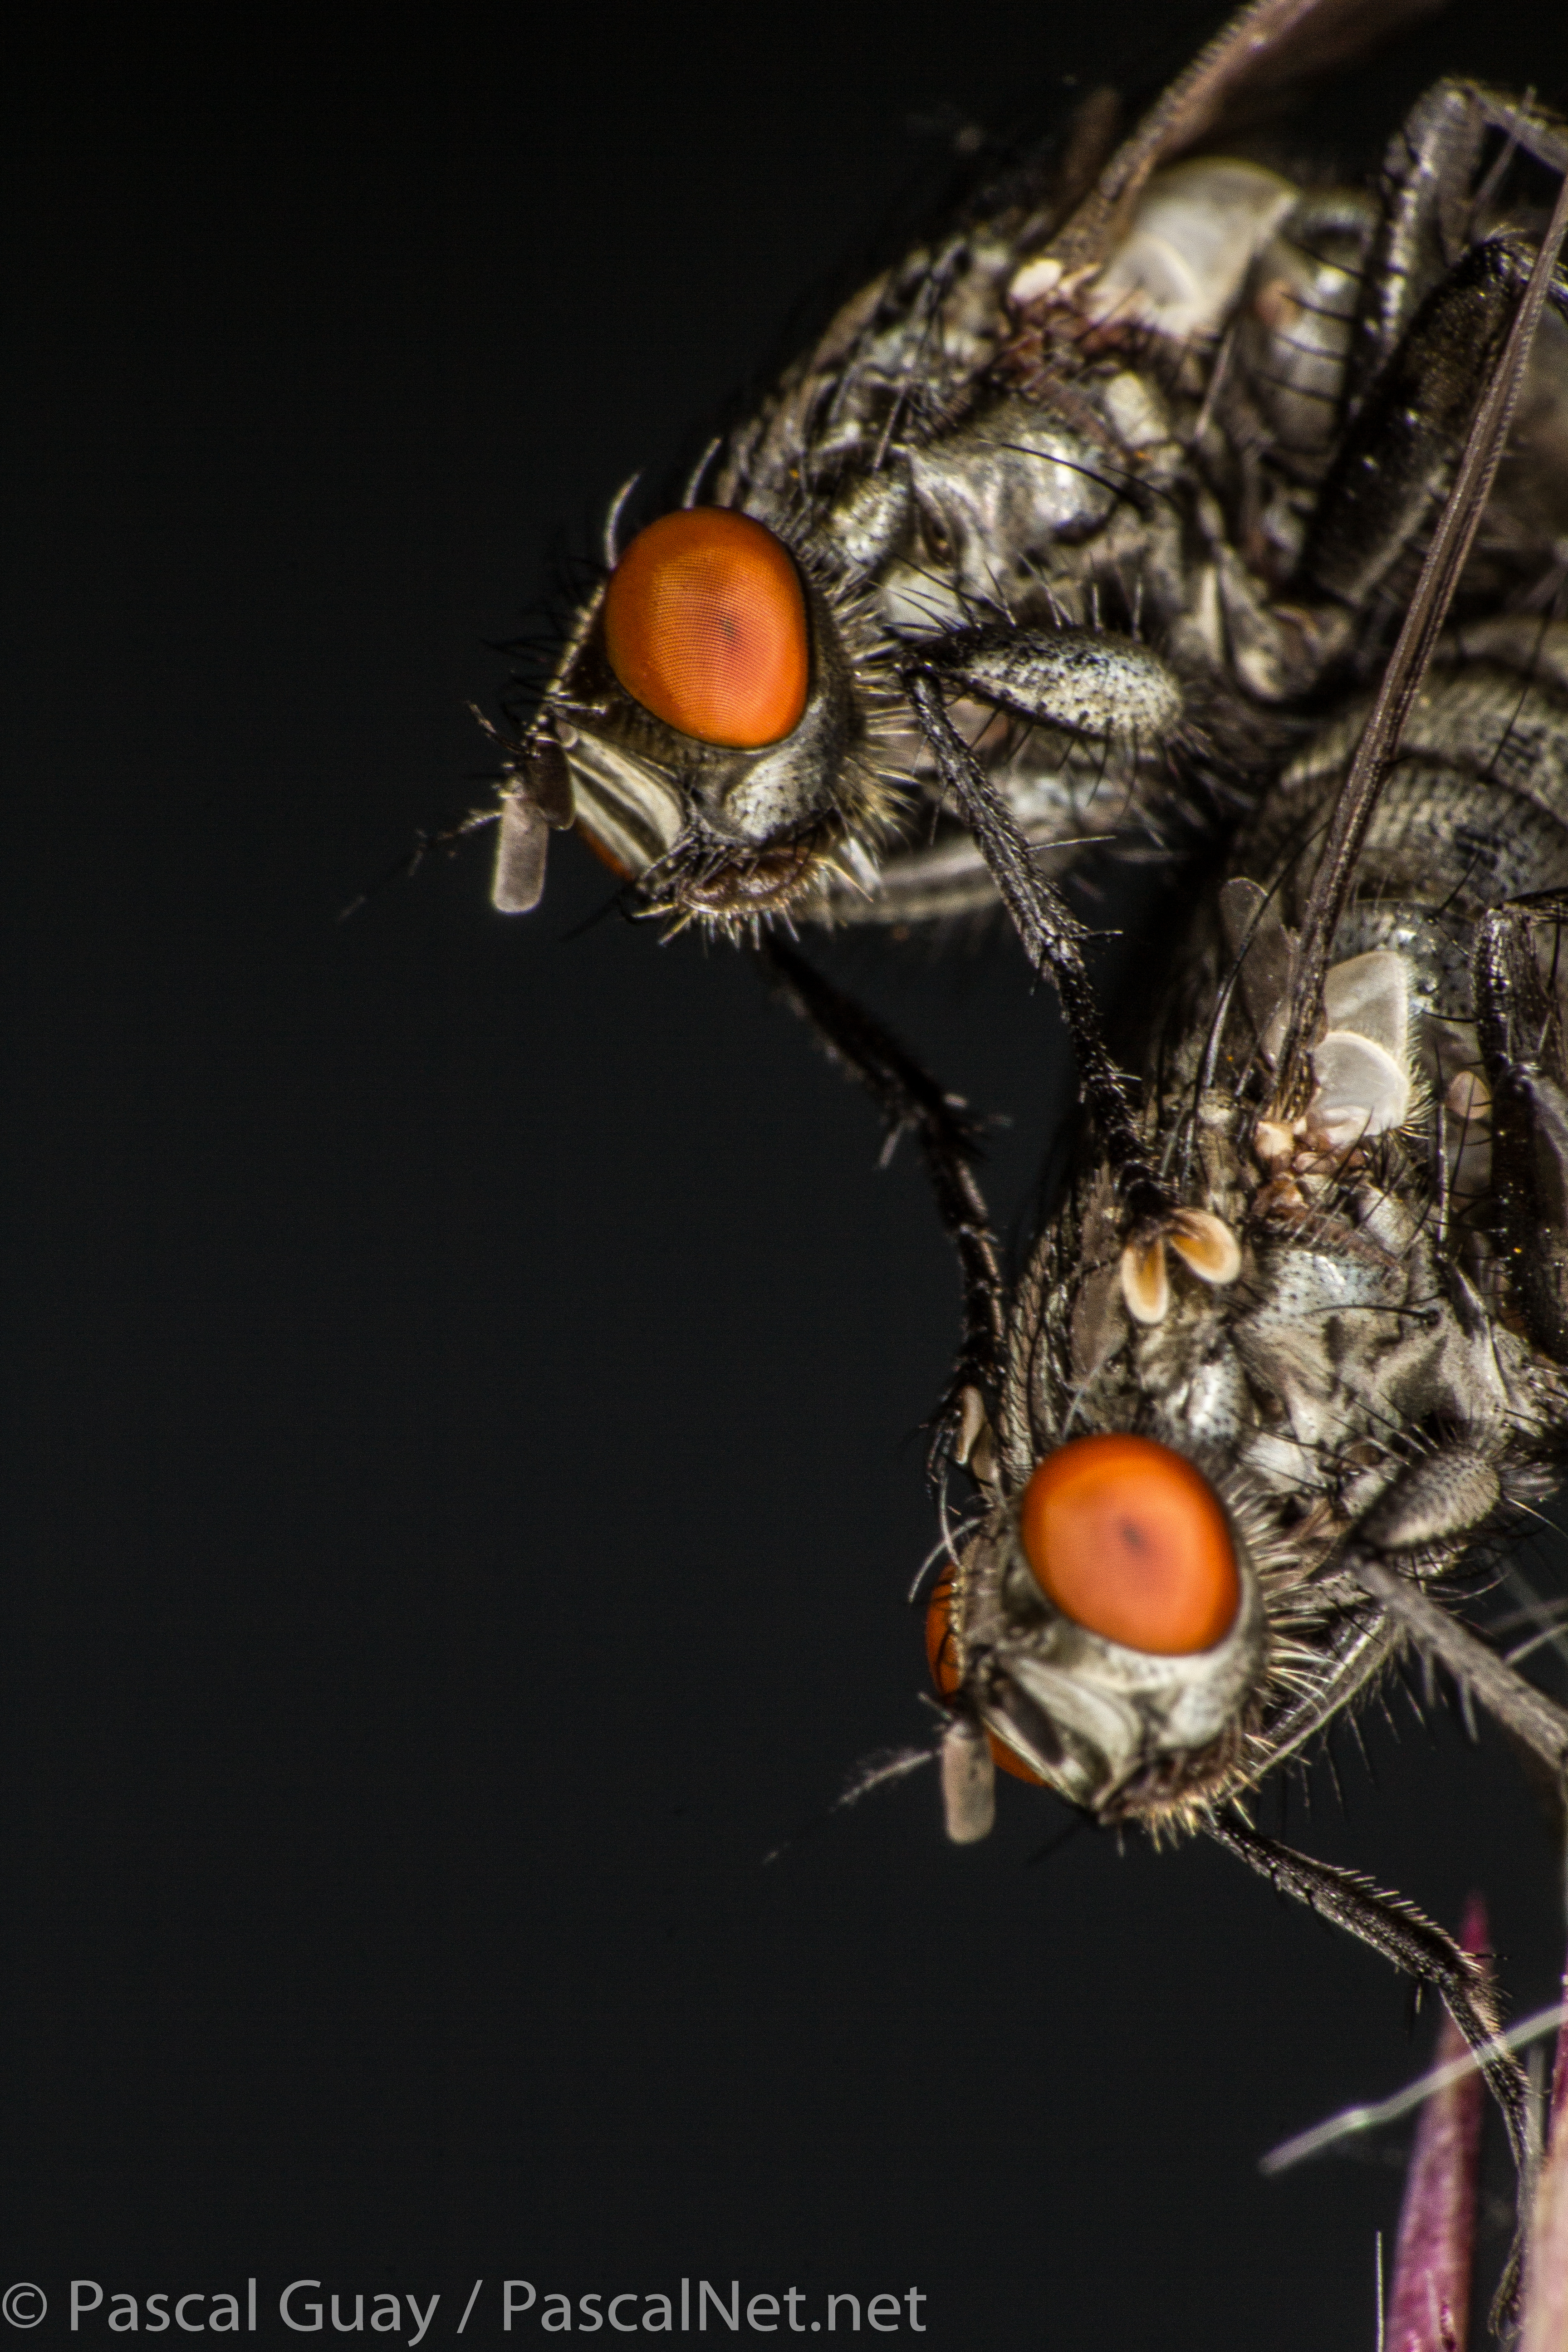
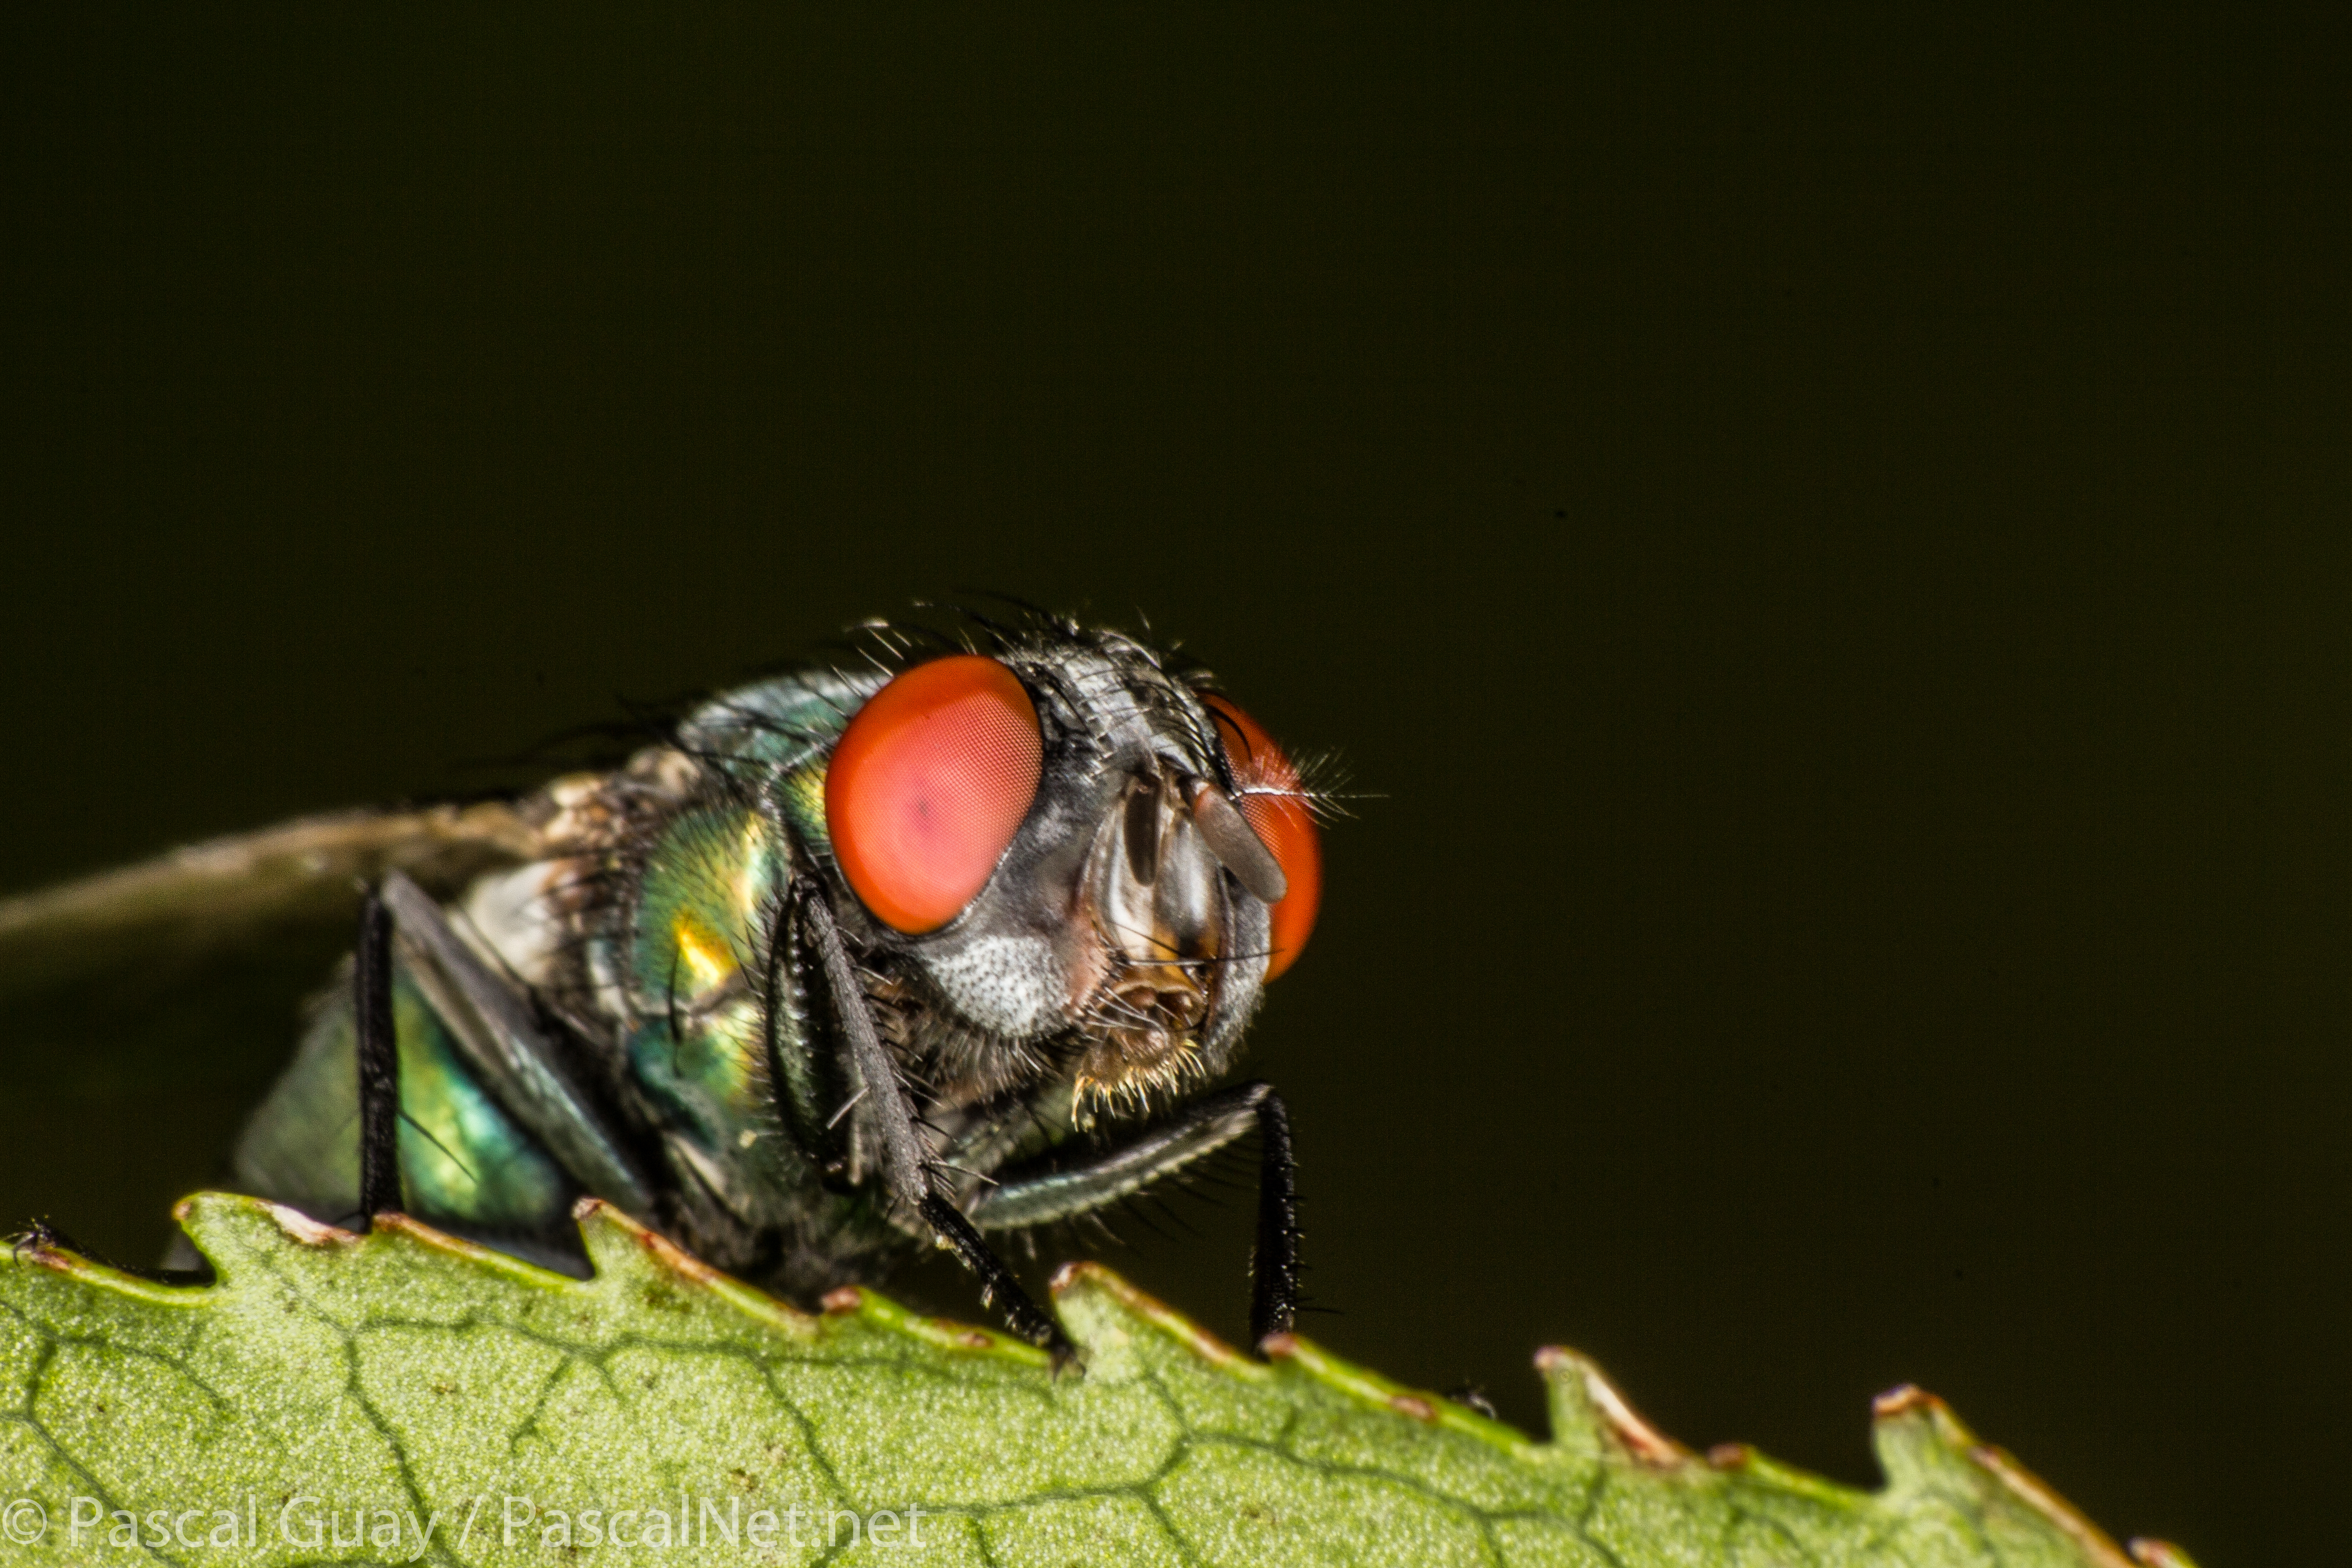
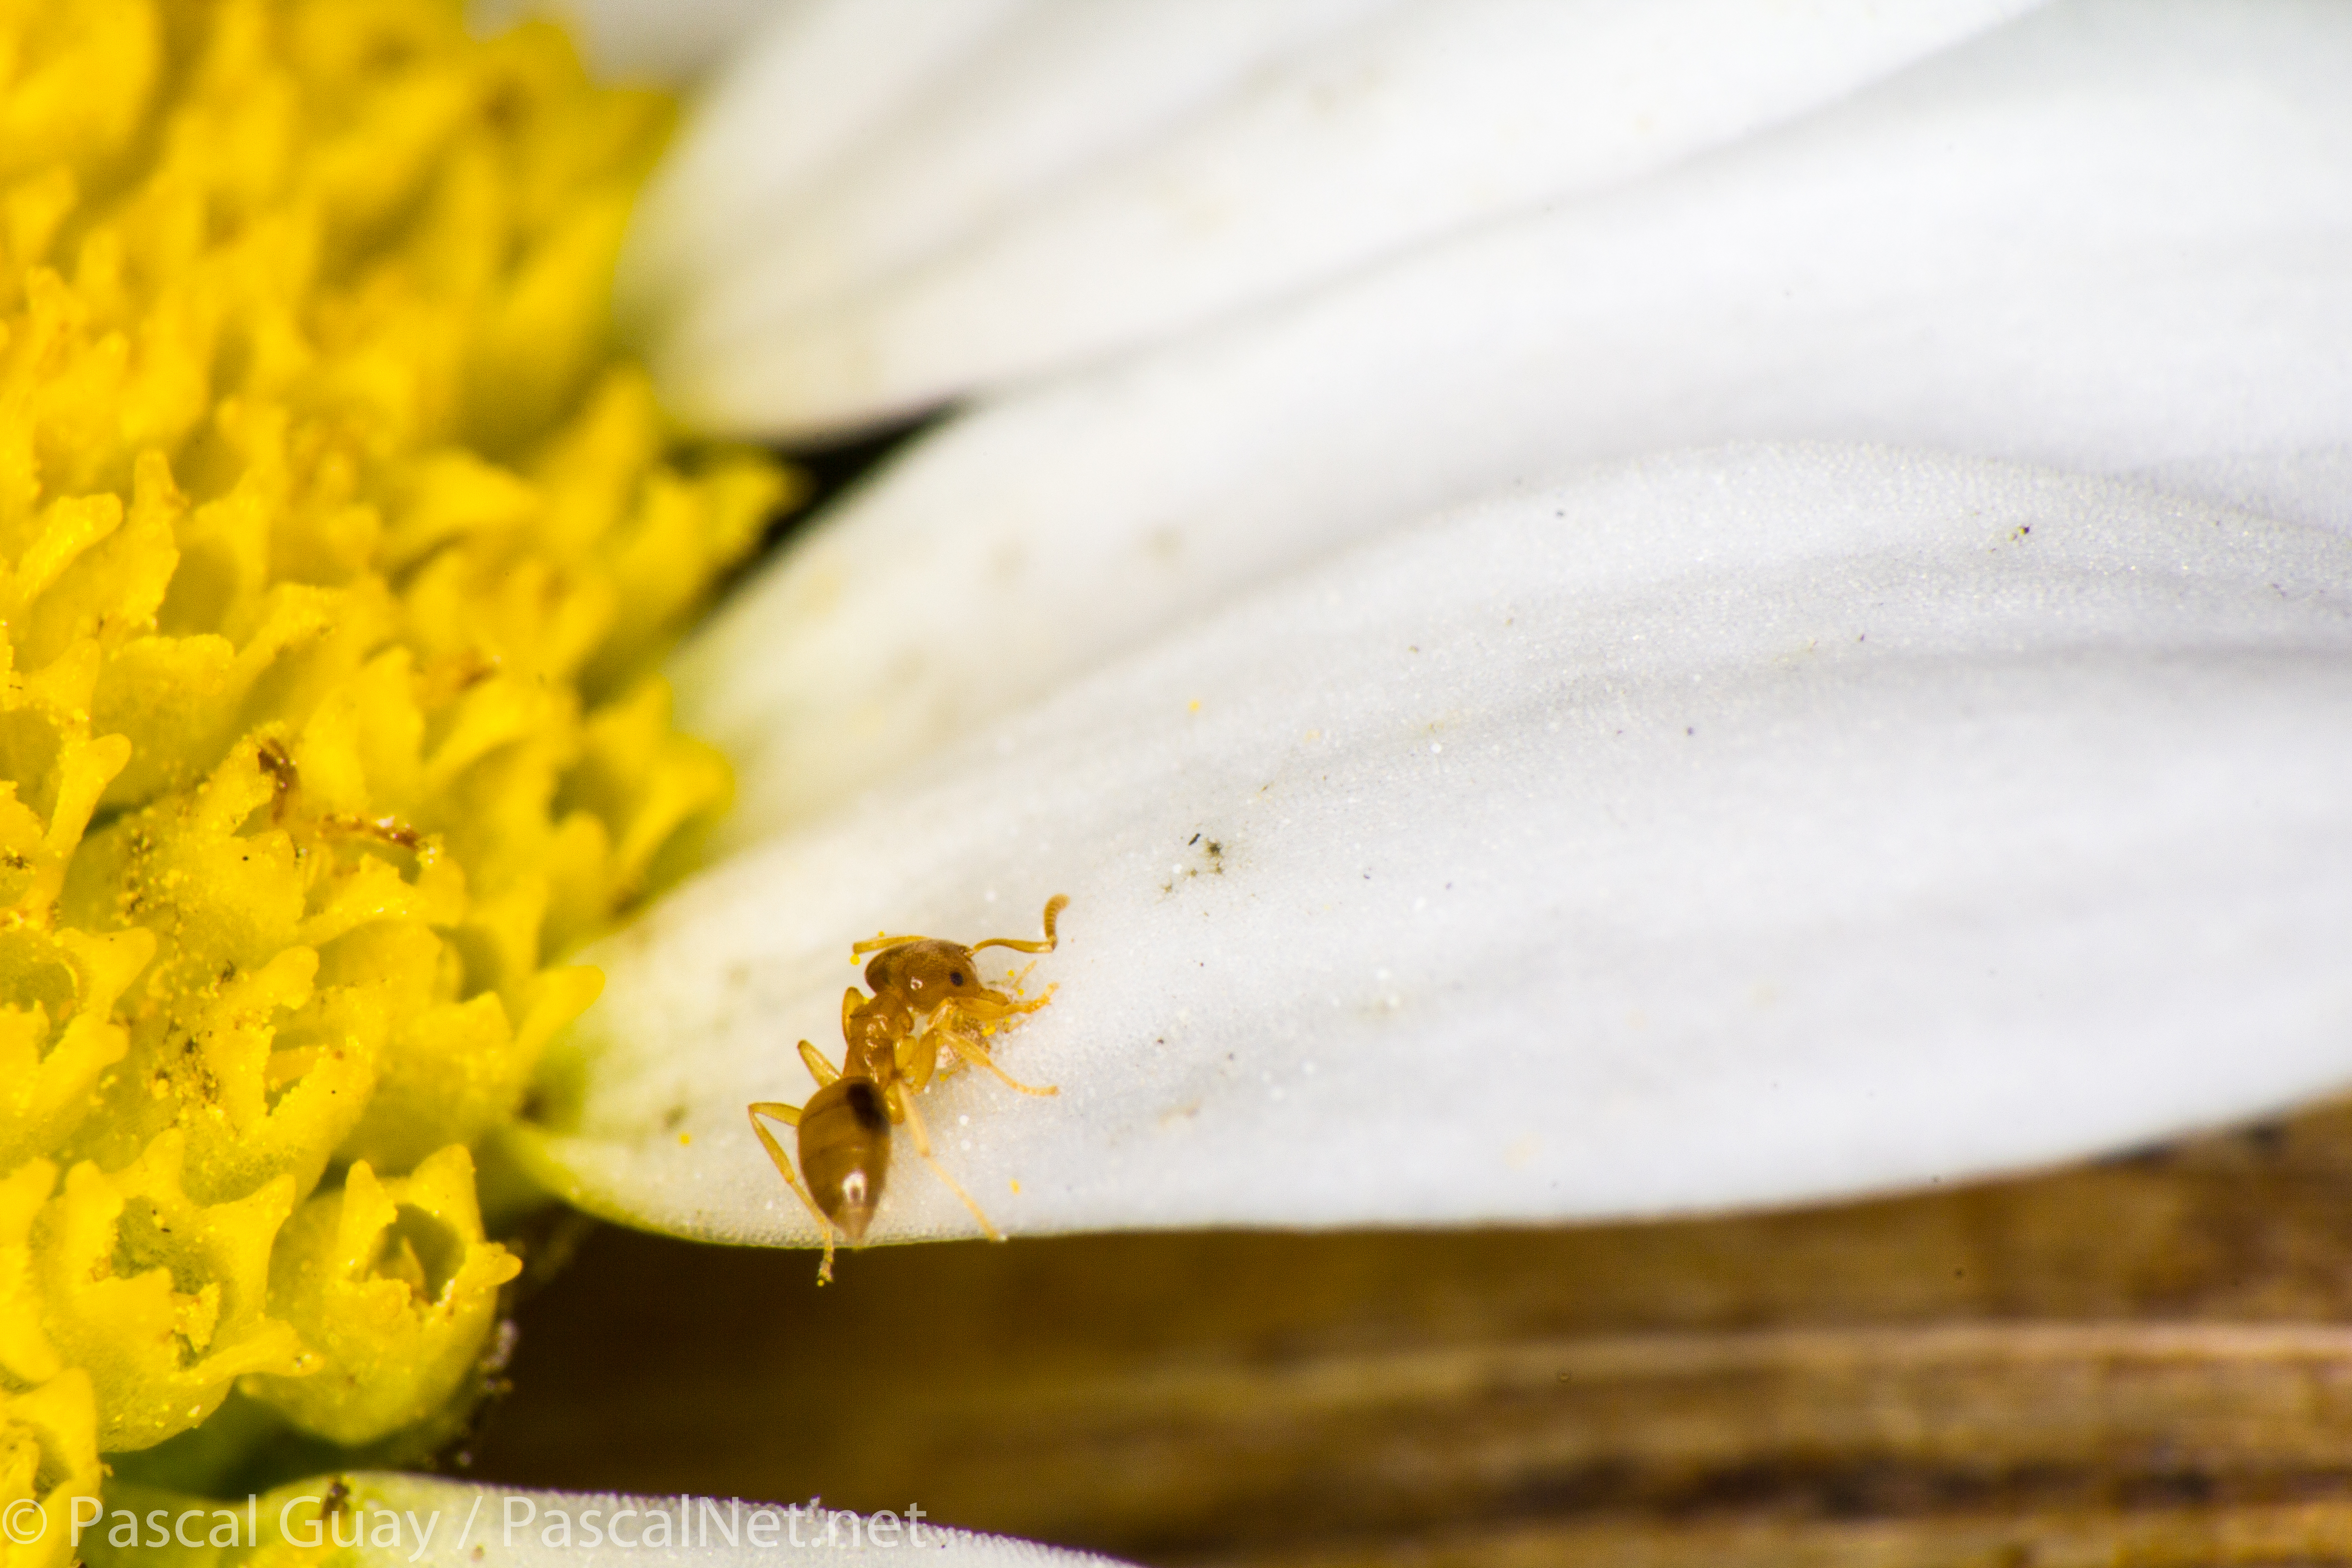
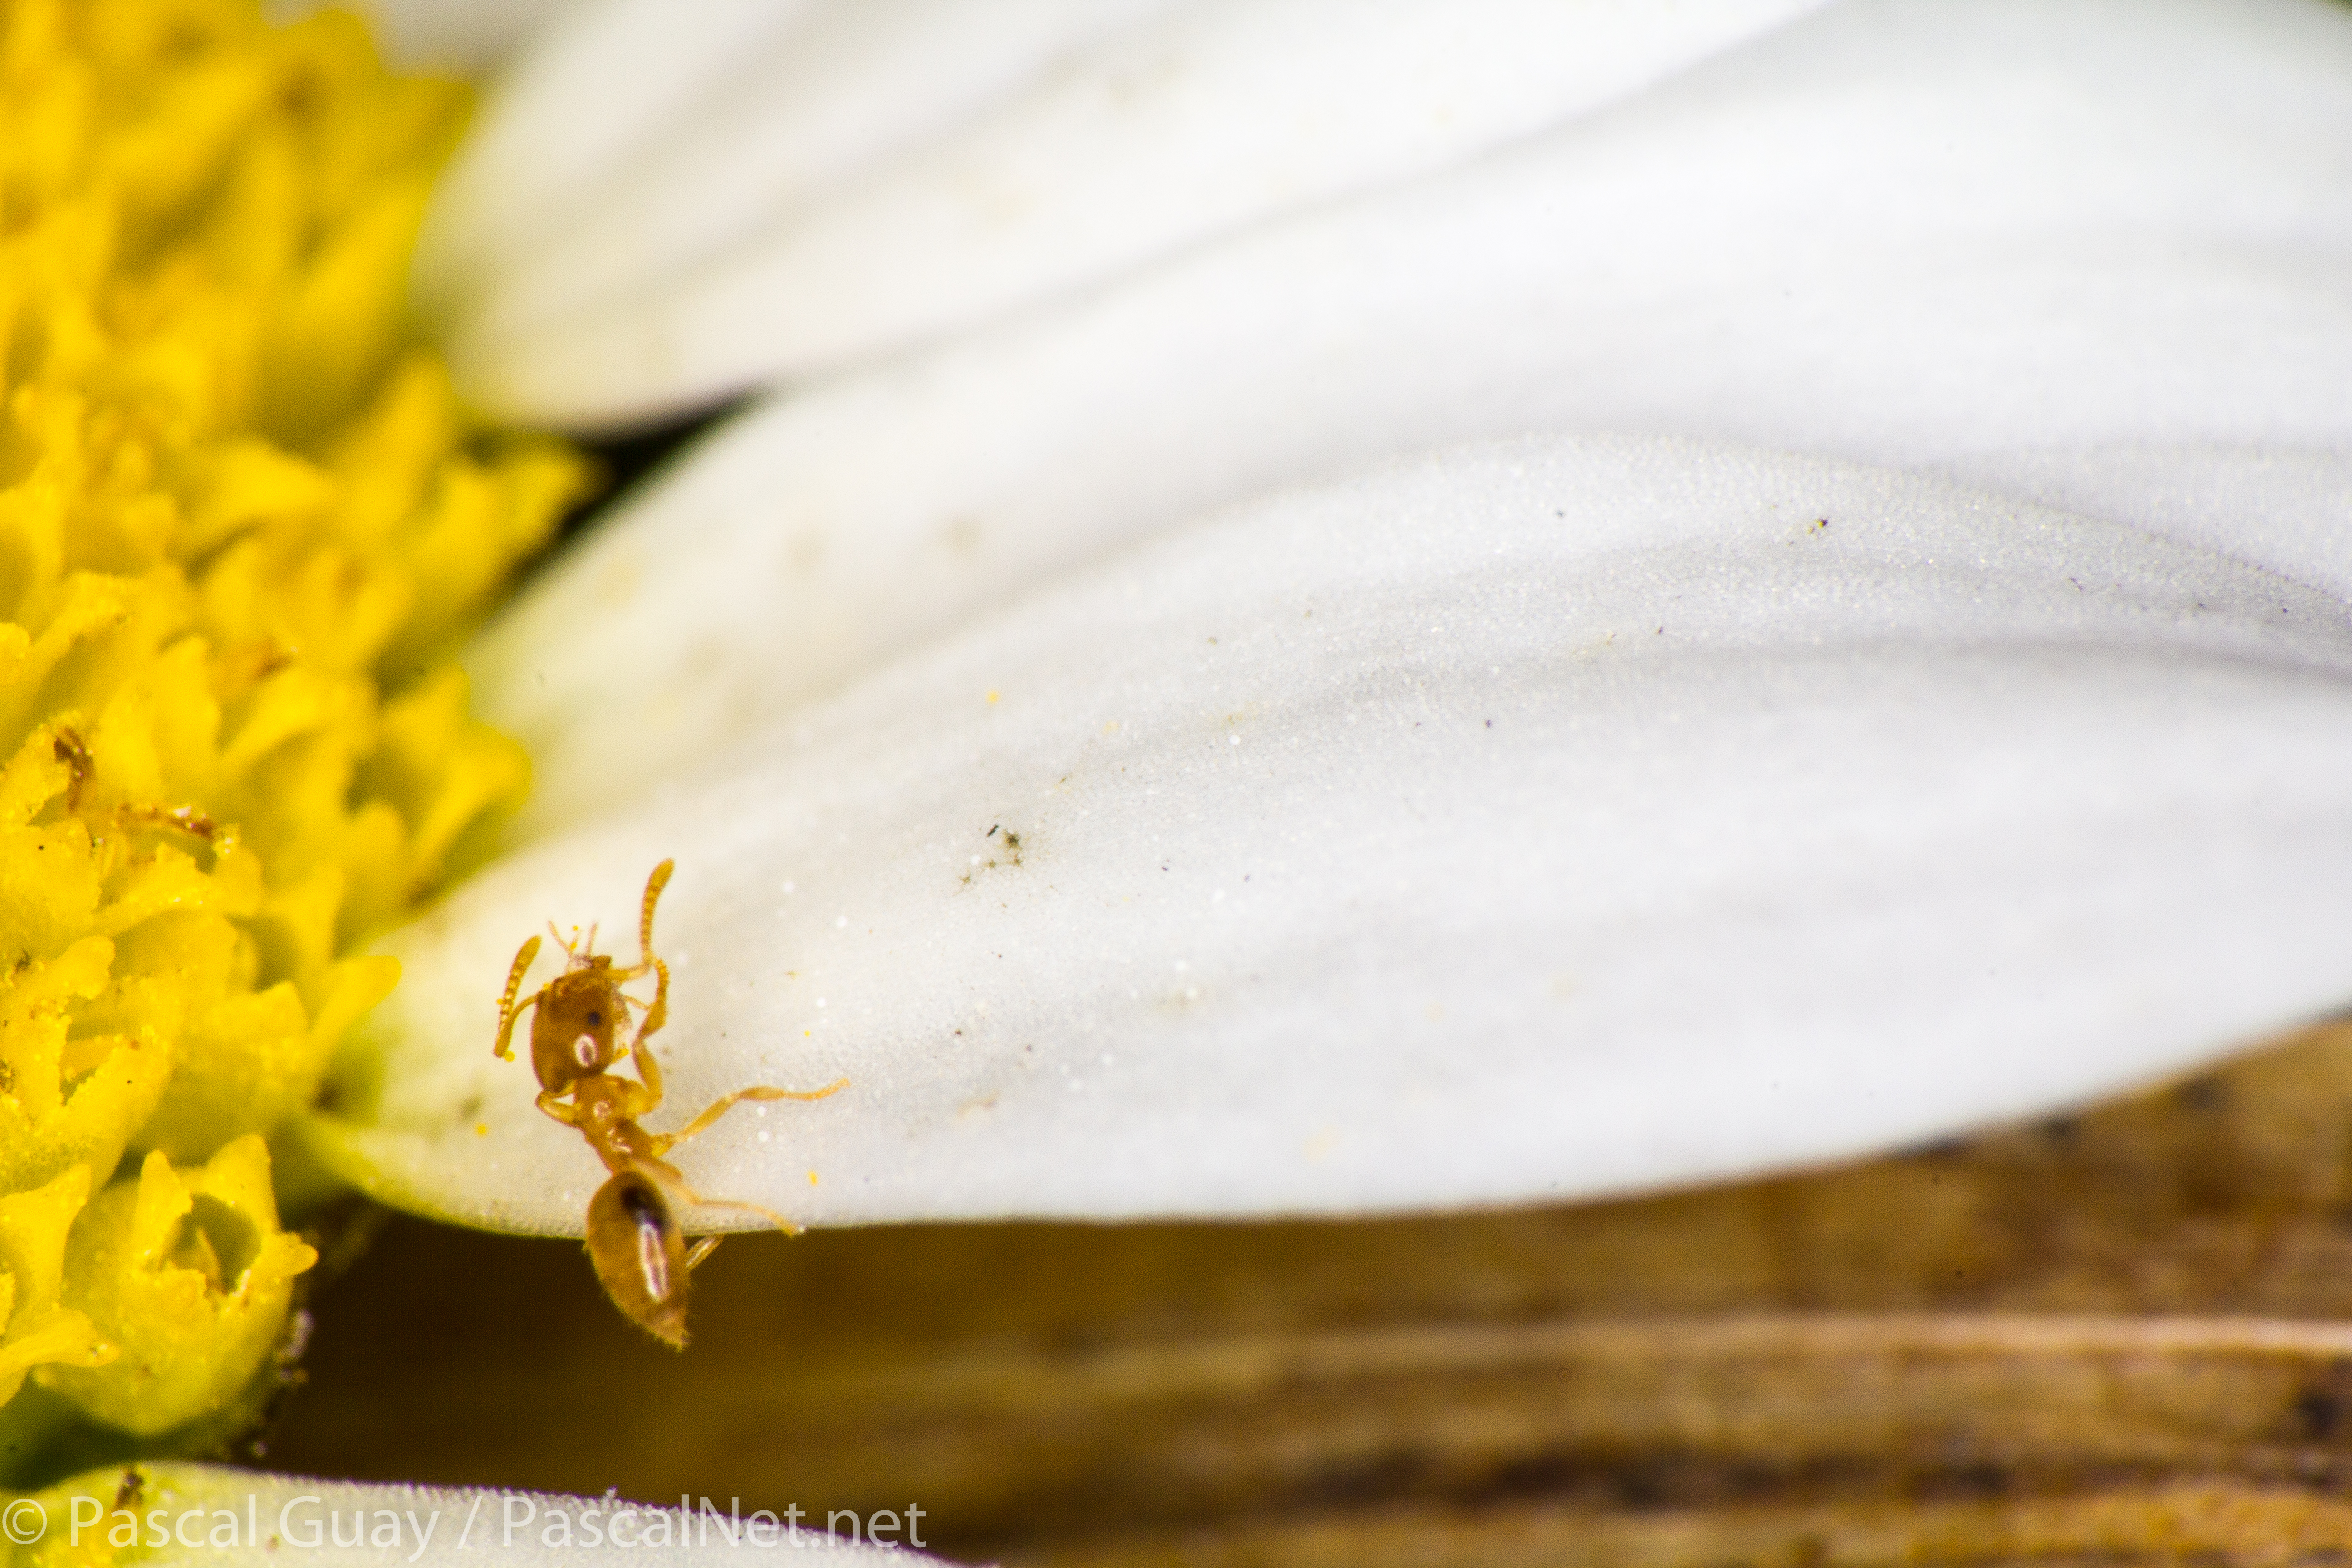
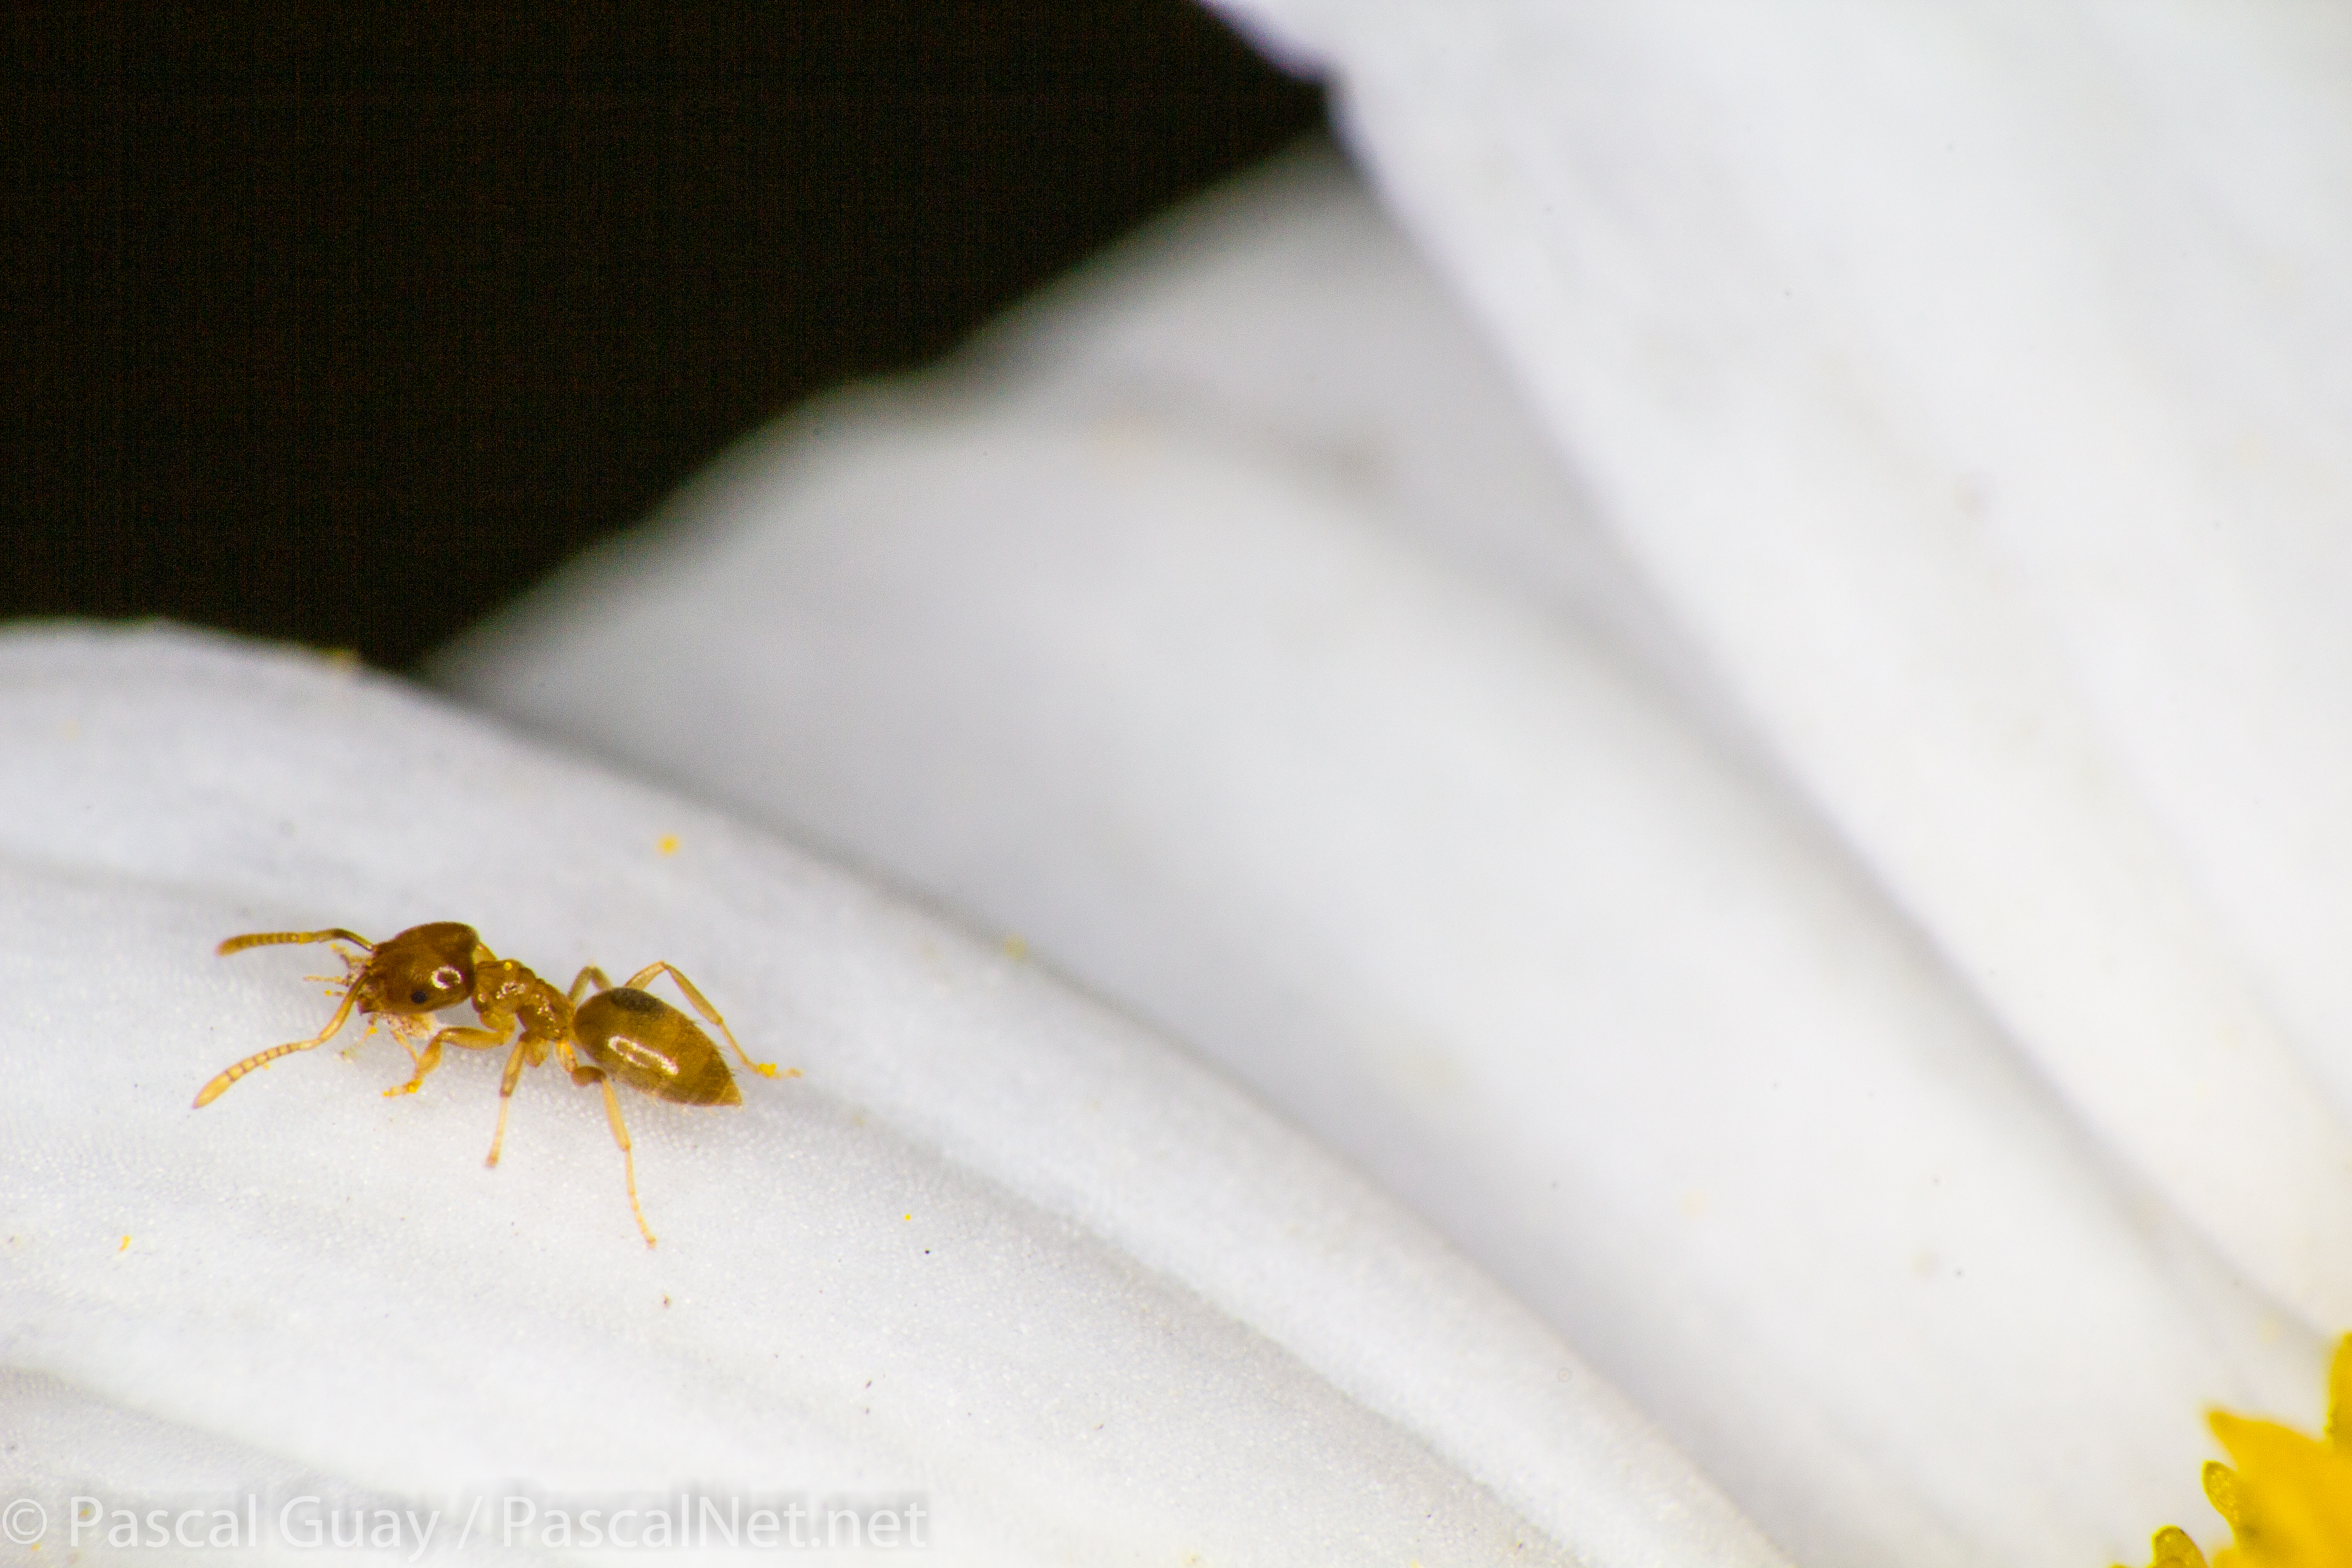
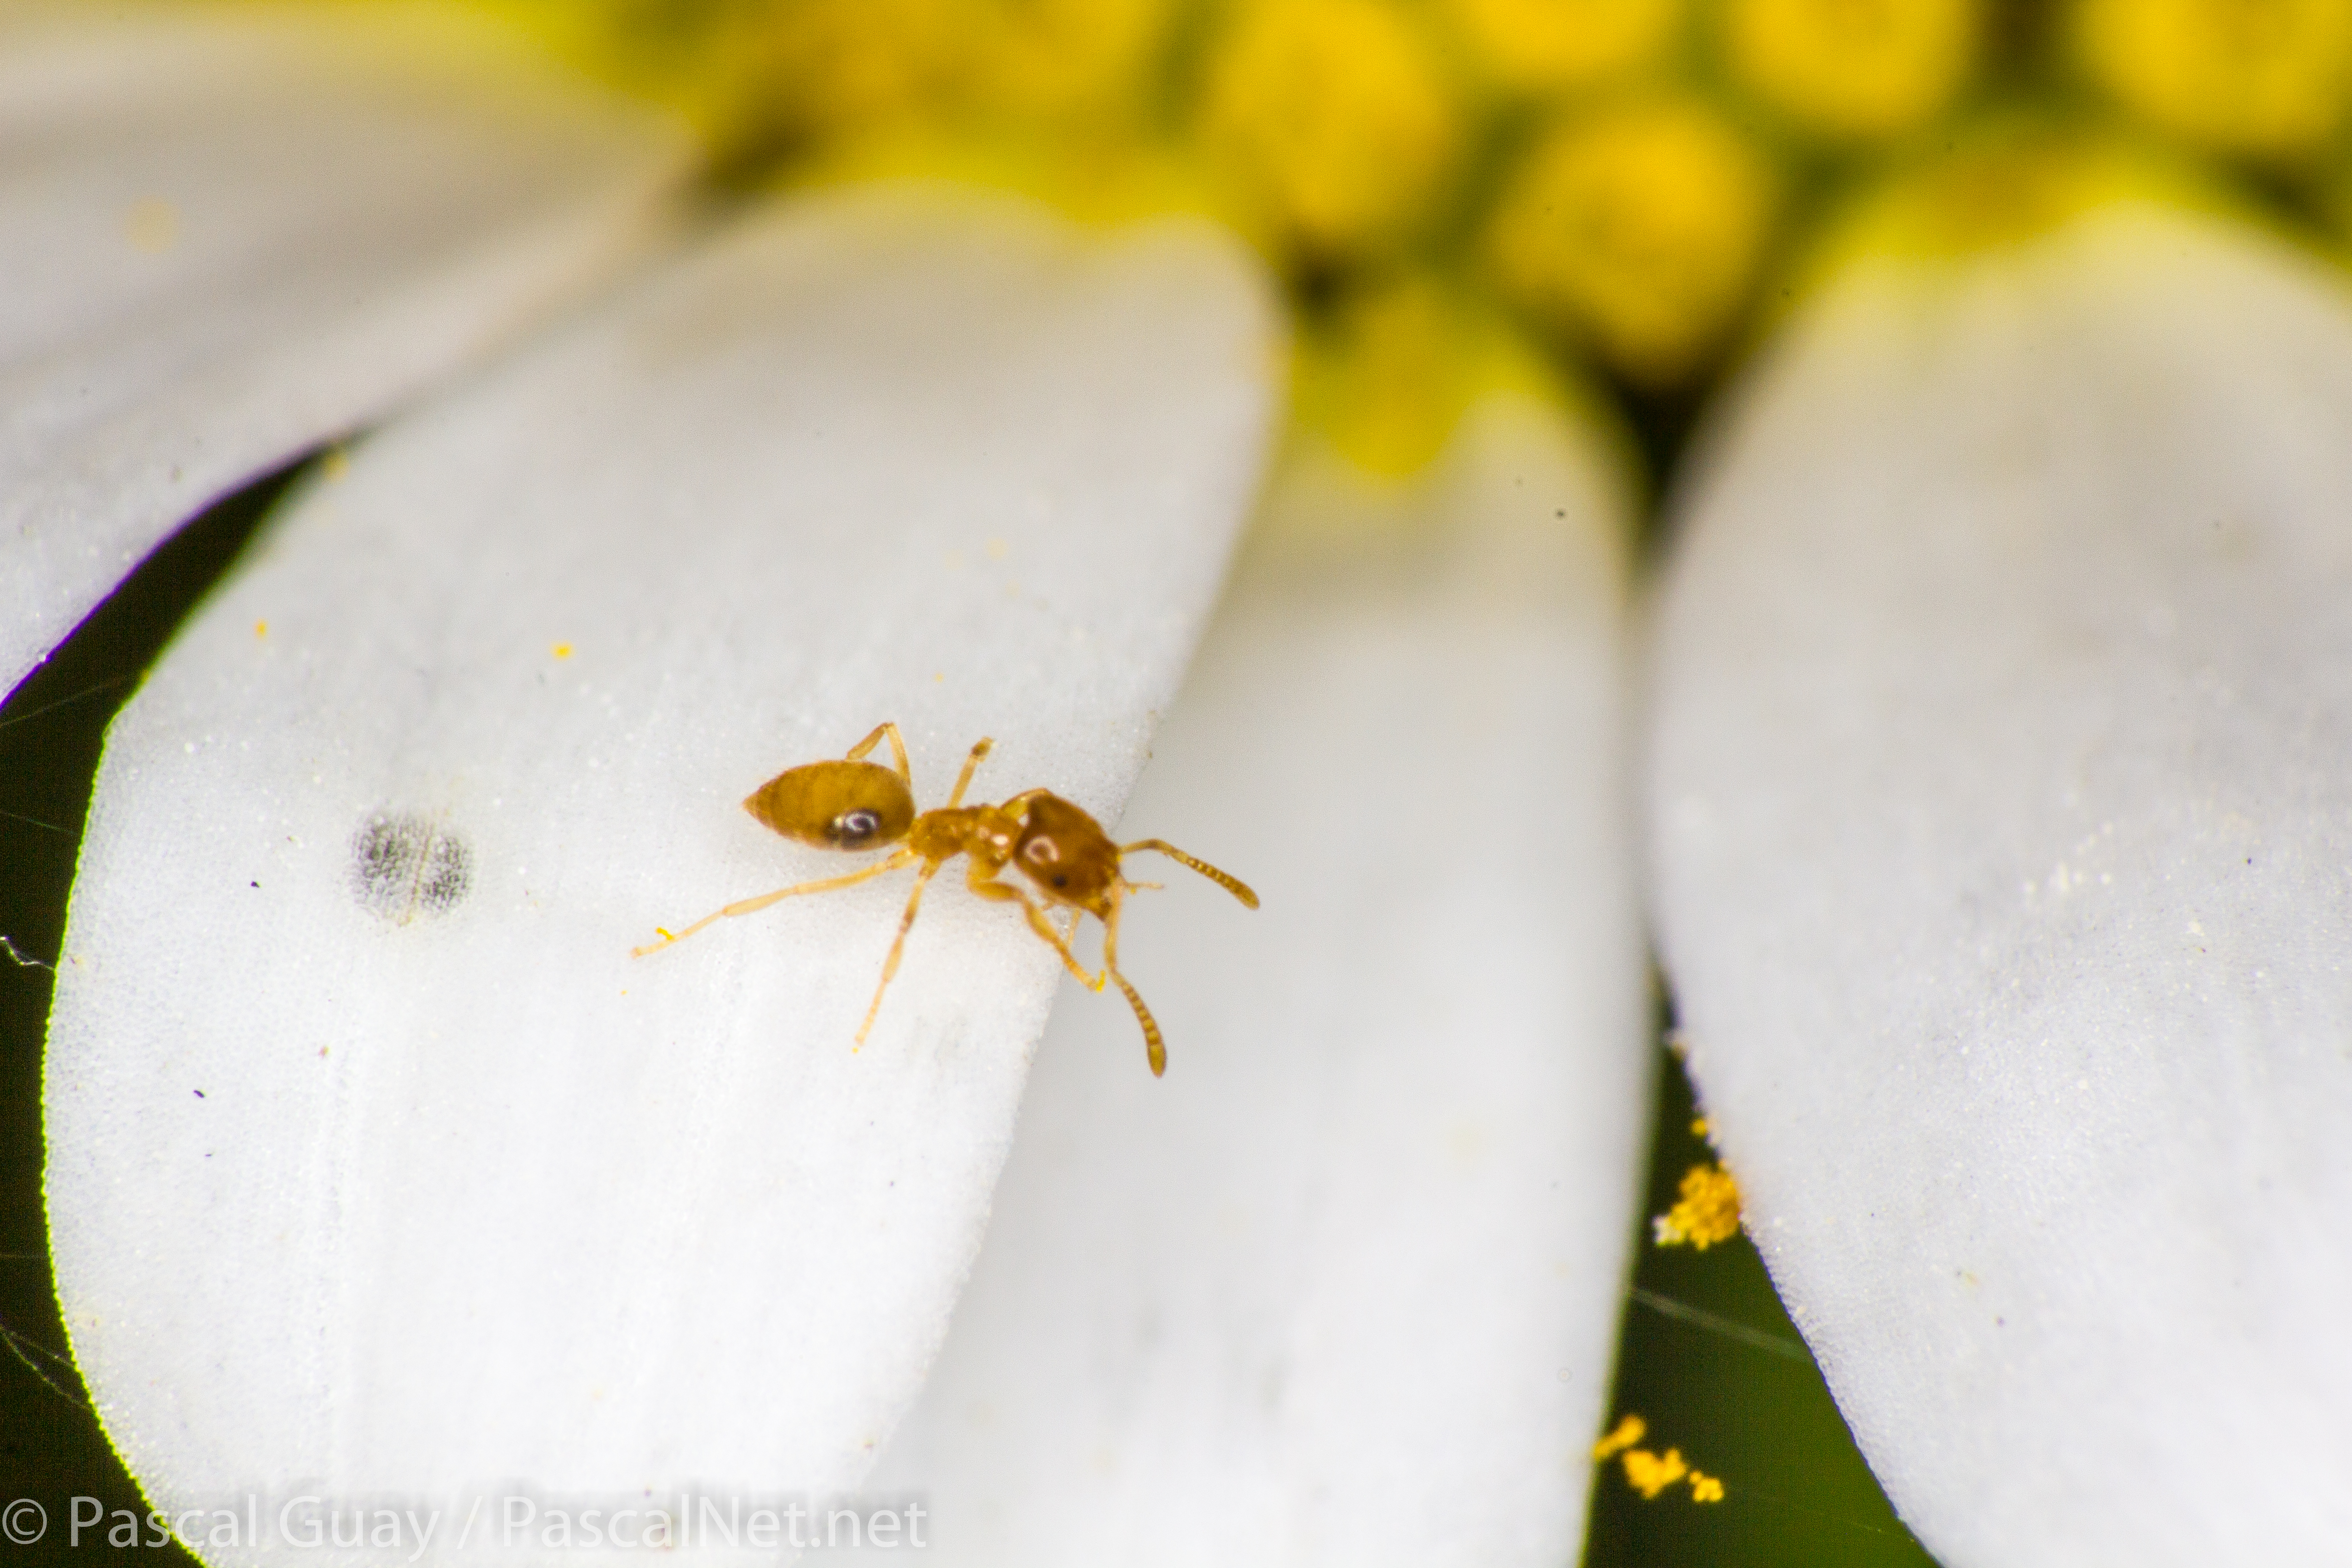
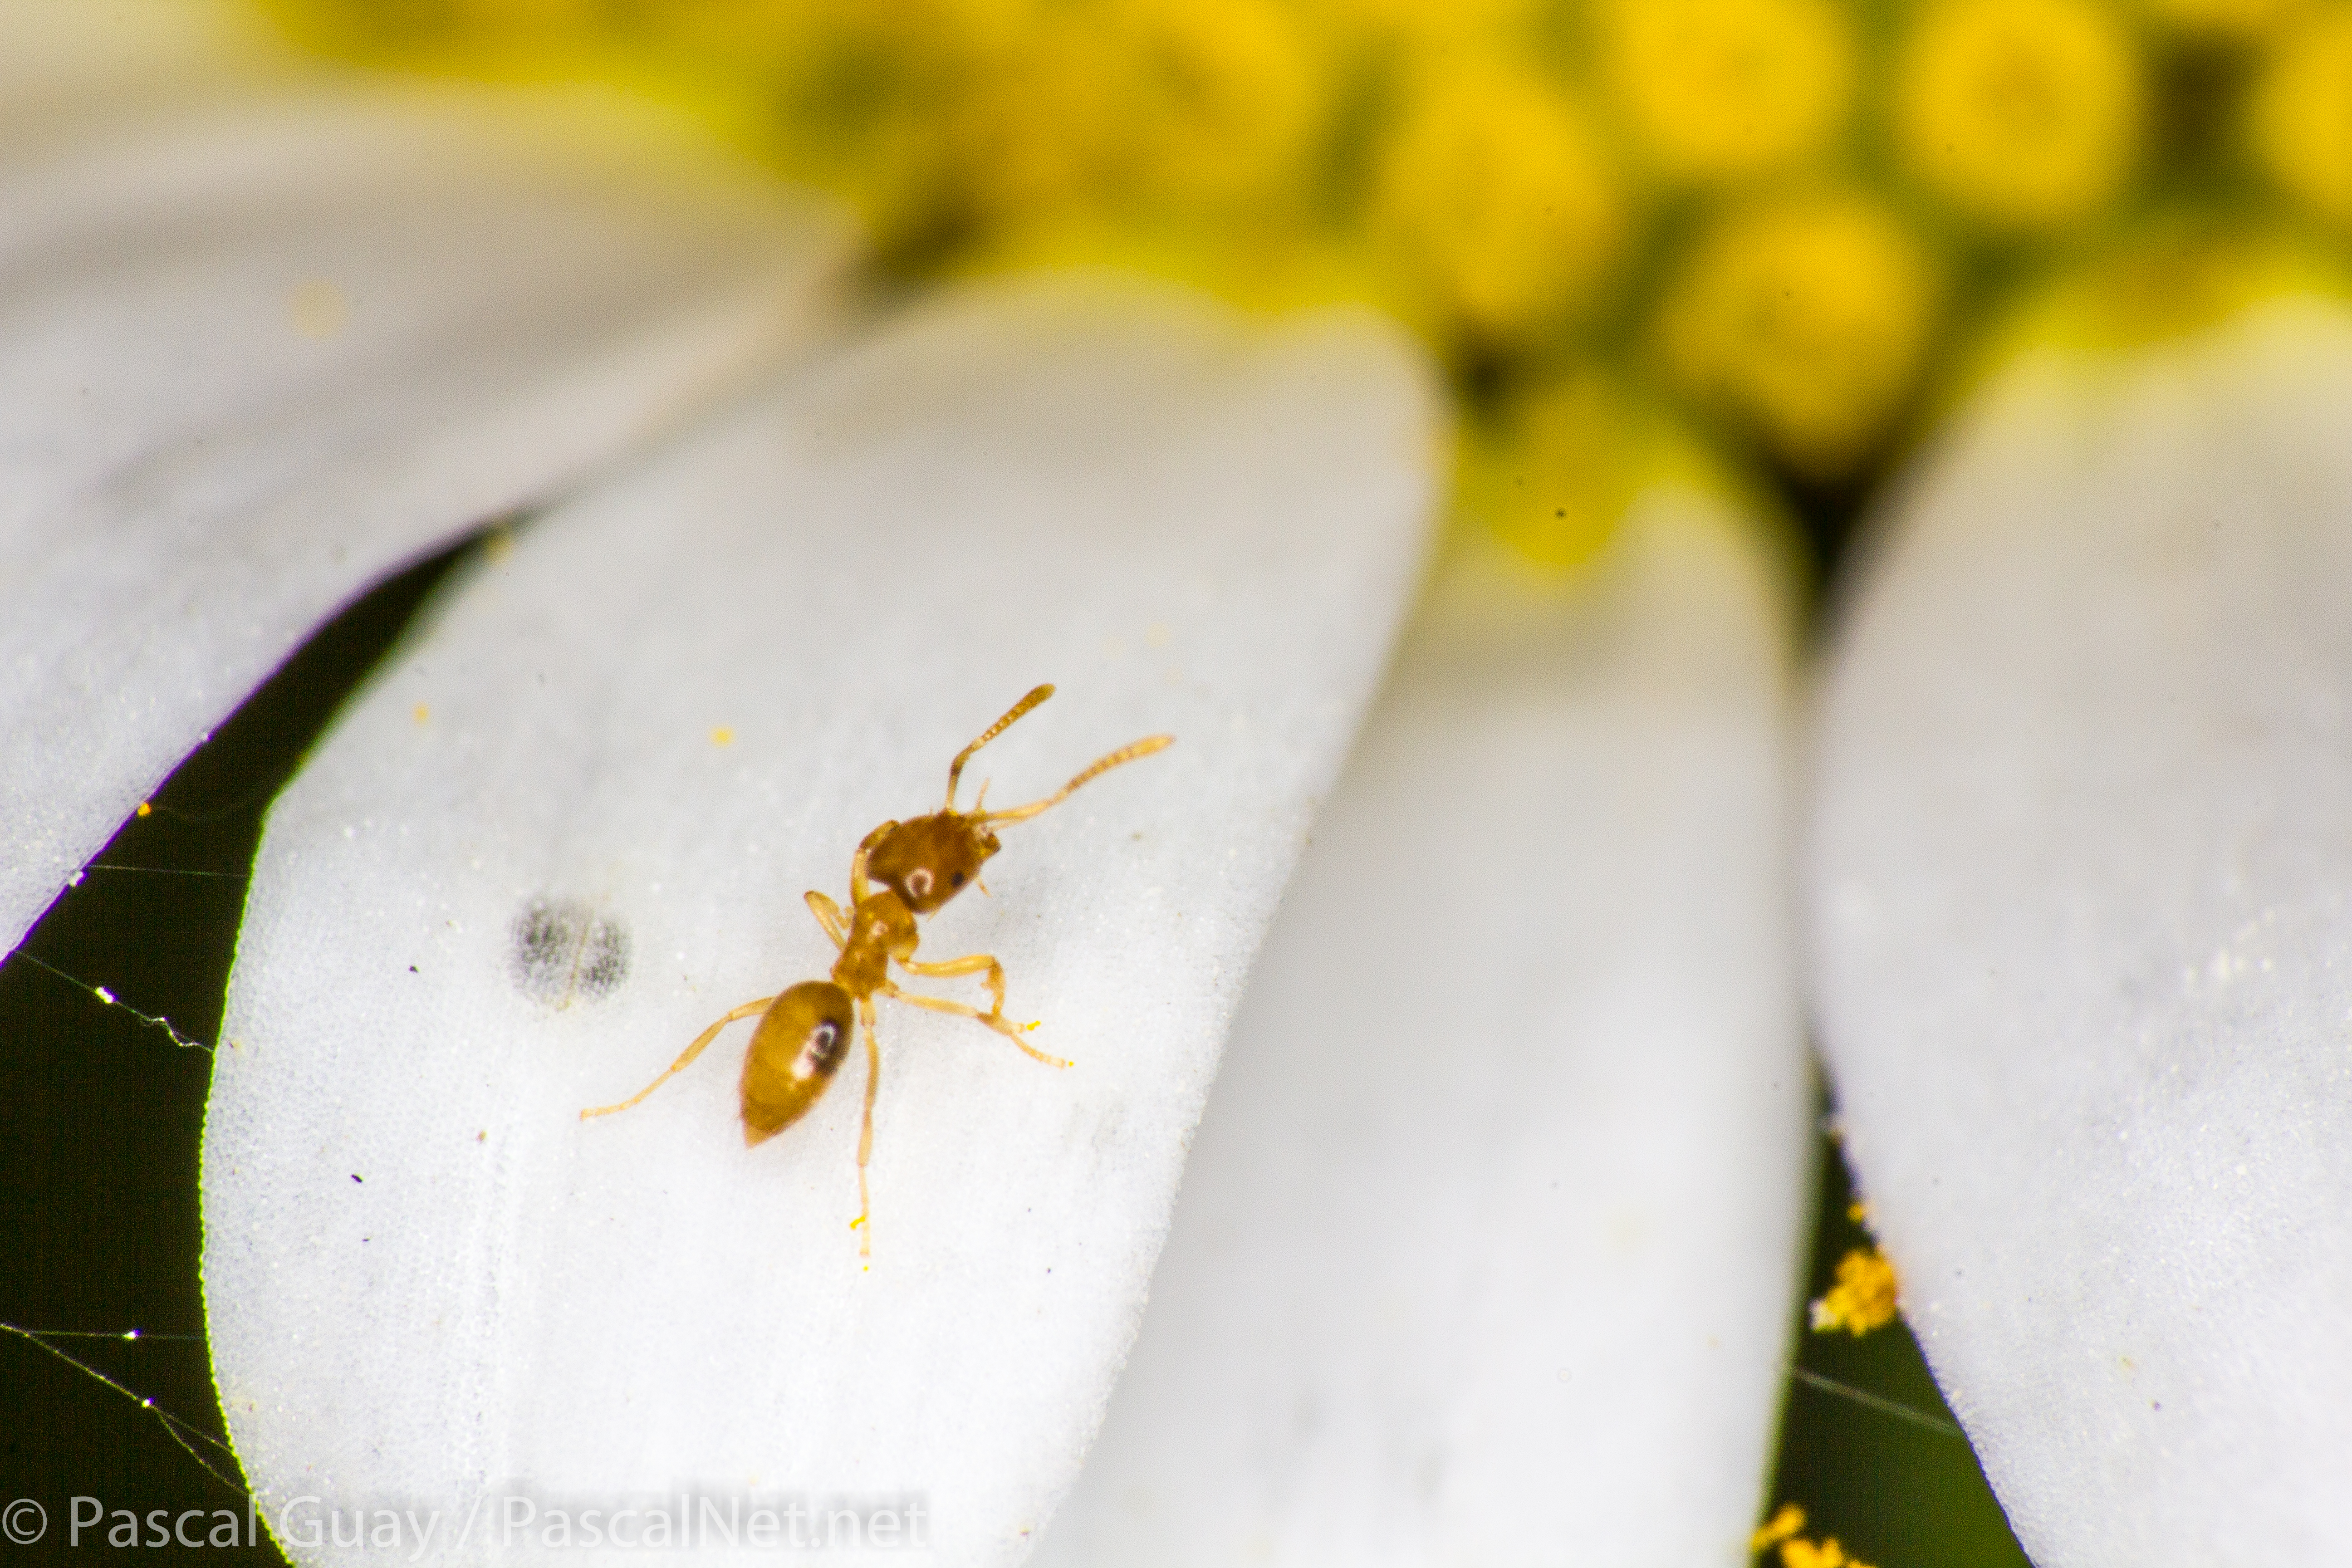
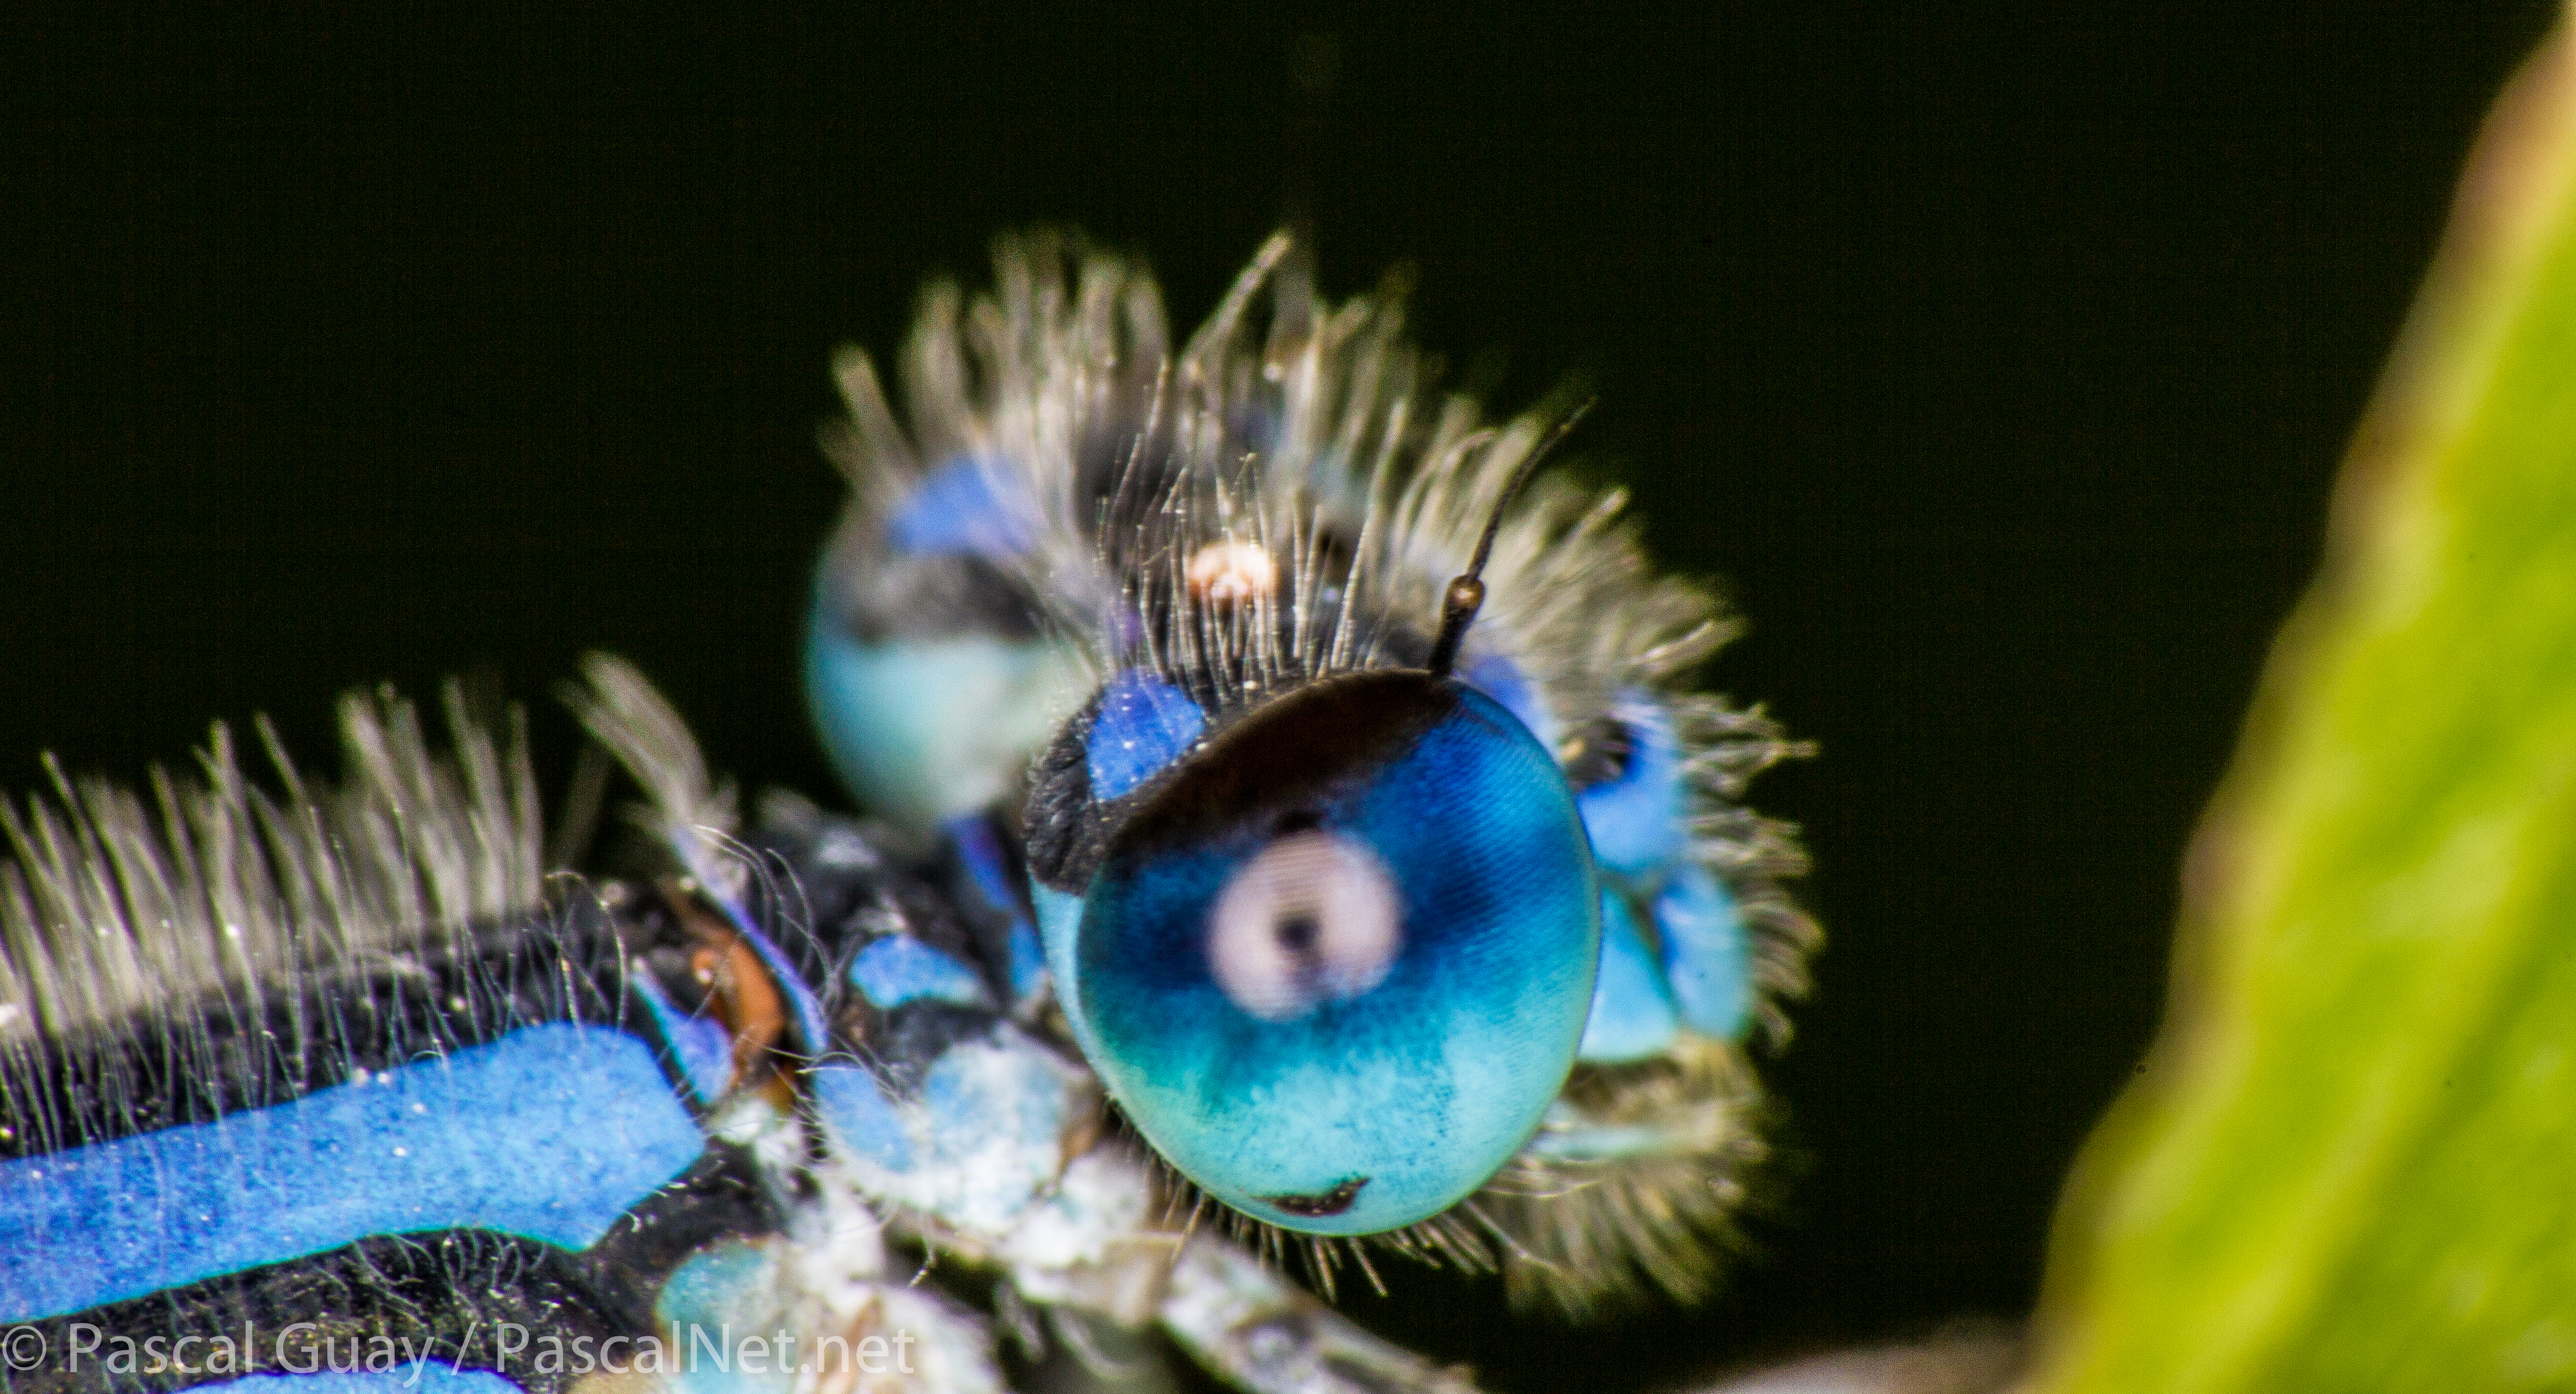
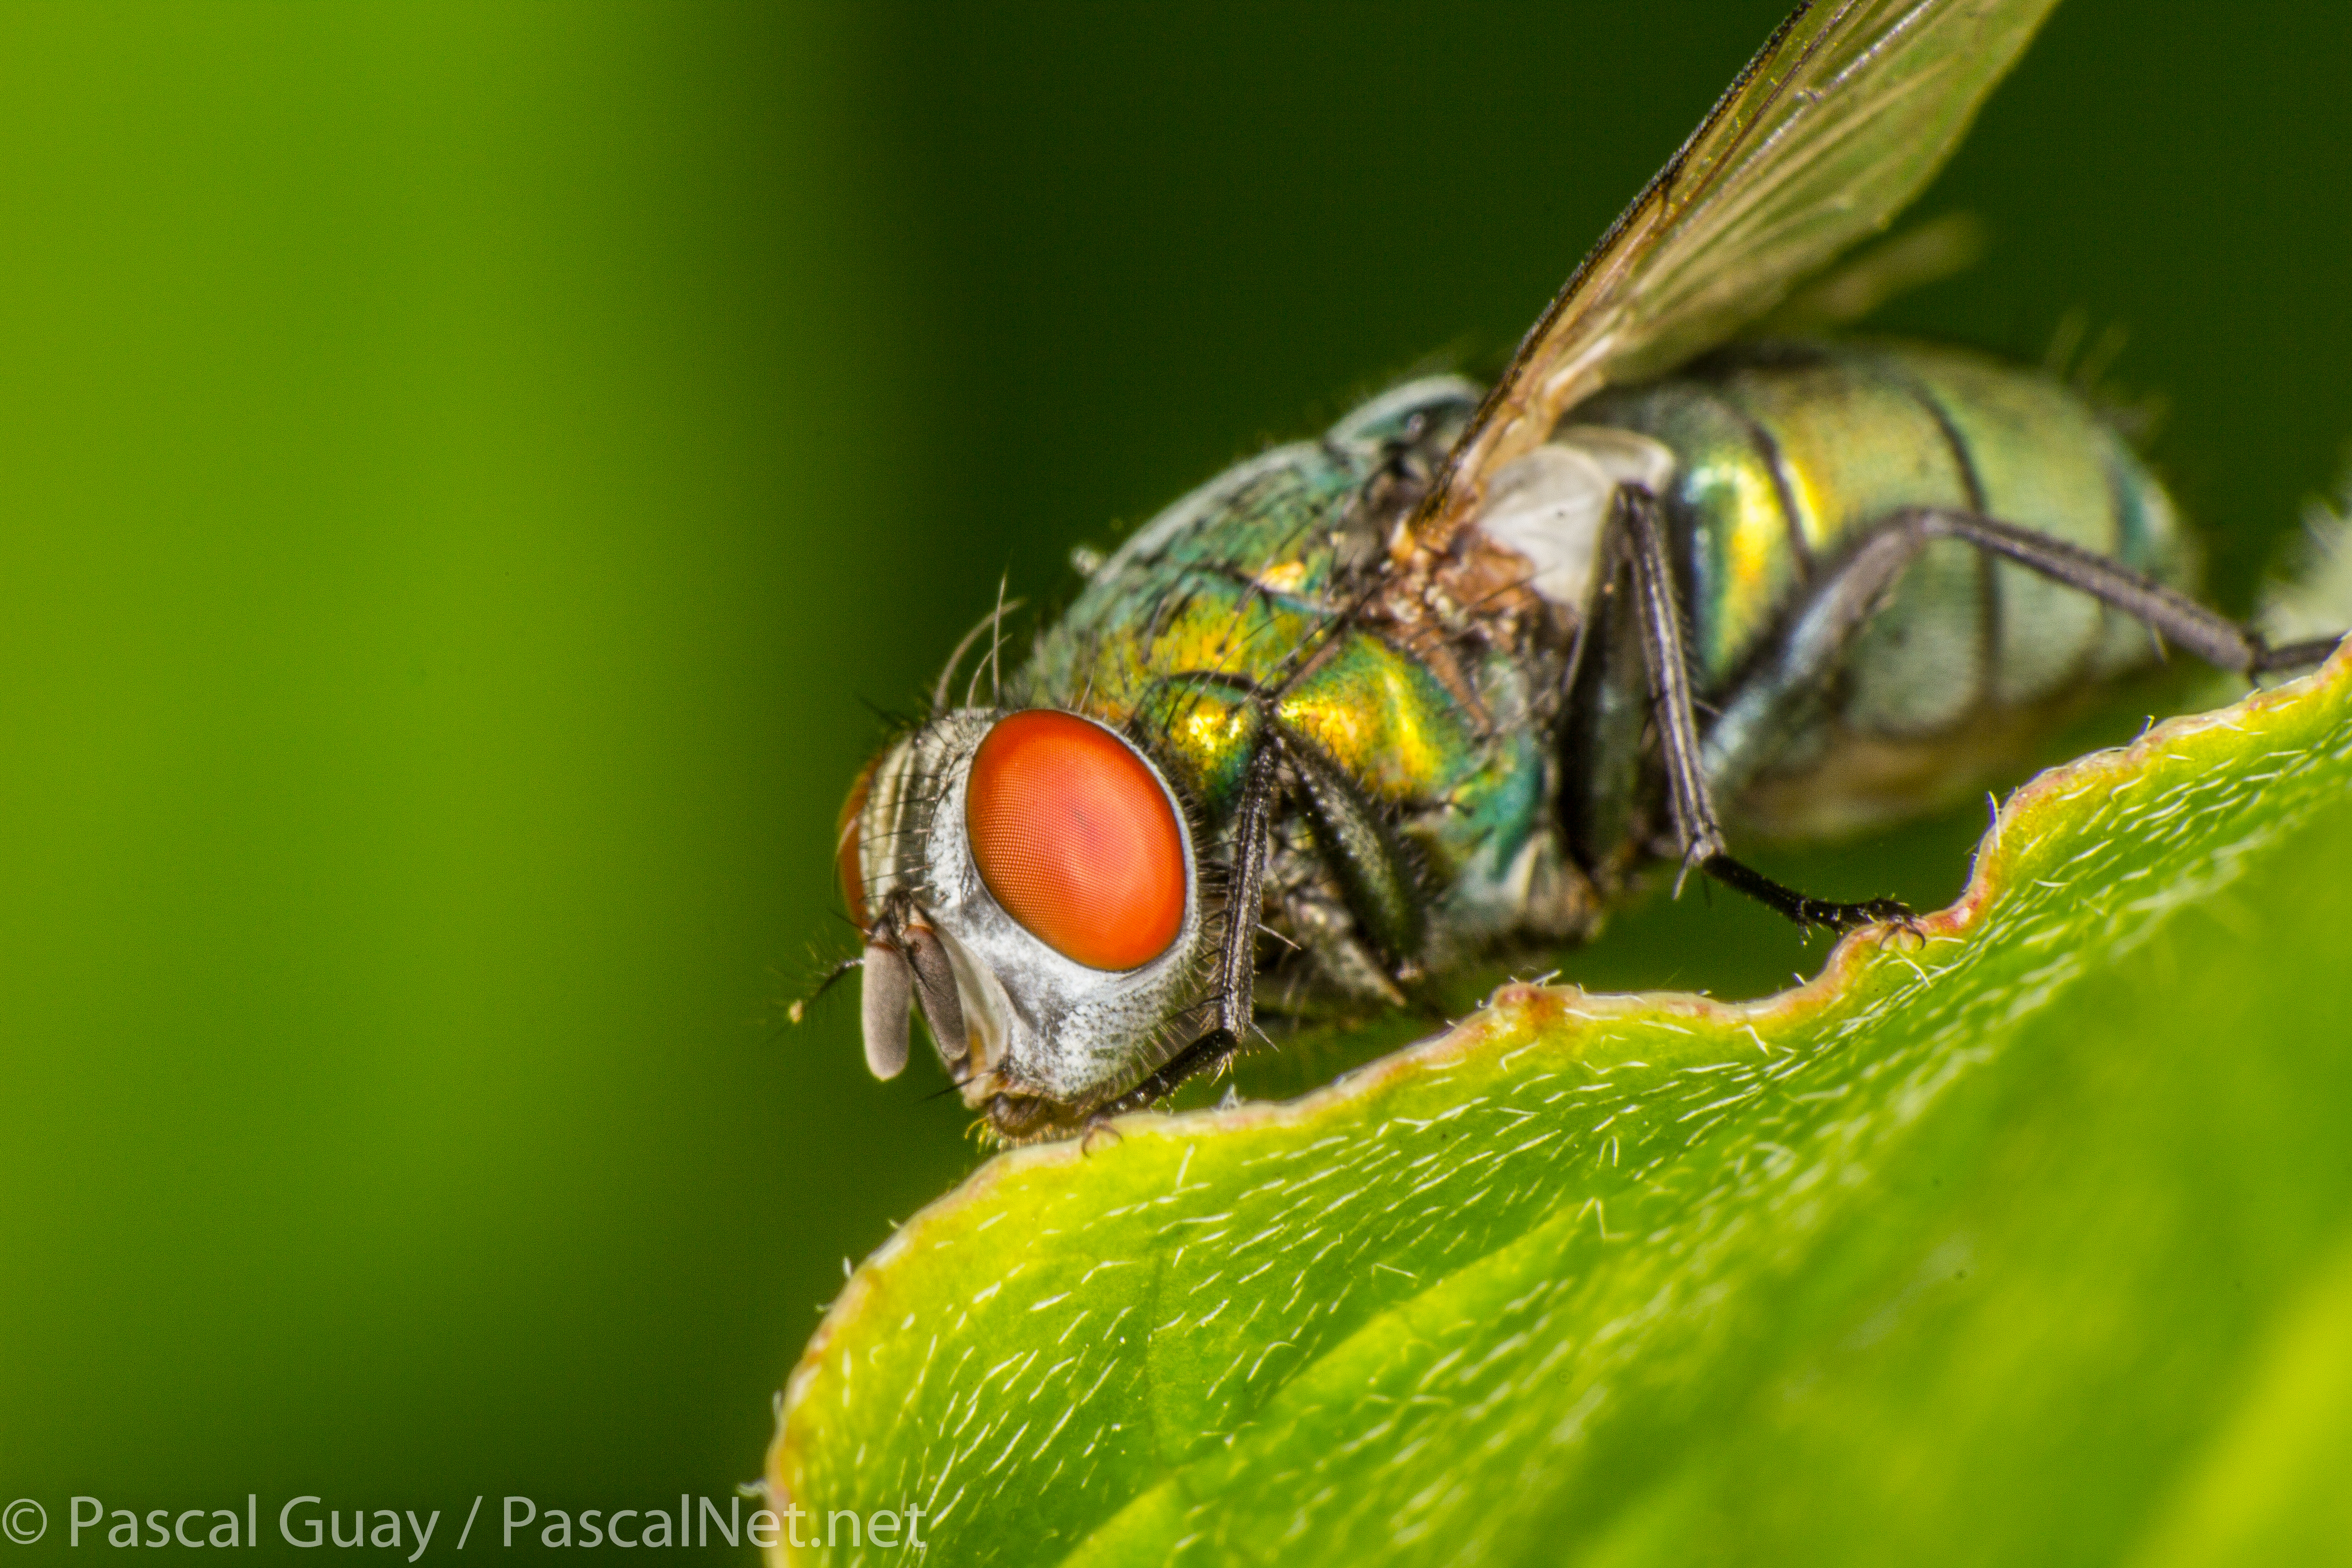
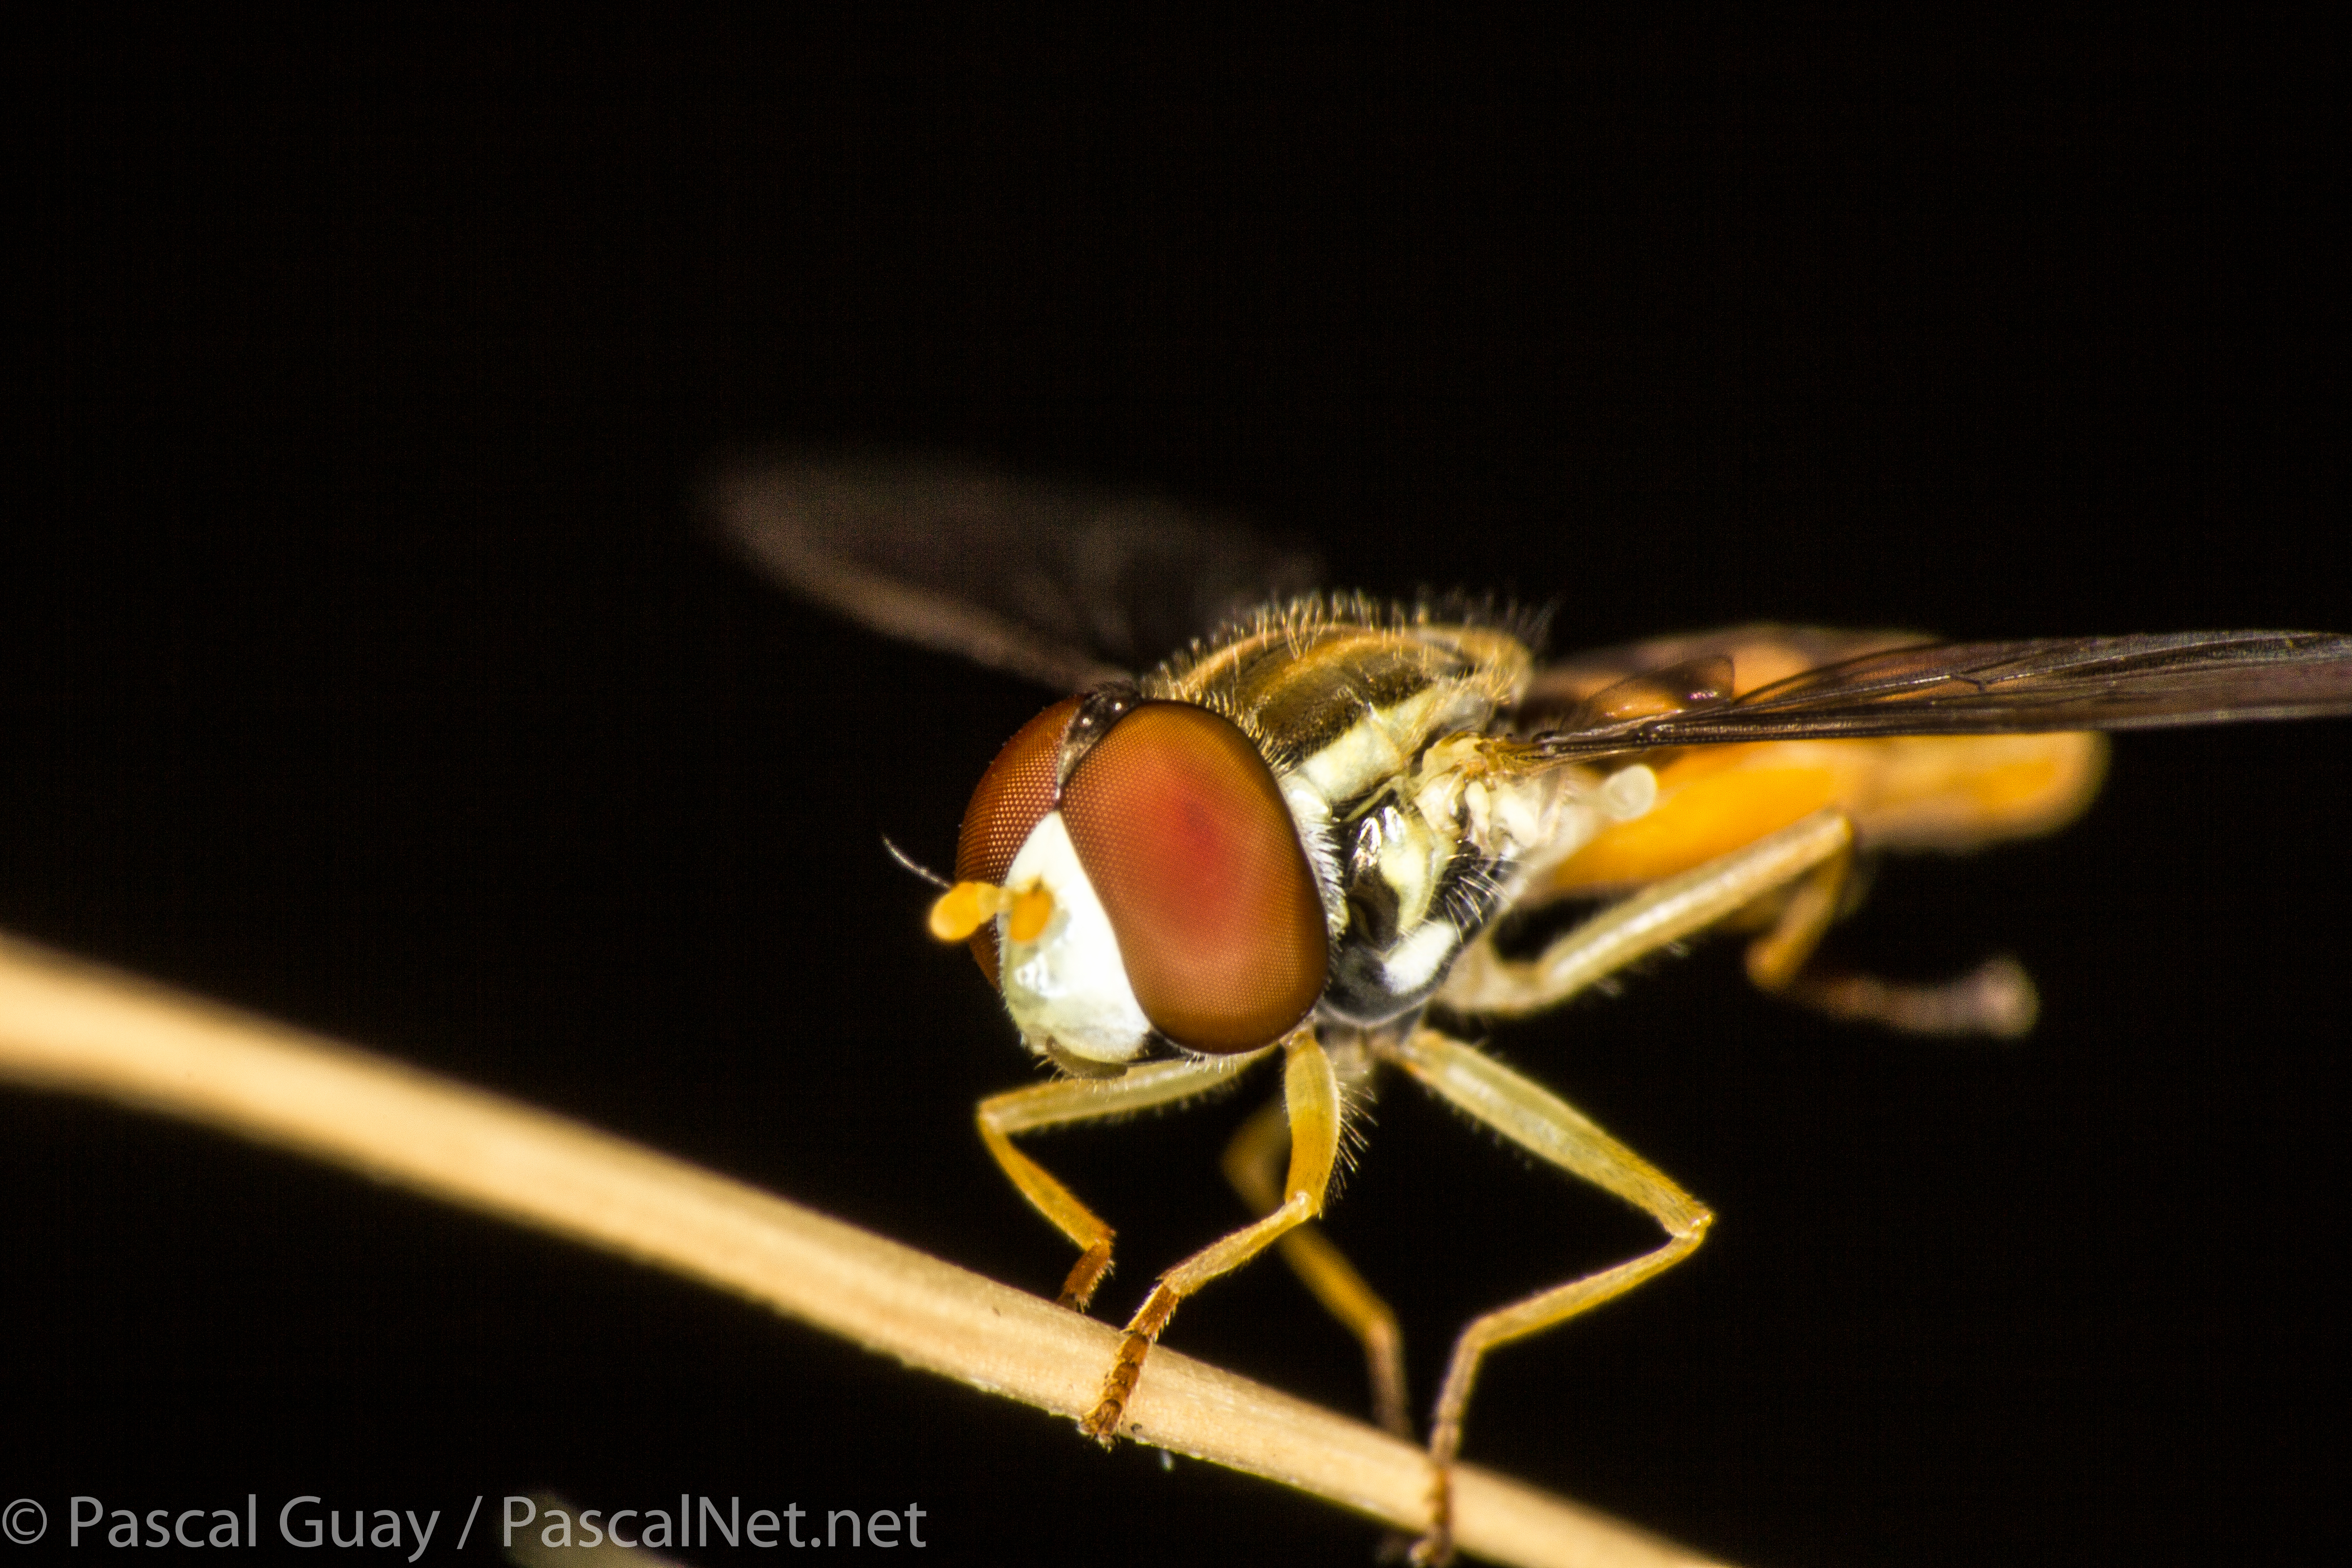
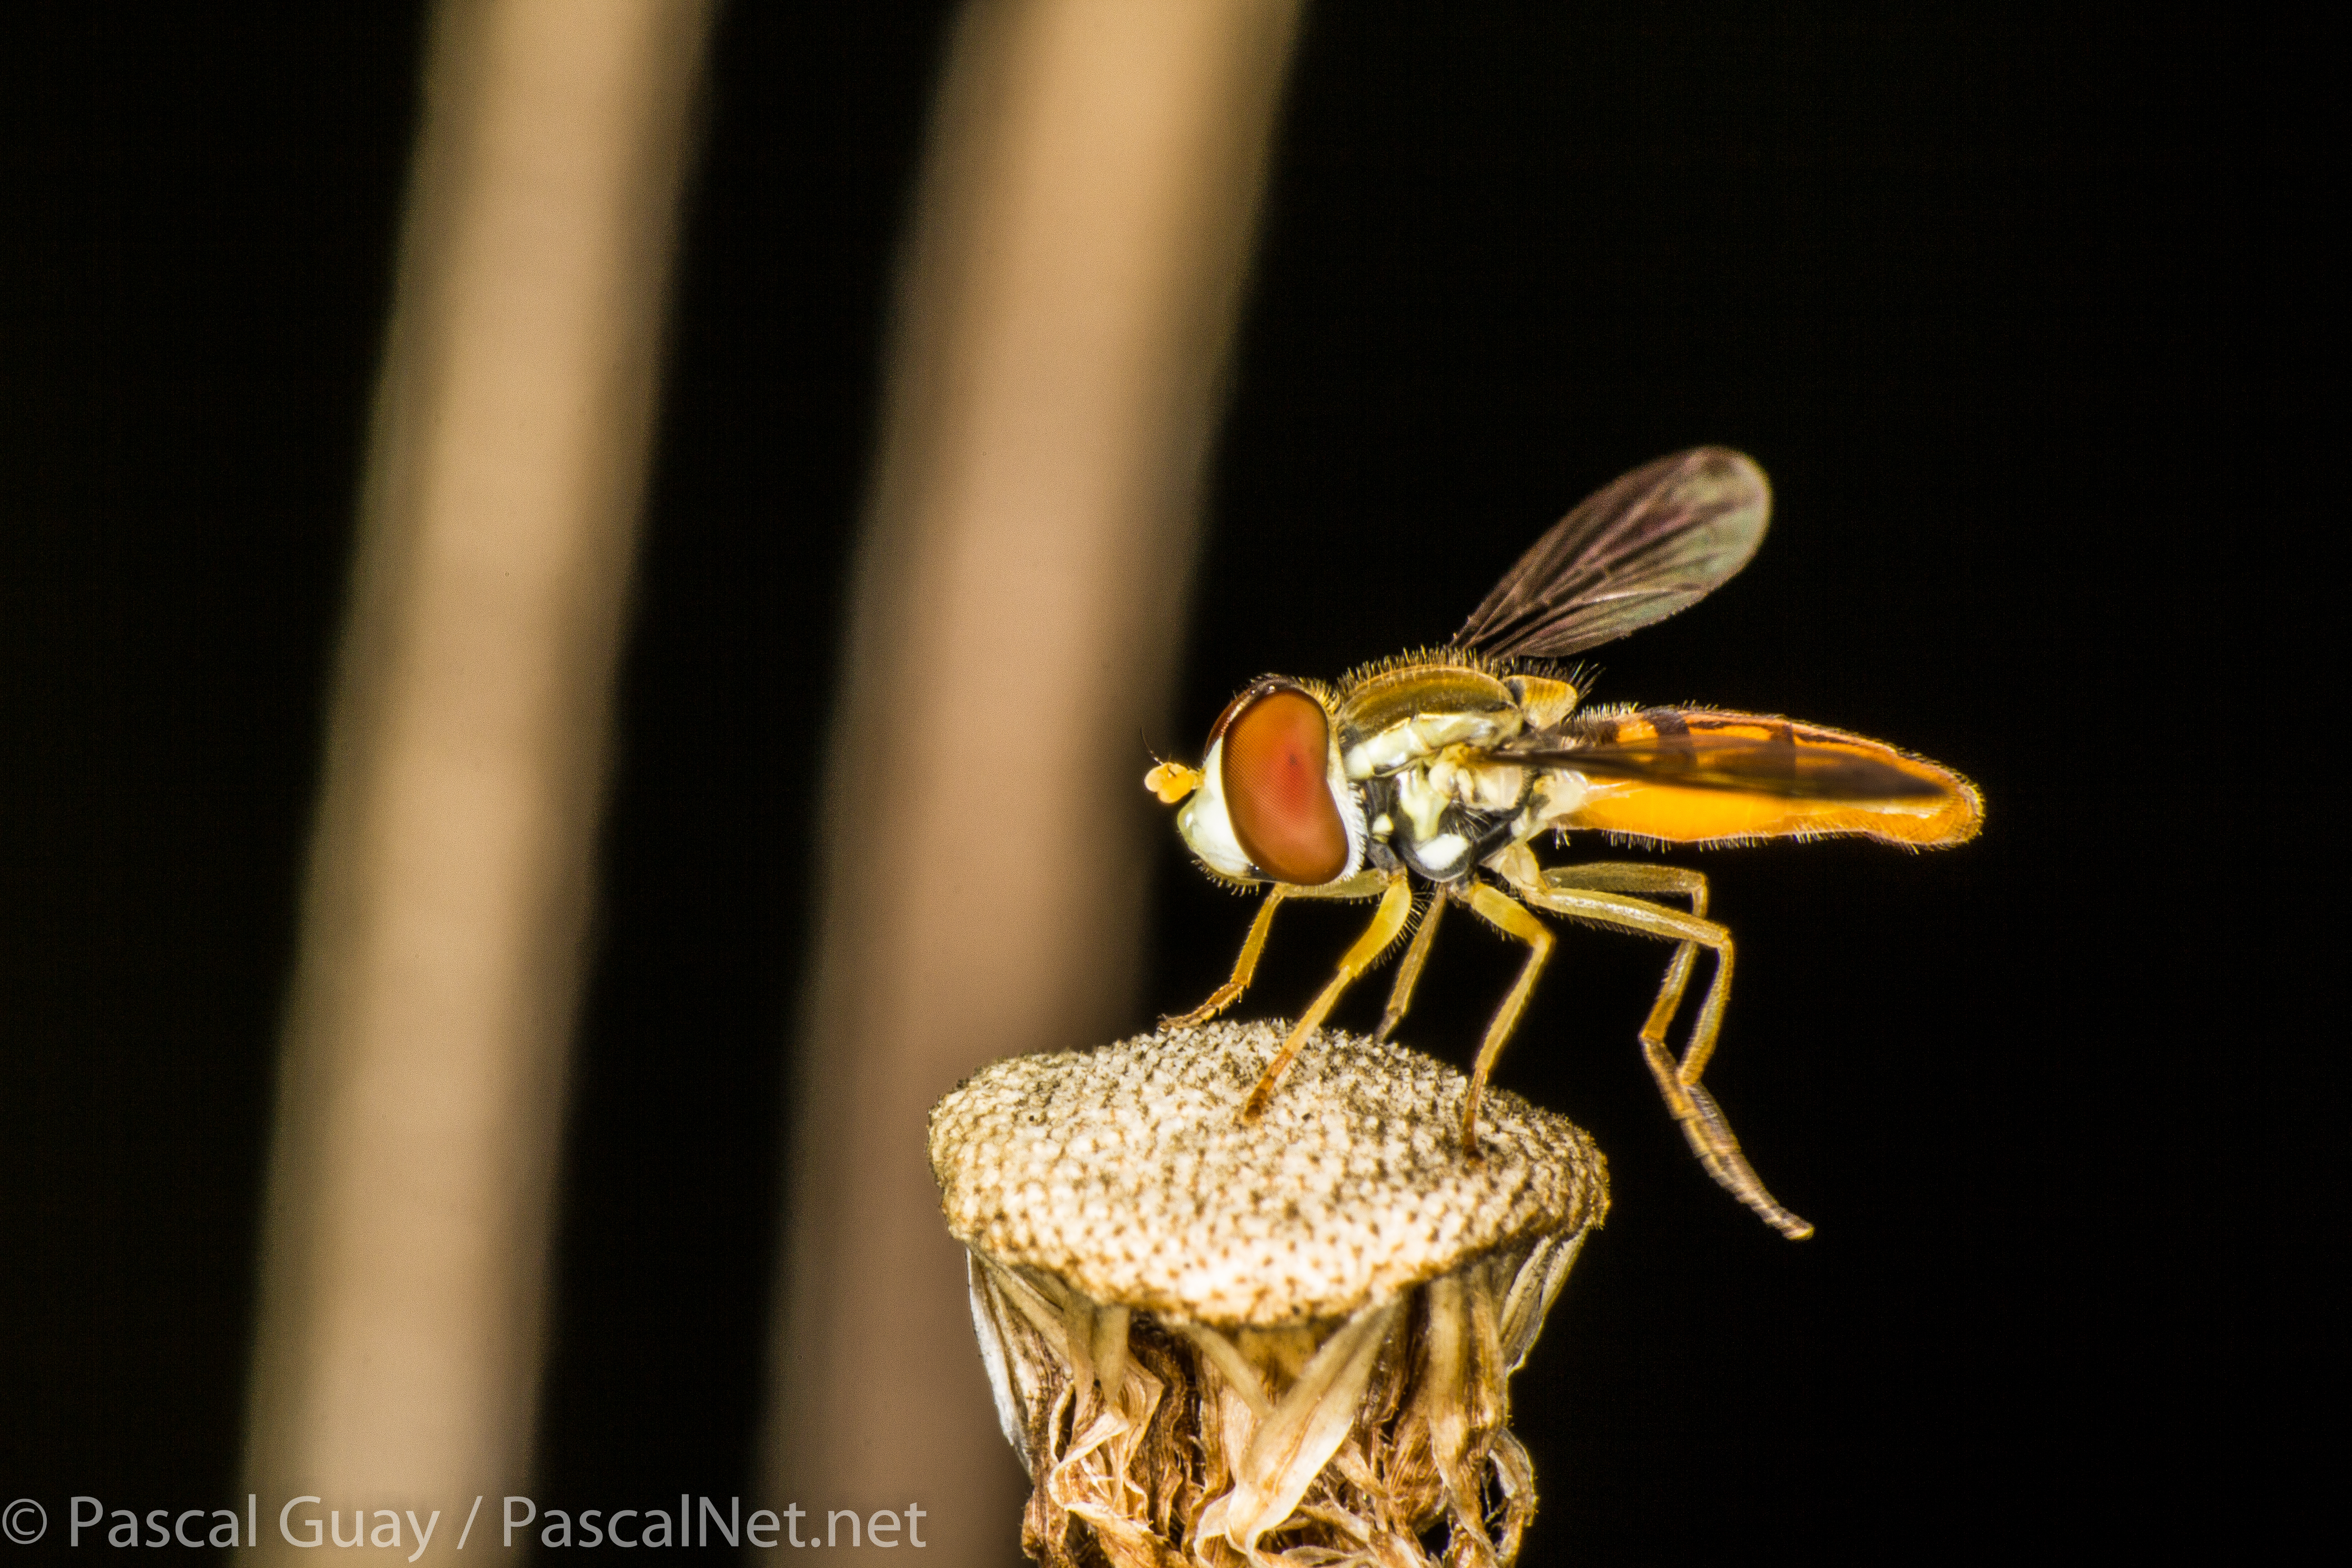
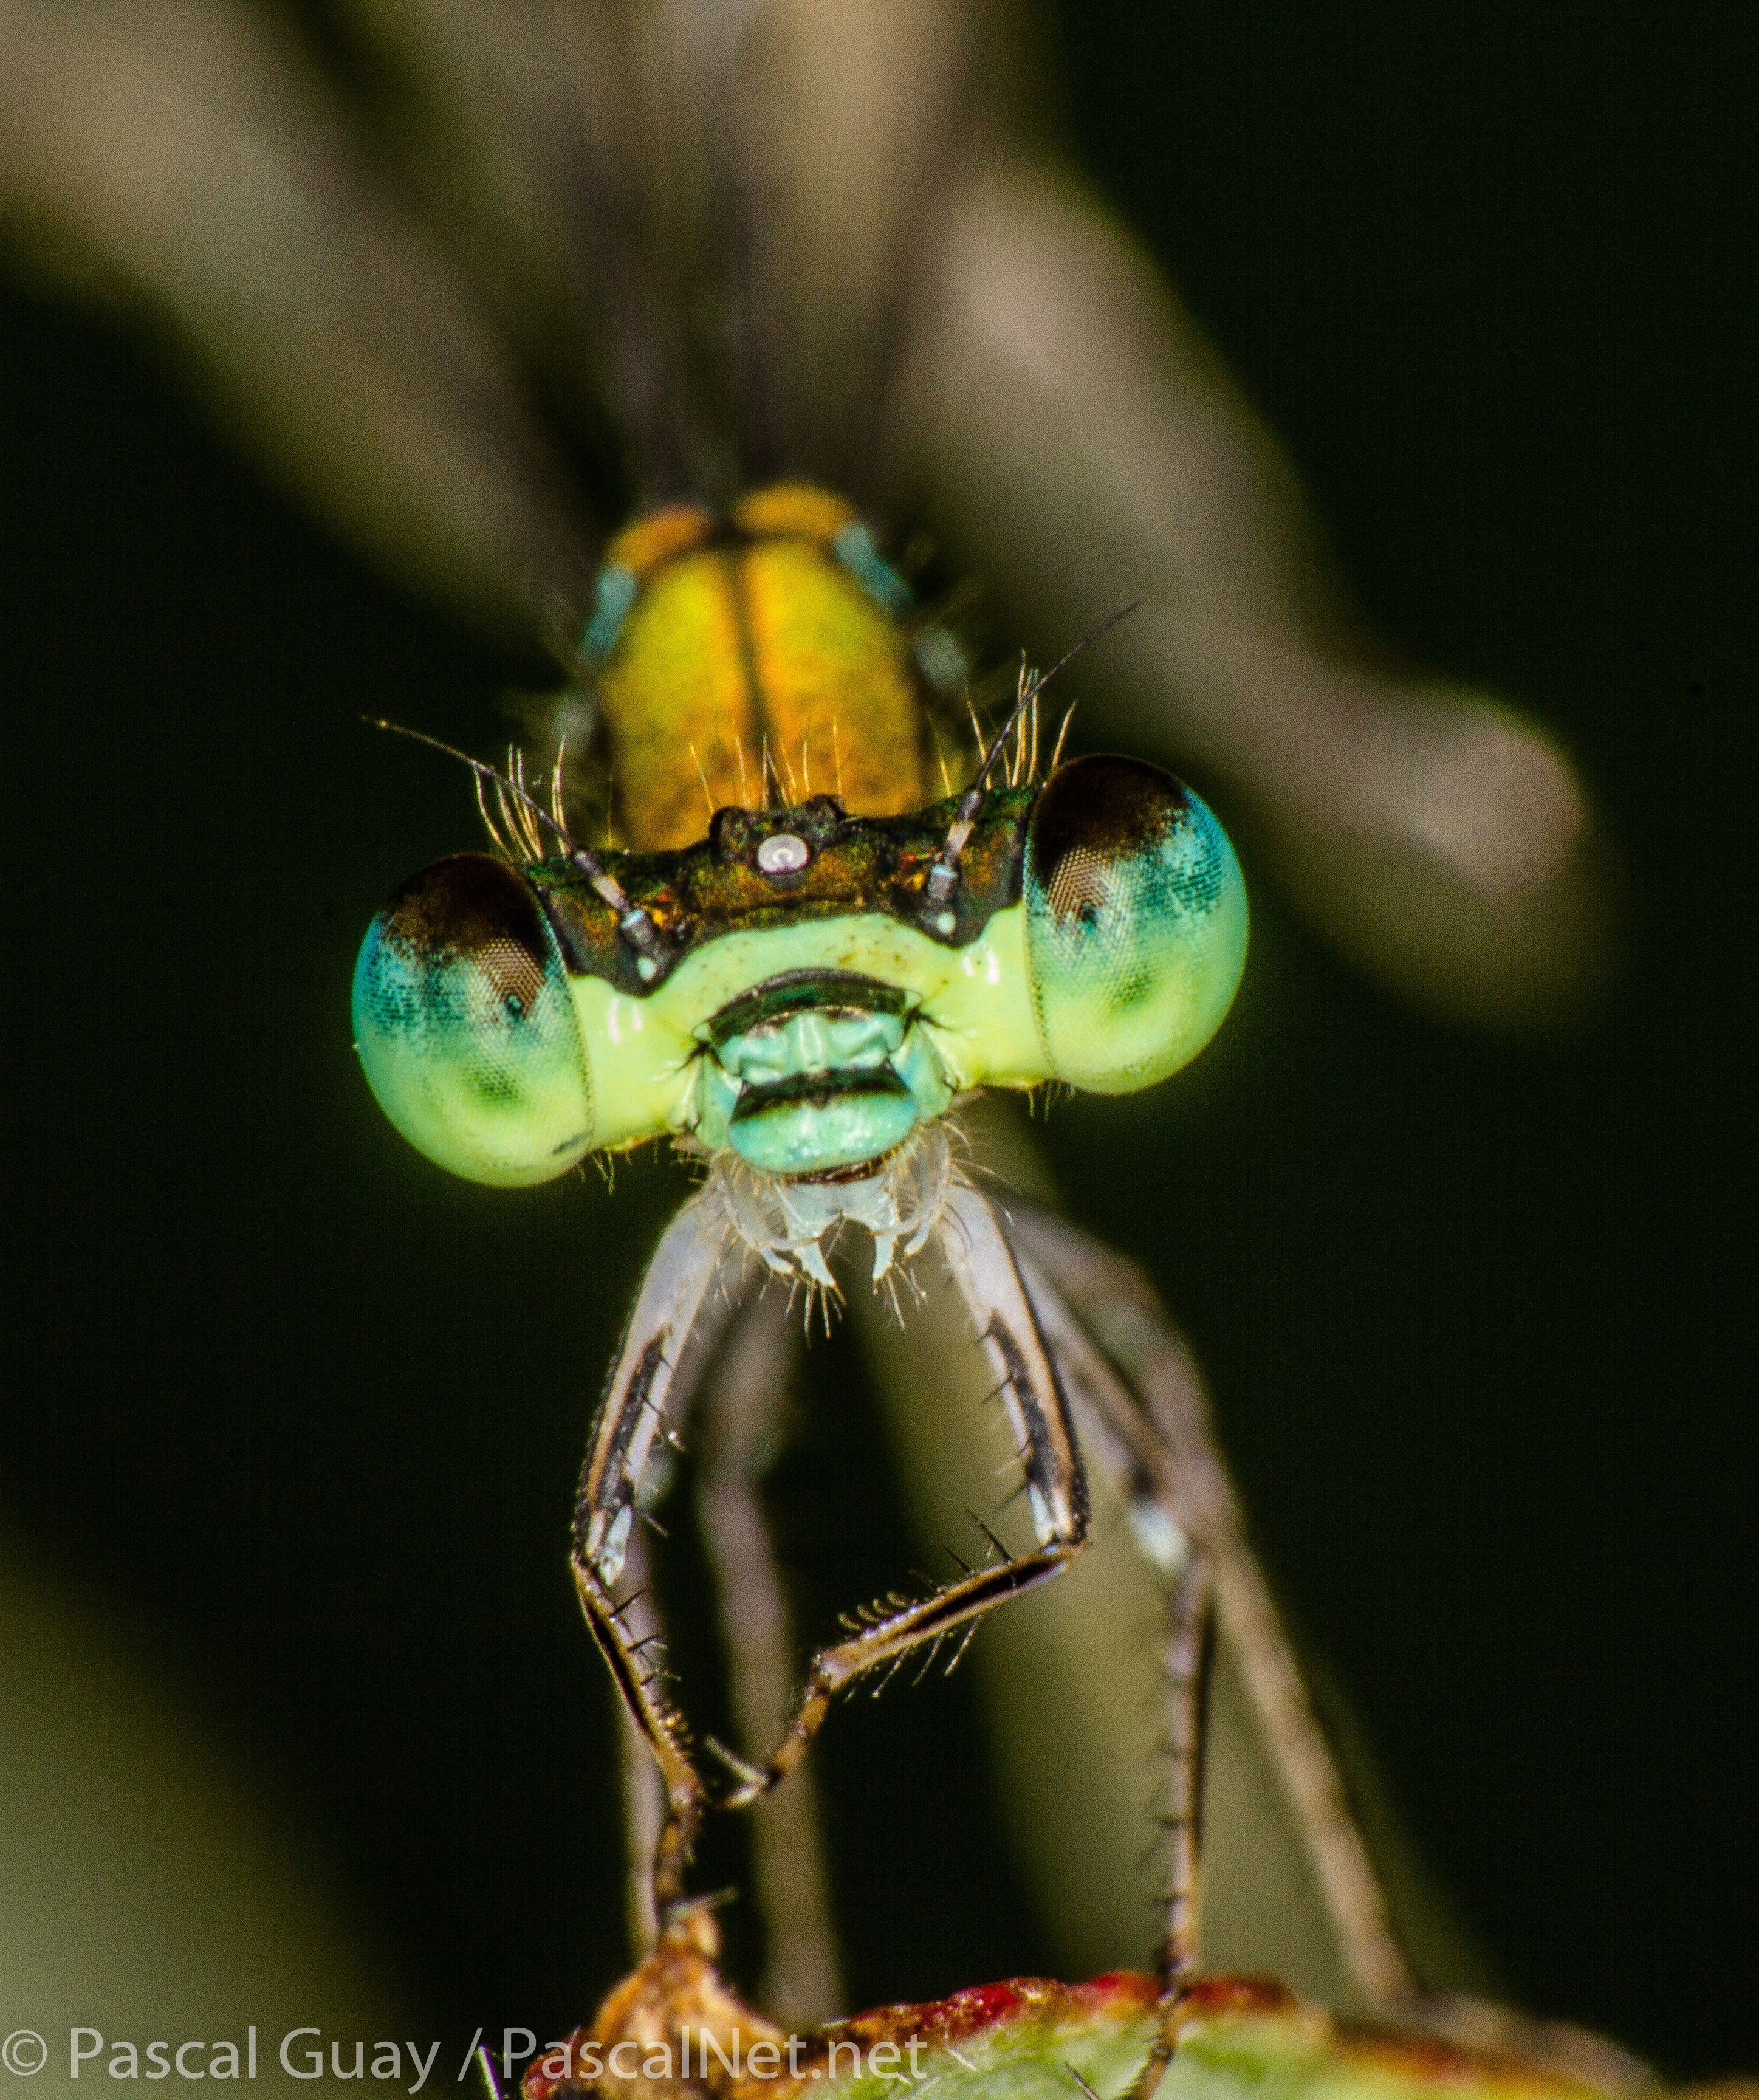
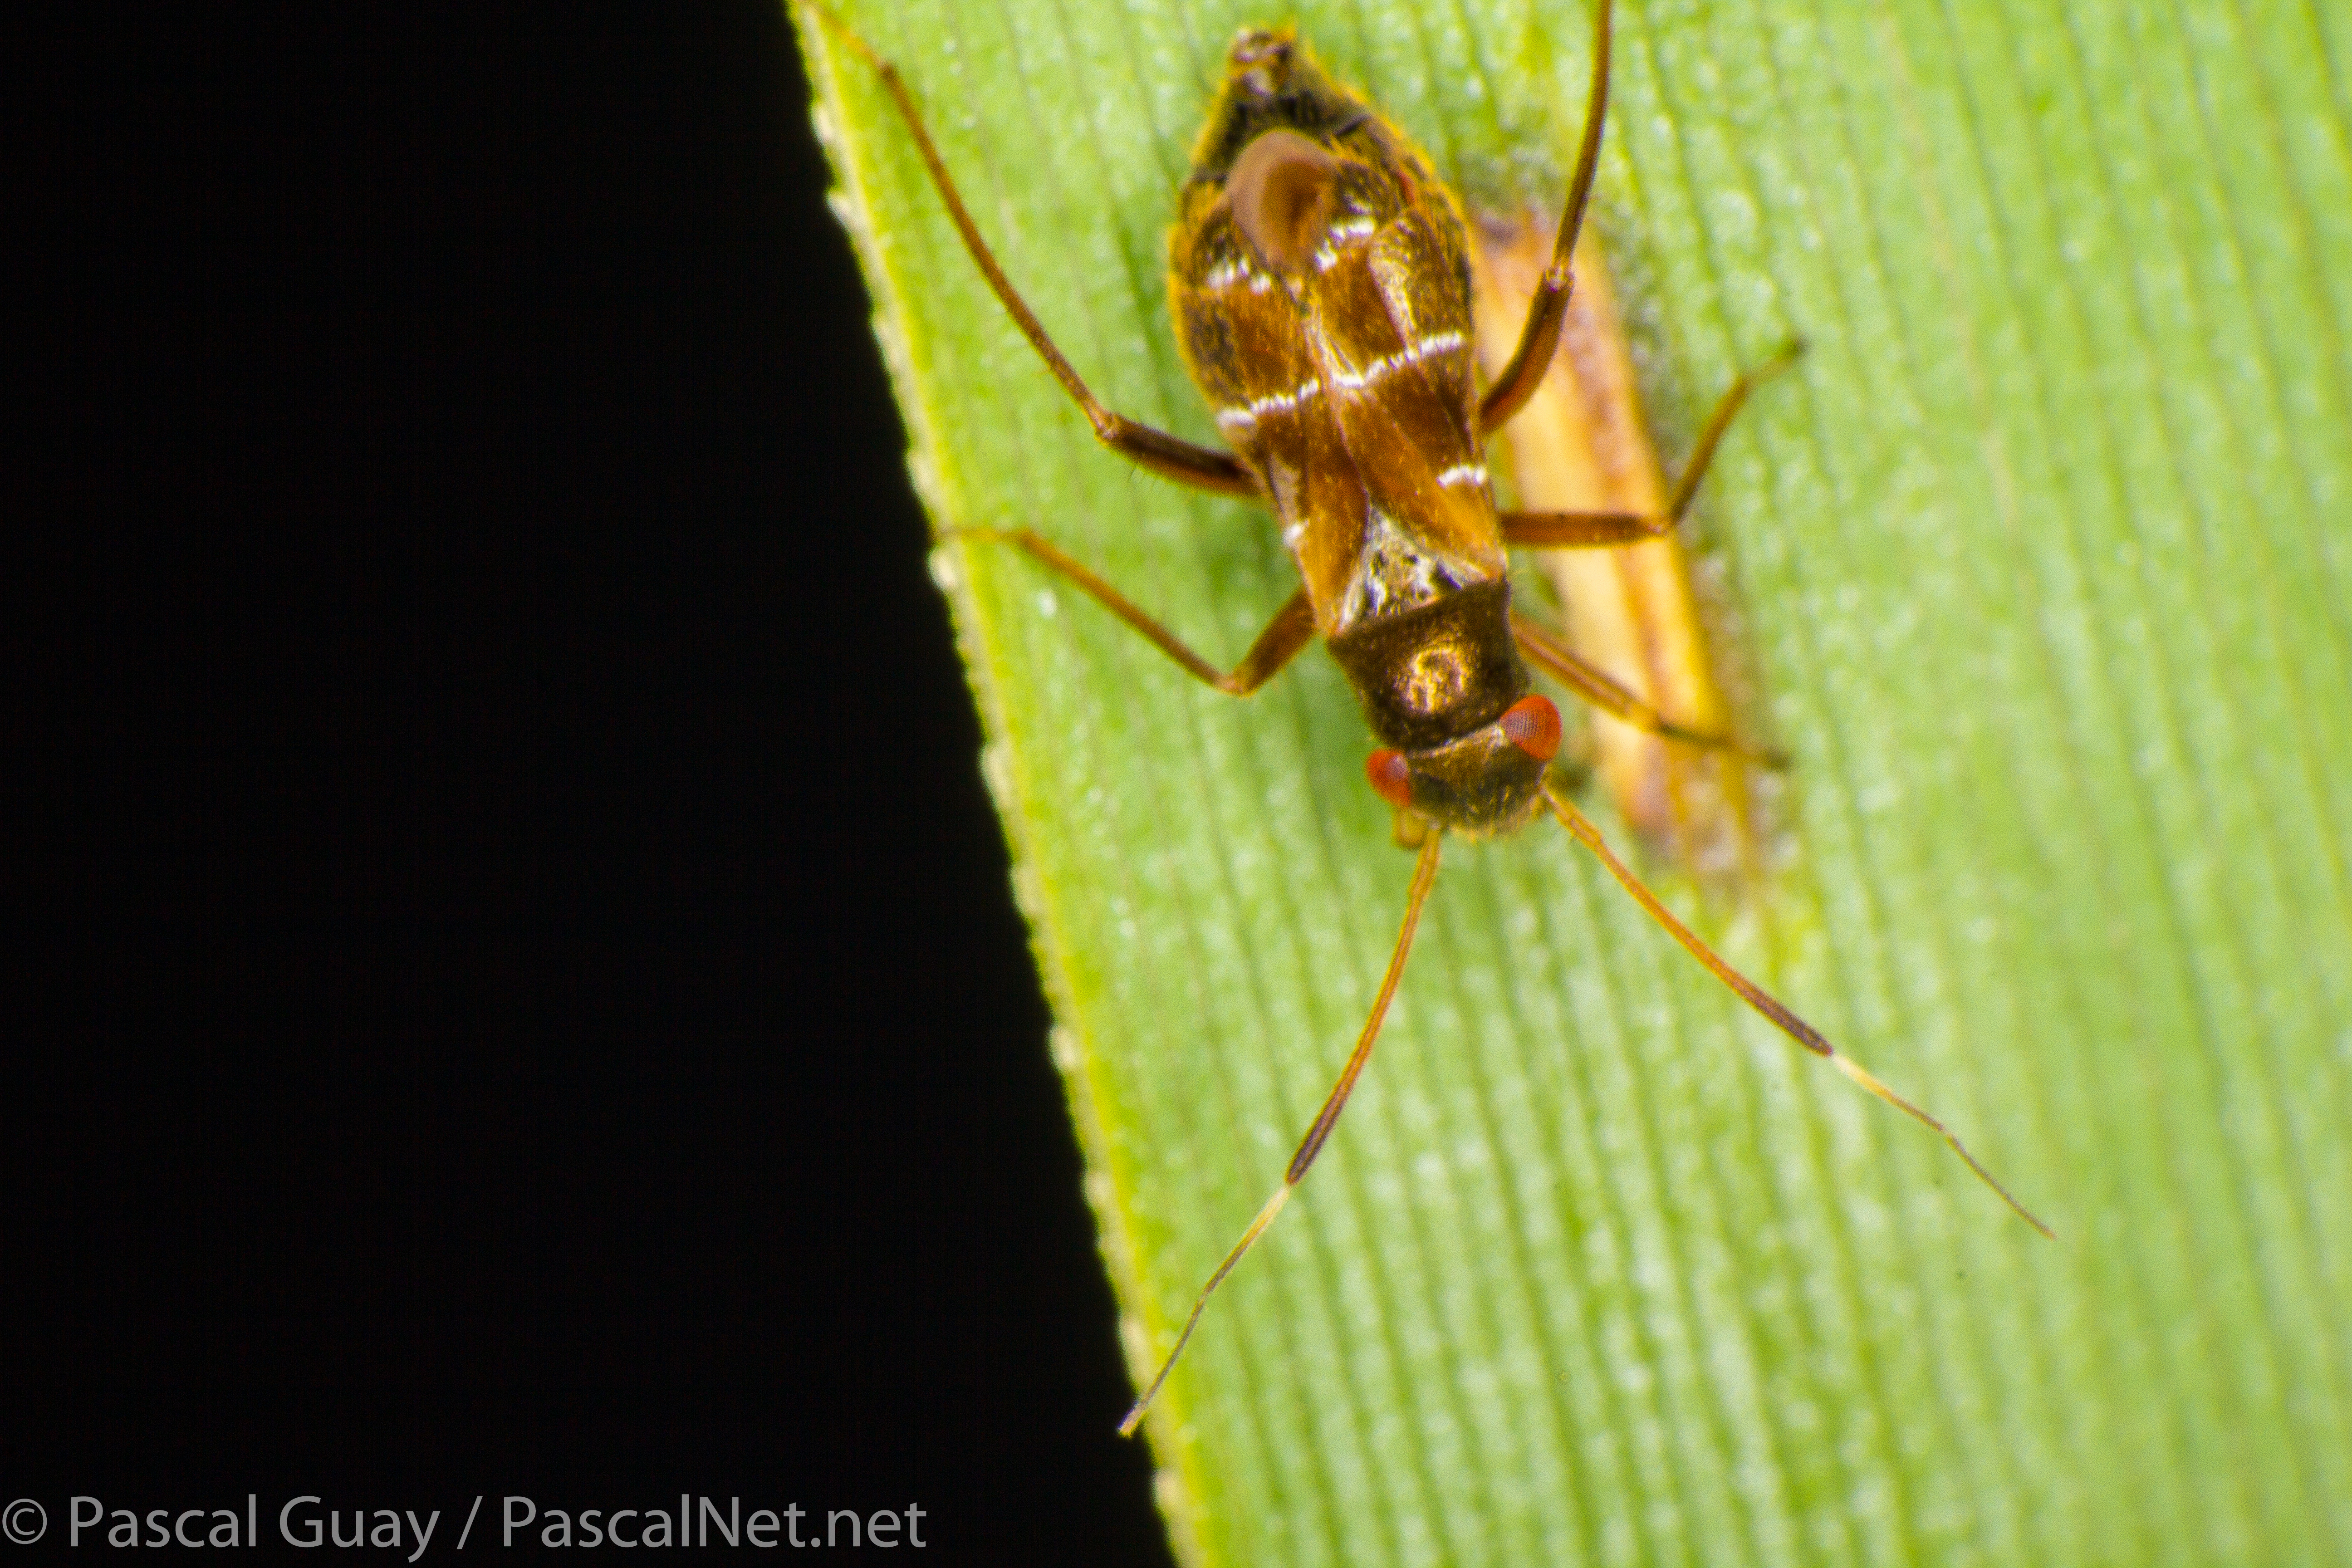
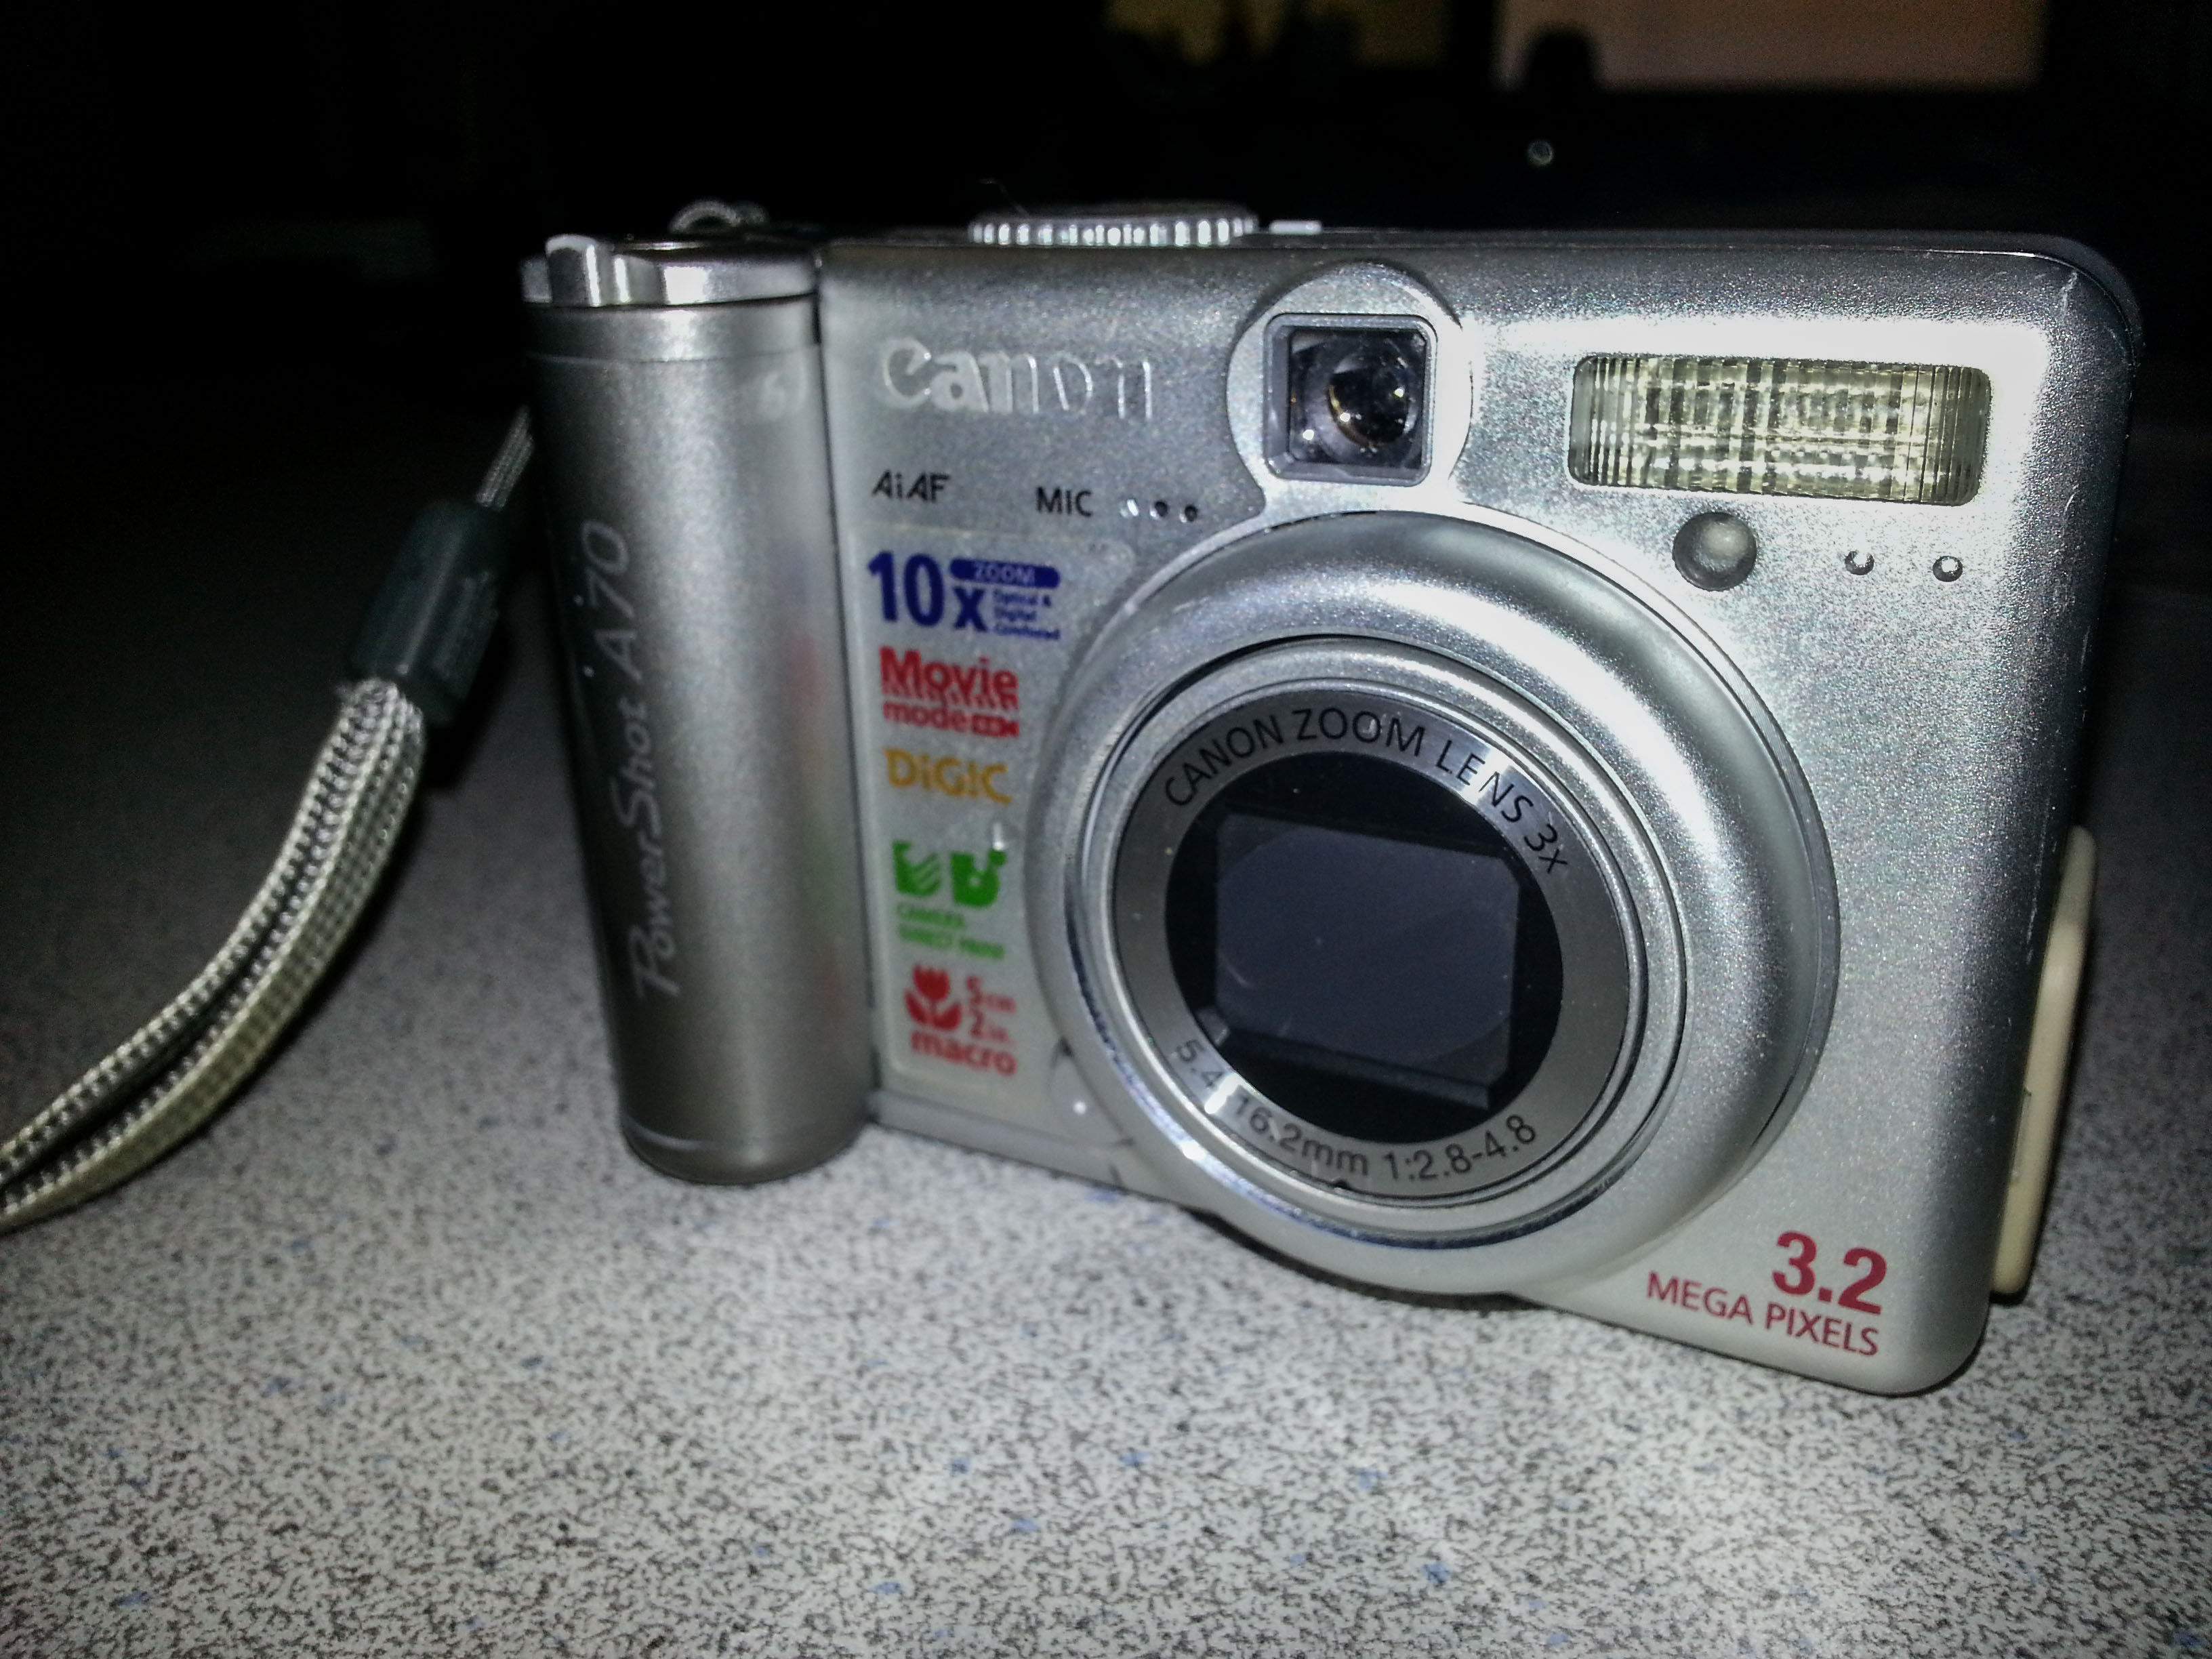
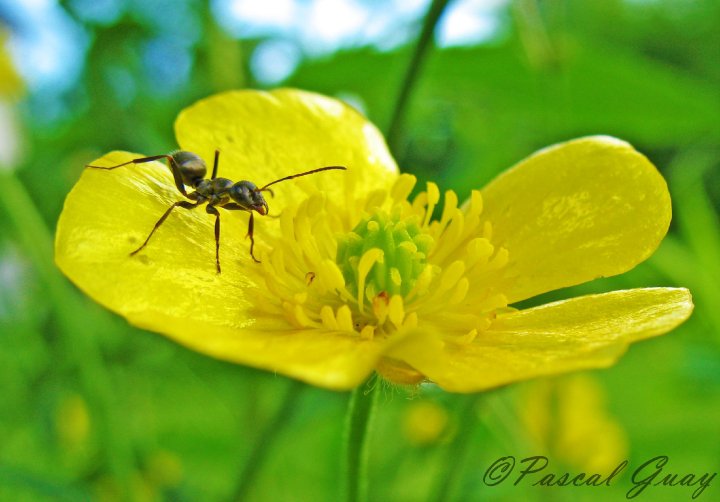
![]() Hello everyone, as some of you may know, I’ve always had a passion for insects from a very young age and it’s showing itself in the kind of photograph I like to take! From the first time I got my hands on a digital camera, I’ve always been a big fan of macro photography. Back in 2003, I had a good old Canon Powershot A70 and was able to take some pretty good shots with it.
Hello everyone, as some of you may know, I’ve always had a passion for insects from a very young age and it’s showing itself in the kind of photograph I like to take! From the first time I got my hands on a digital camera, I’ve always been a big fan of macro photography. Back in 2003, I had a good old Canon Powershot A70 and was able to take some pretty good shots with it.
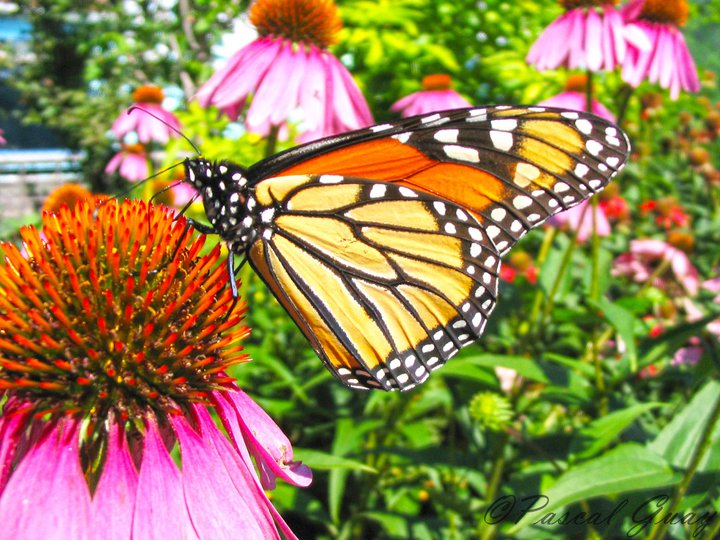
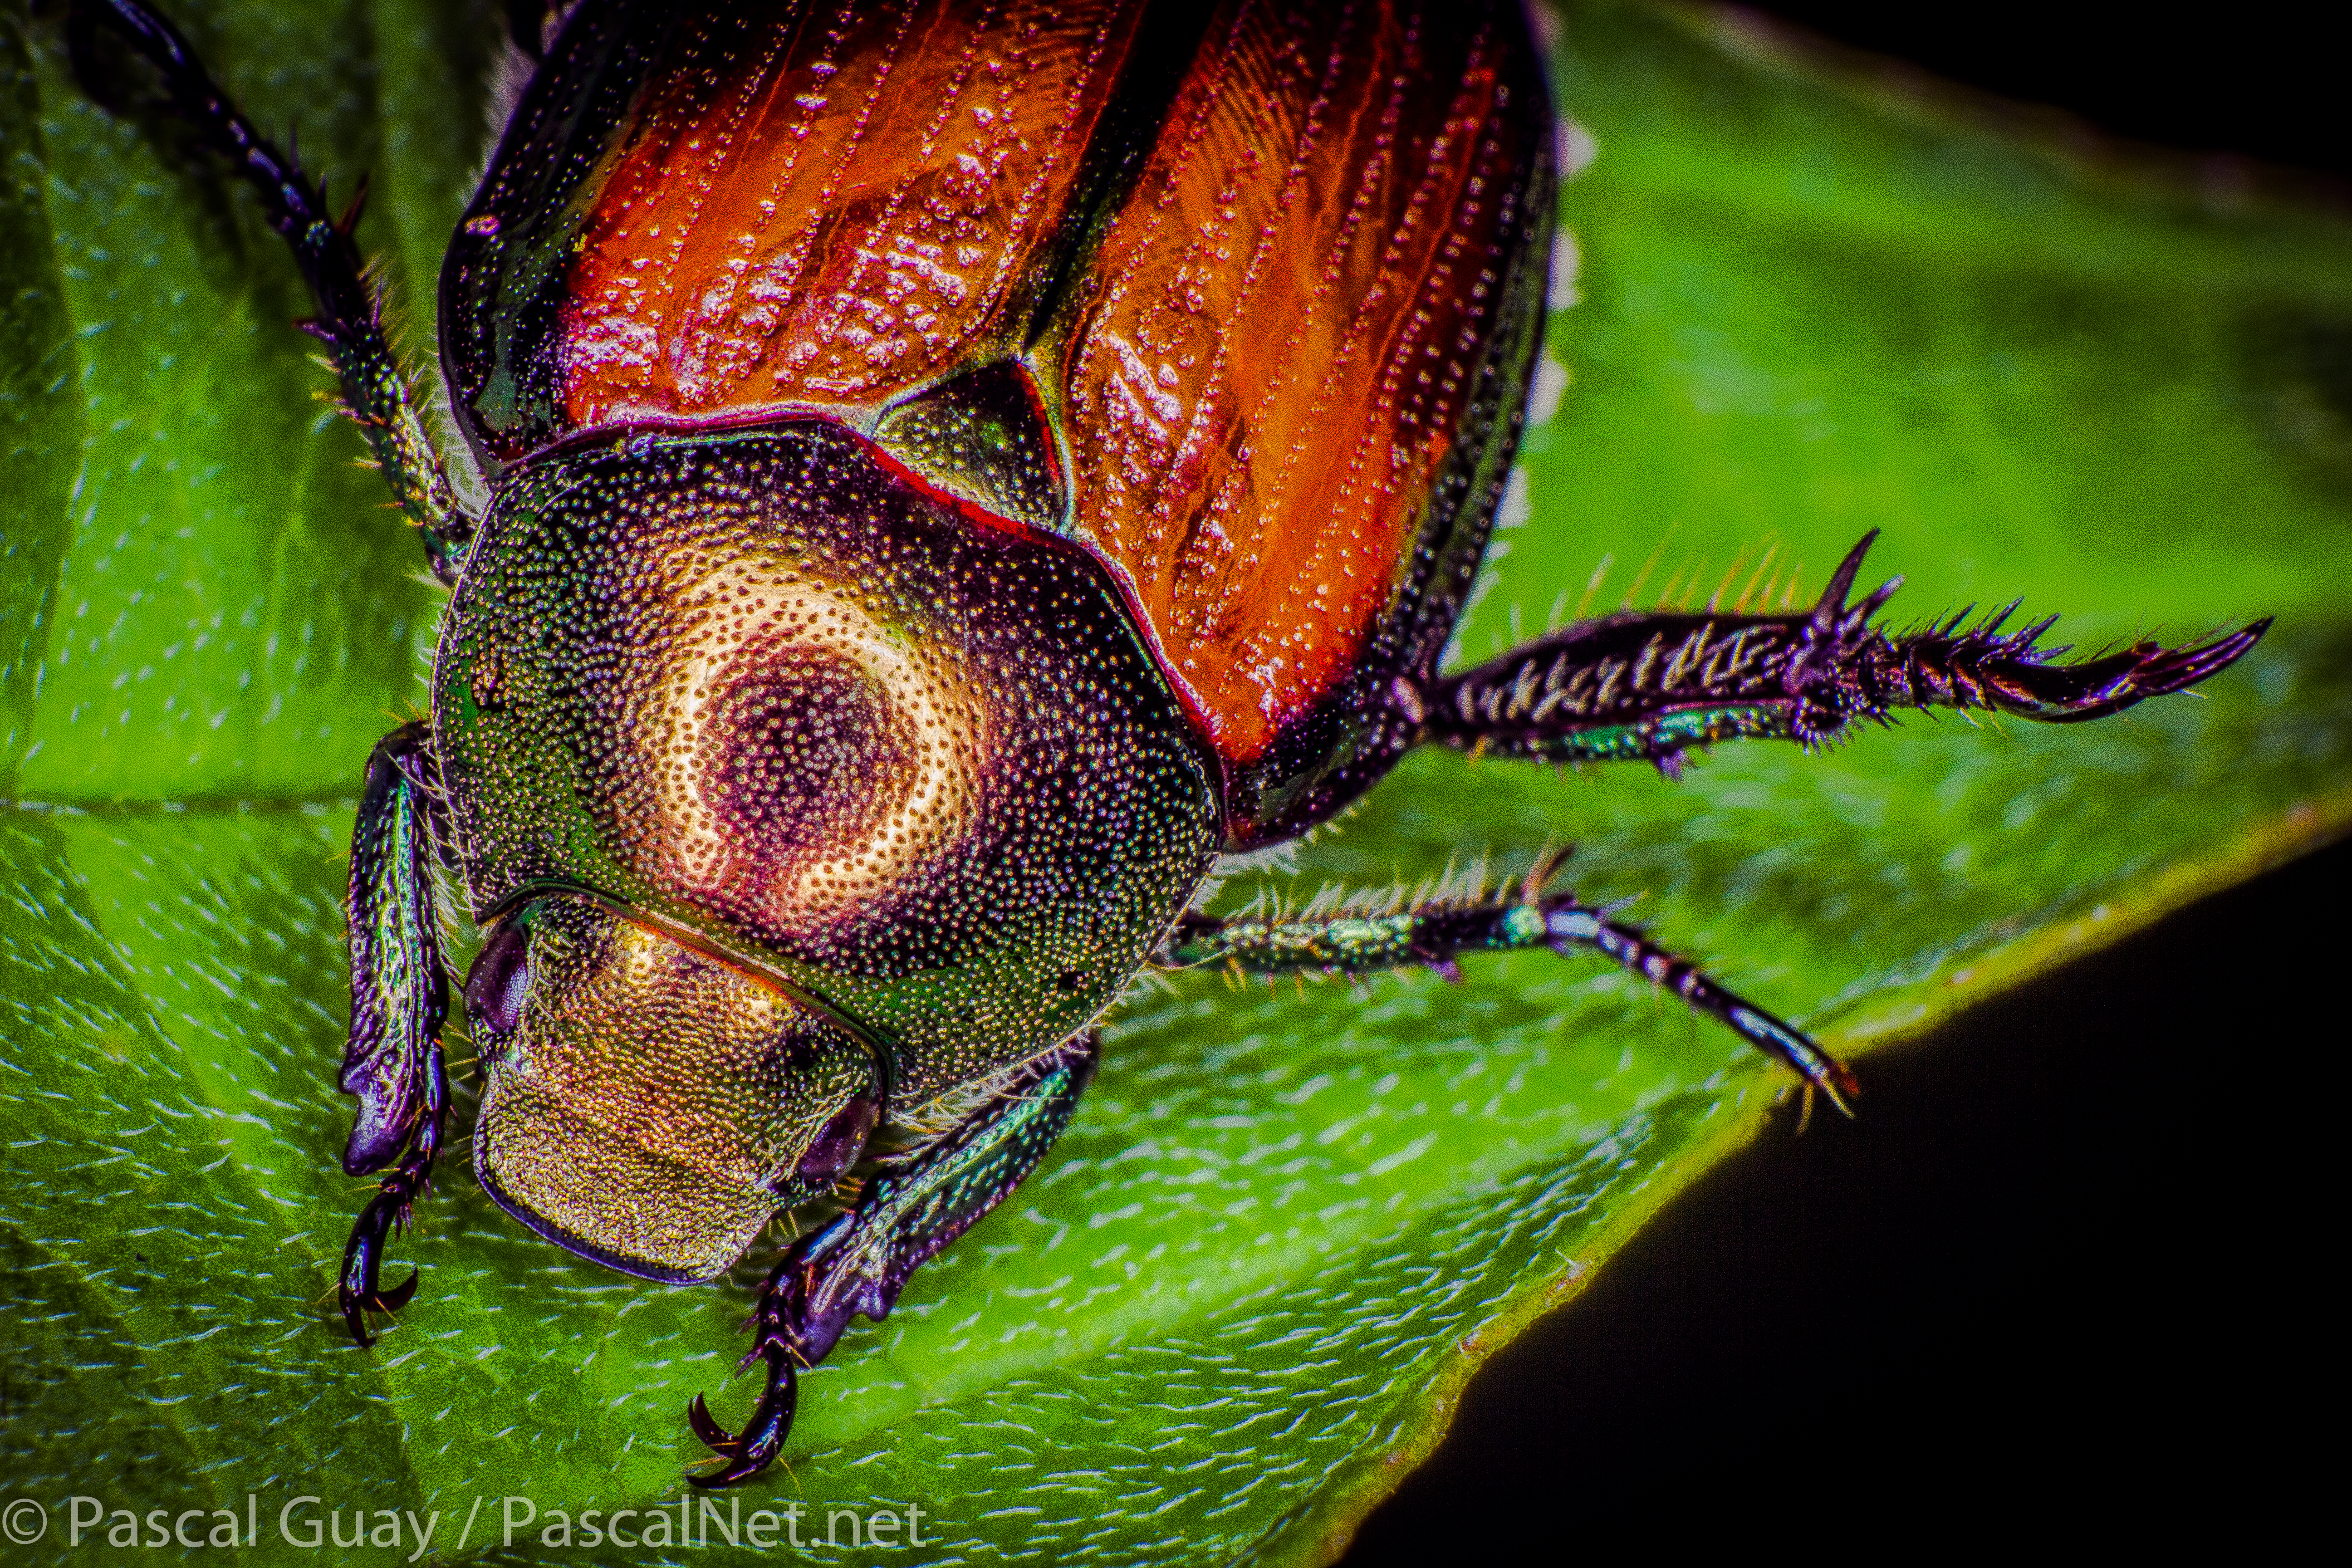
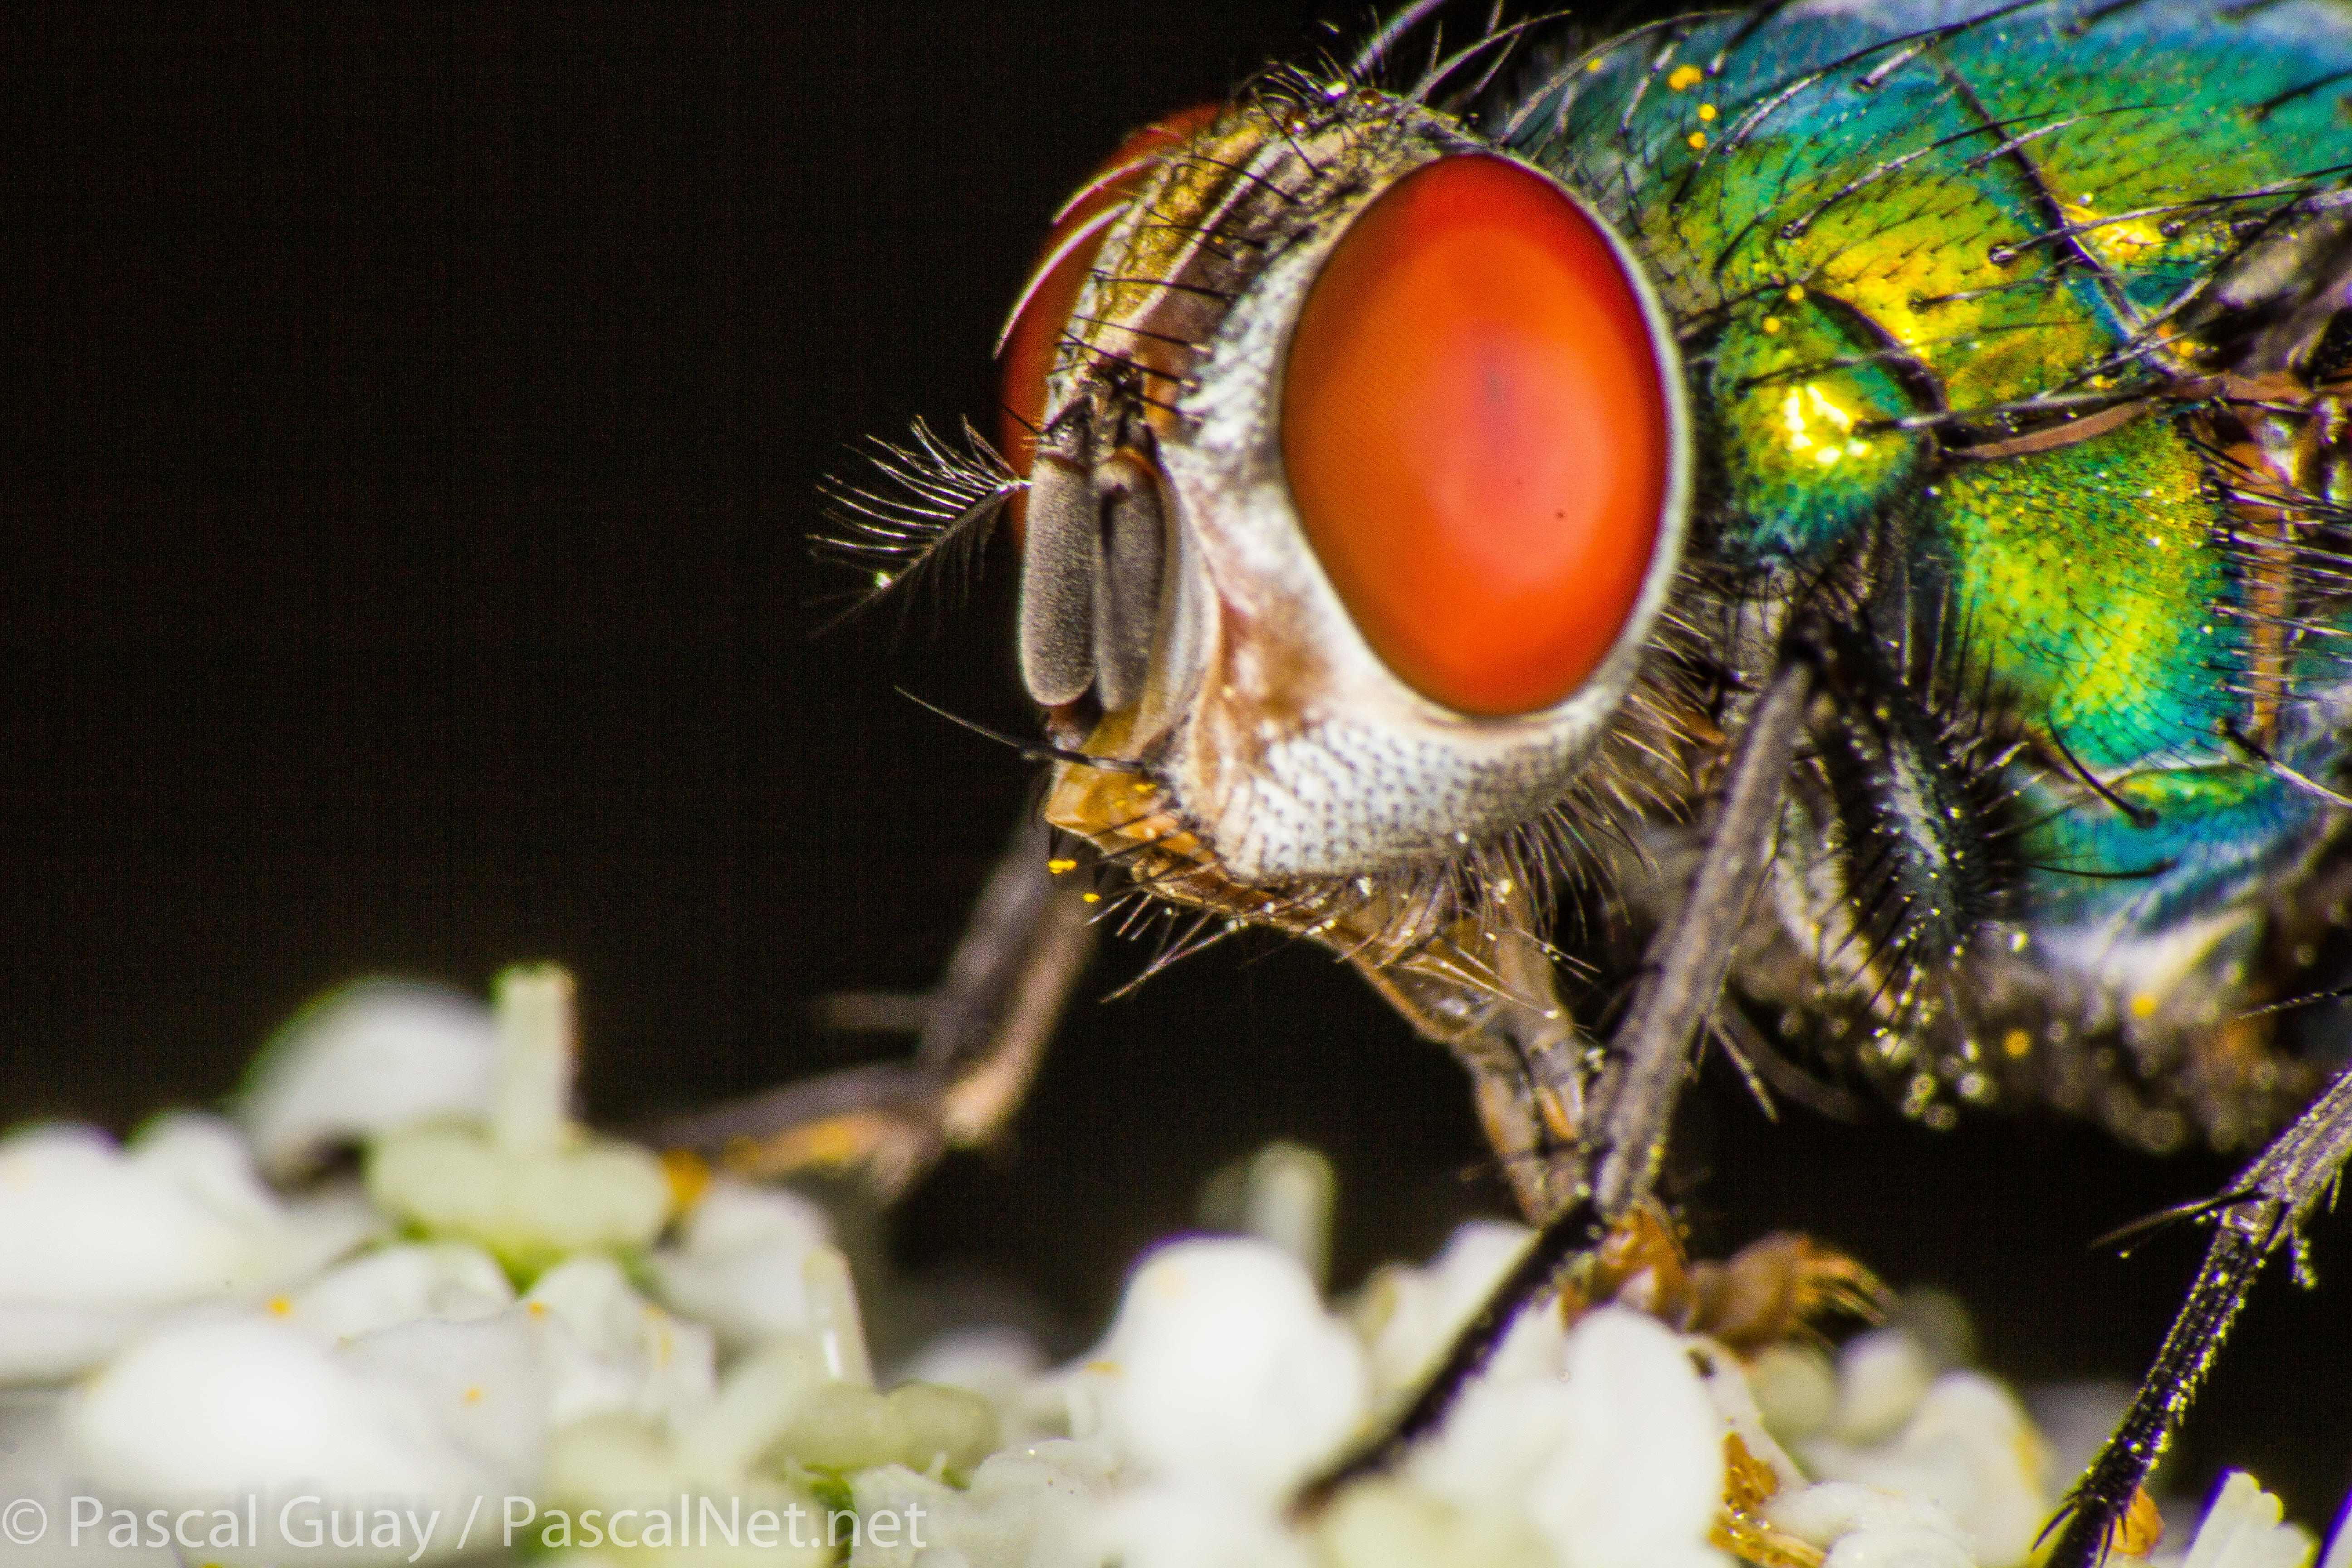
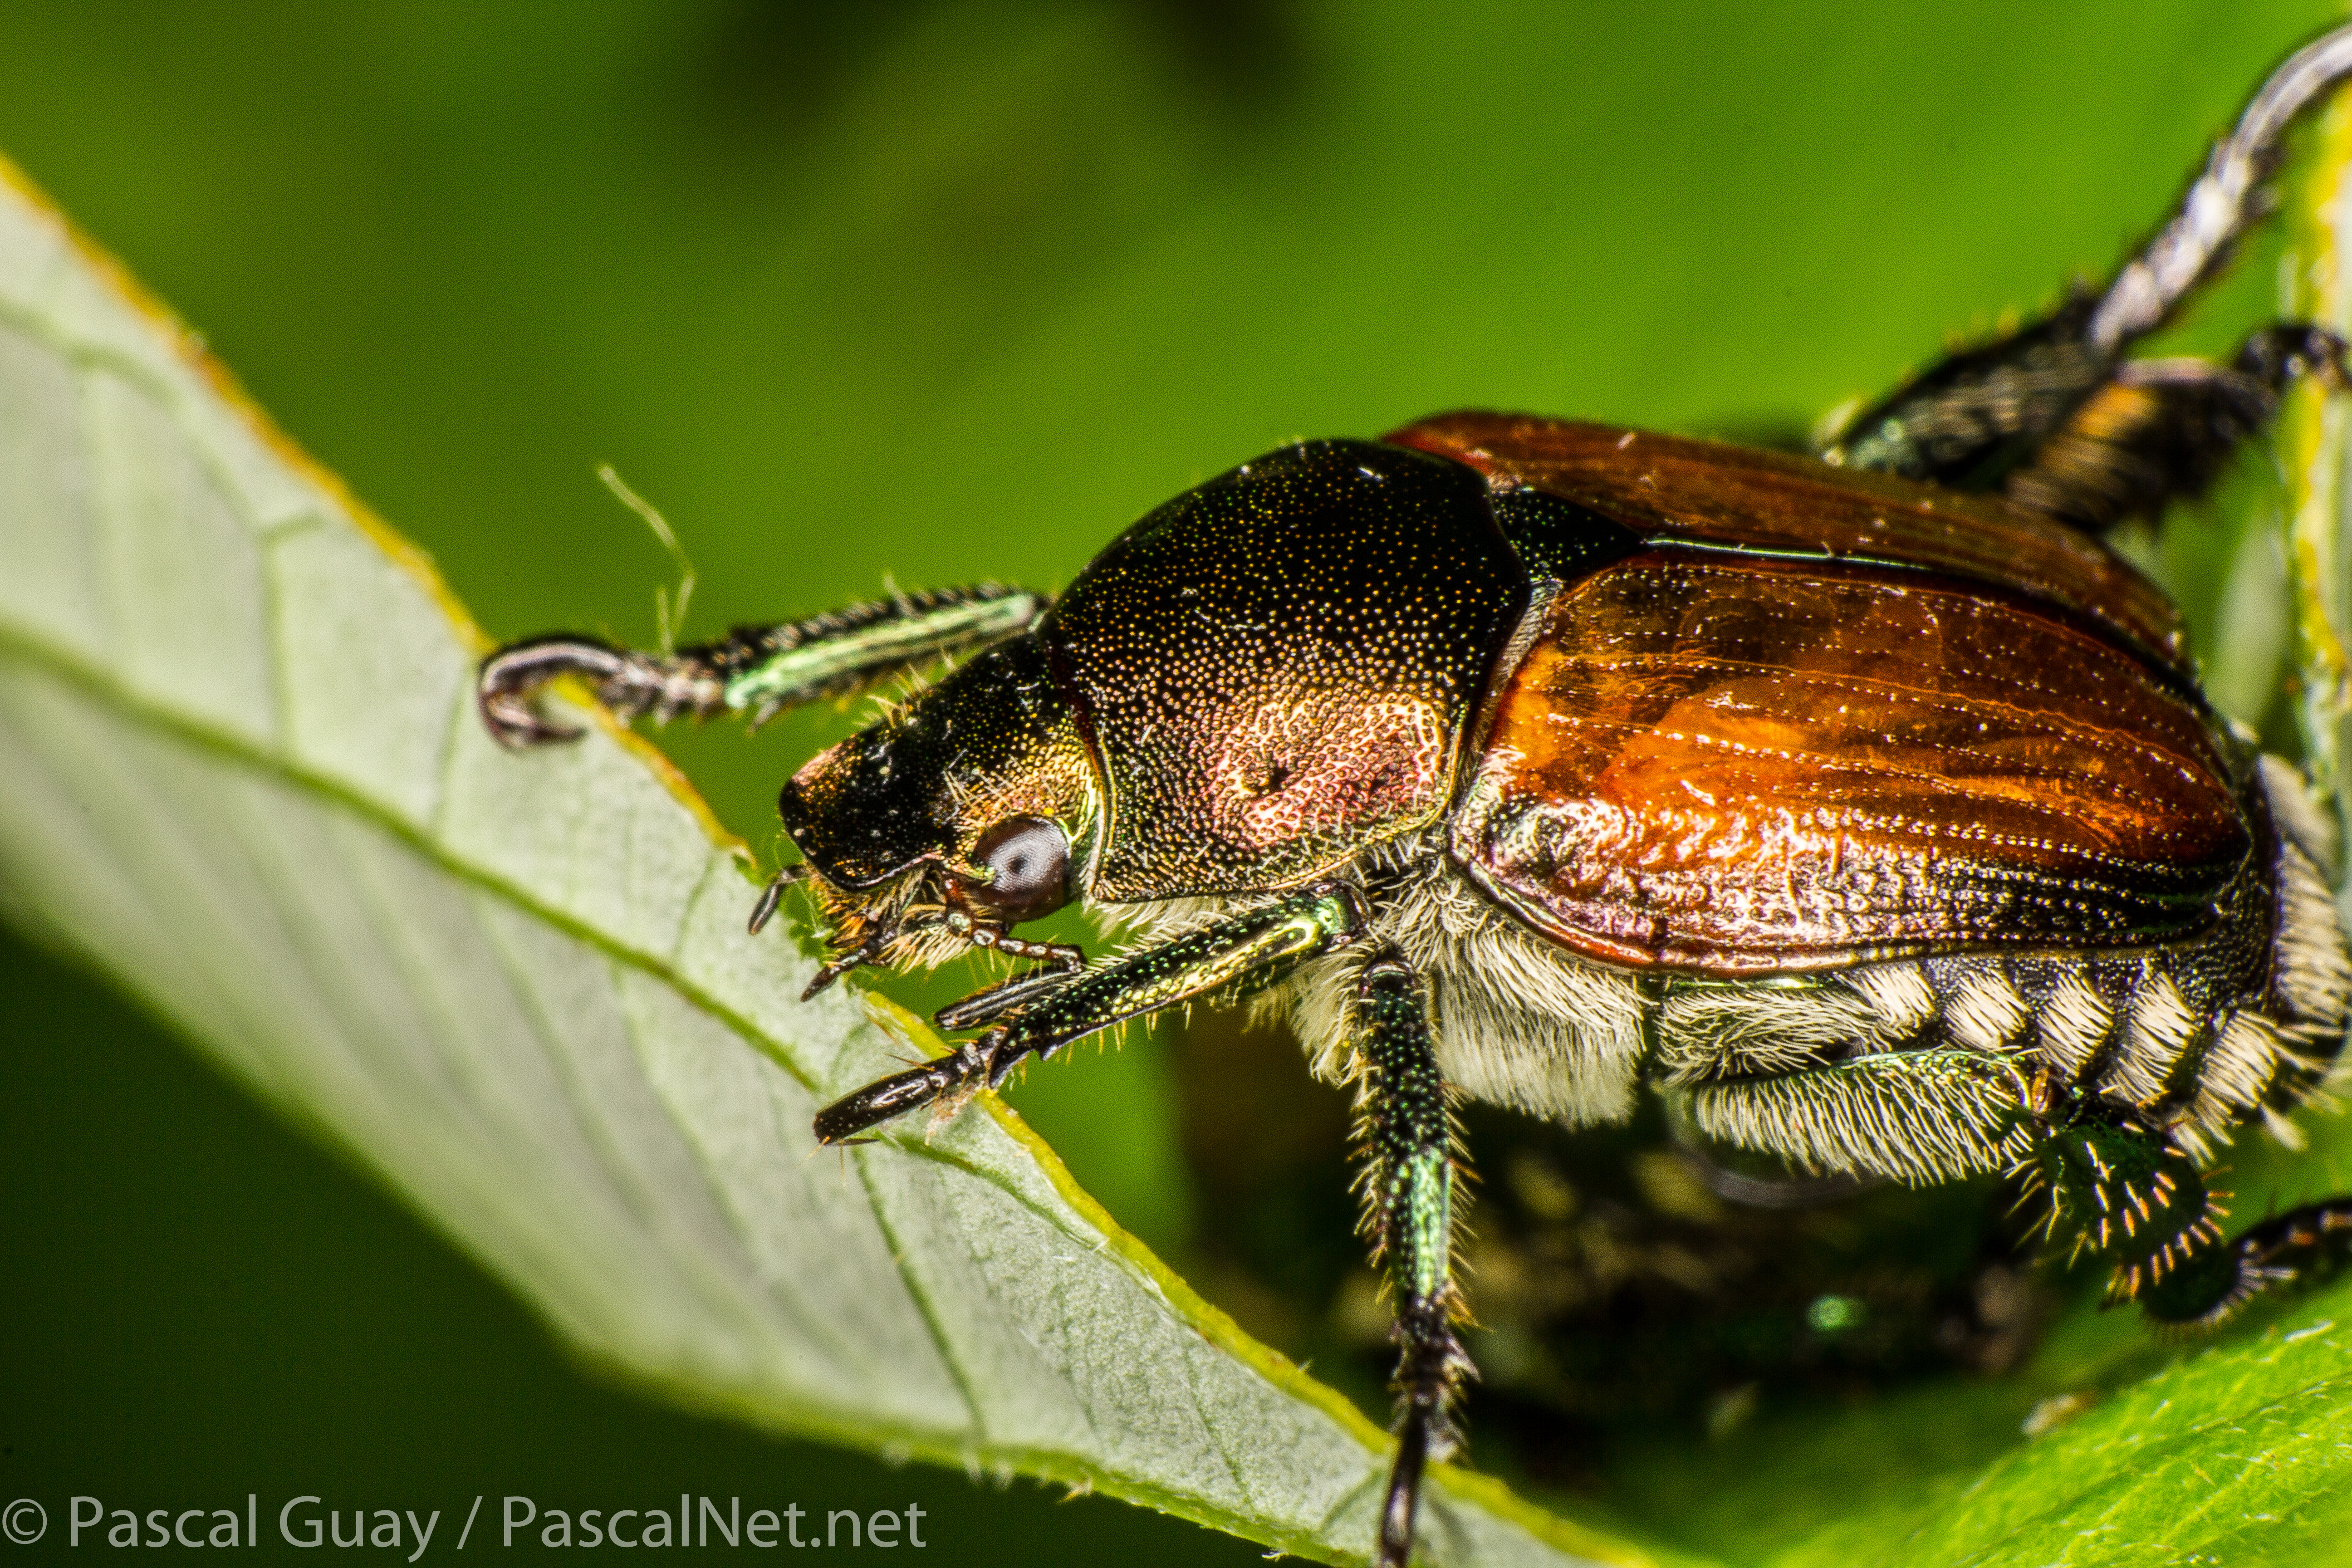
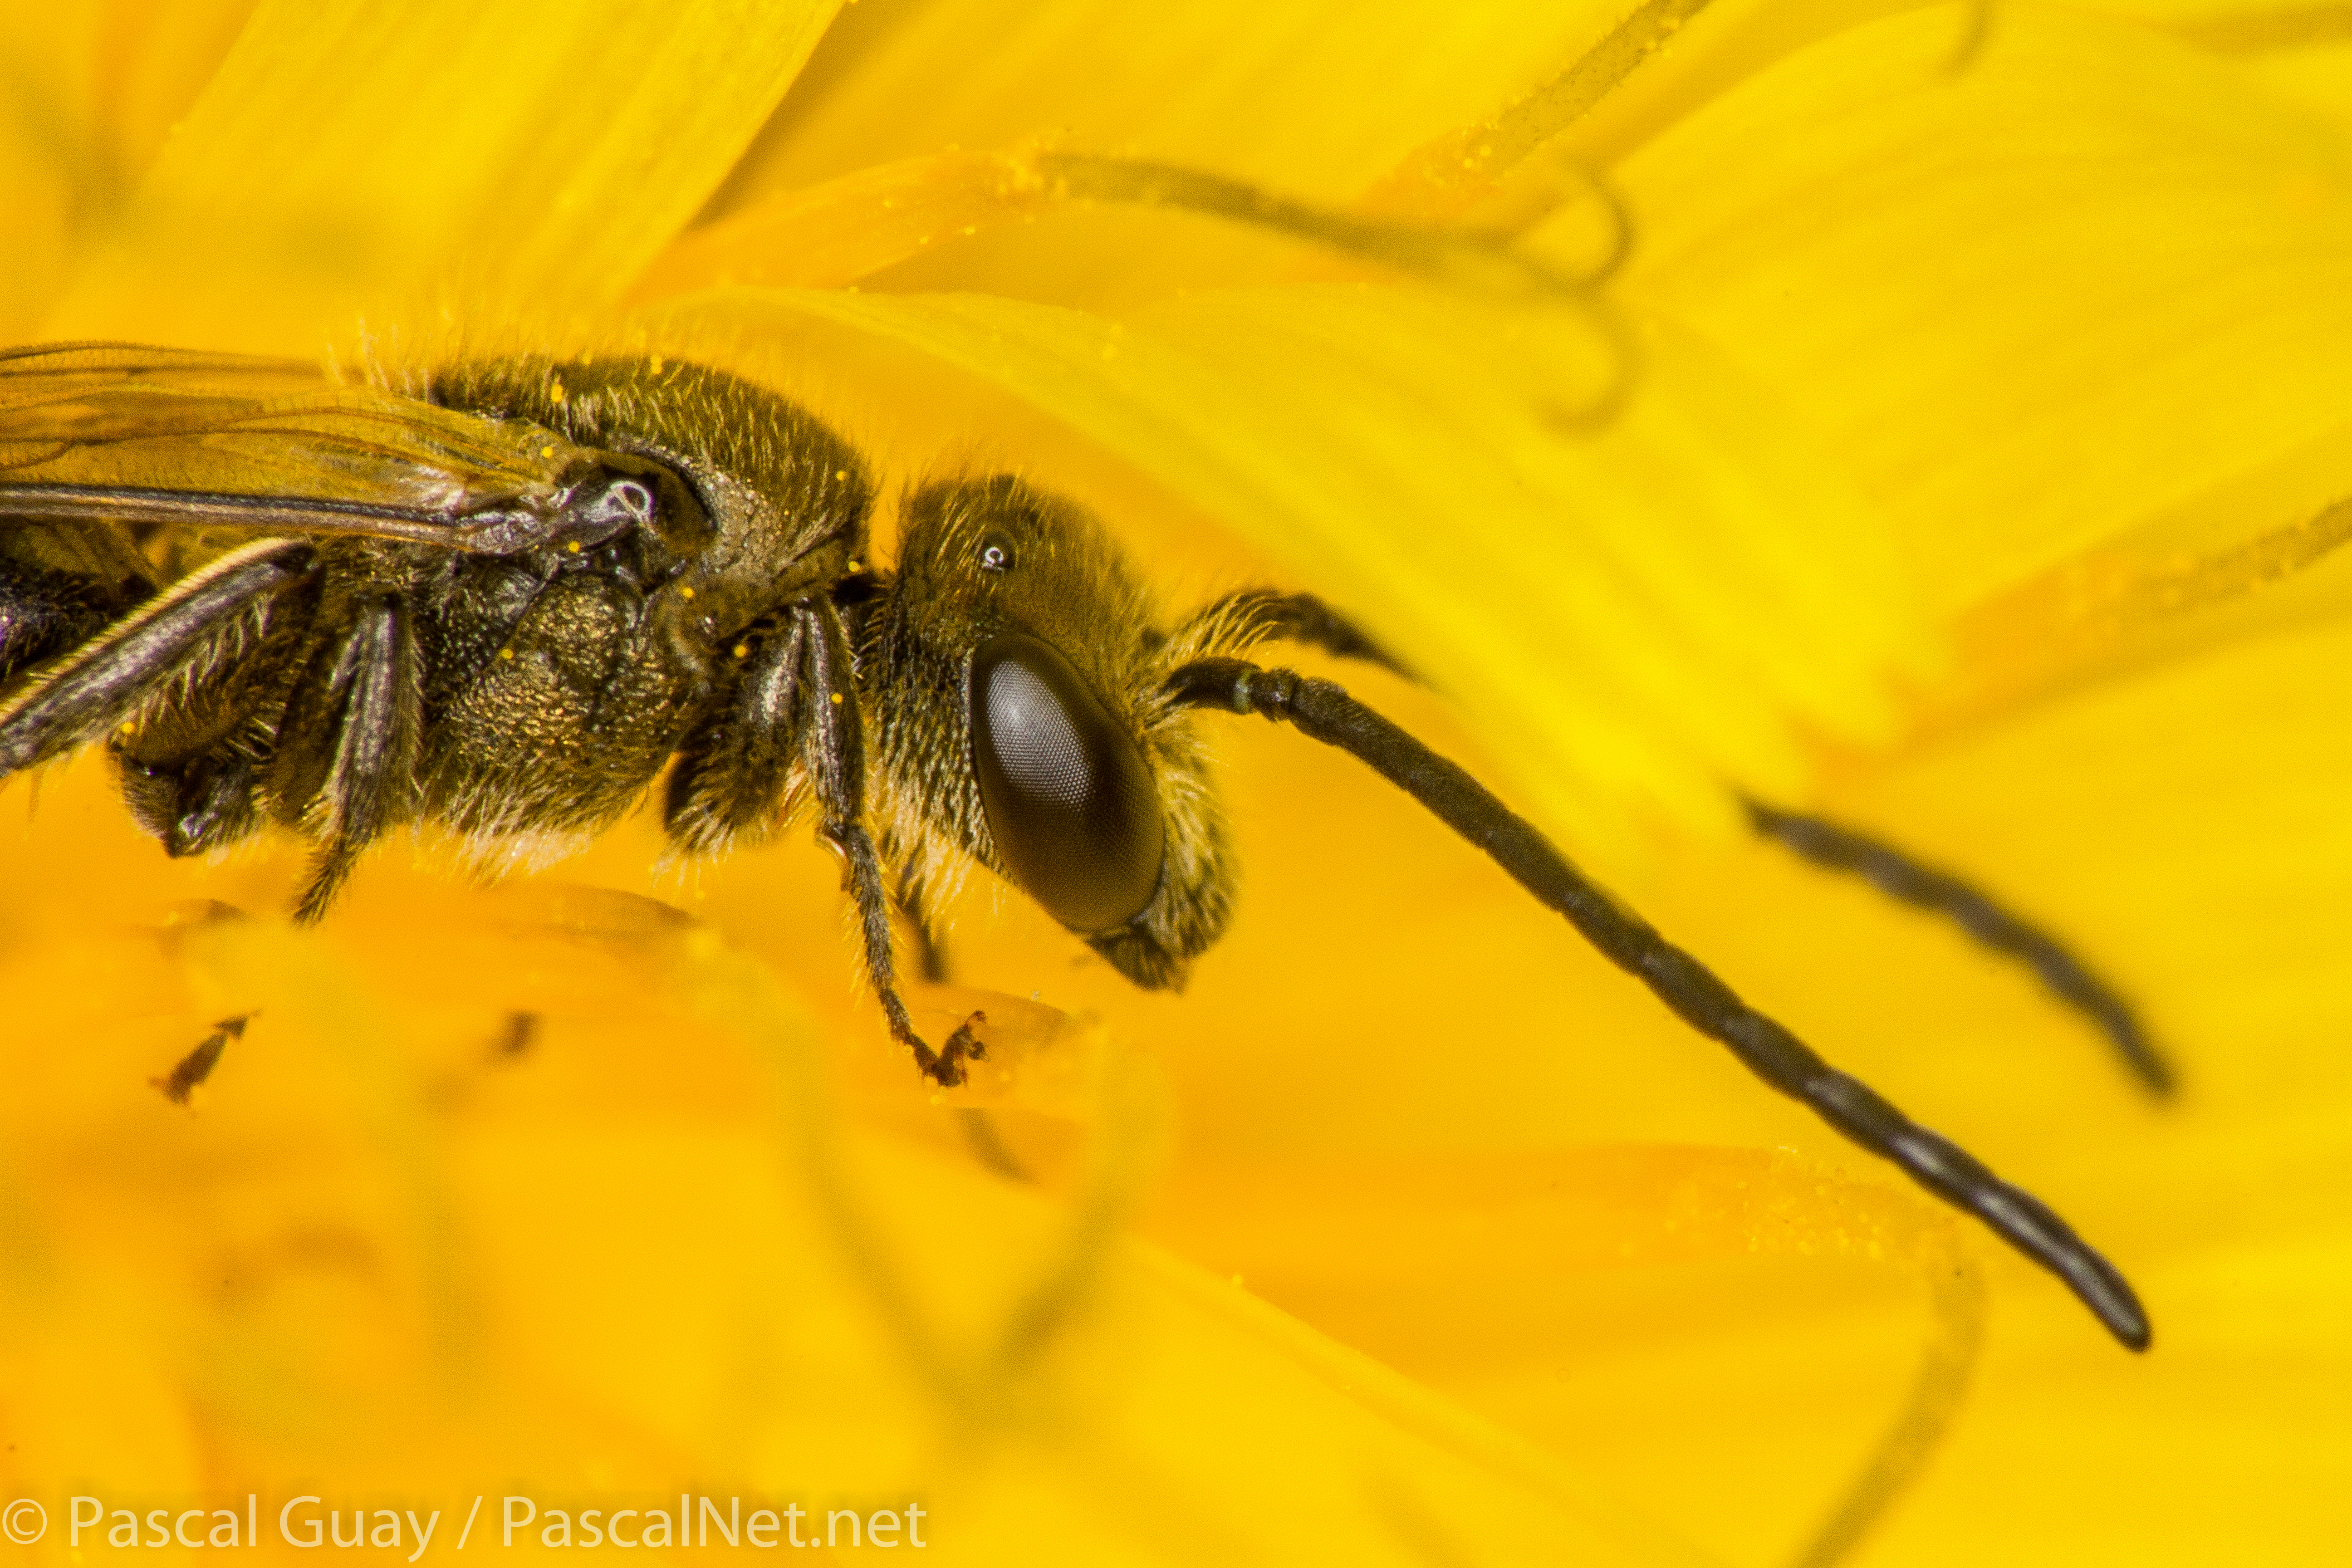
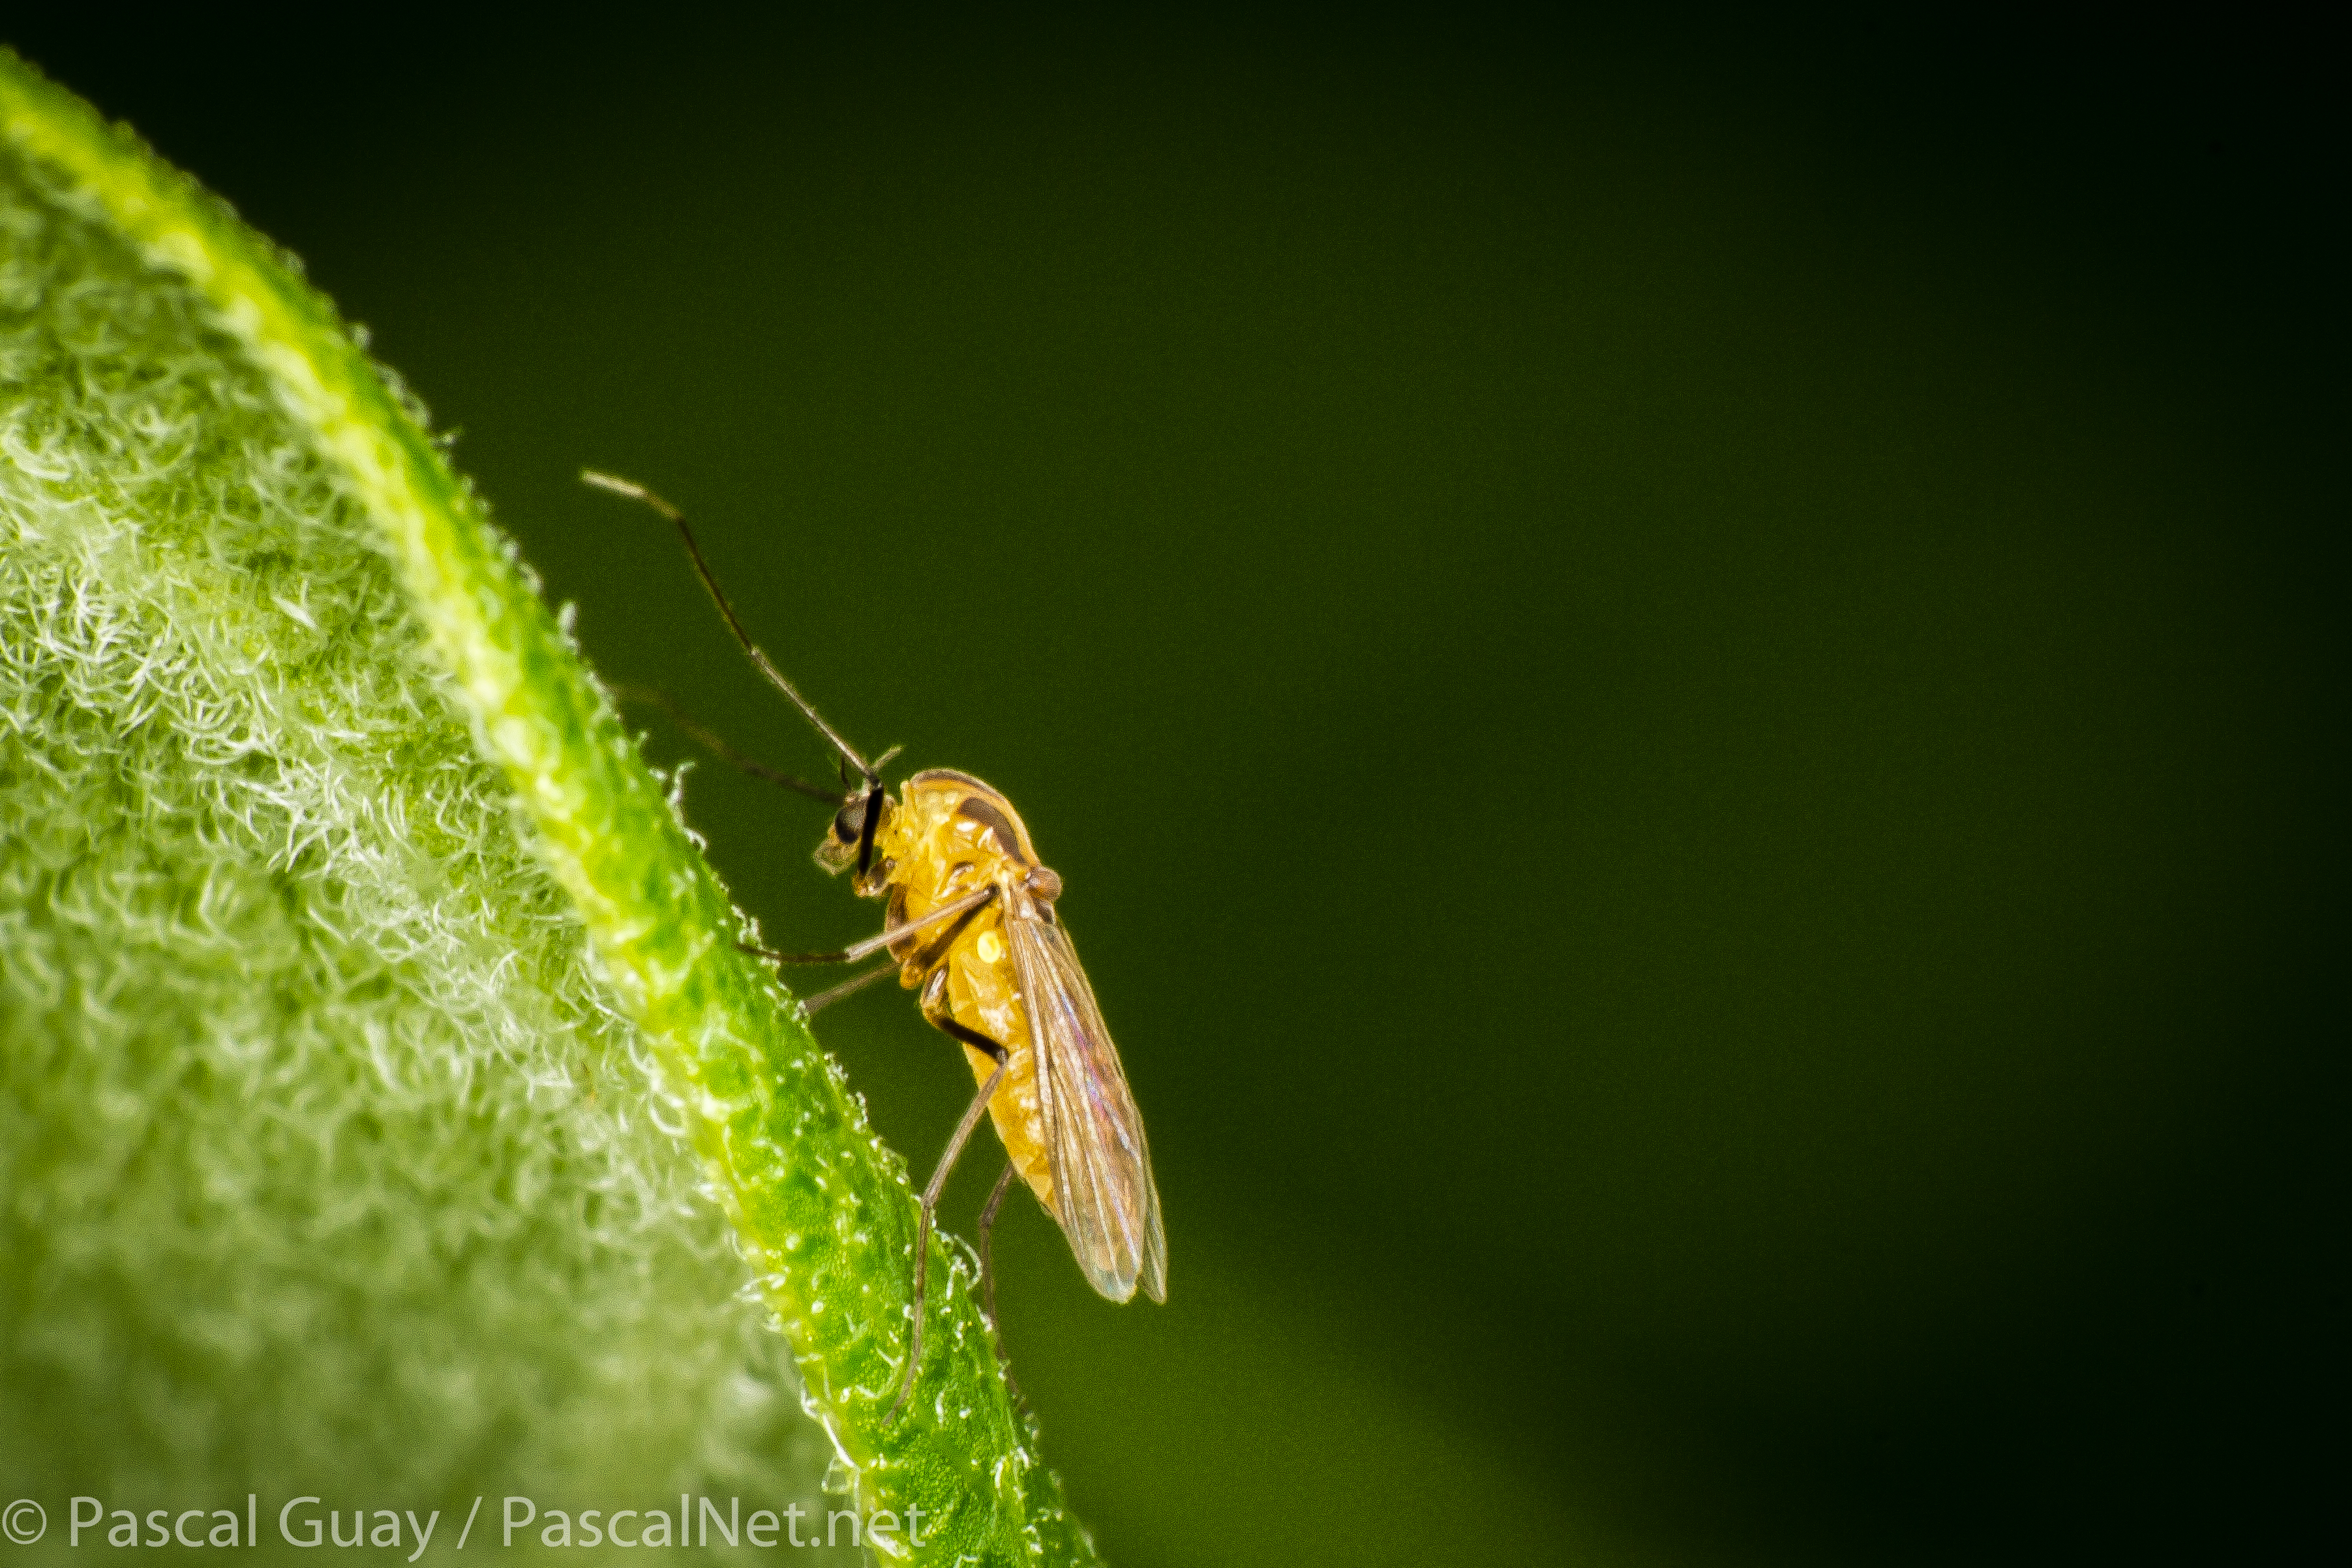
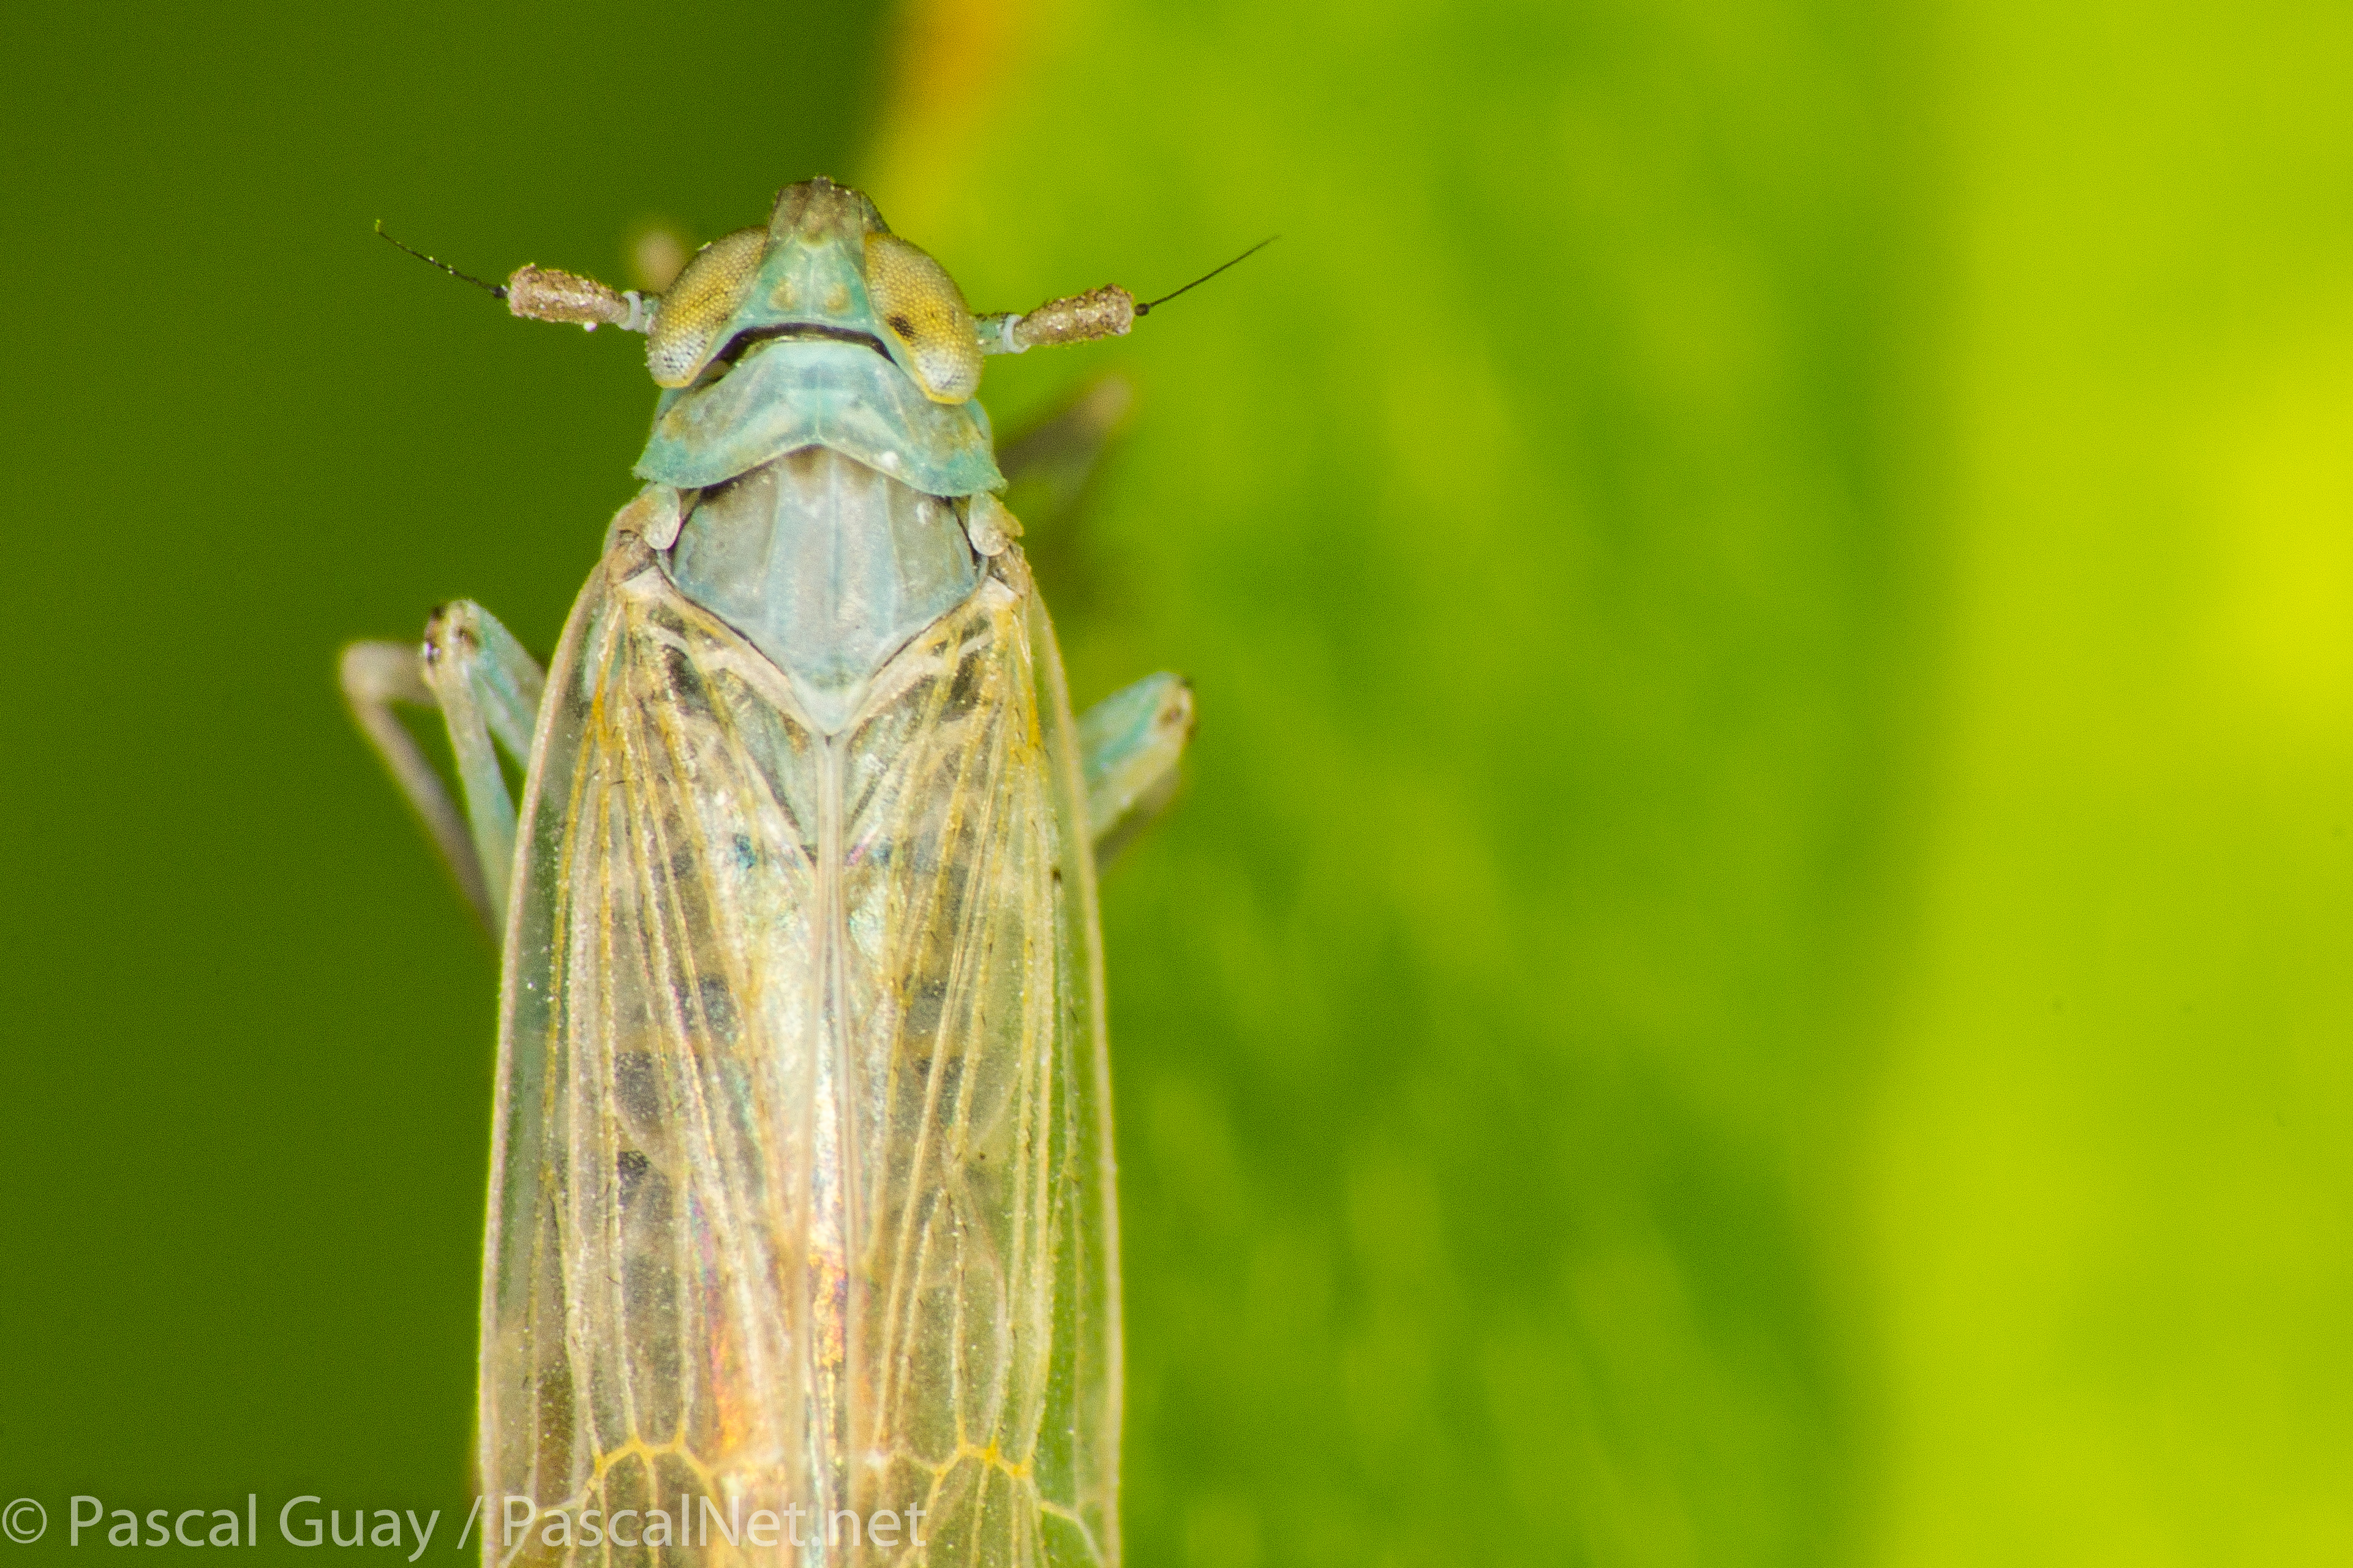
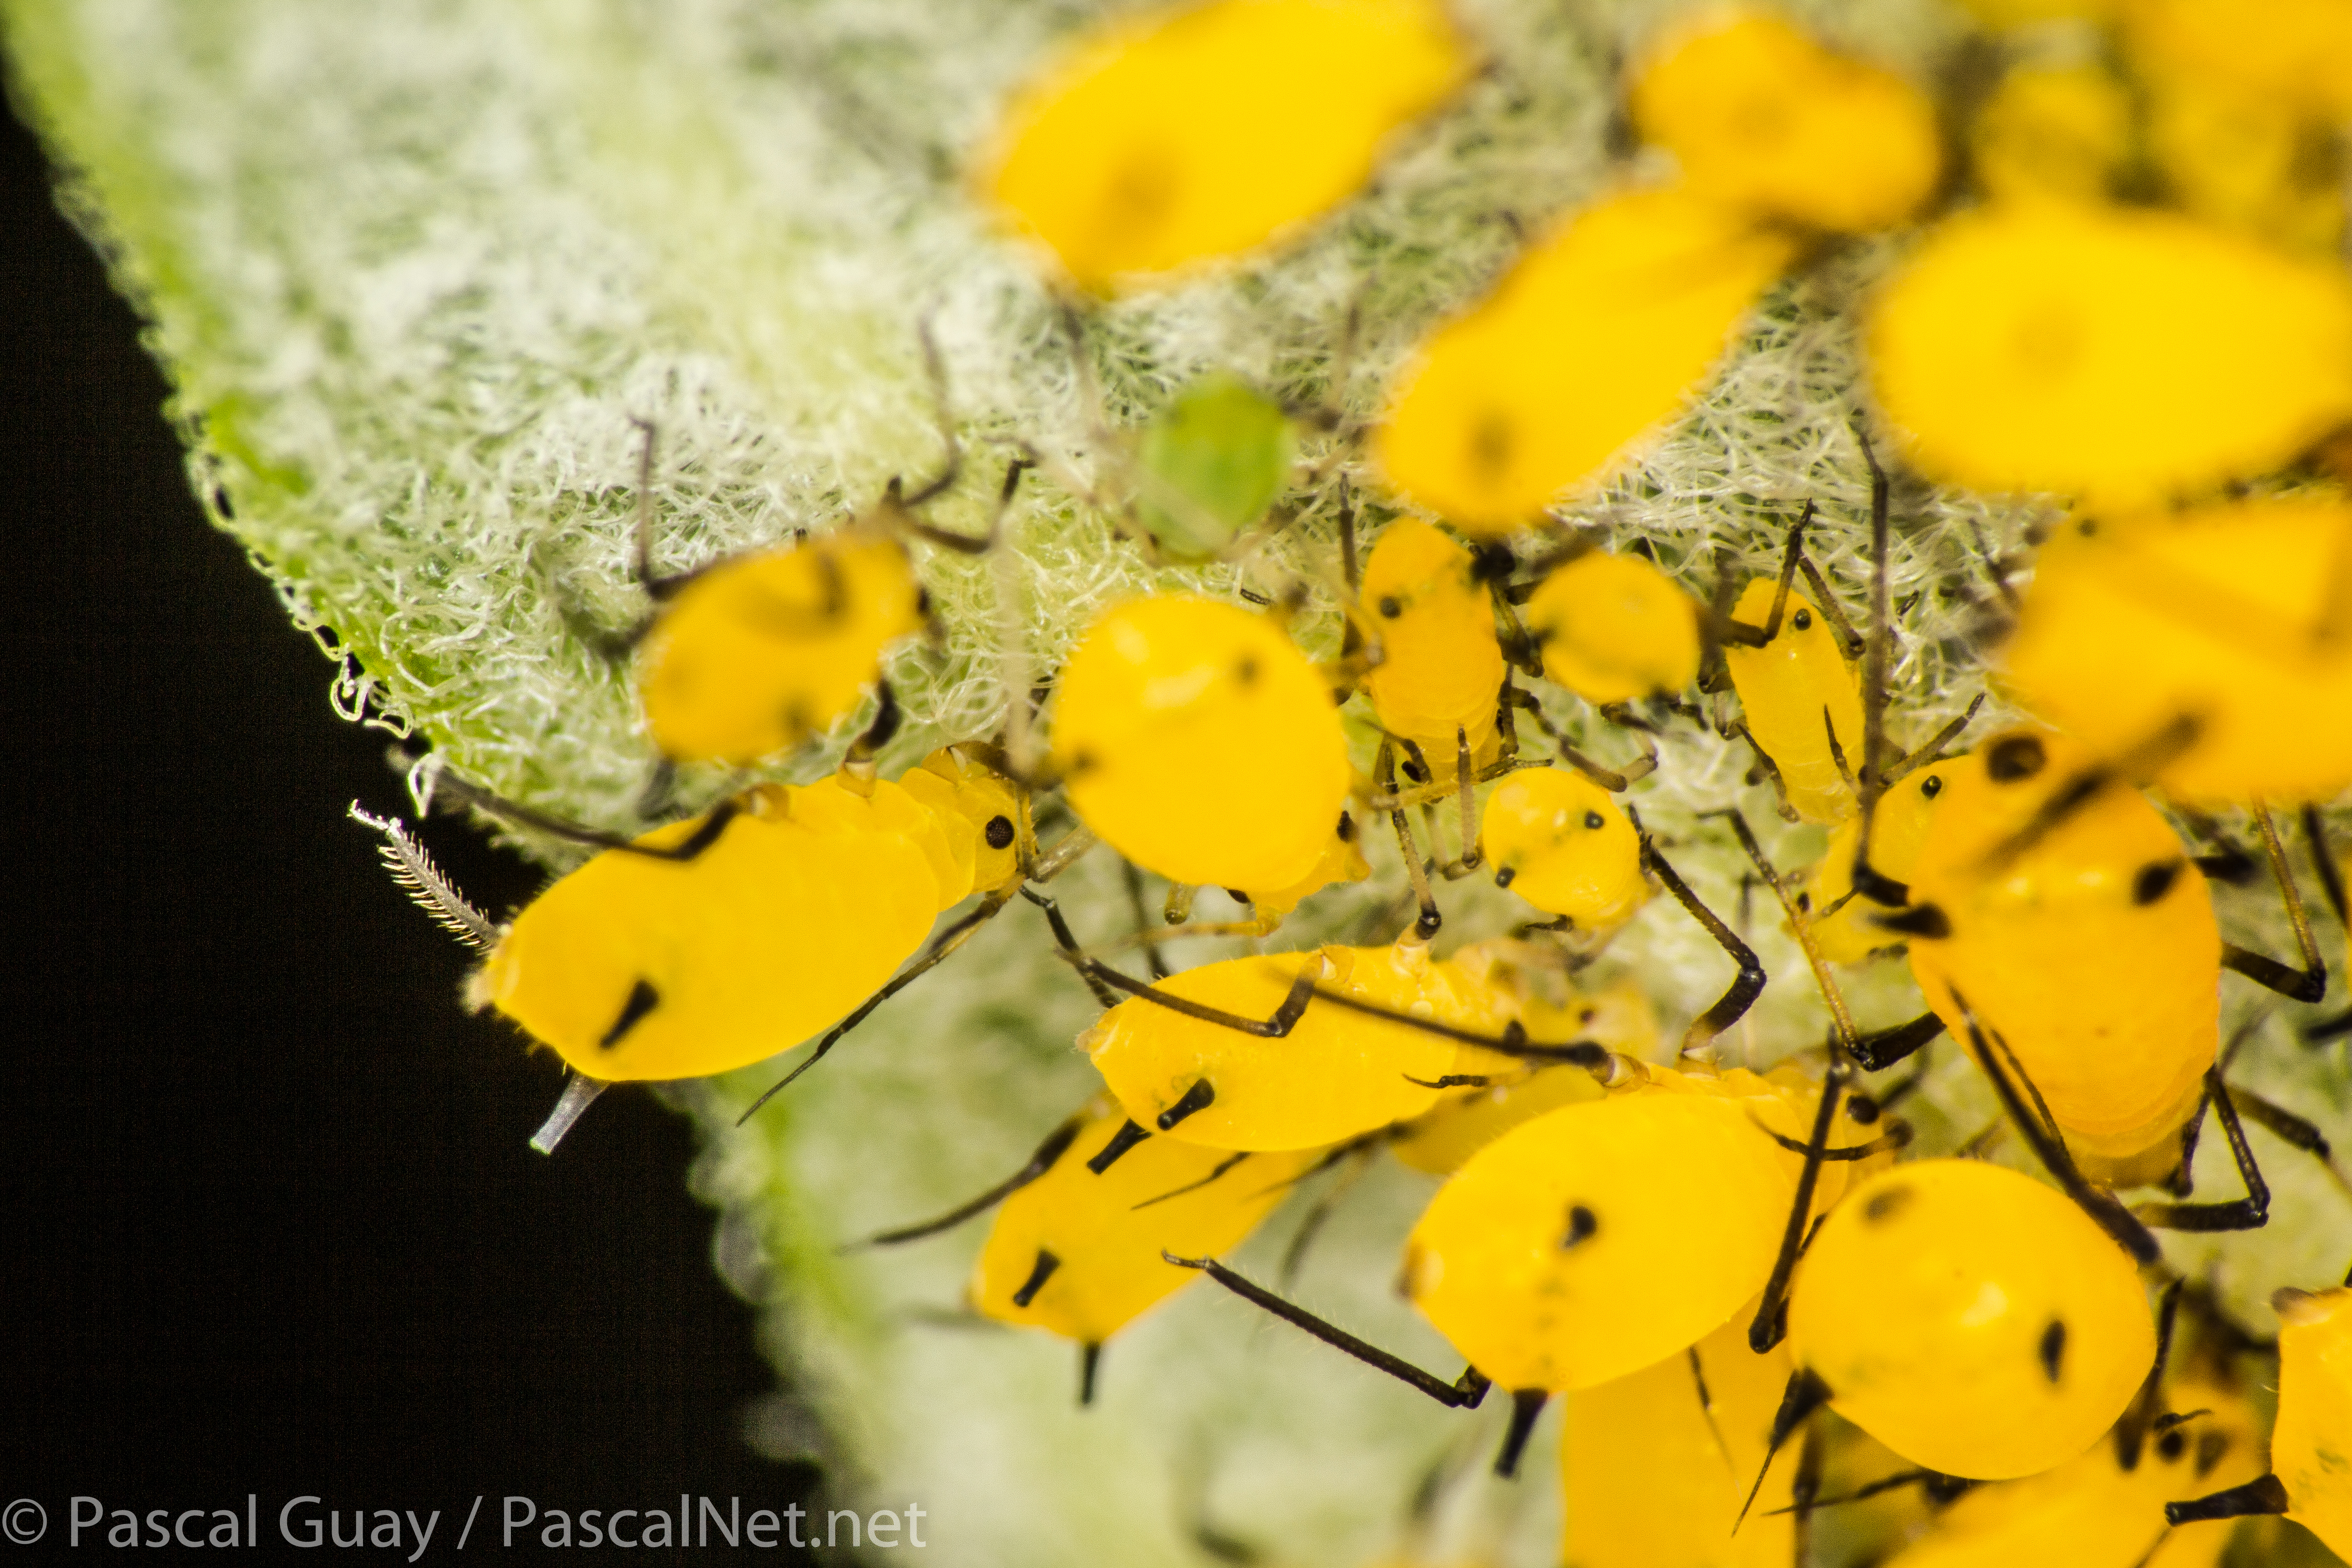
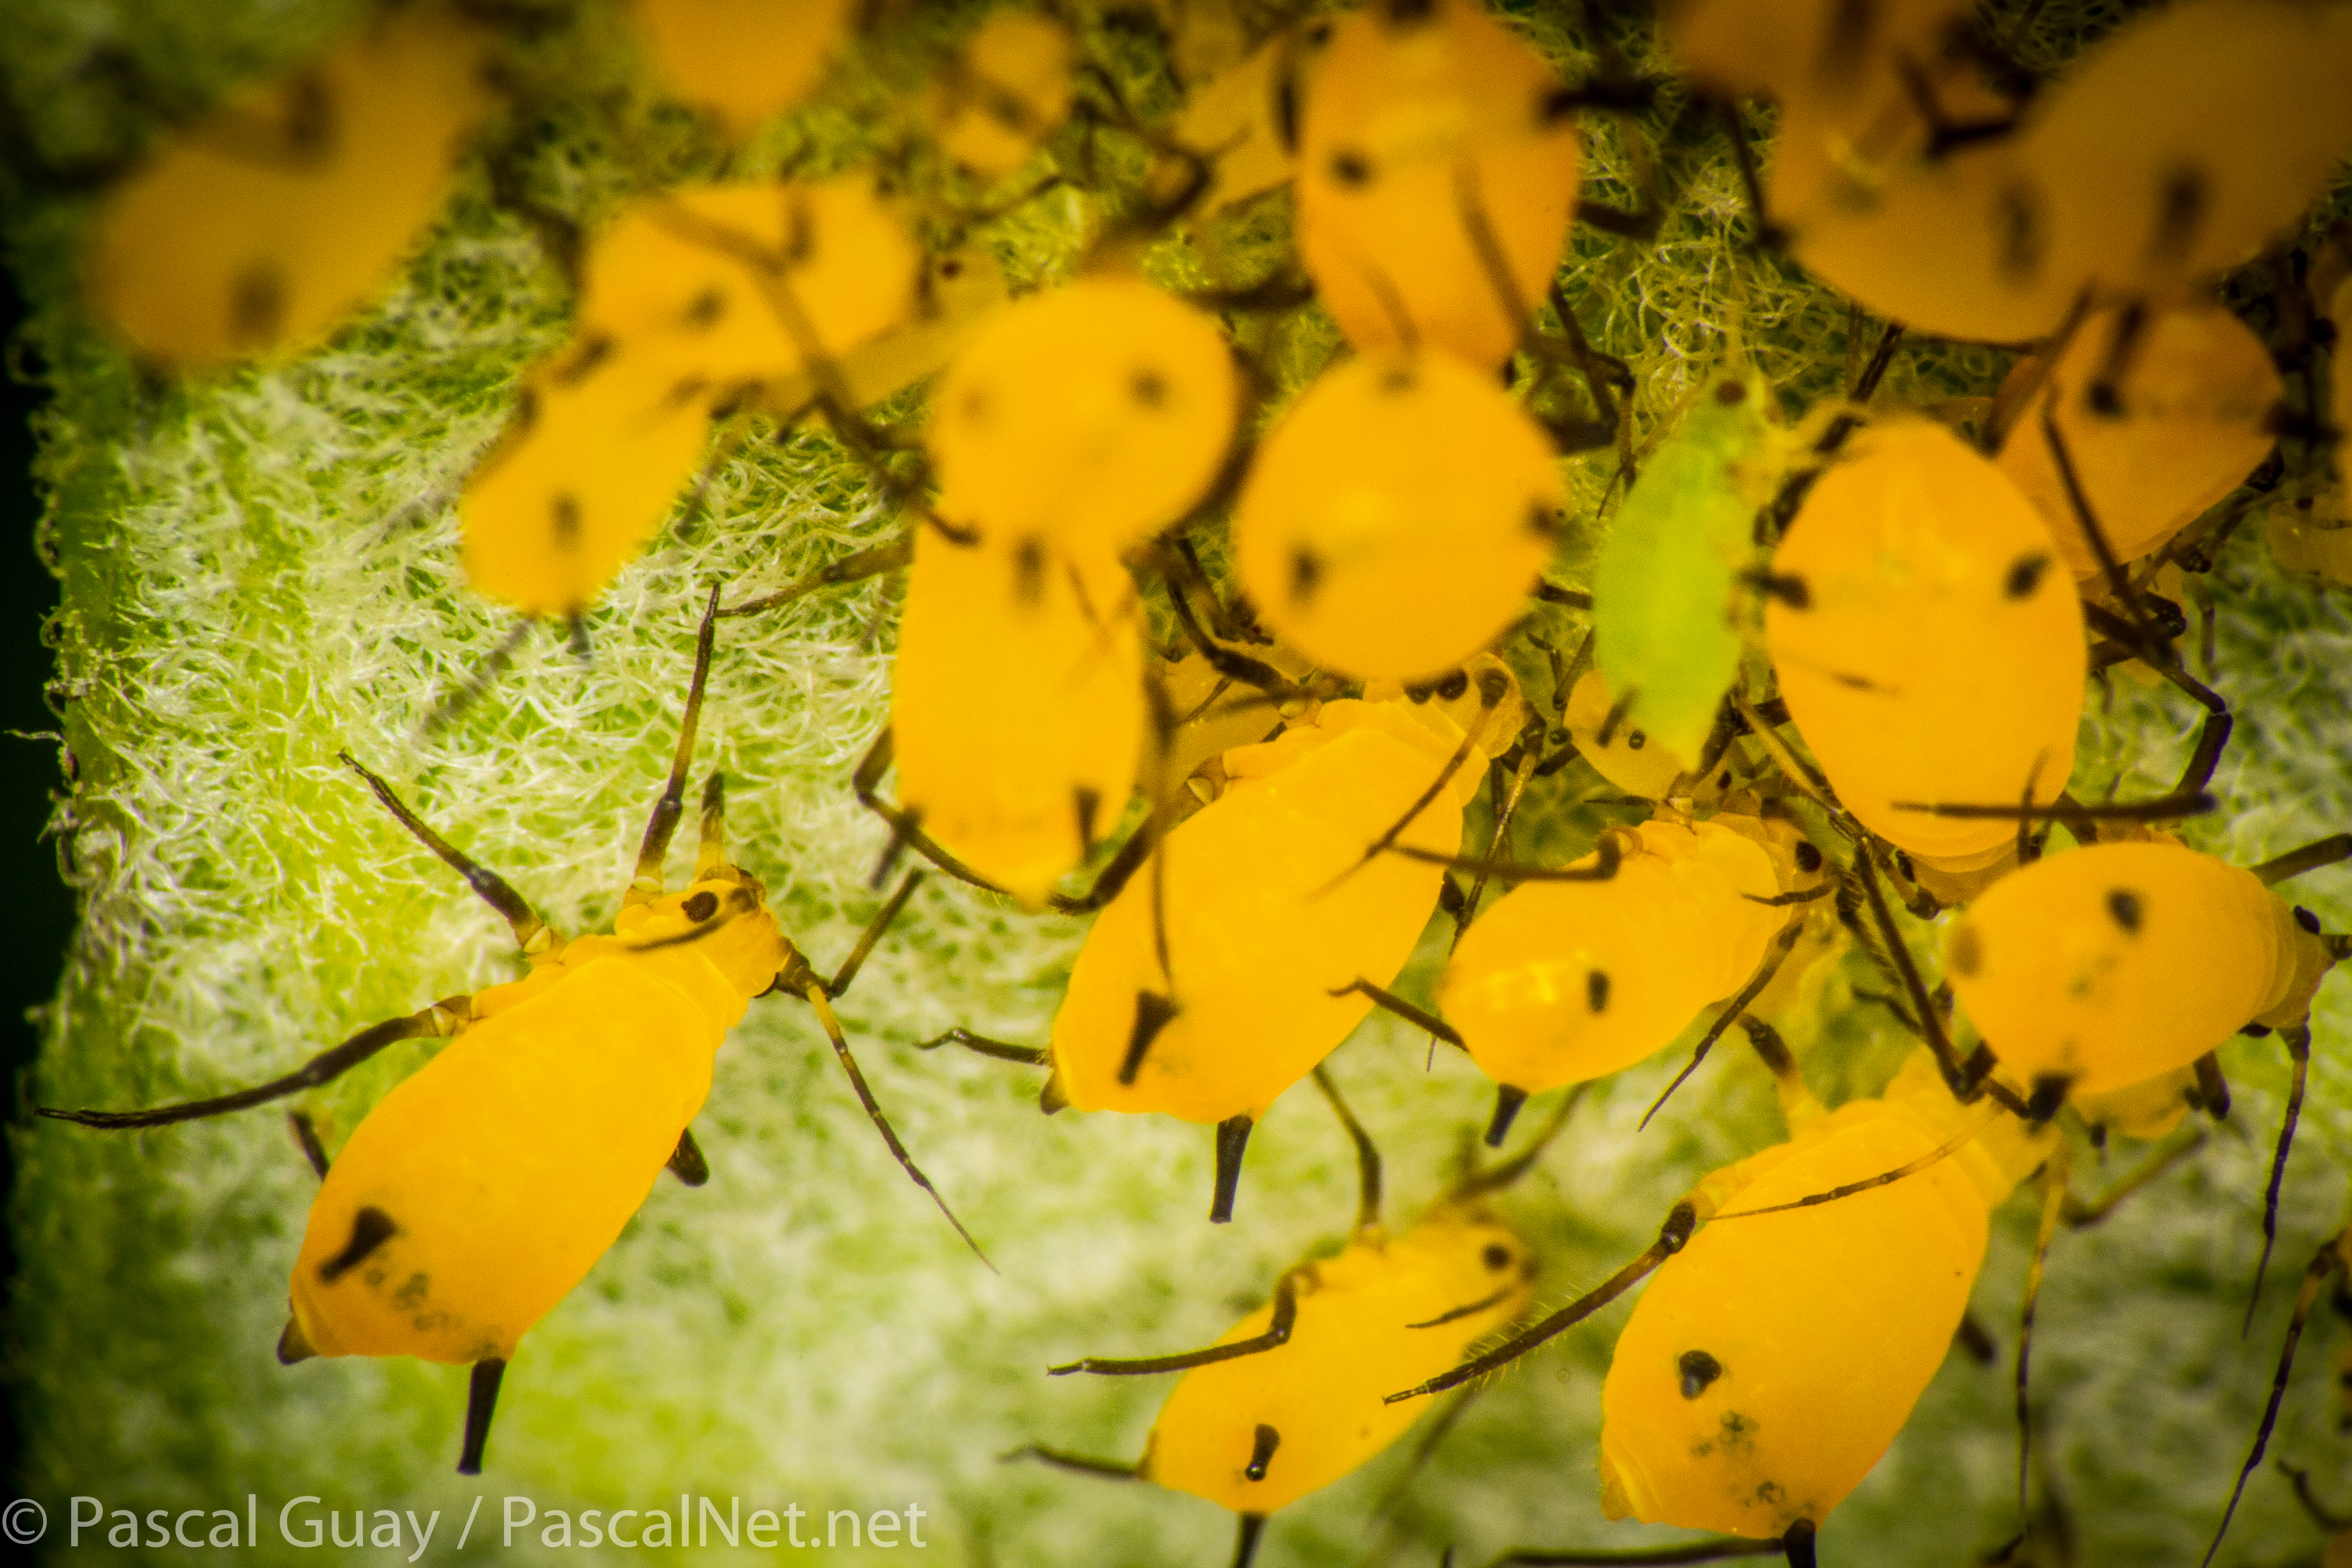
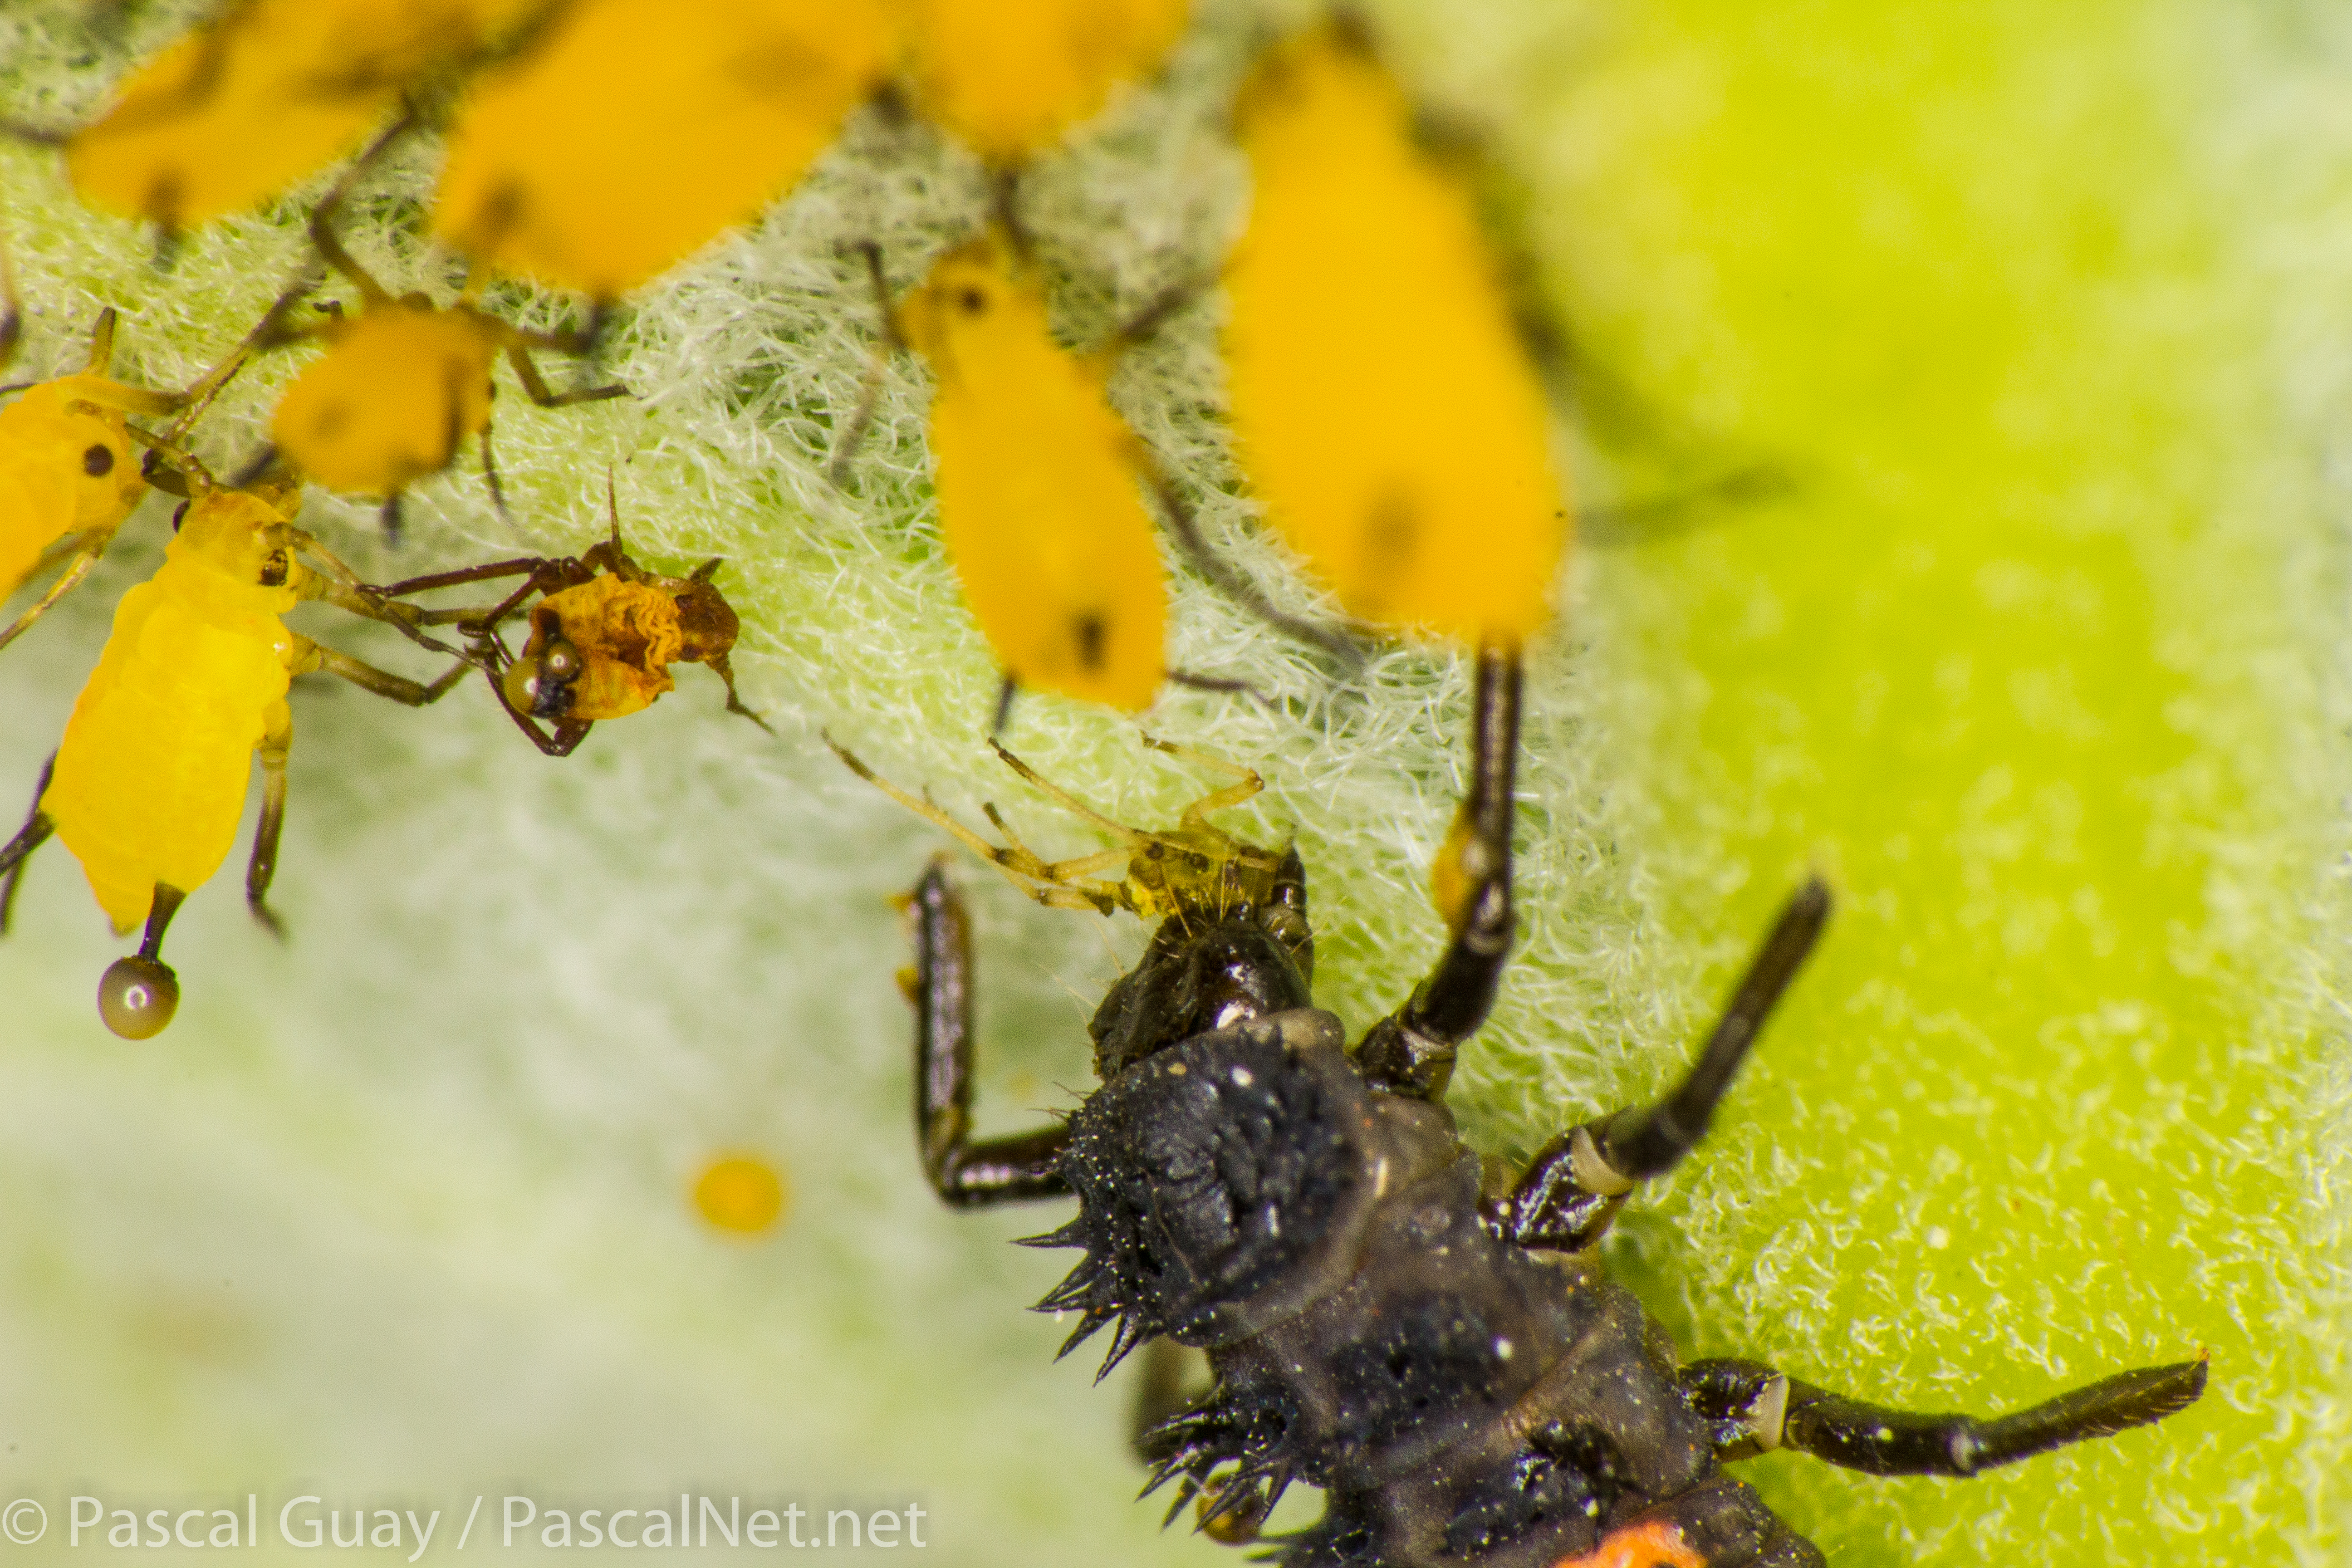
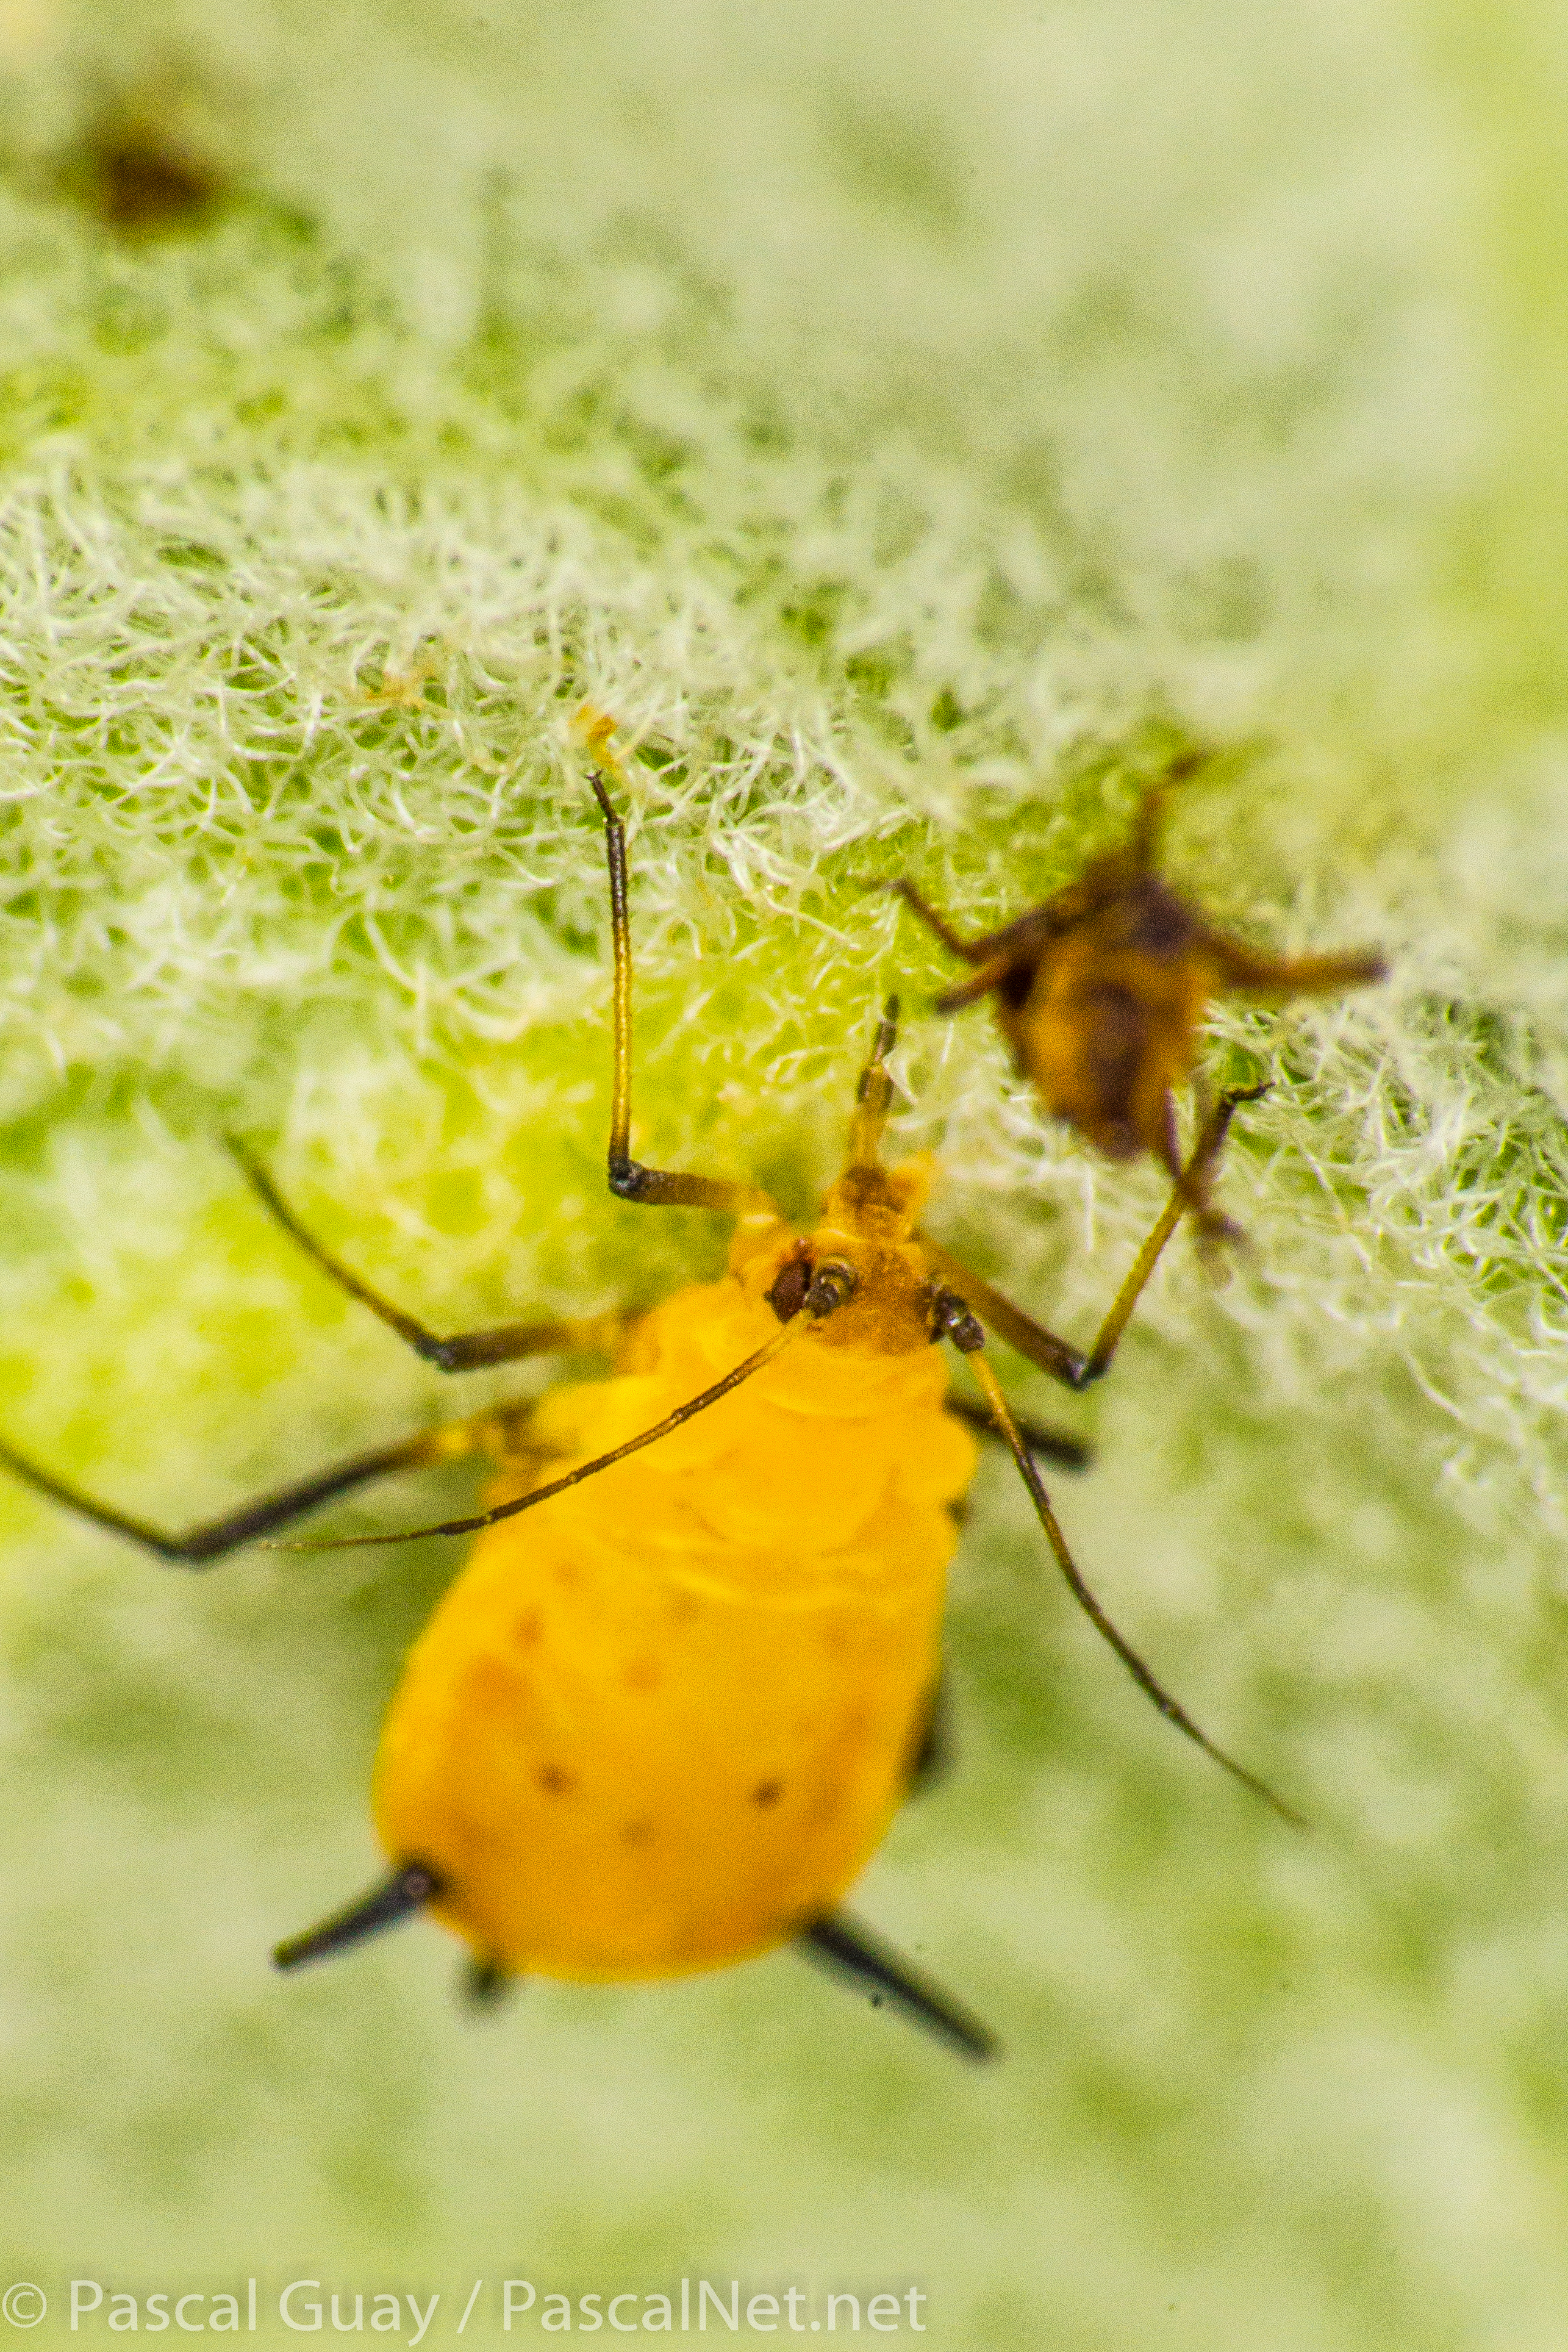
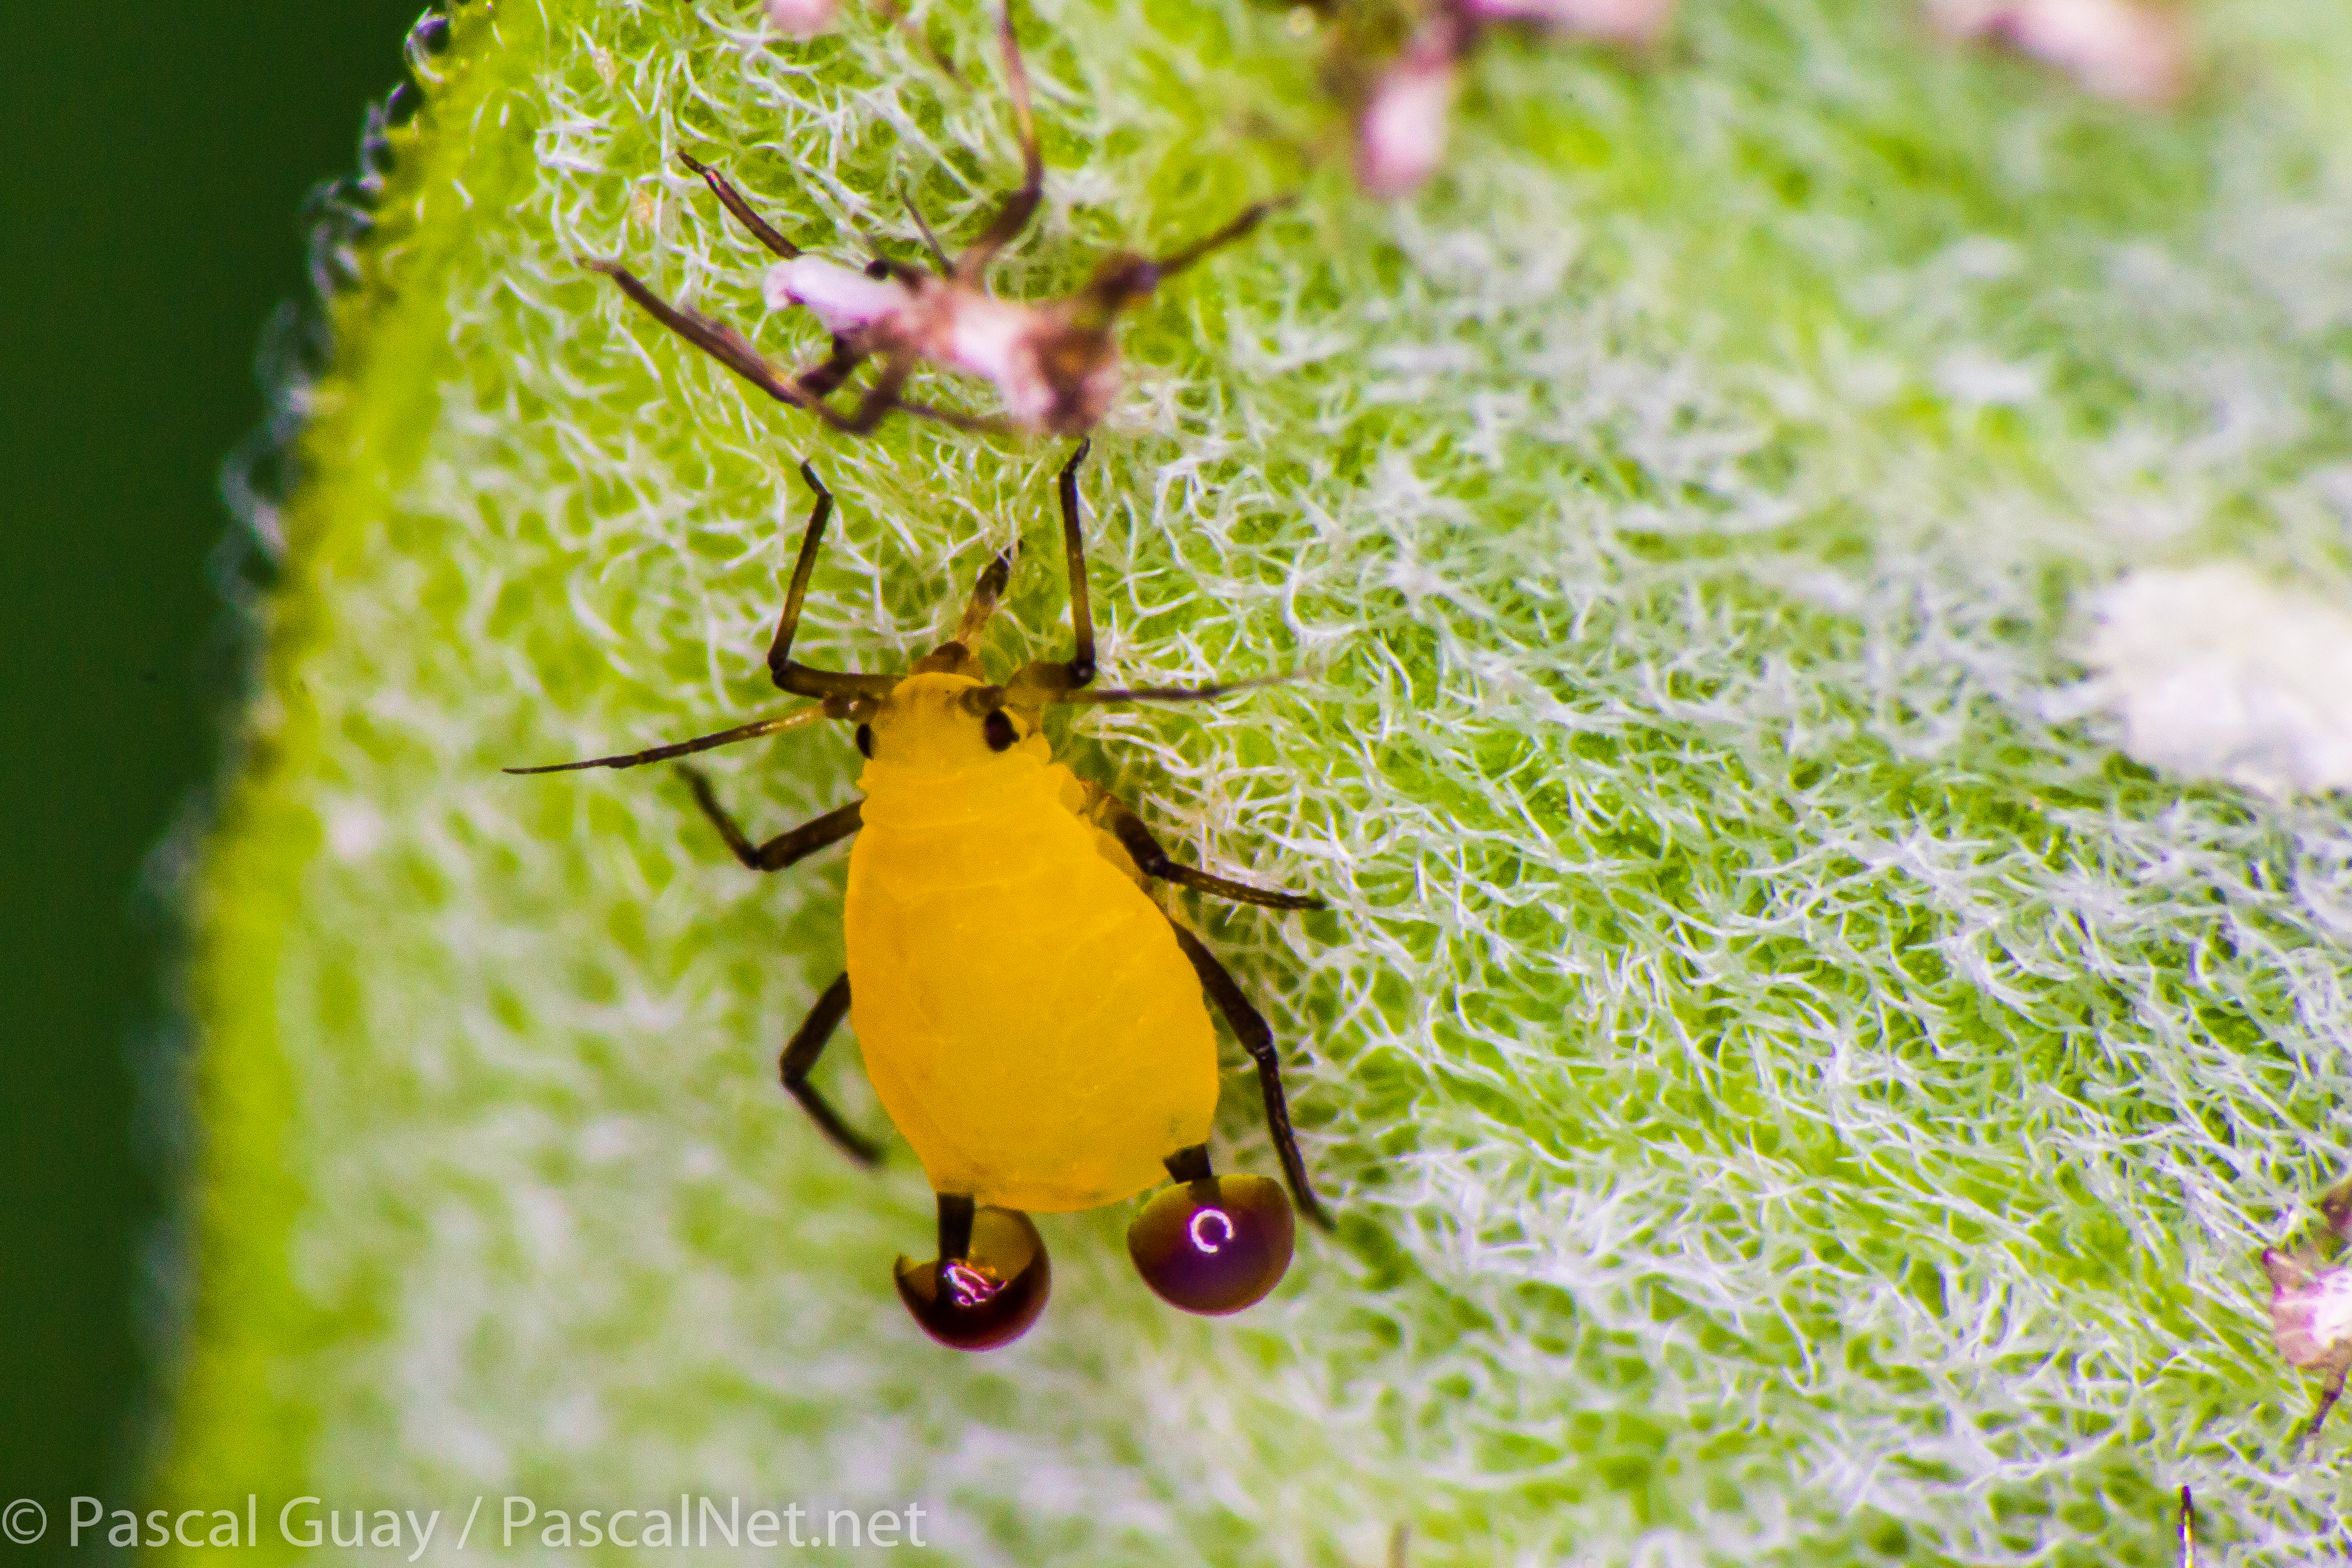
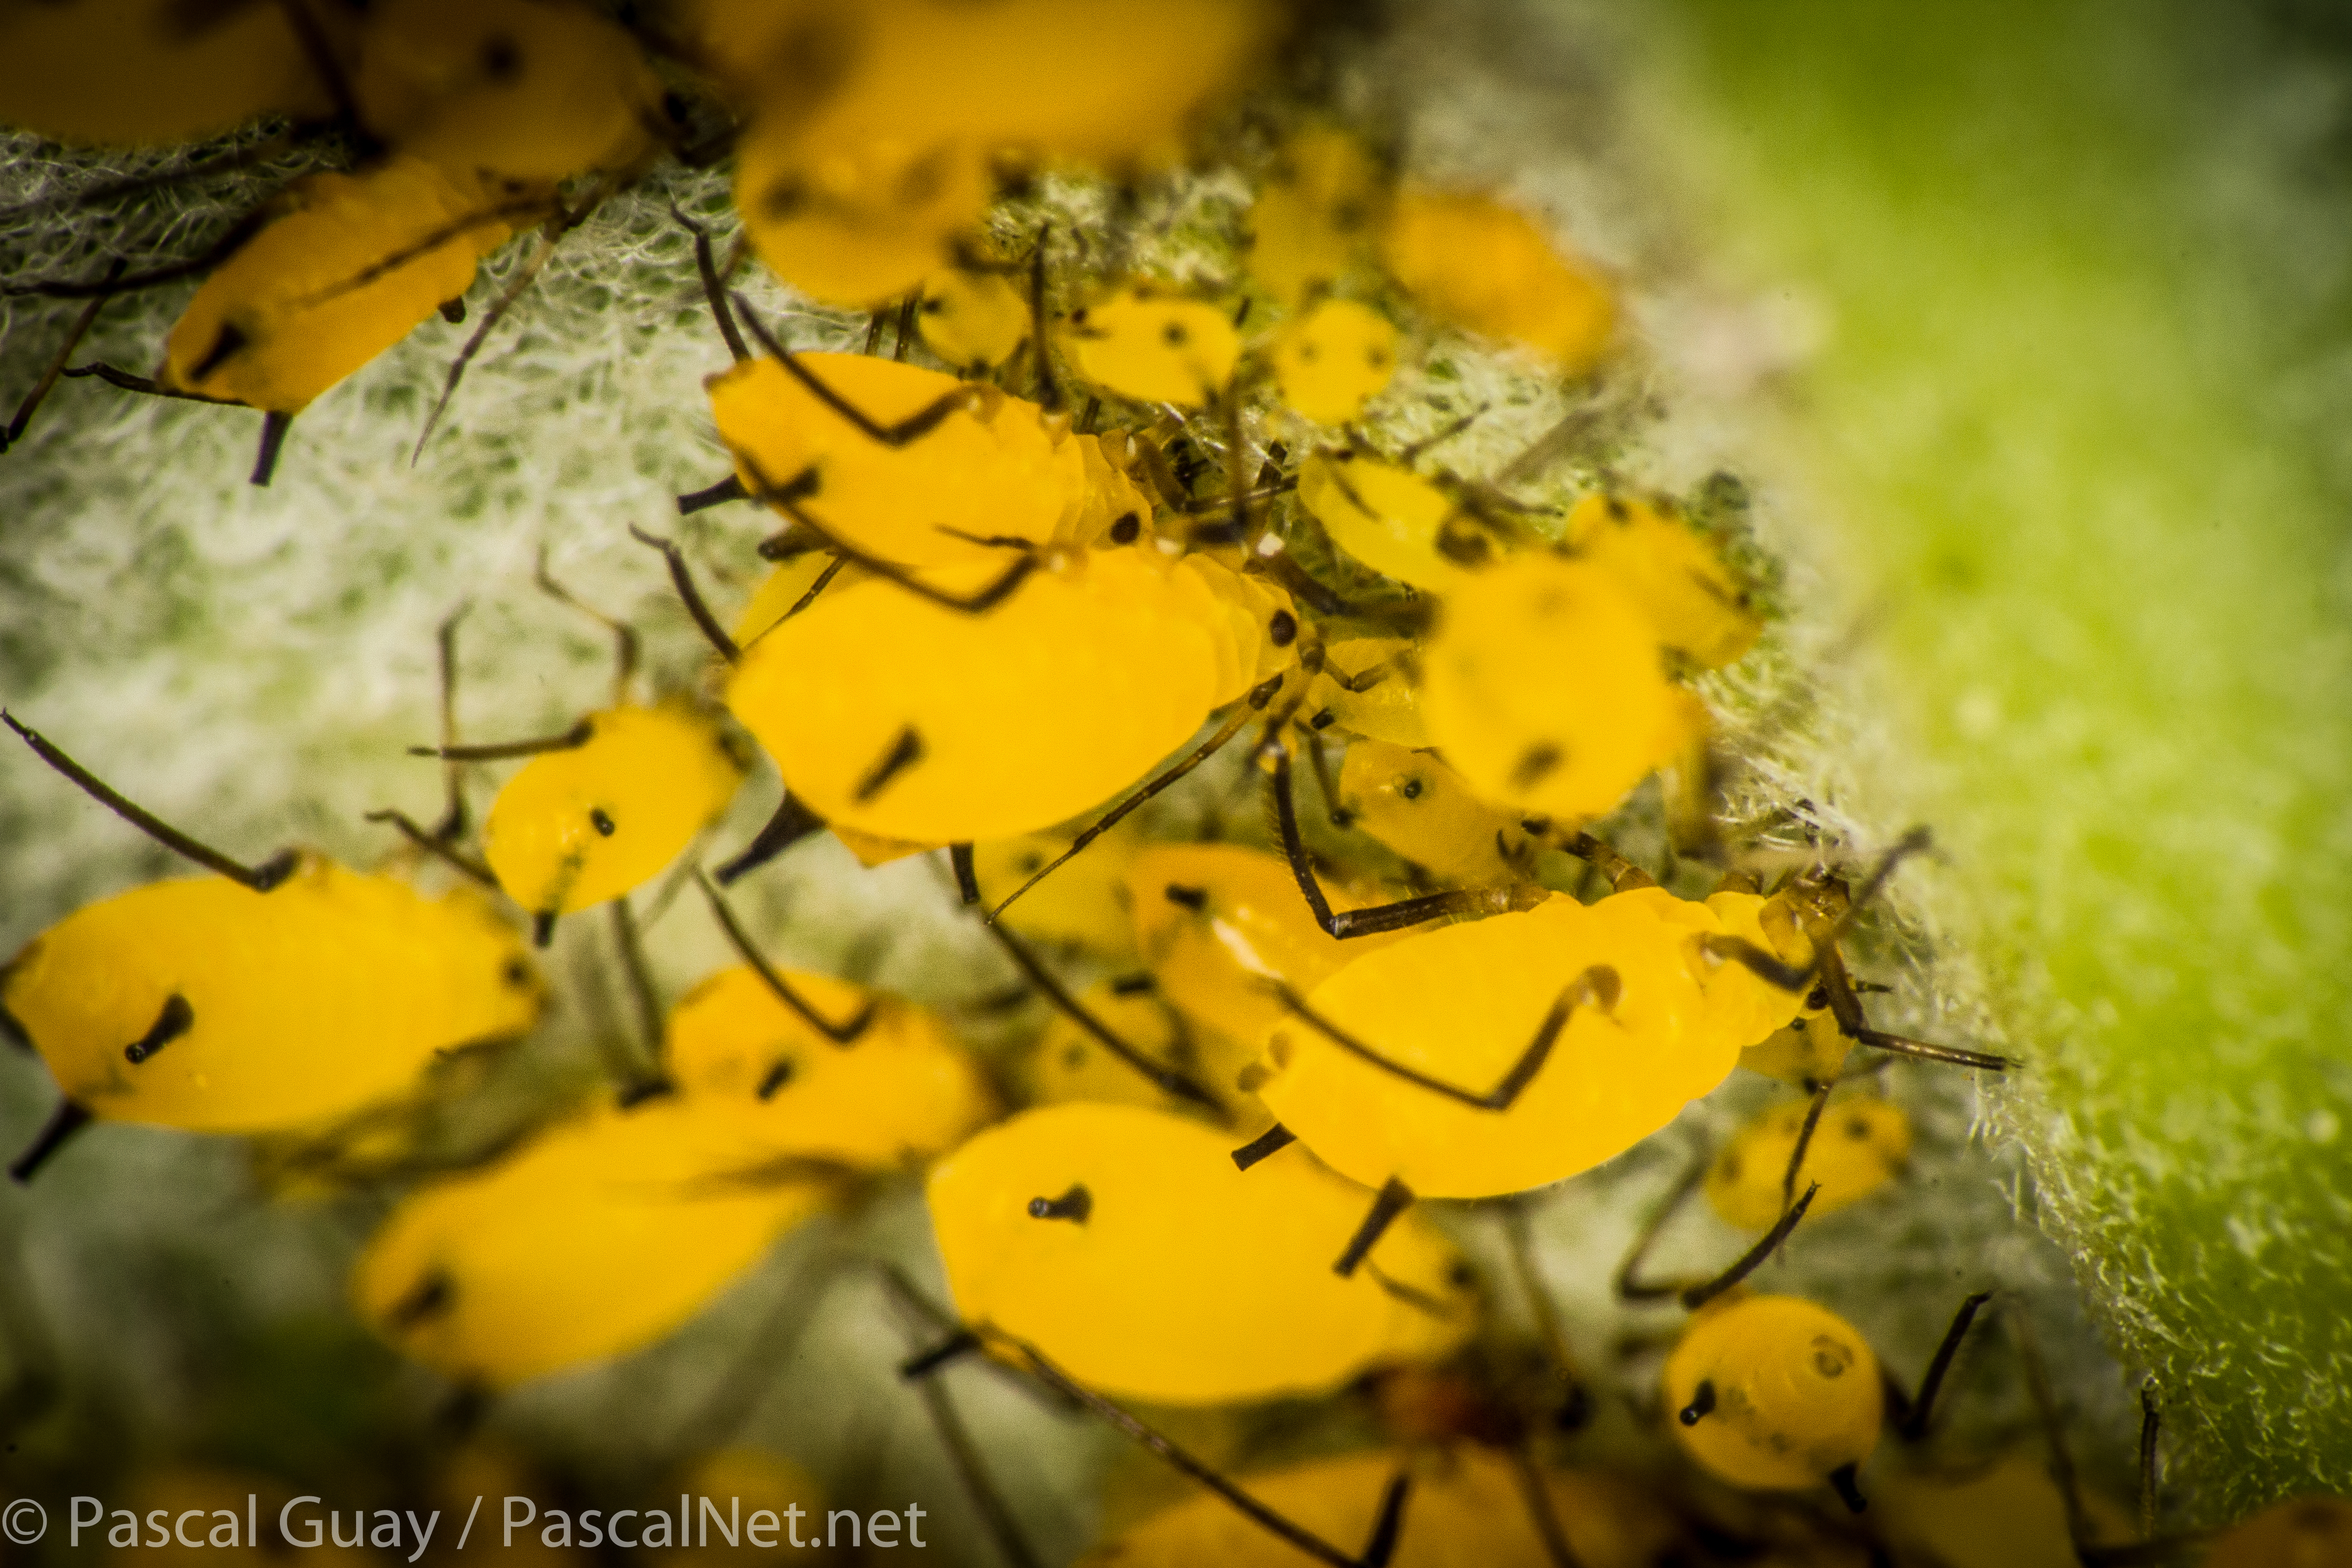
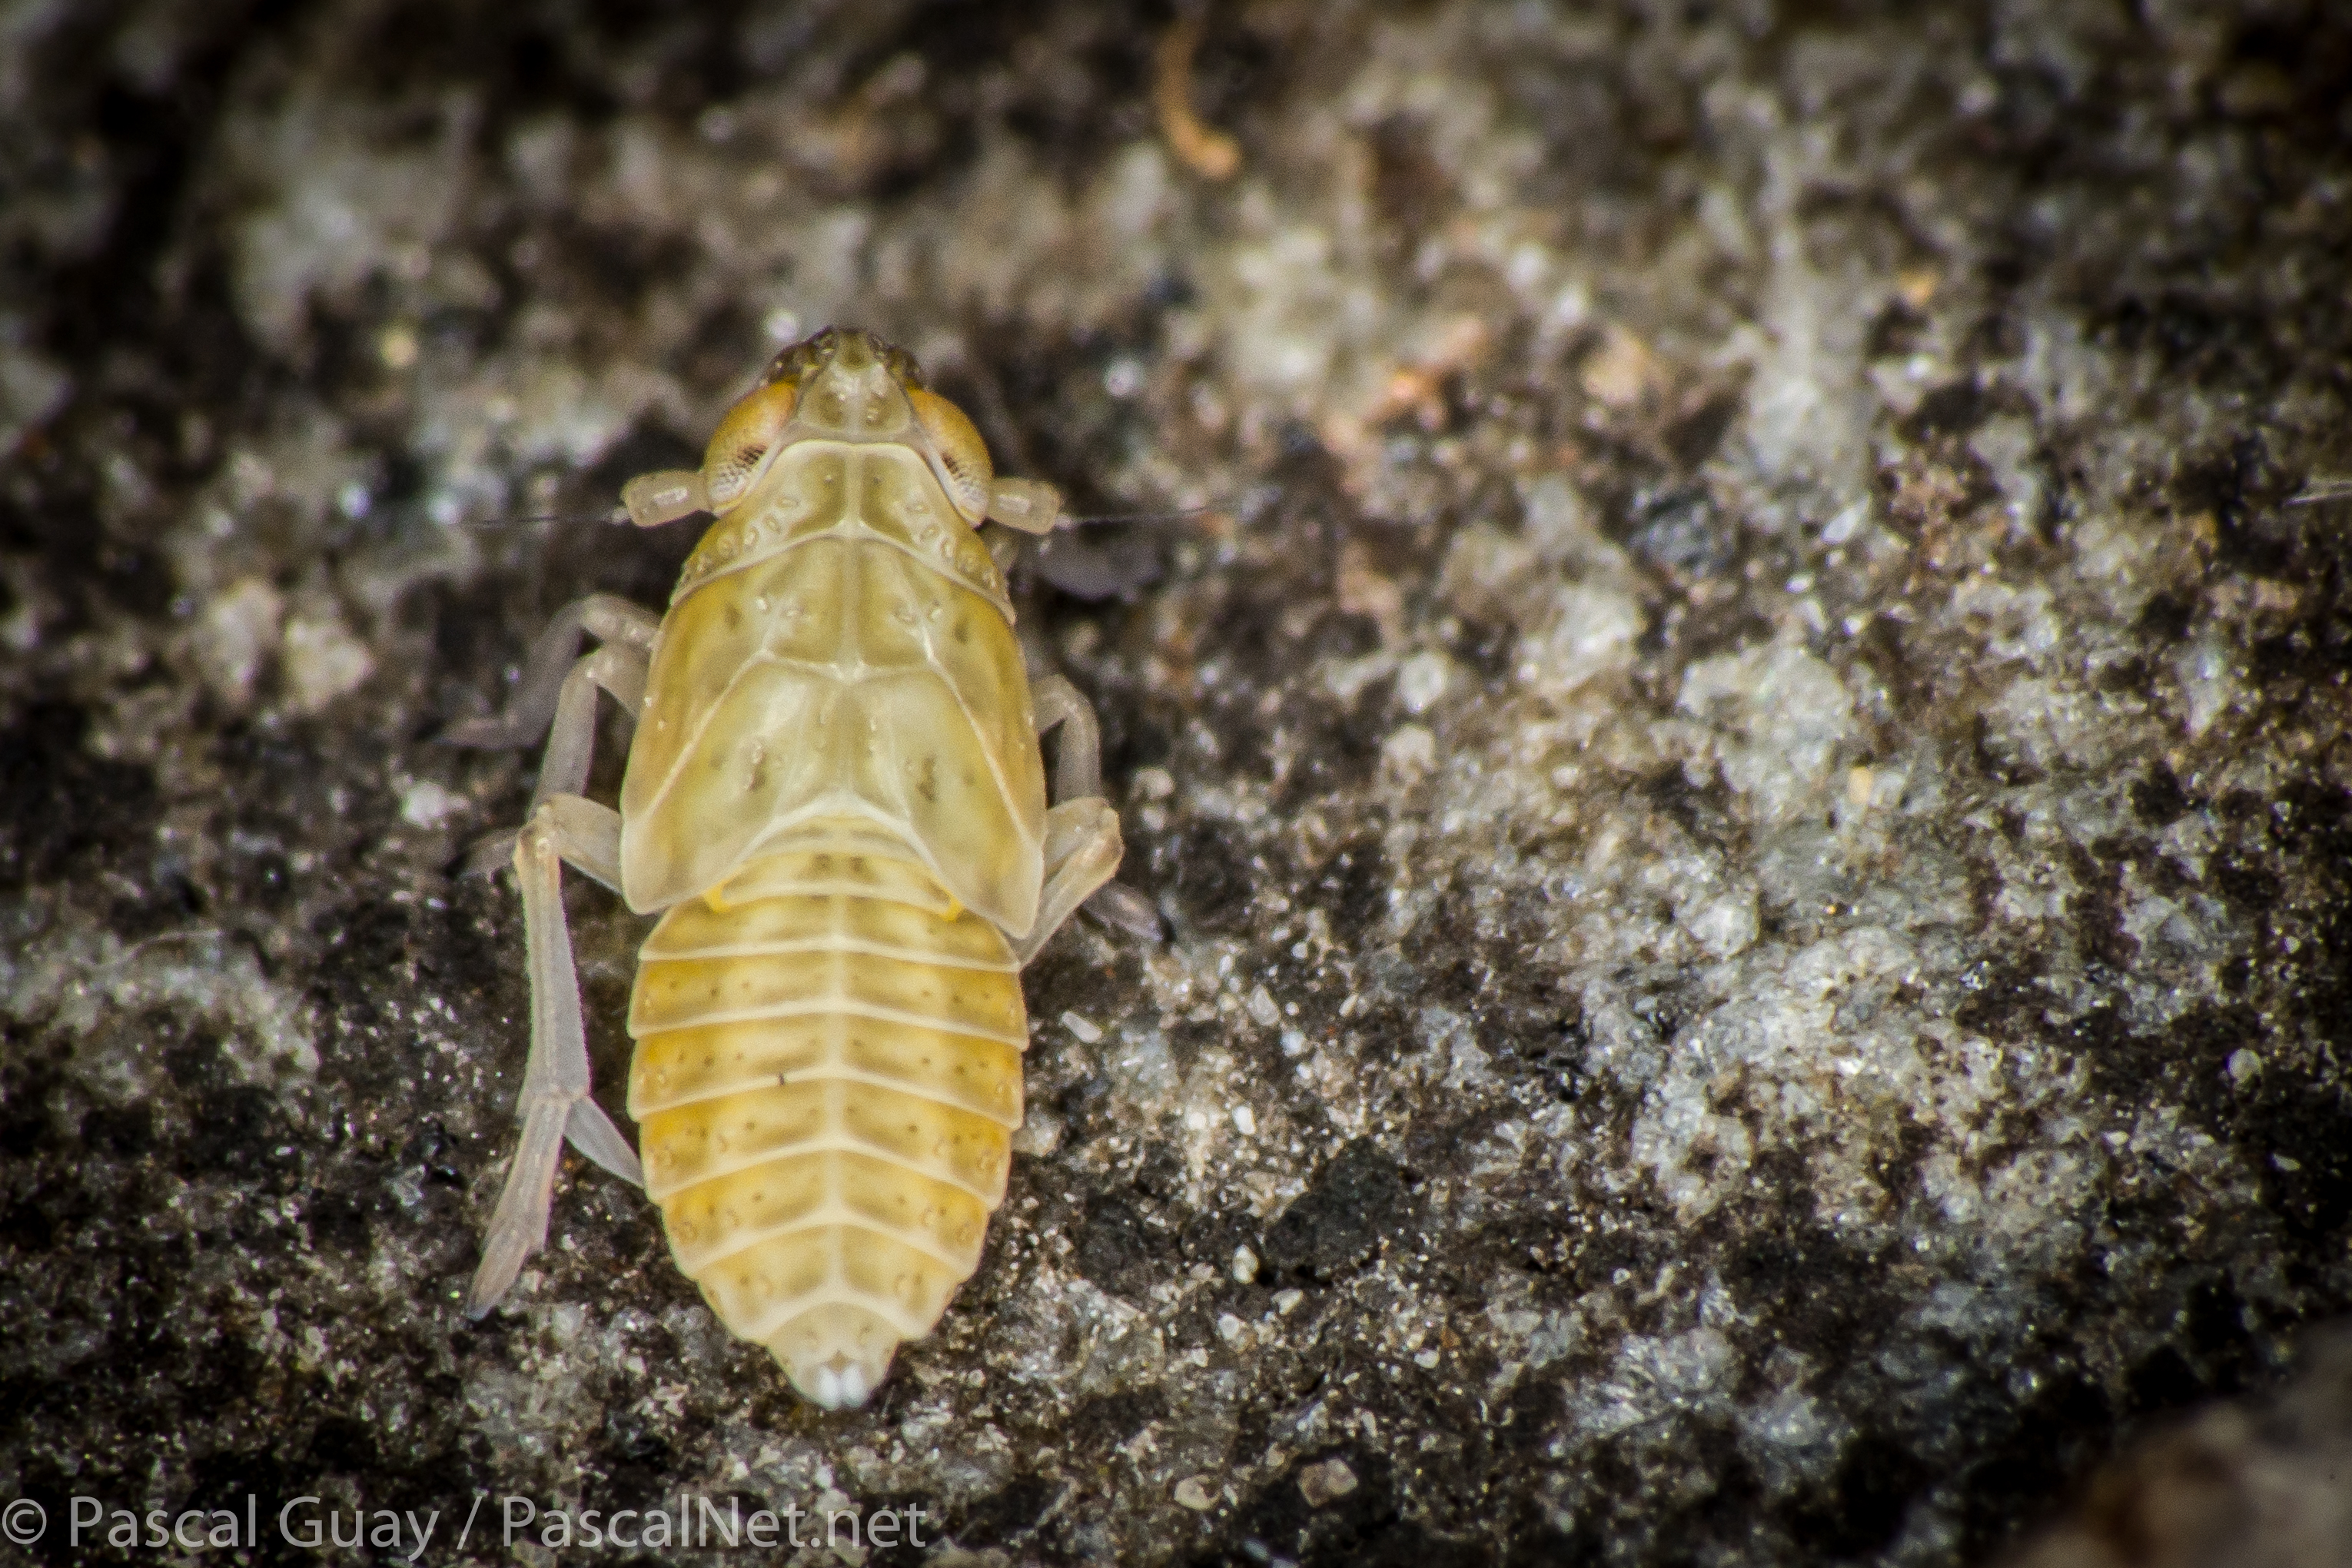
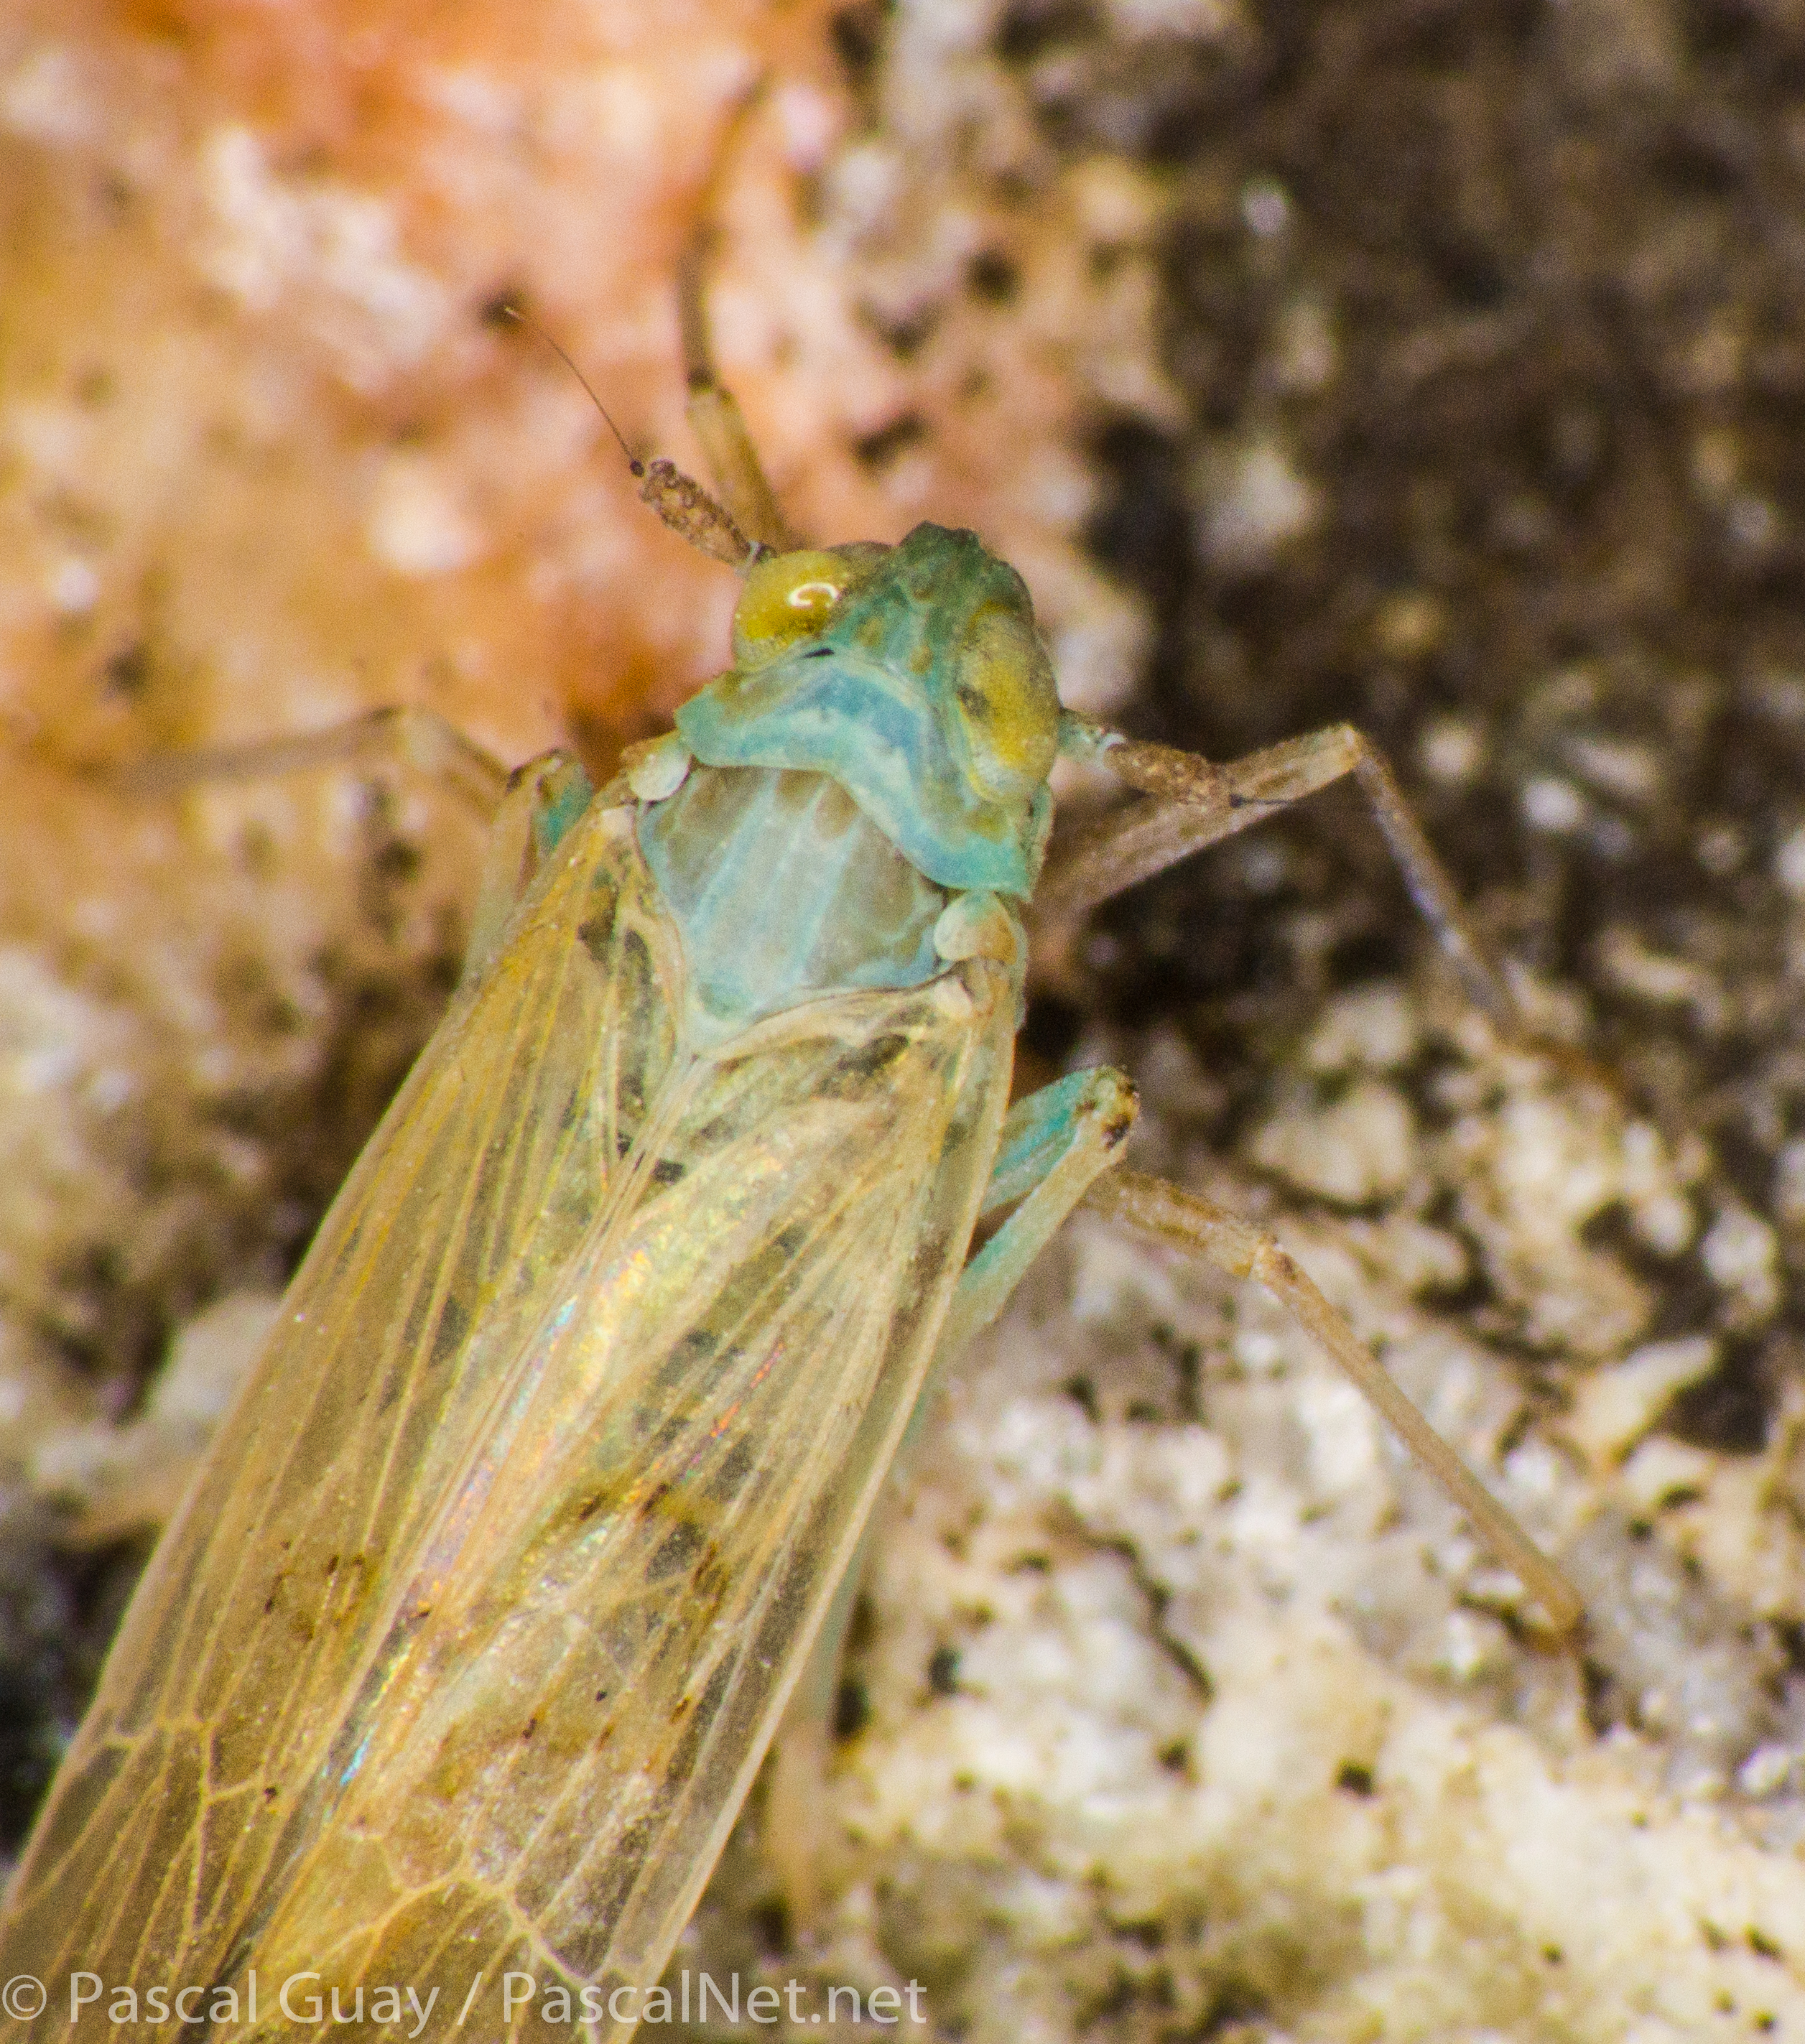
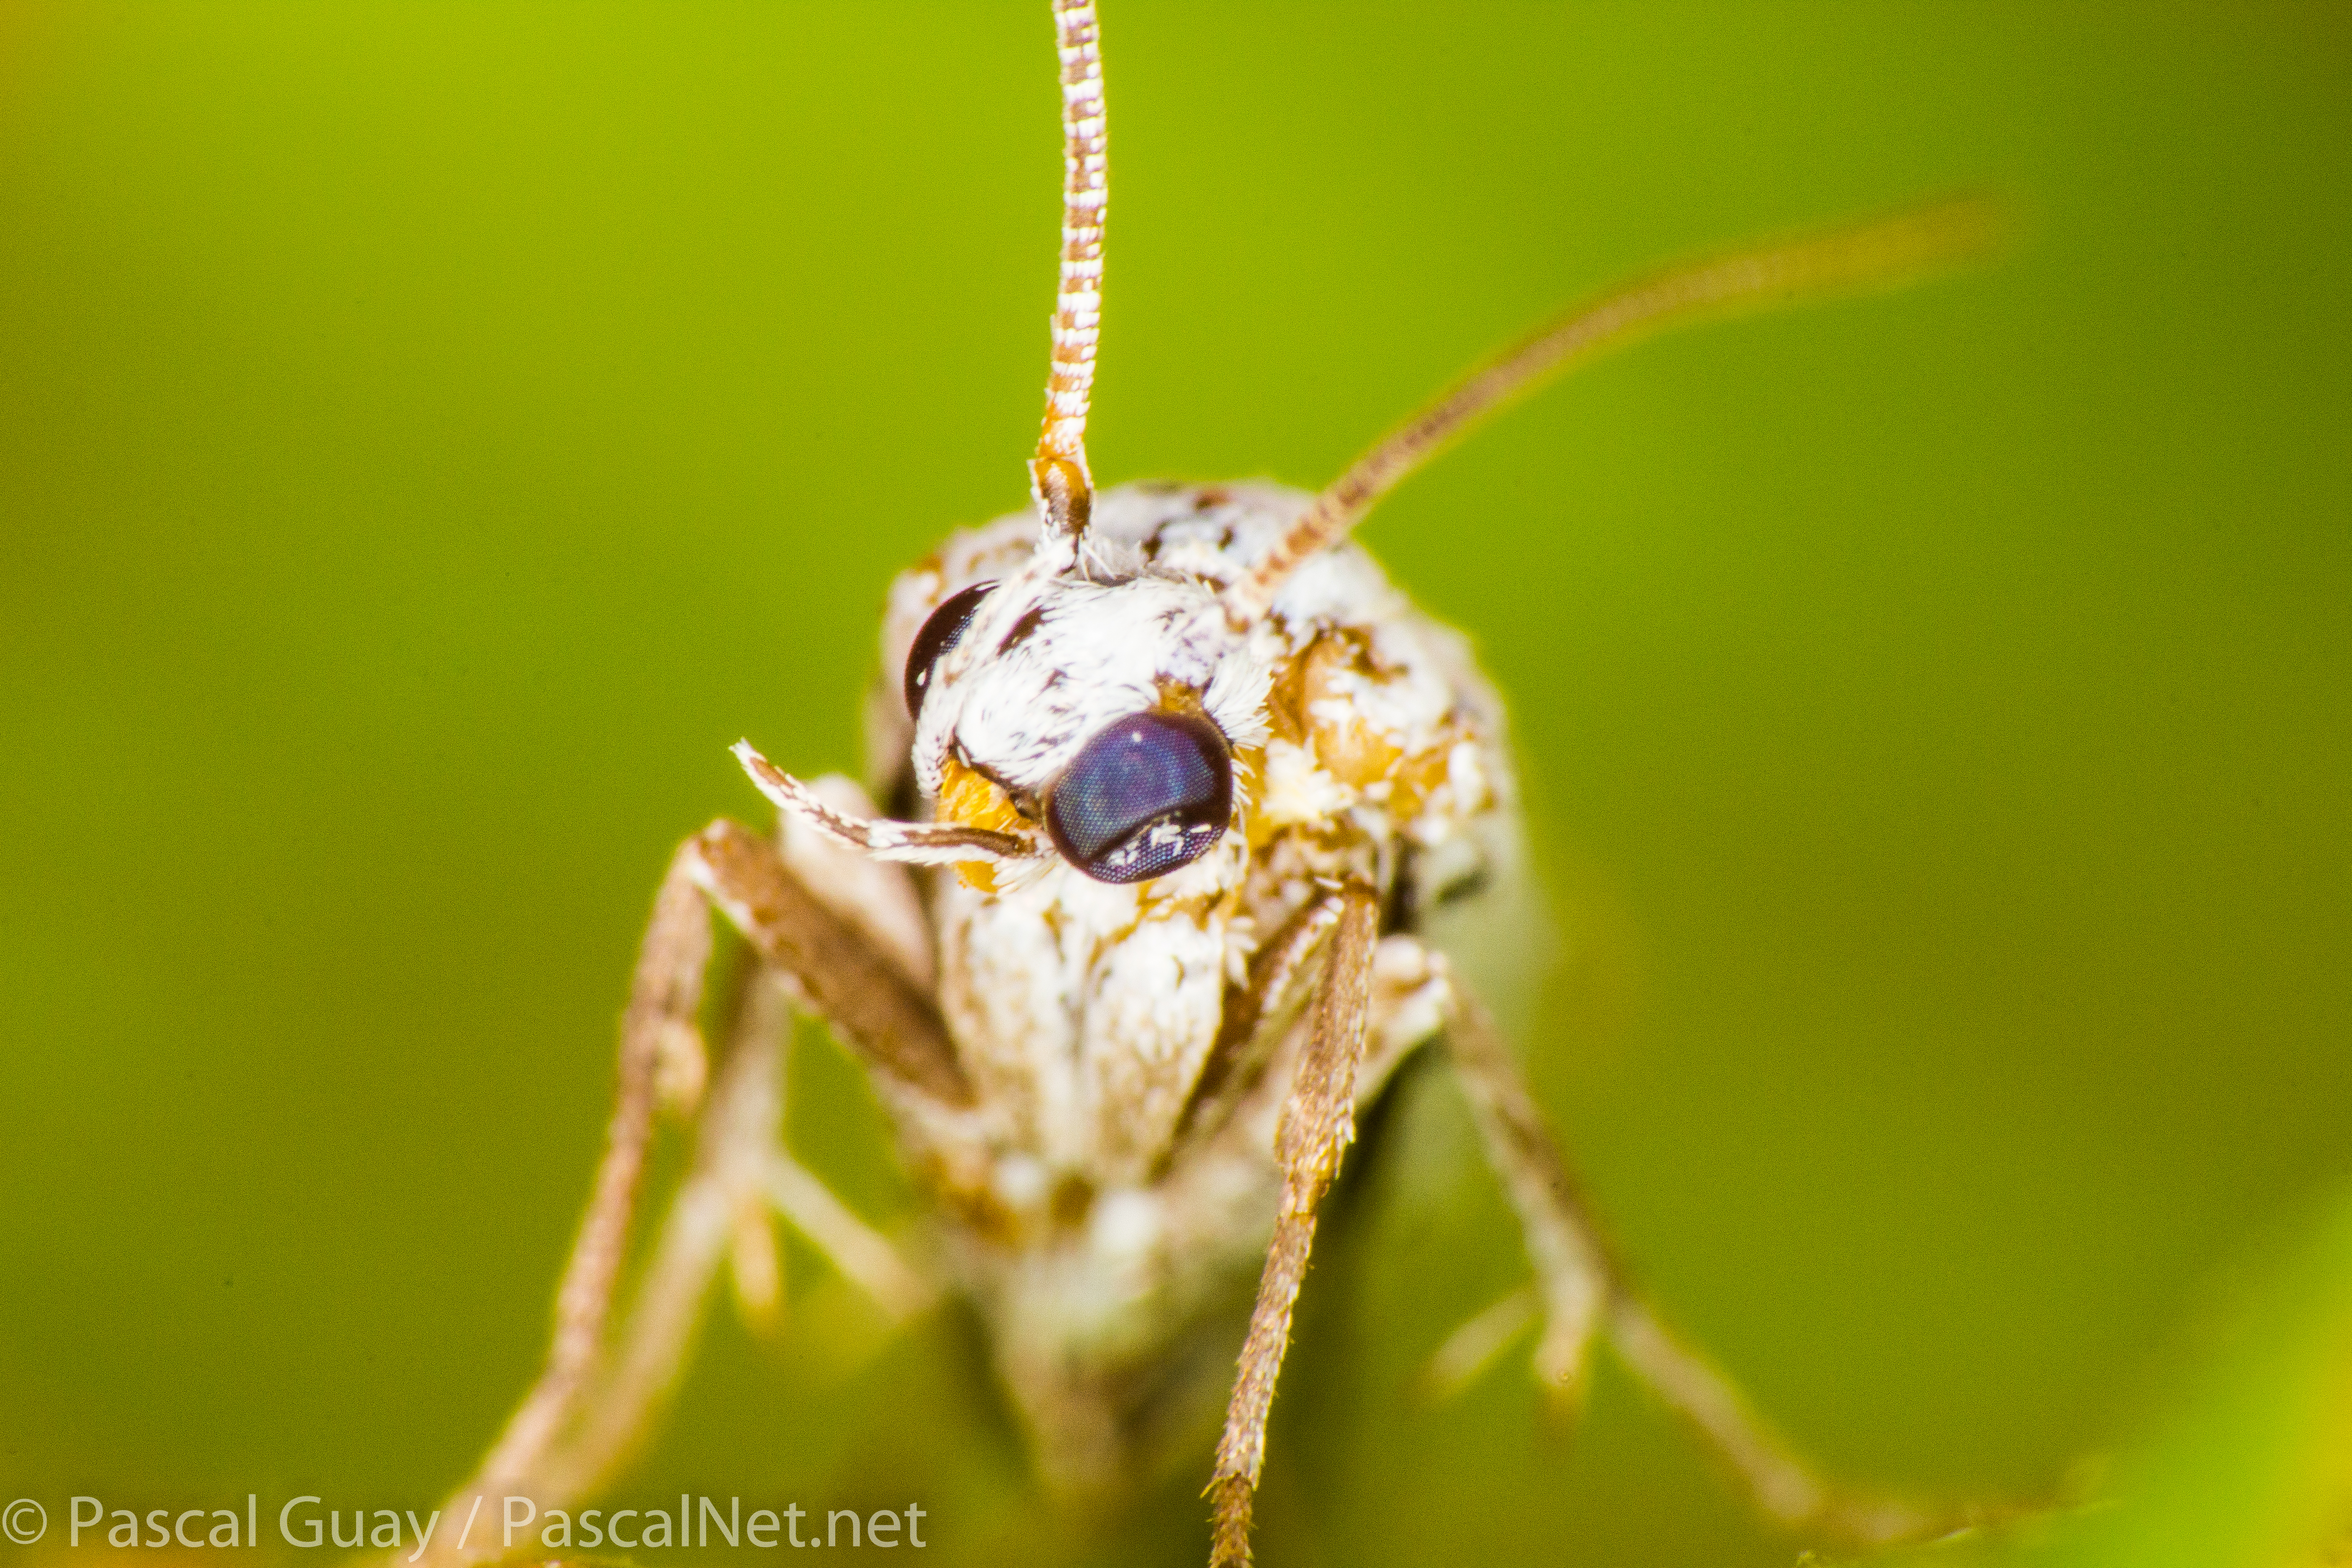
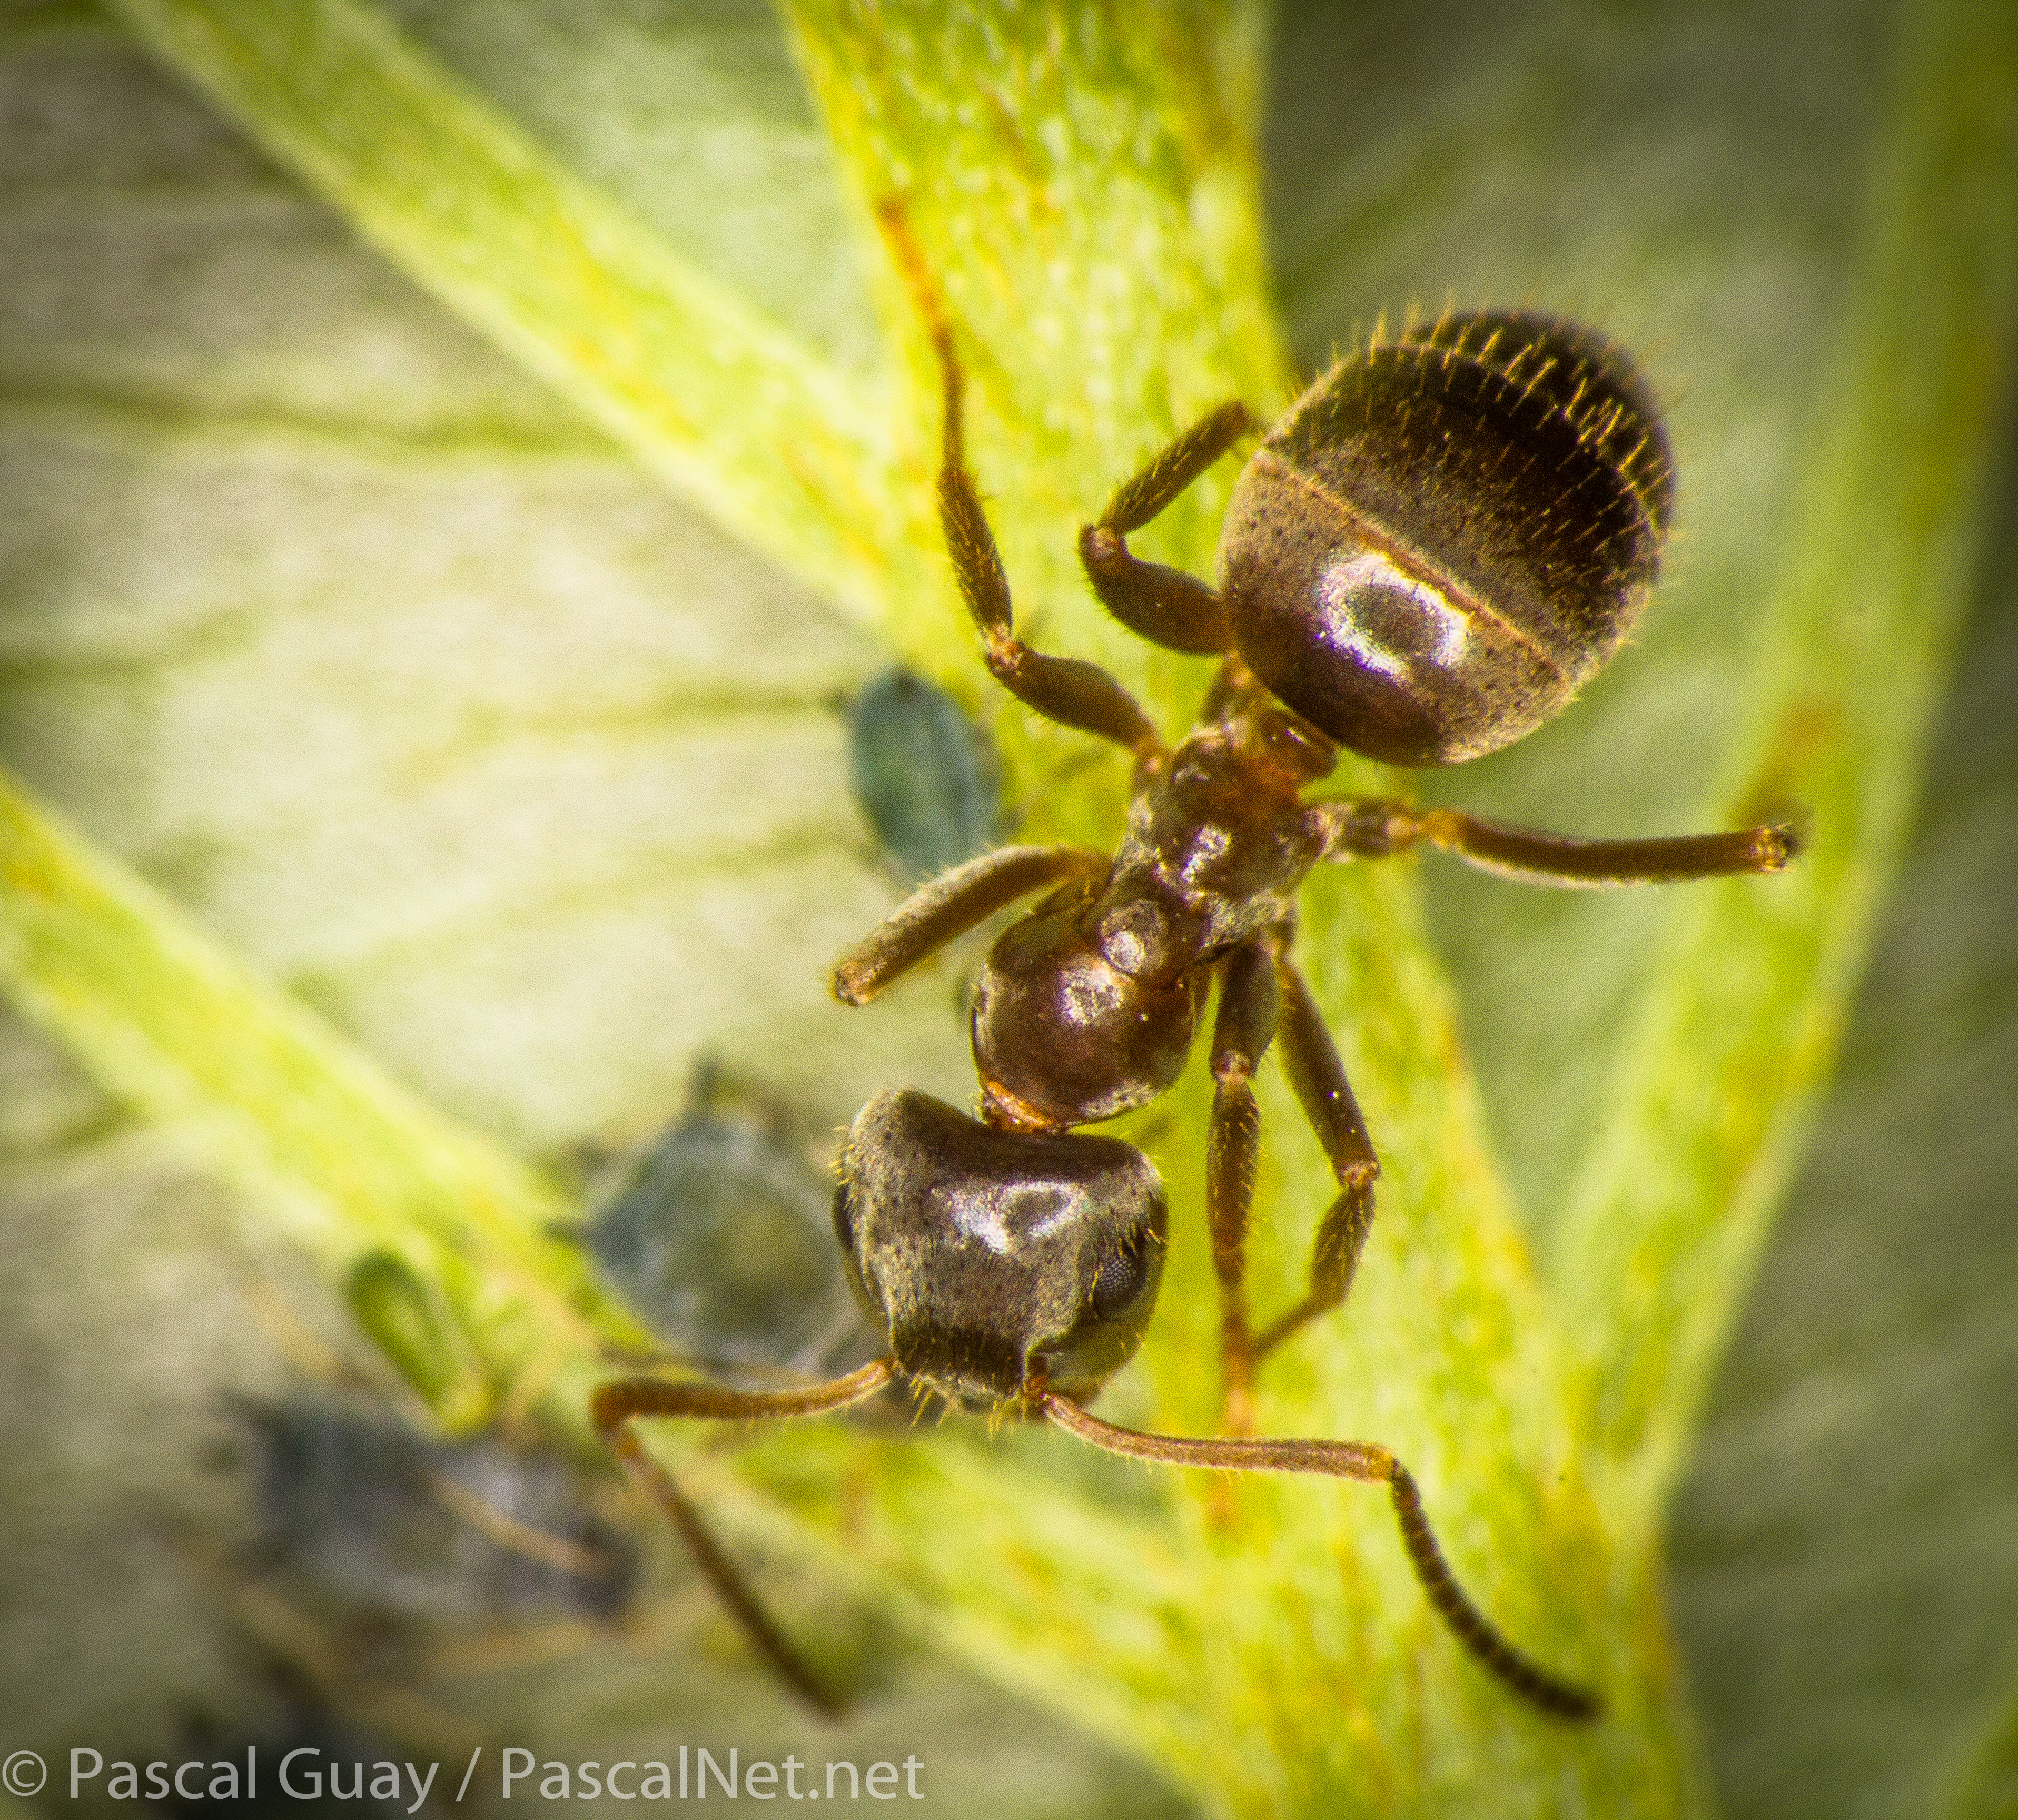
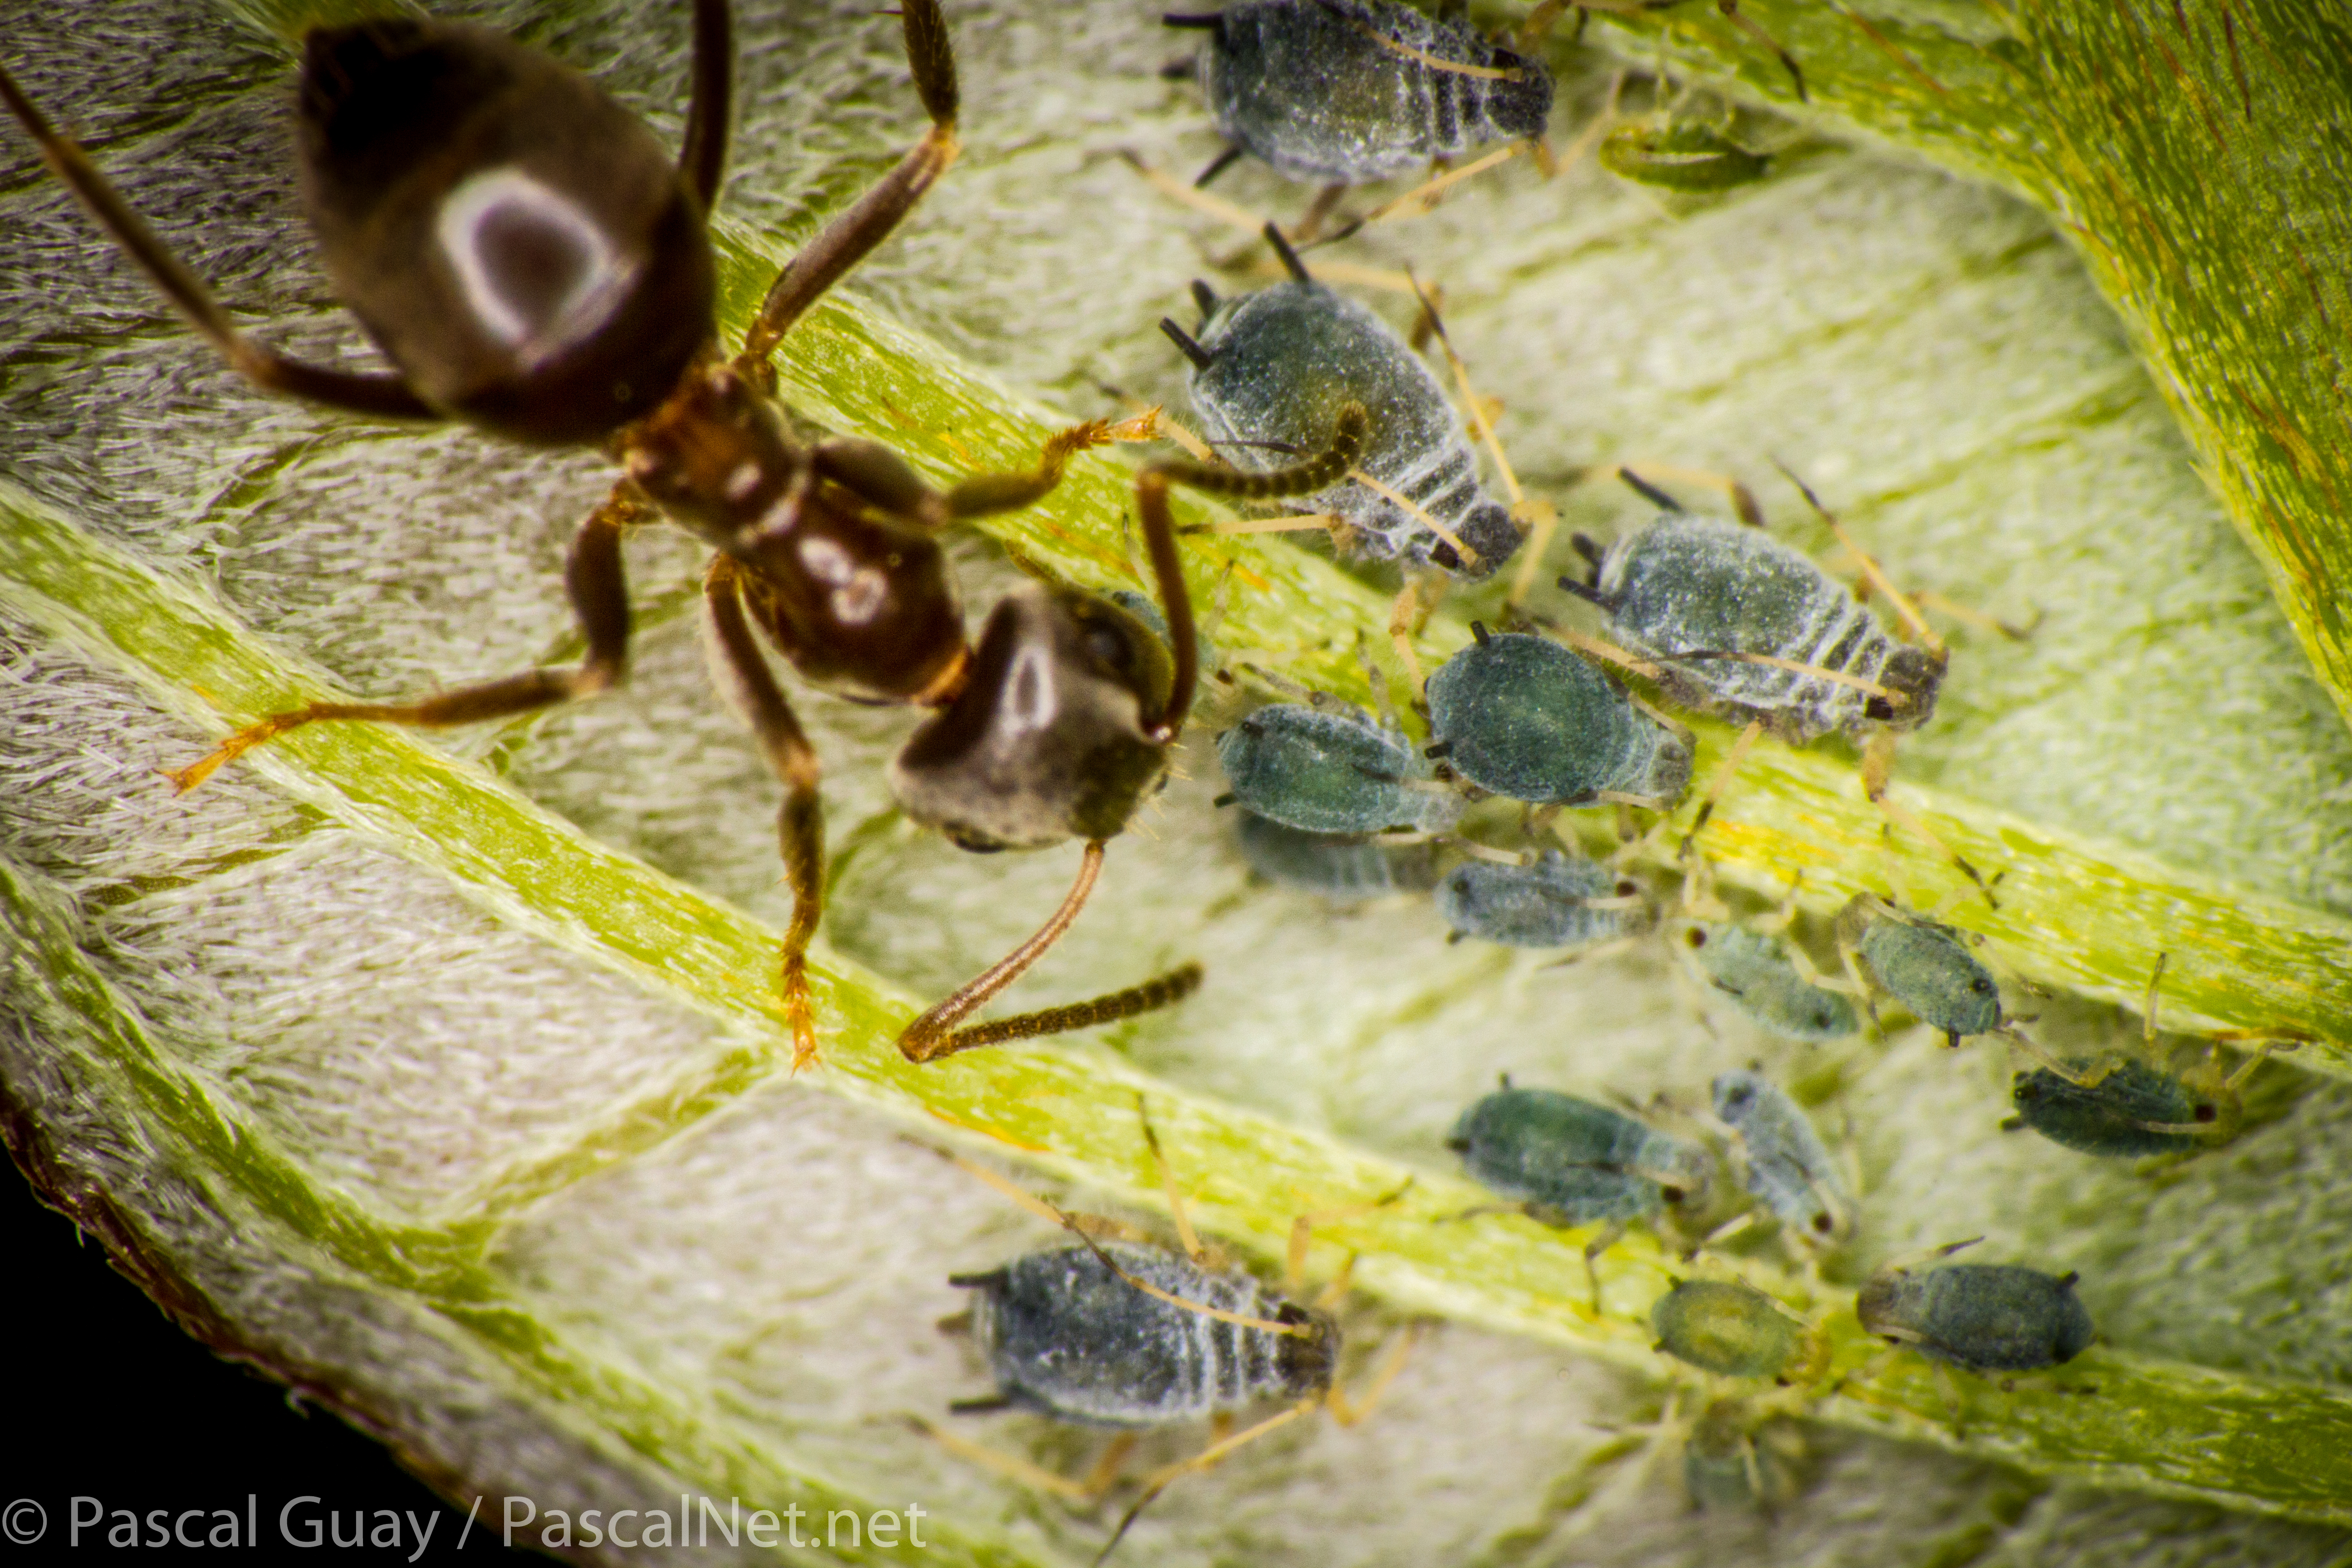
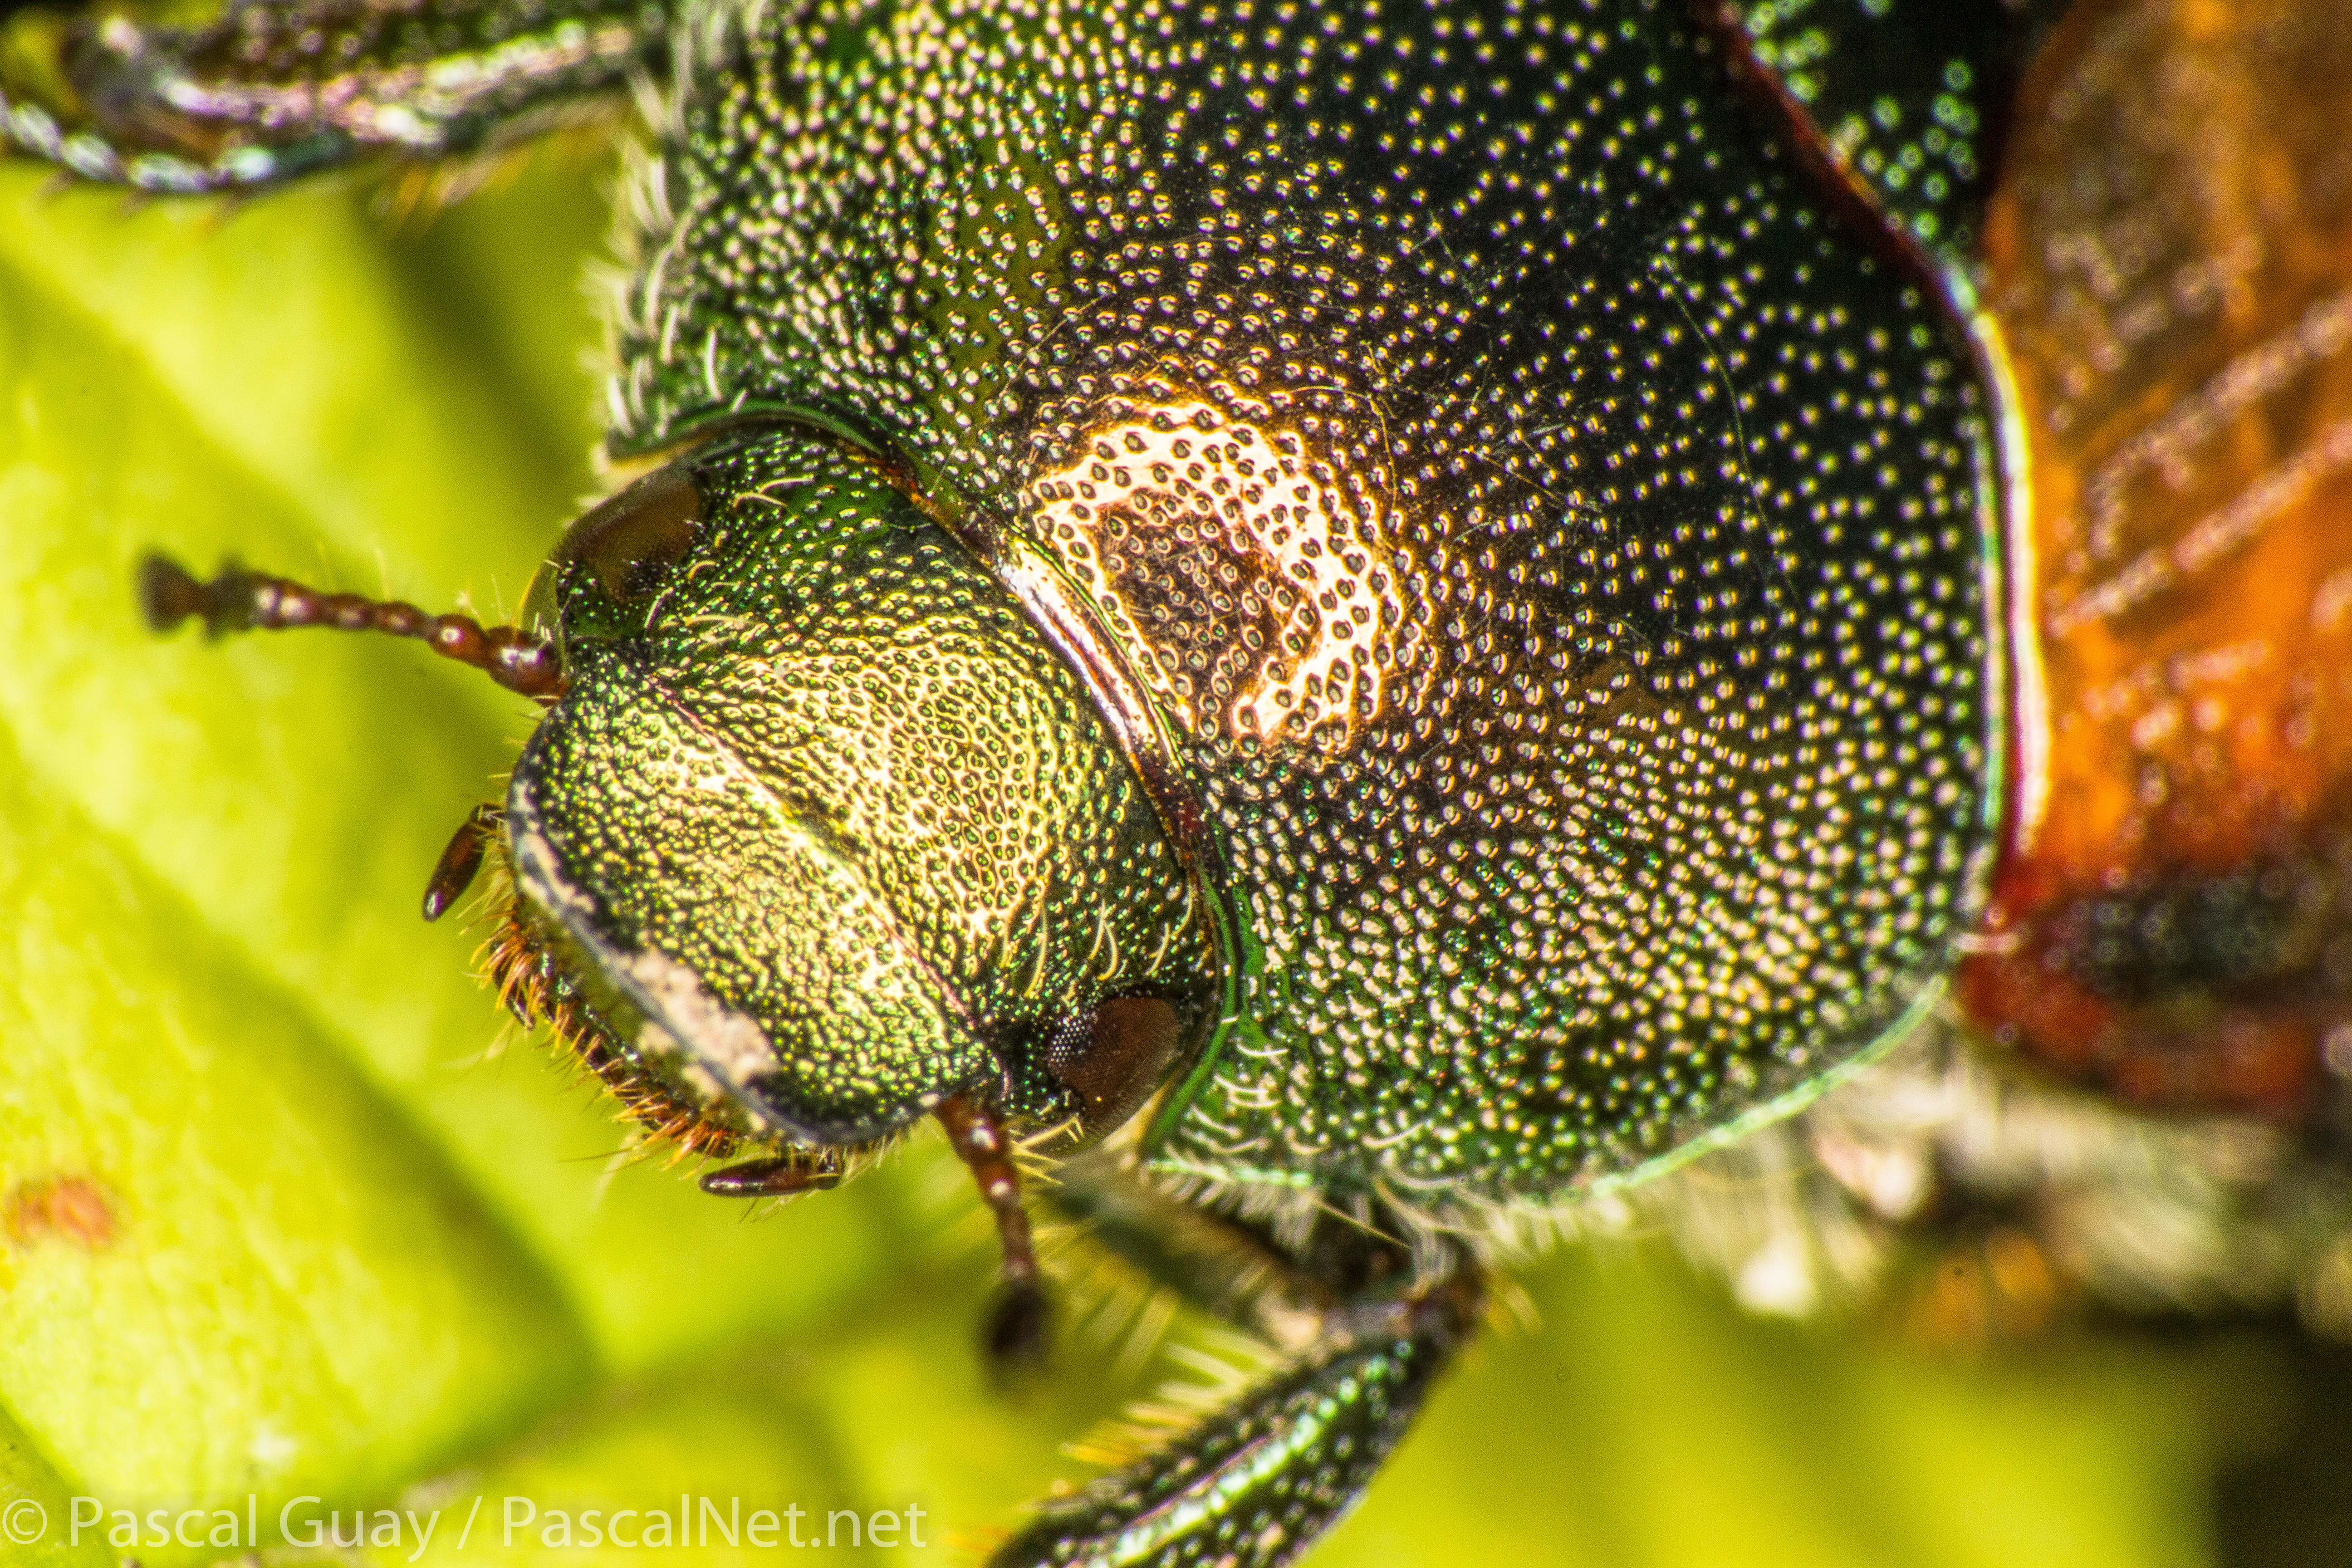
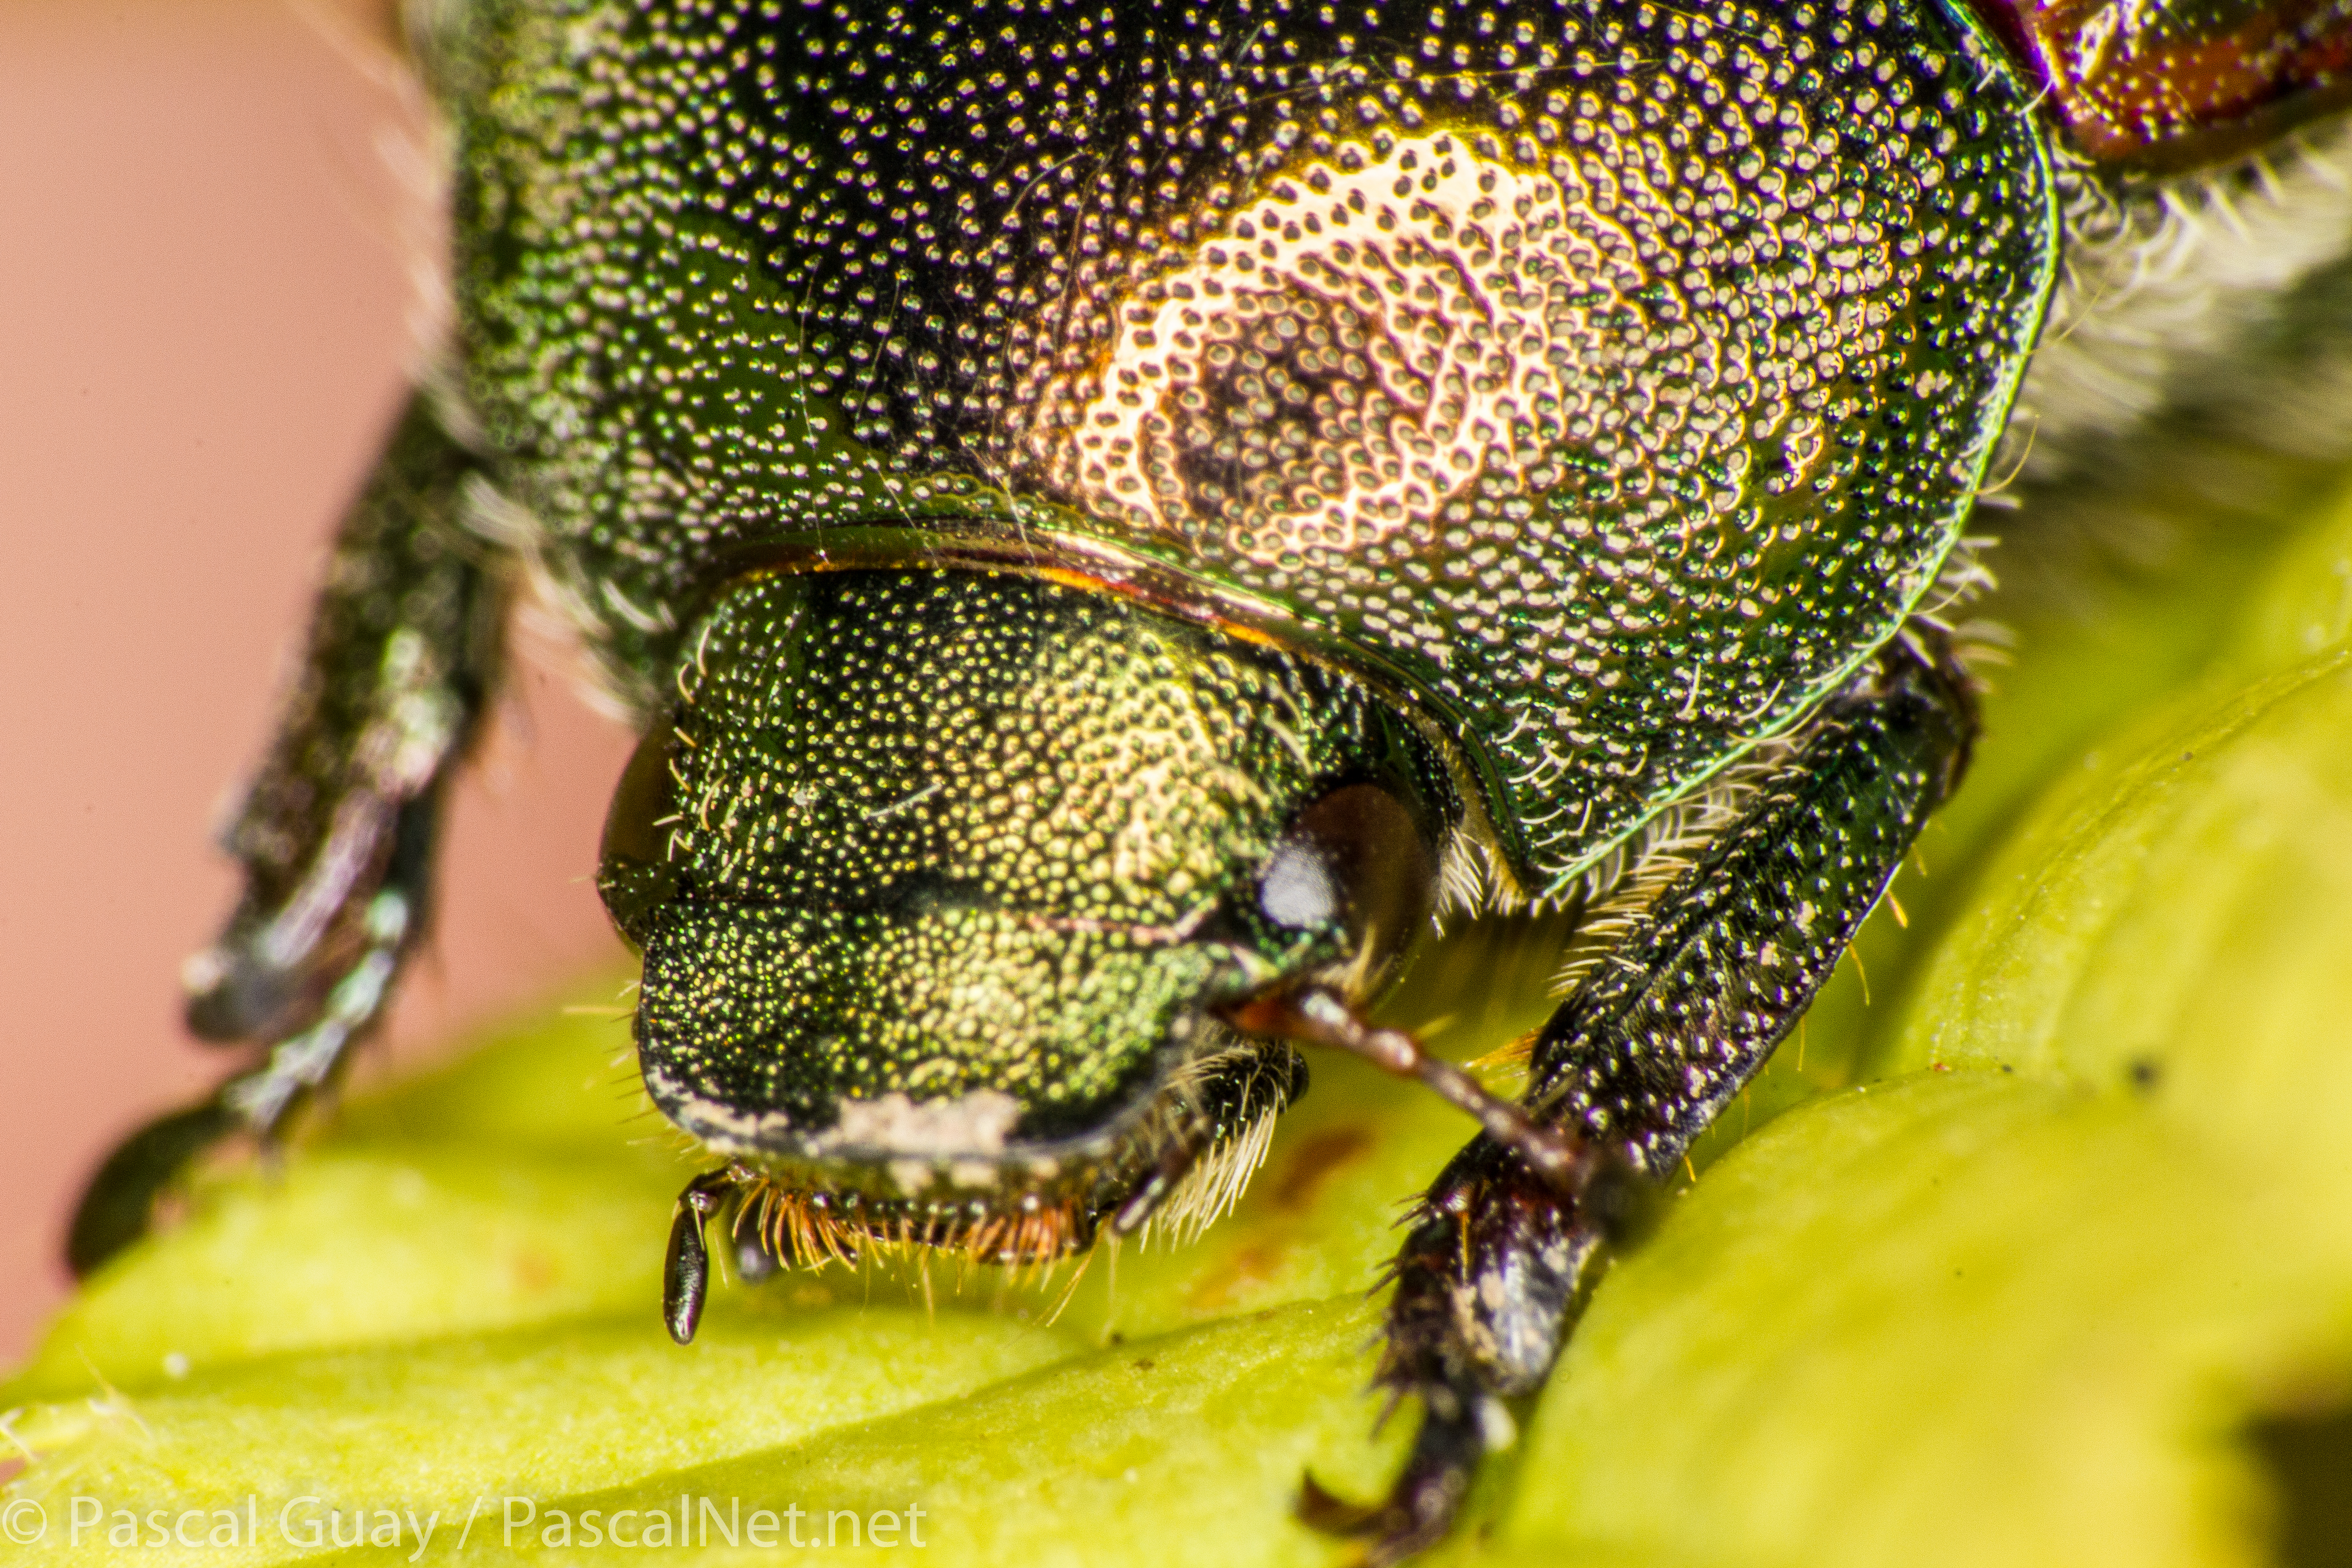
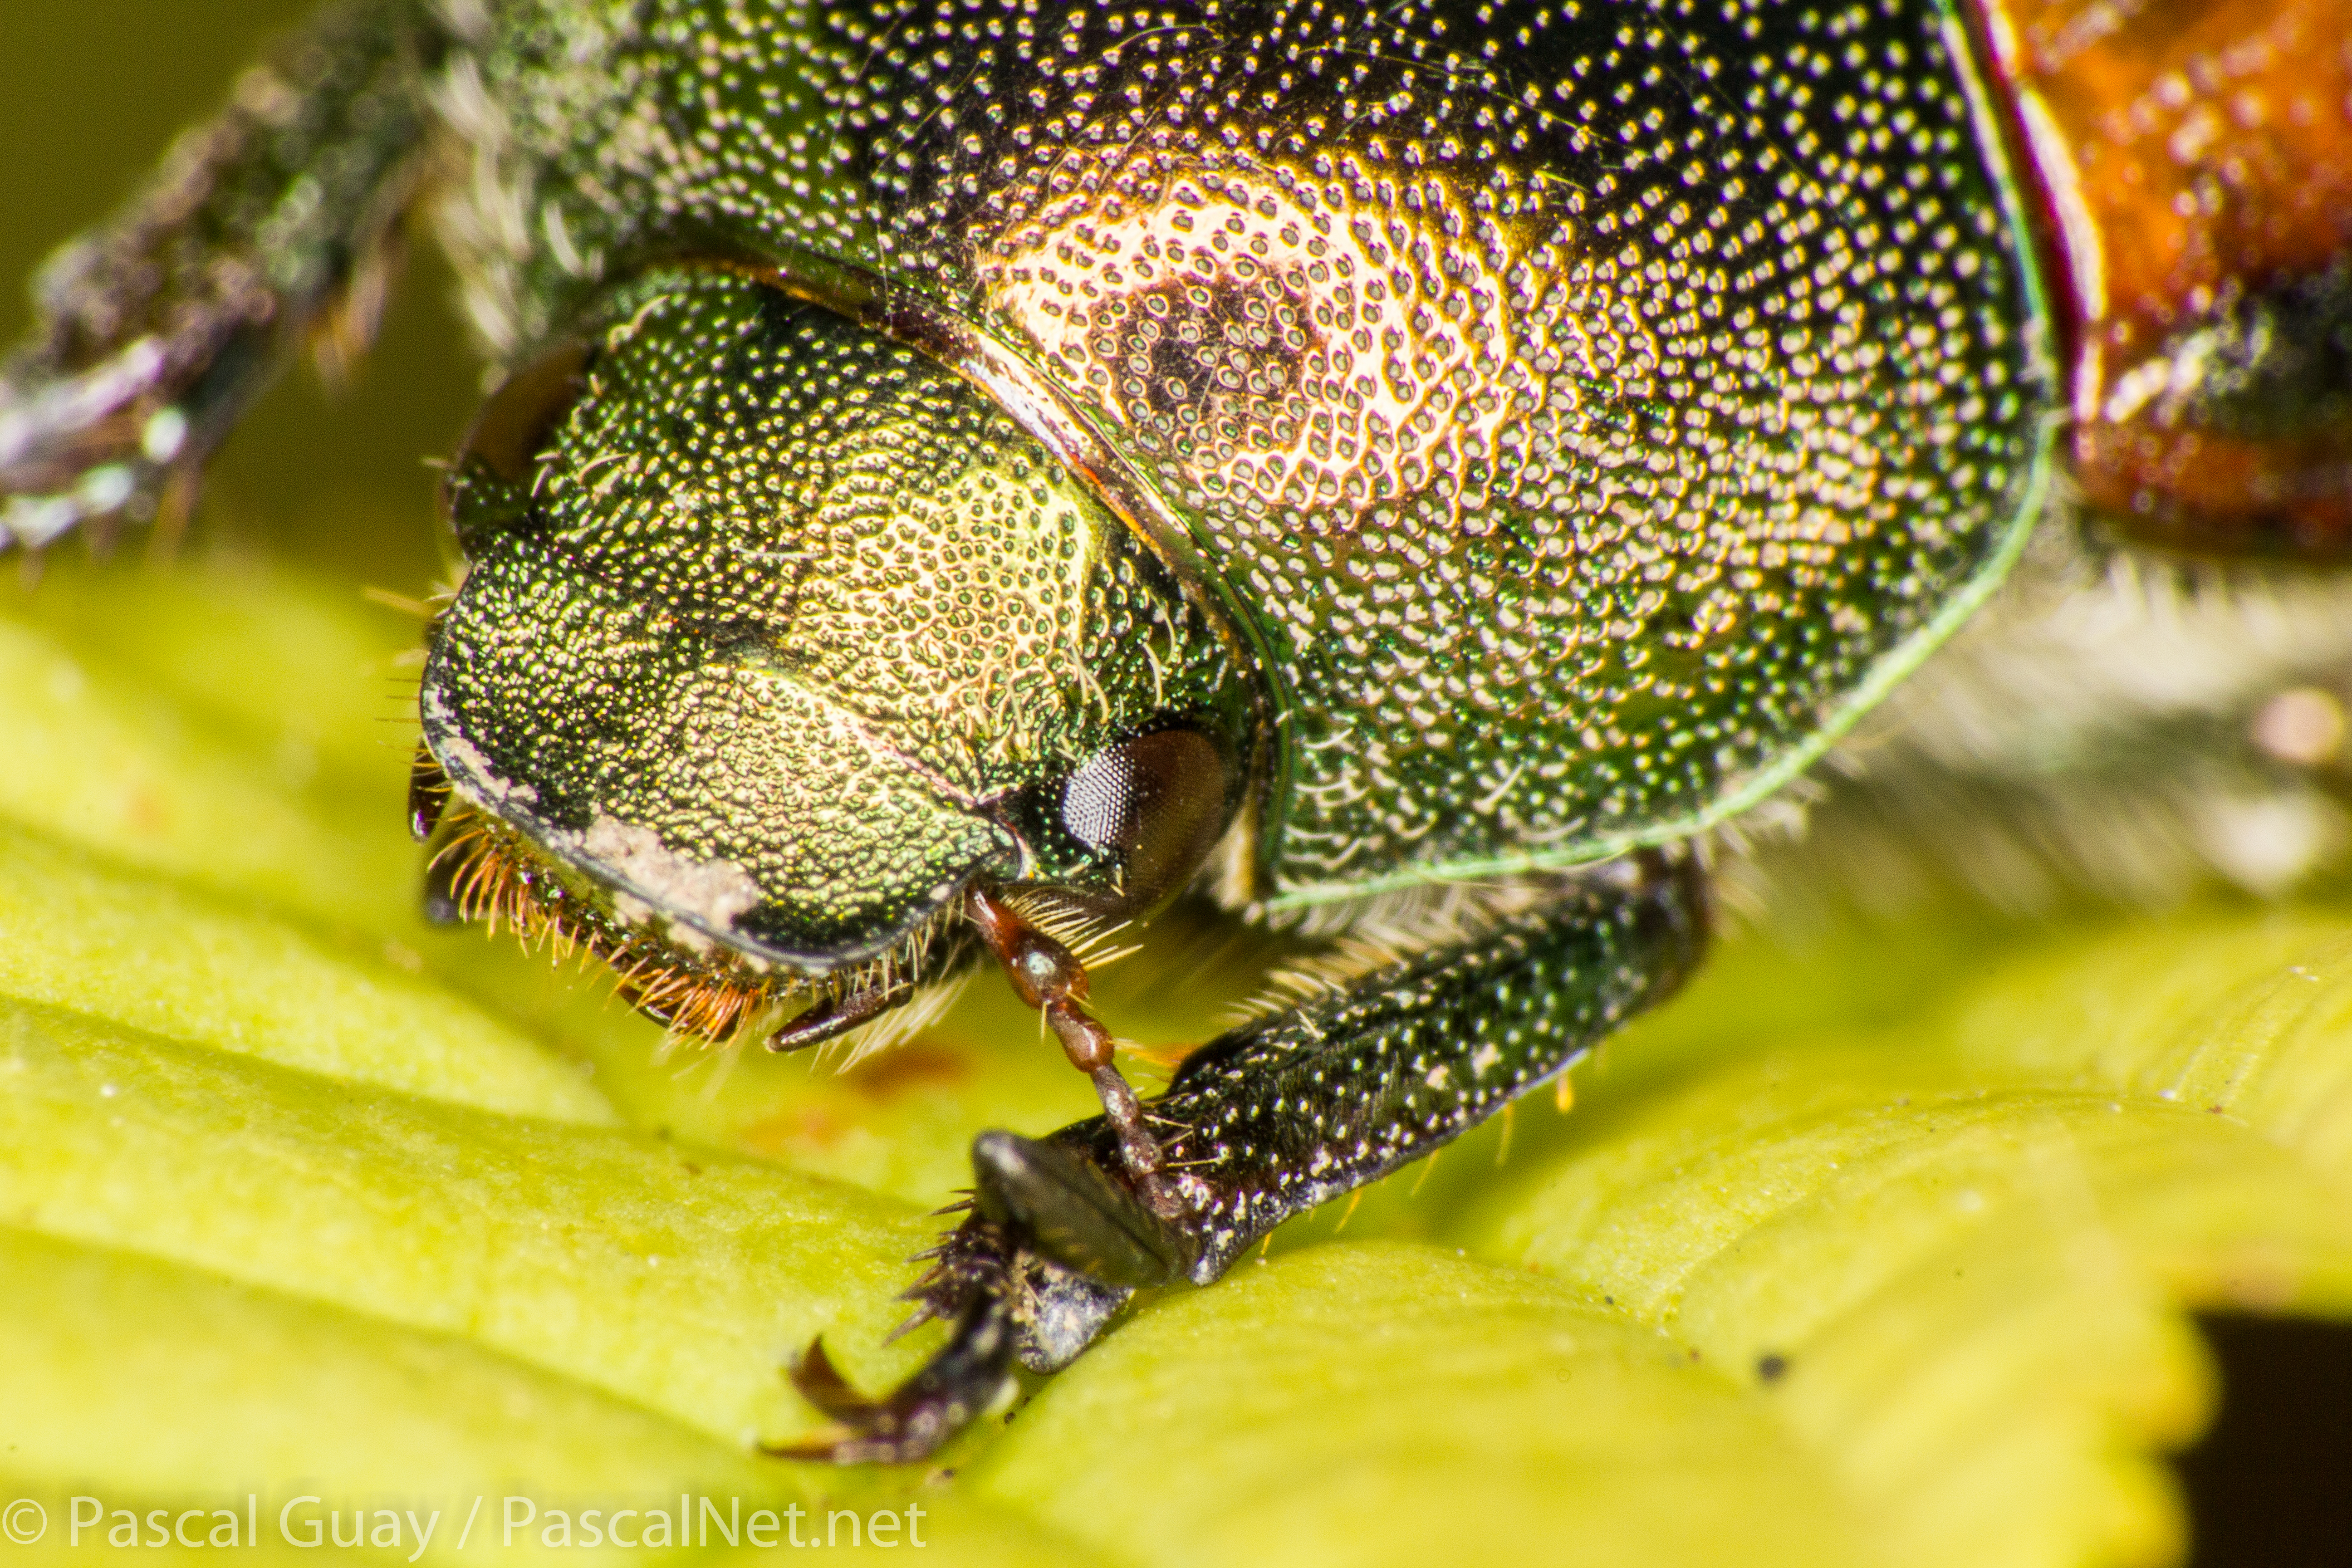
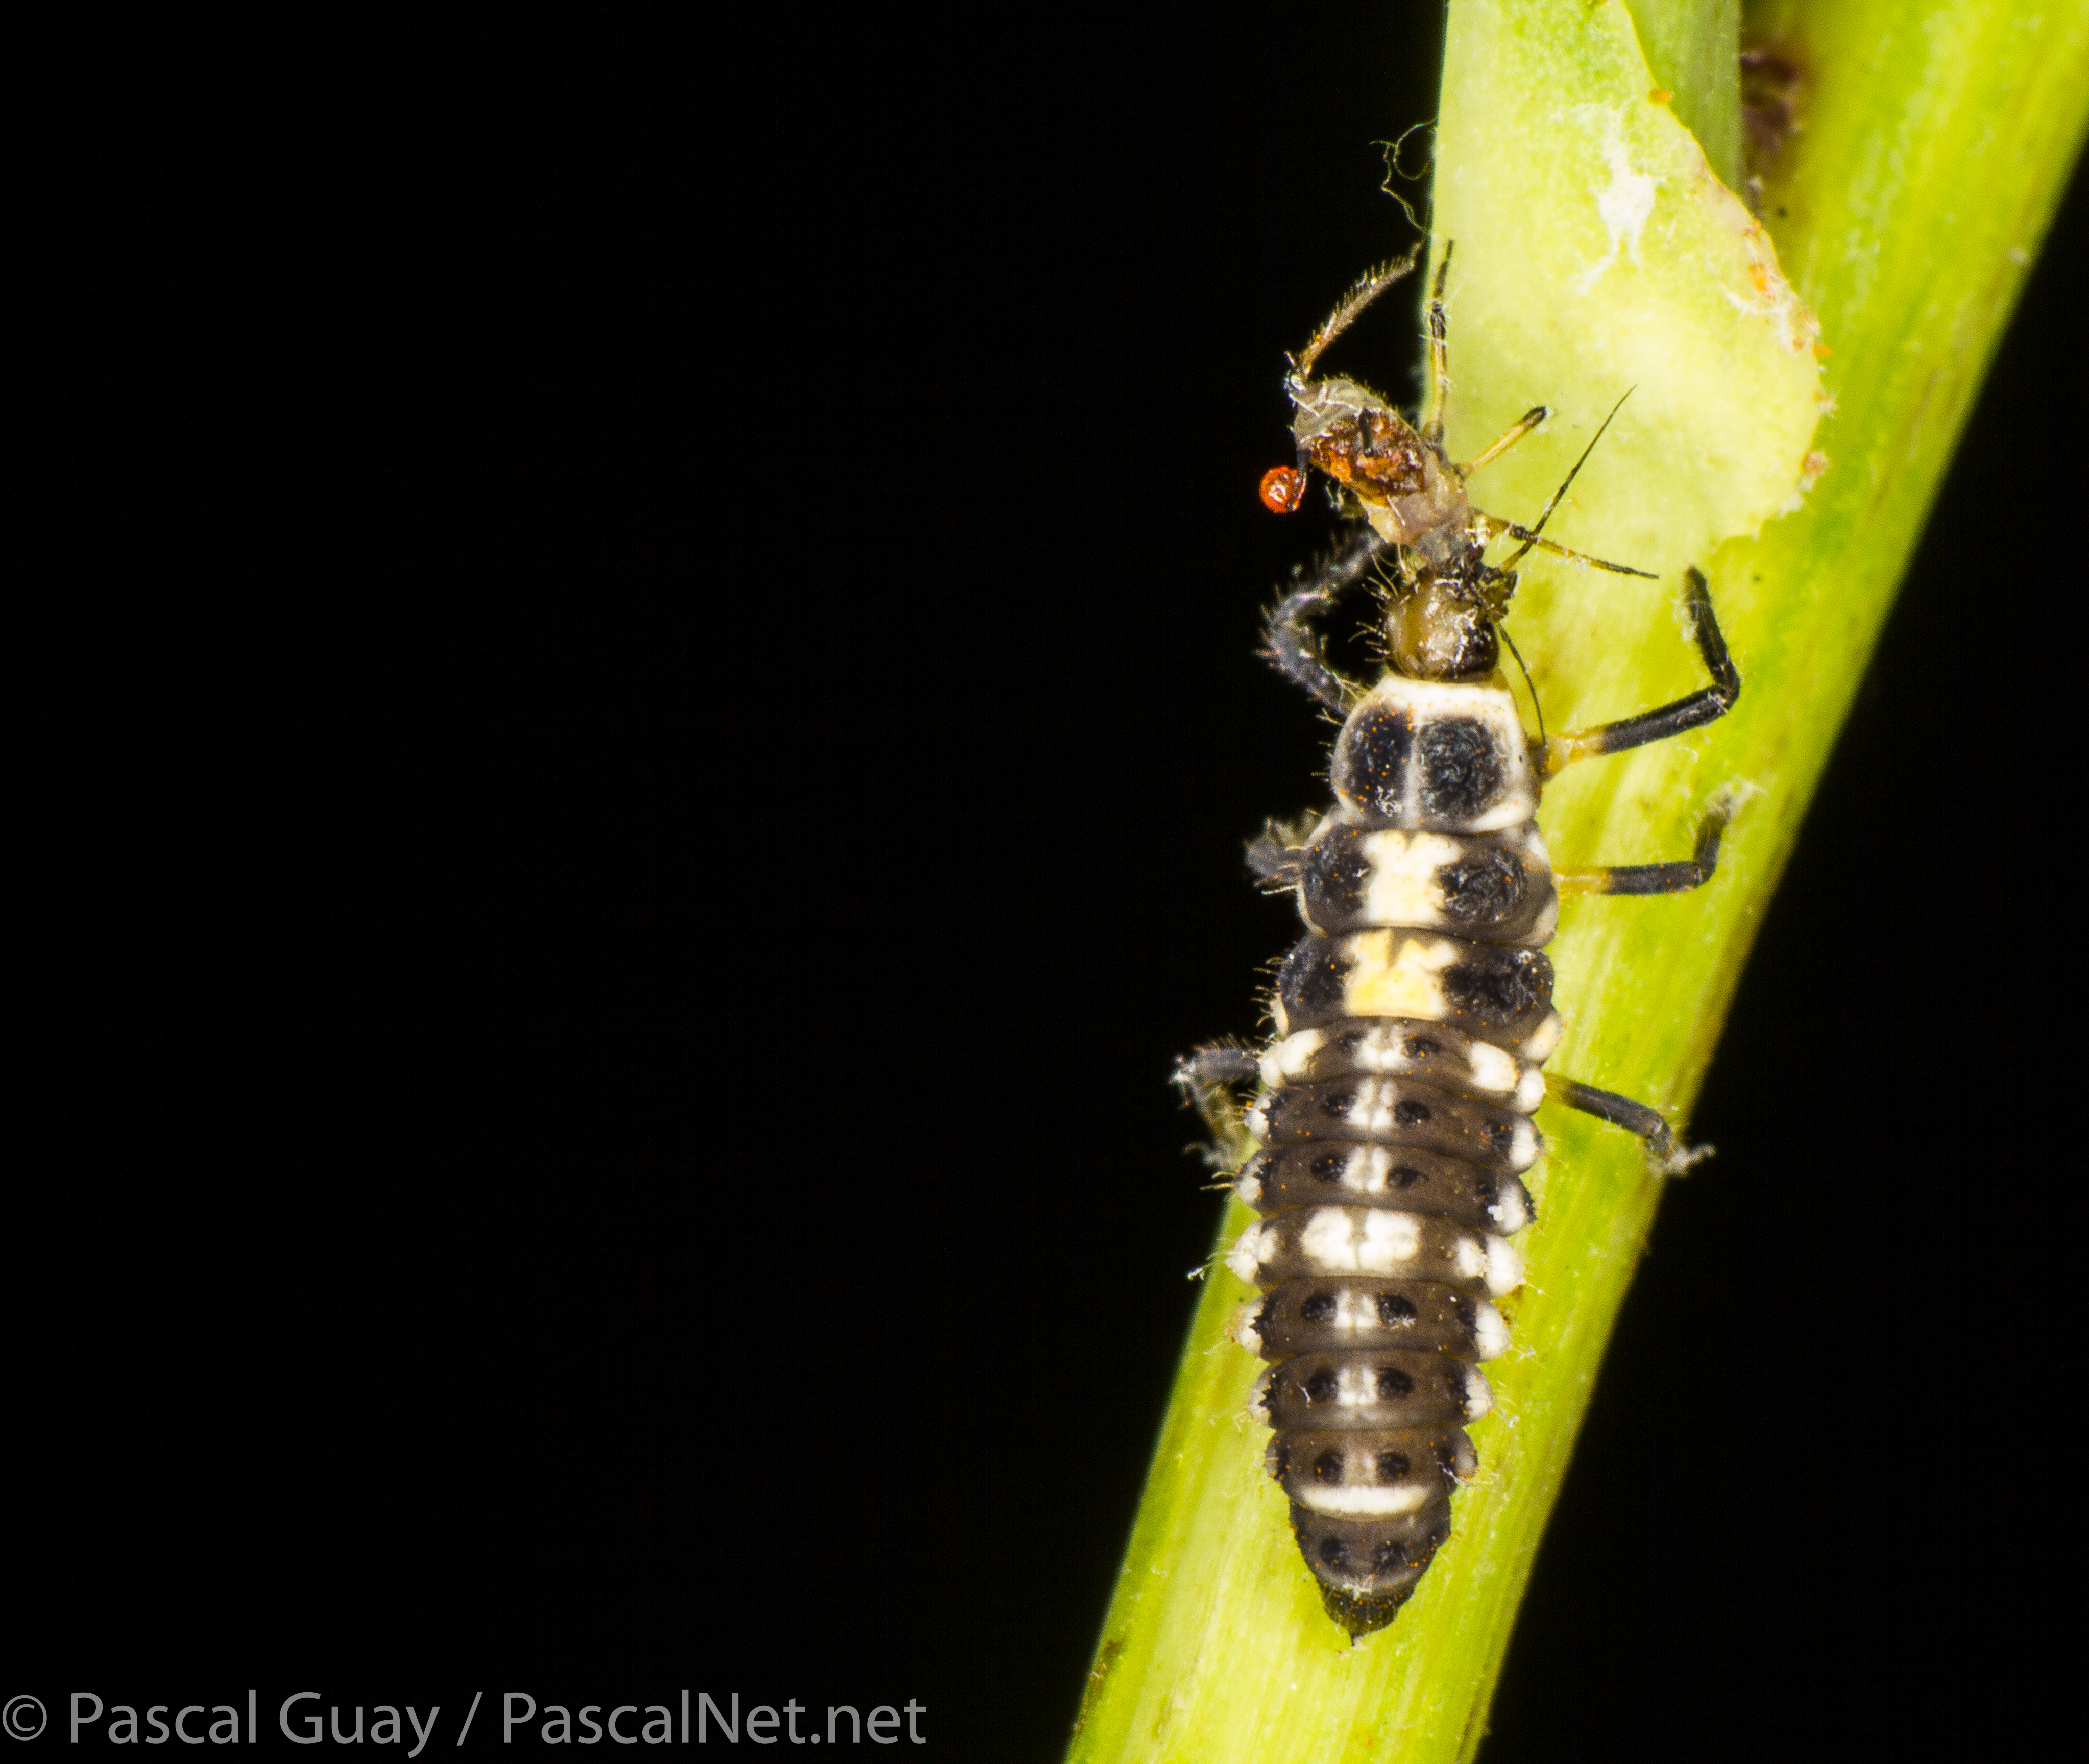
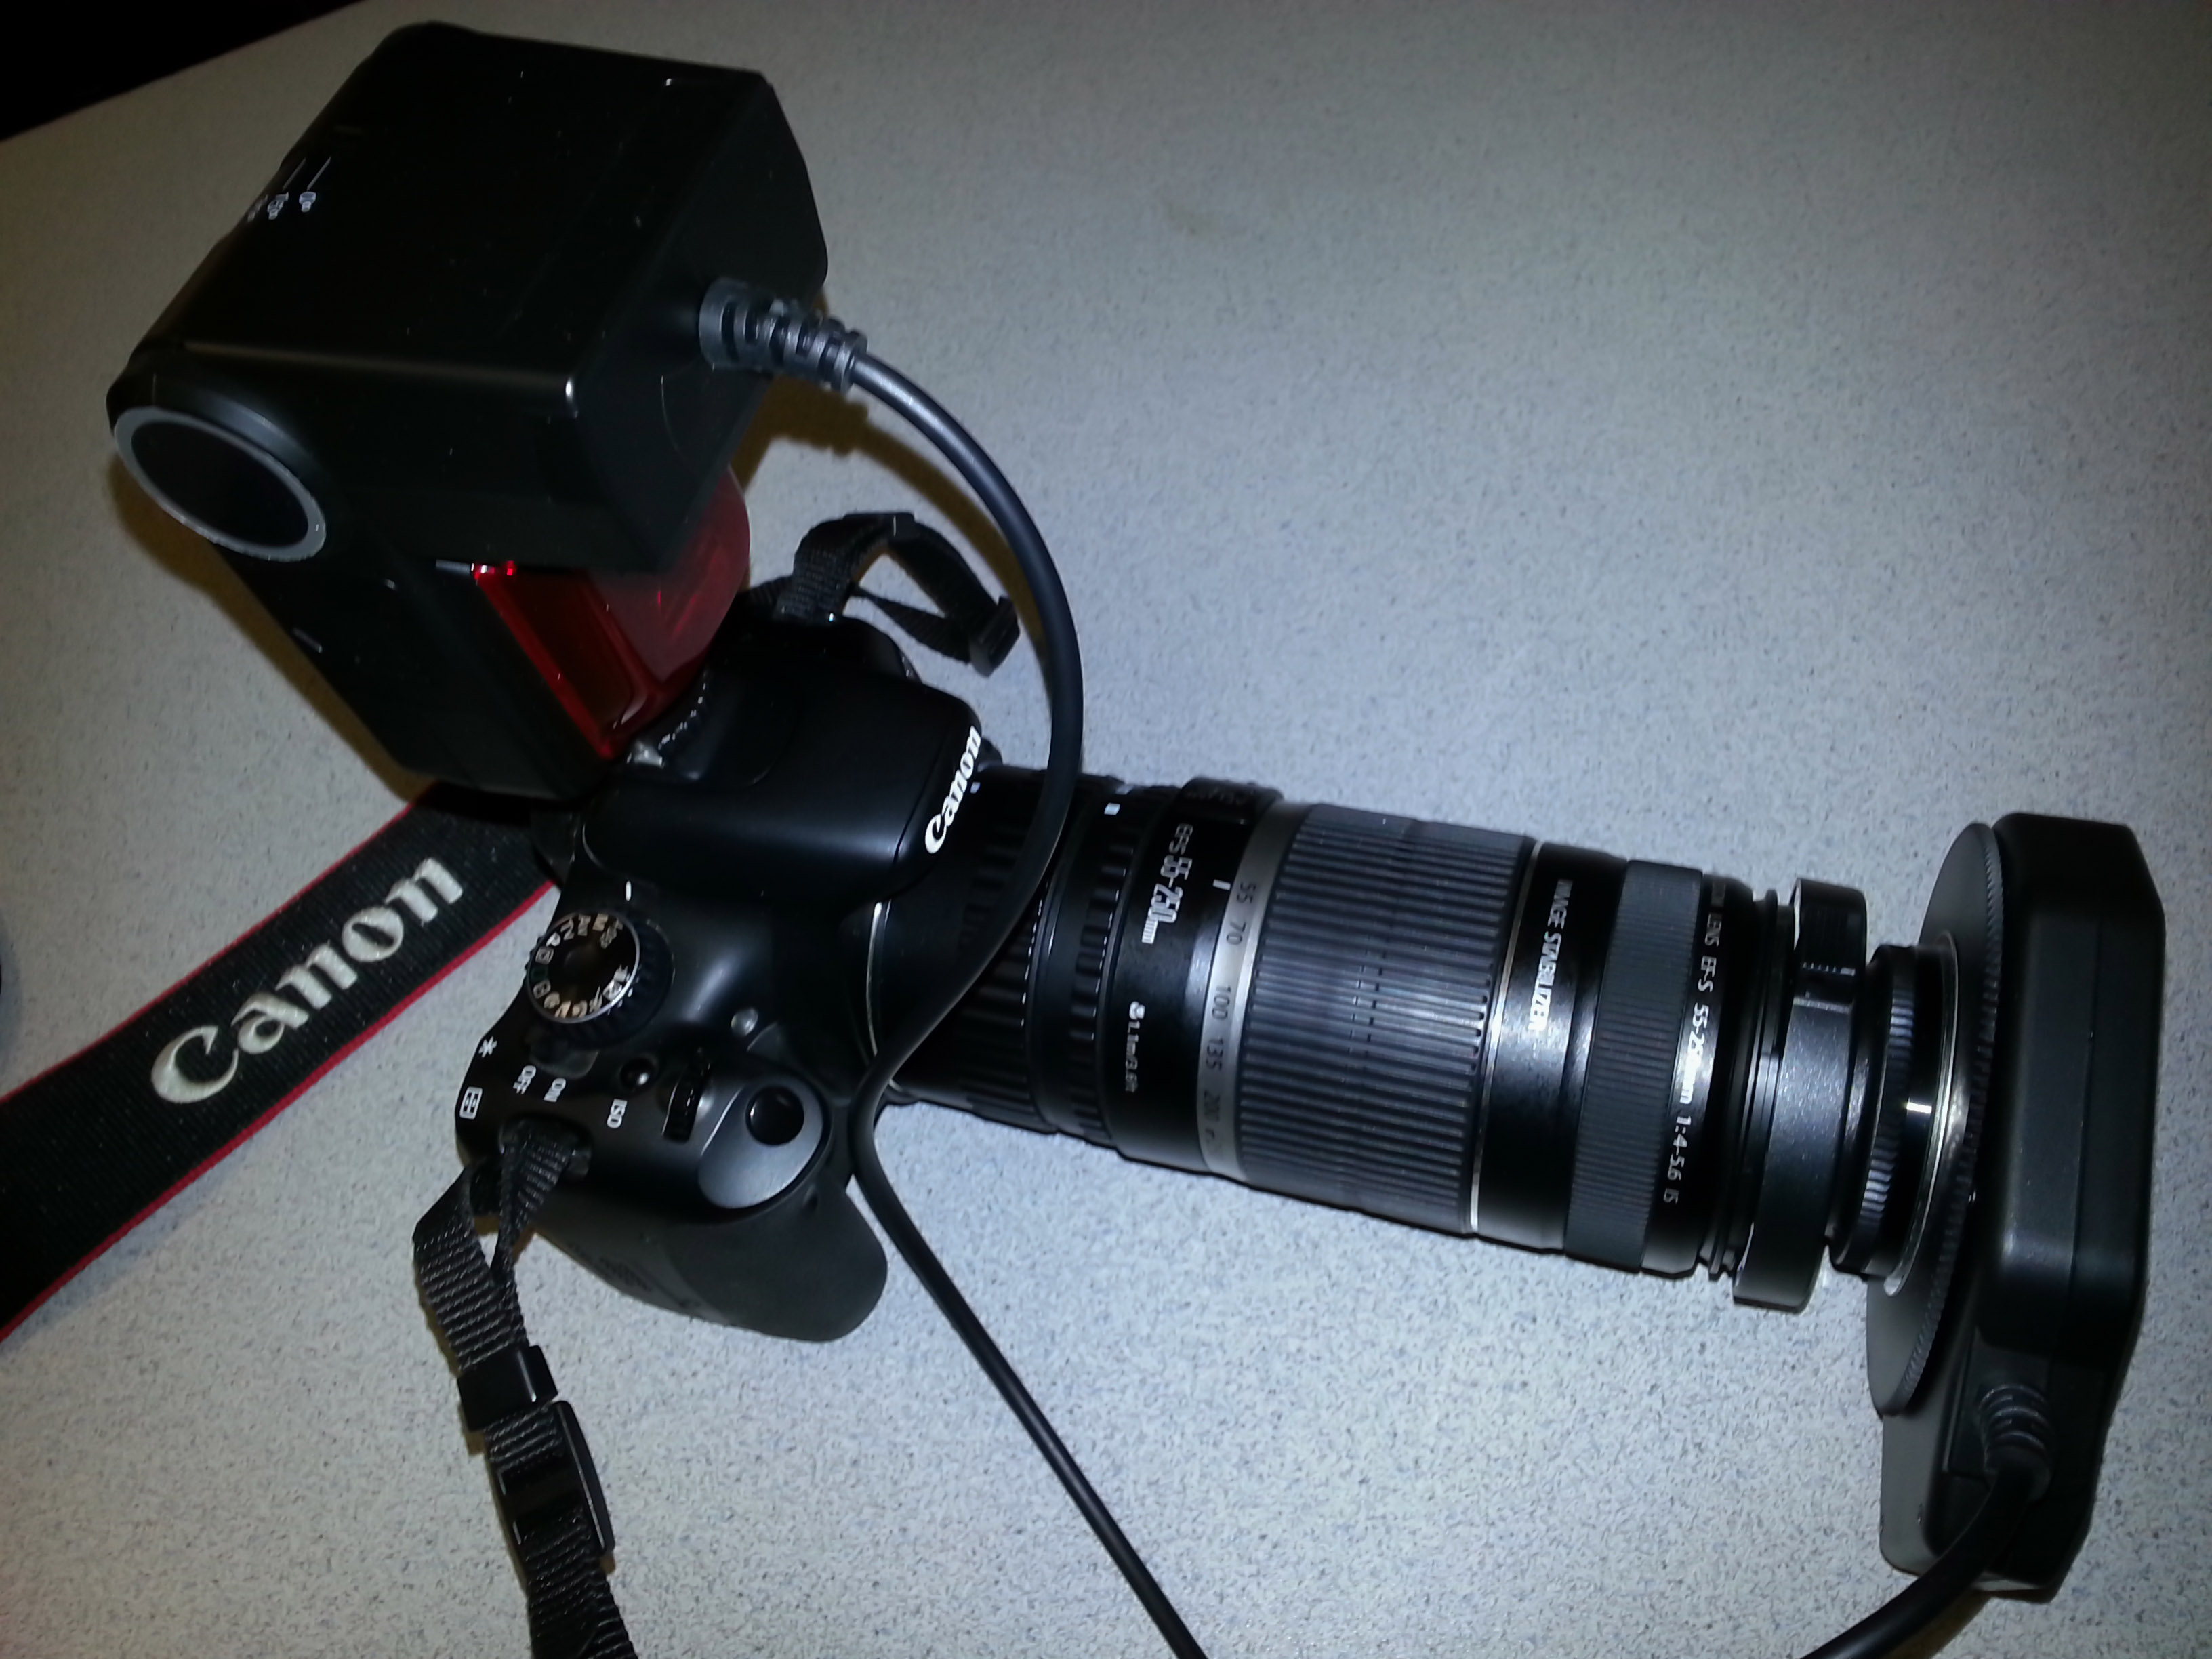
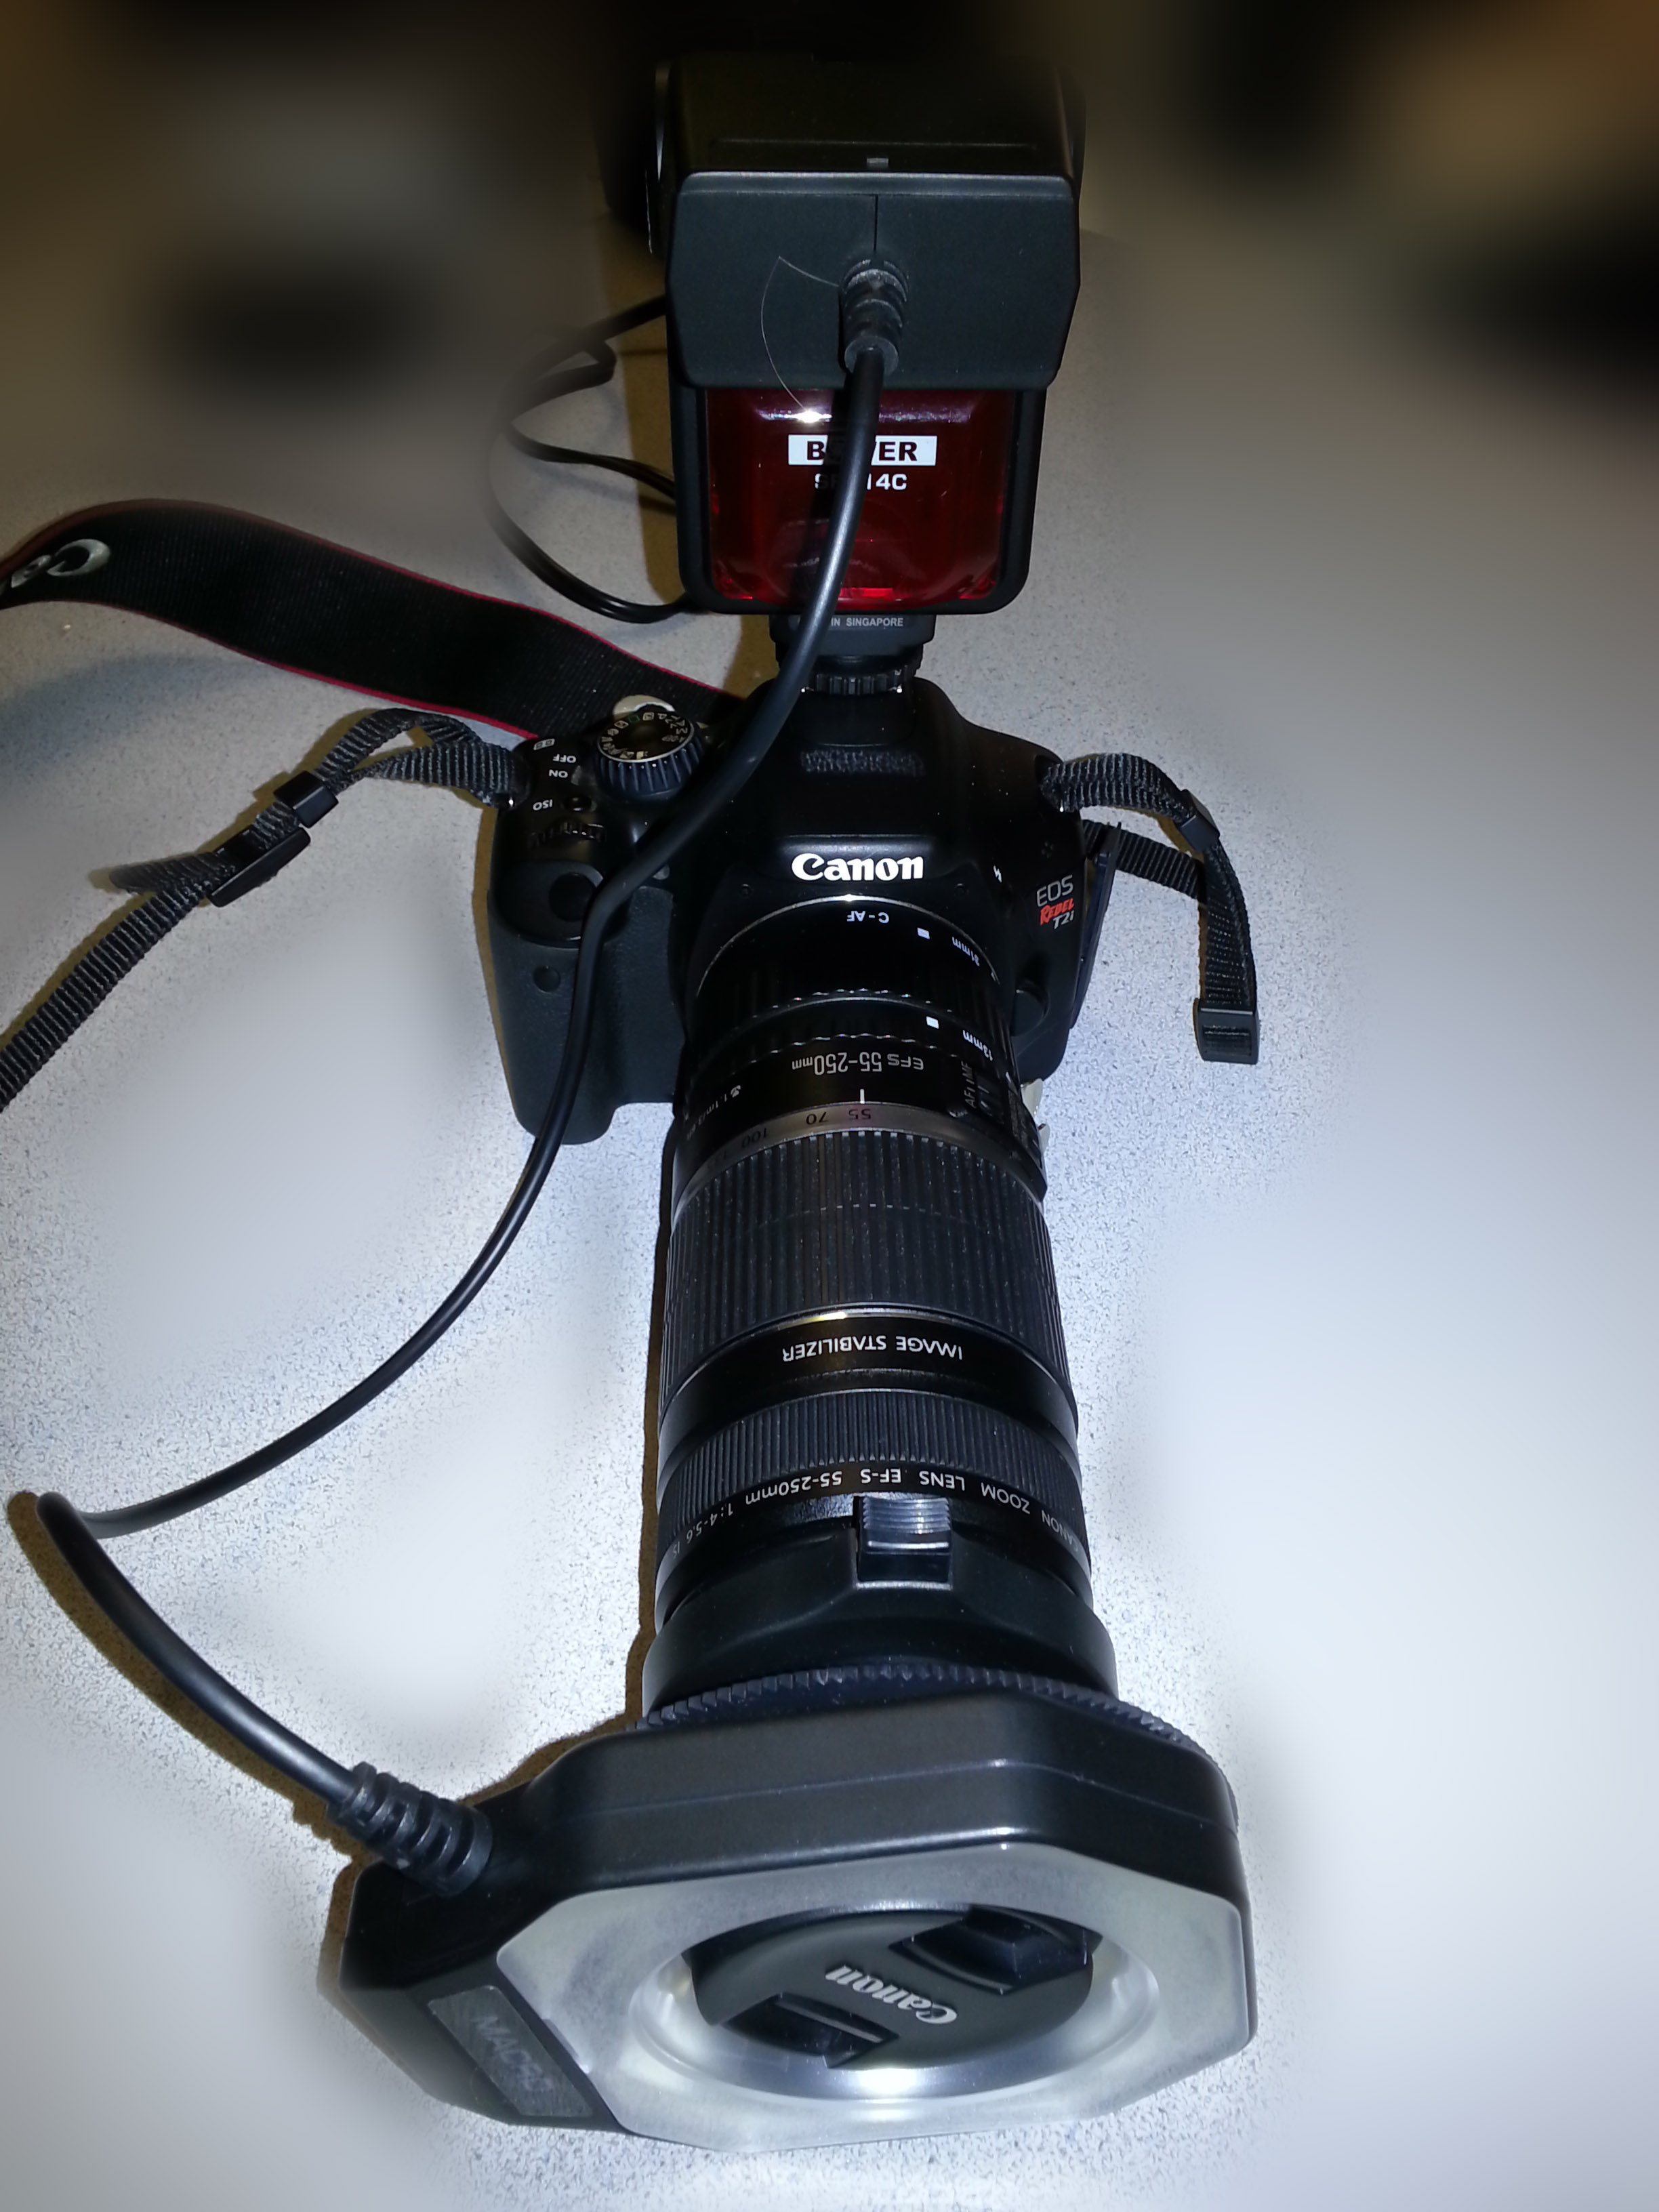
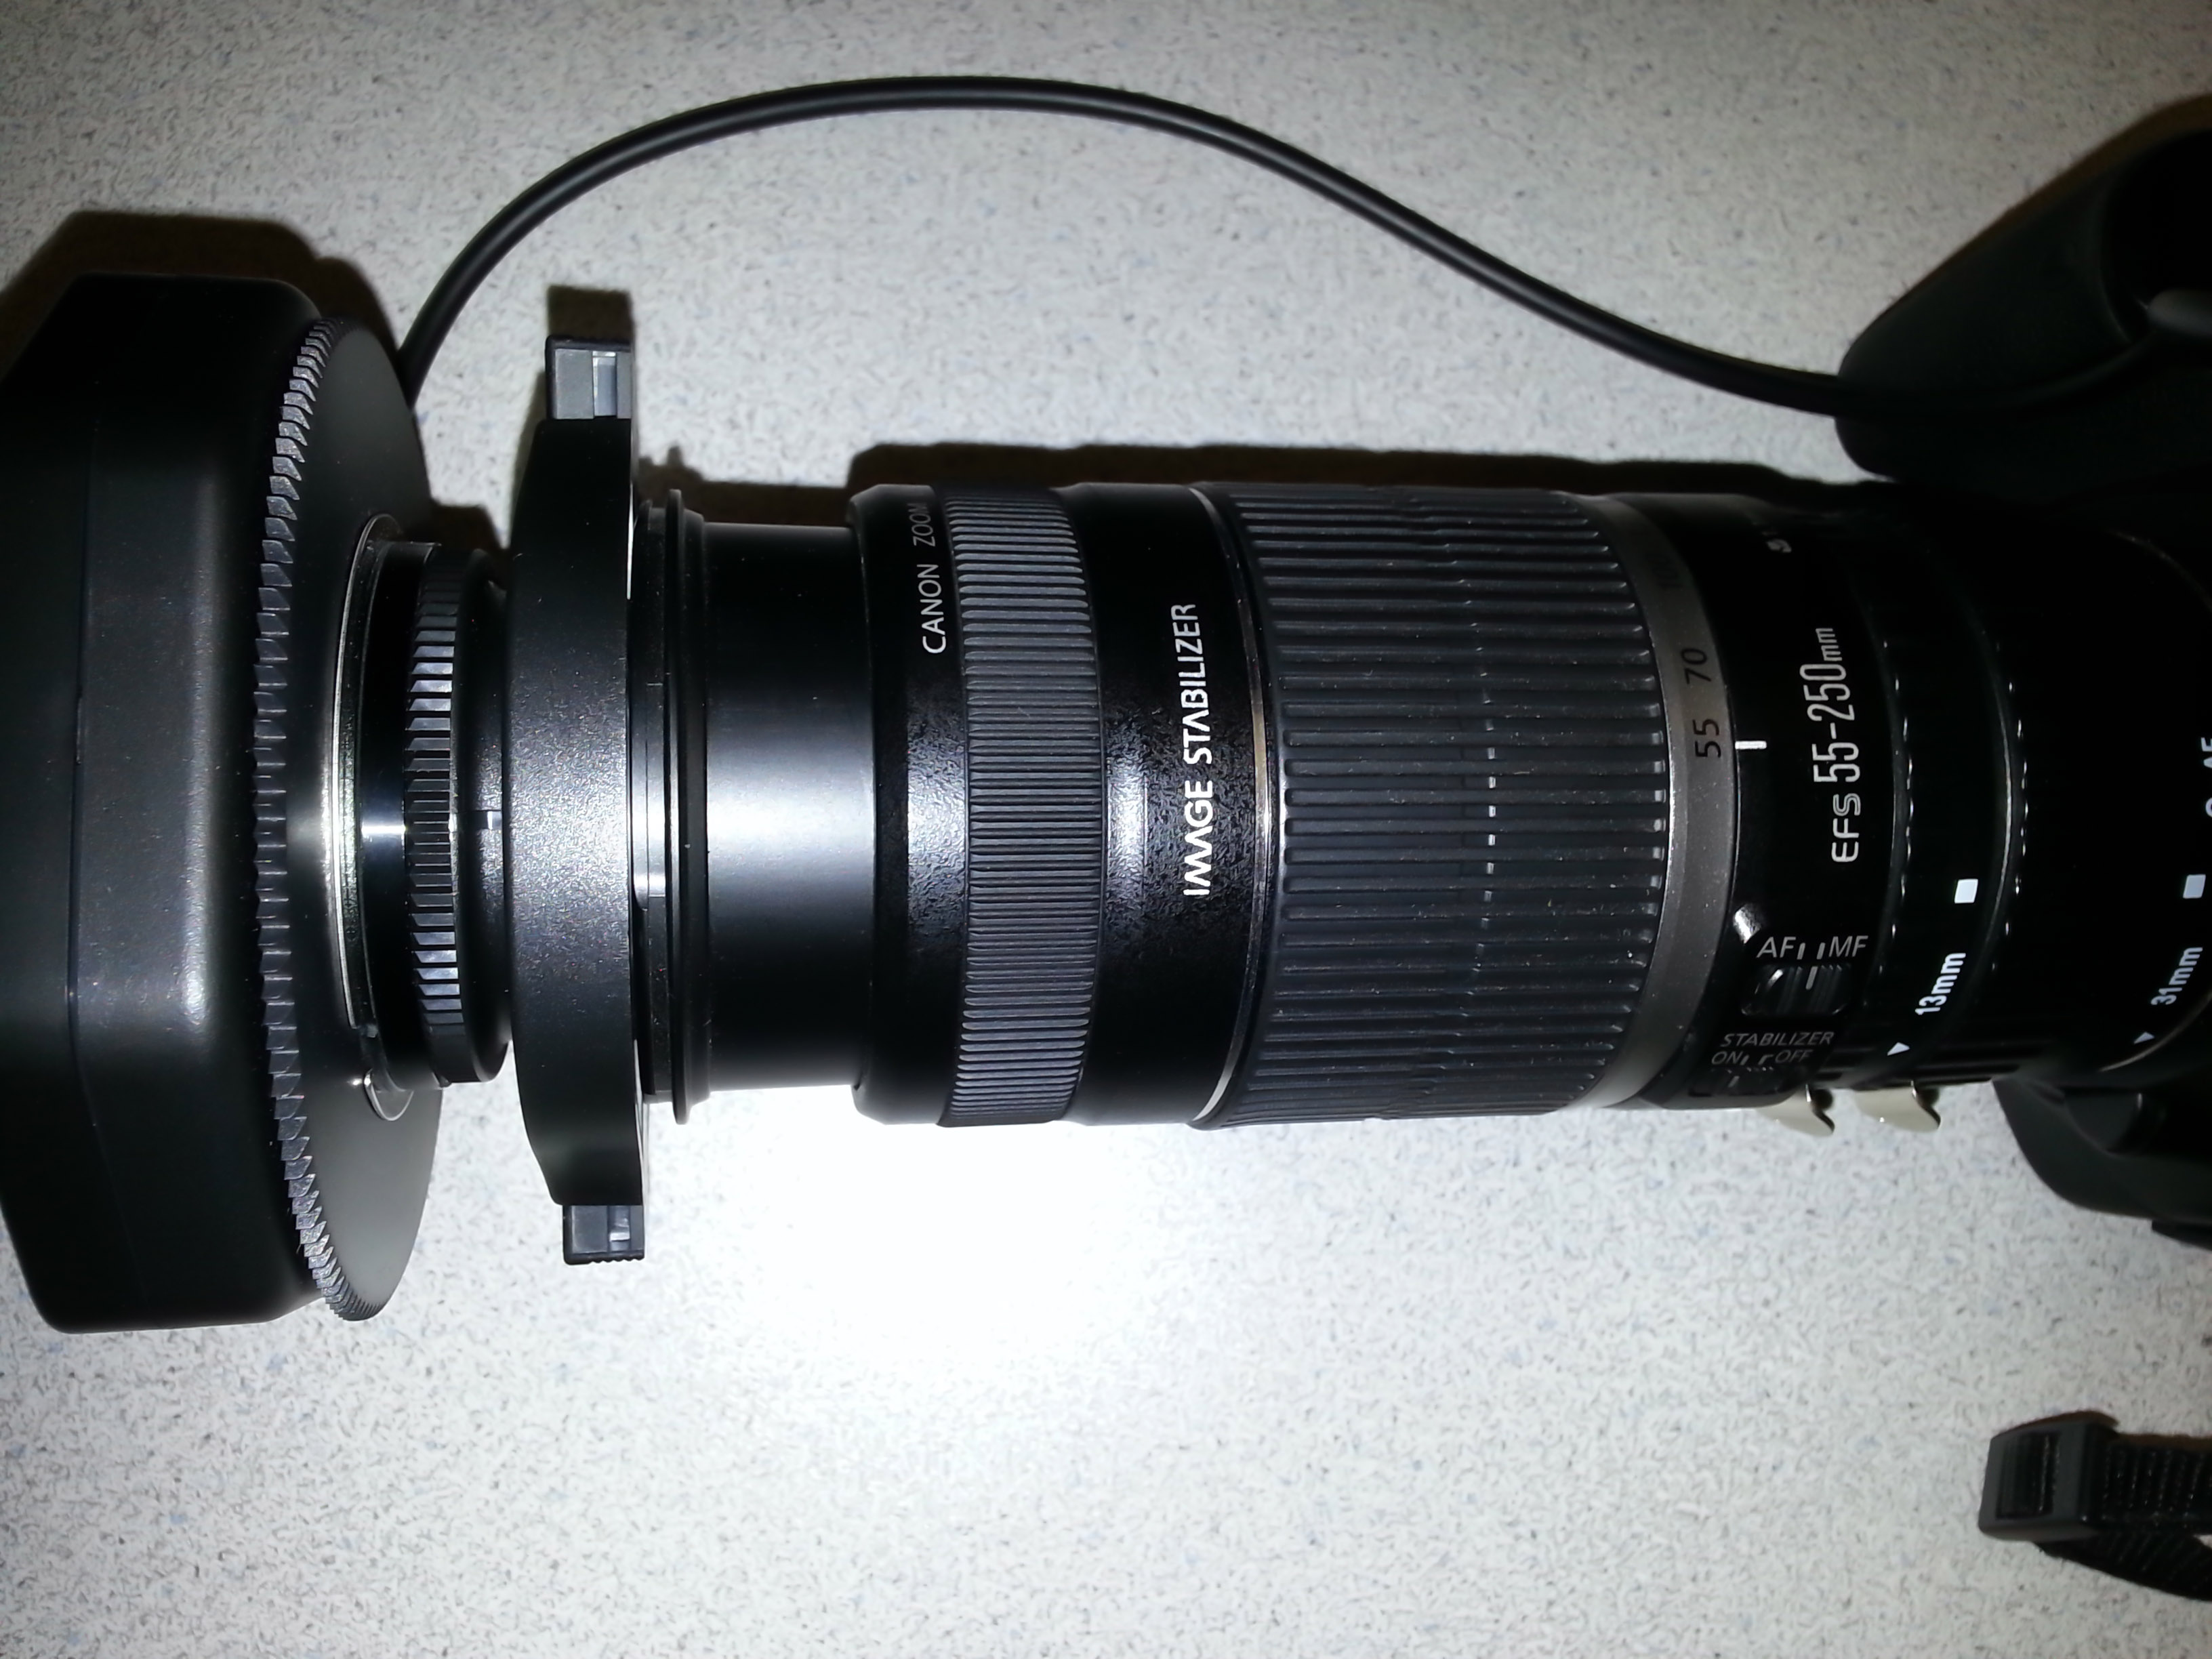
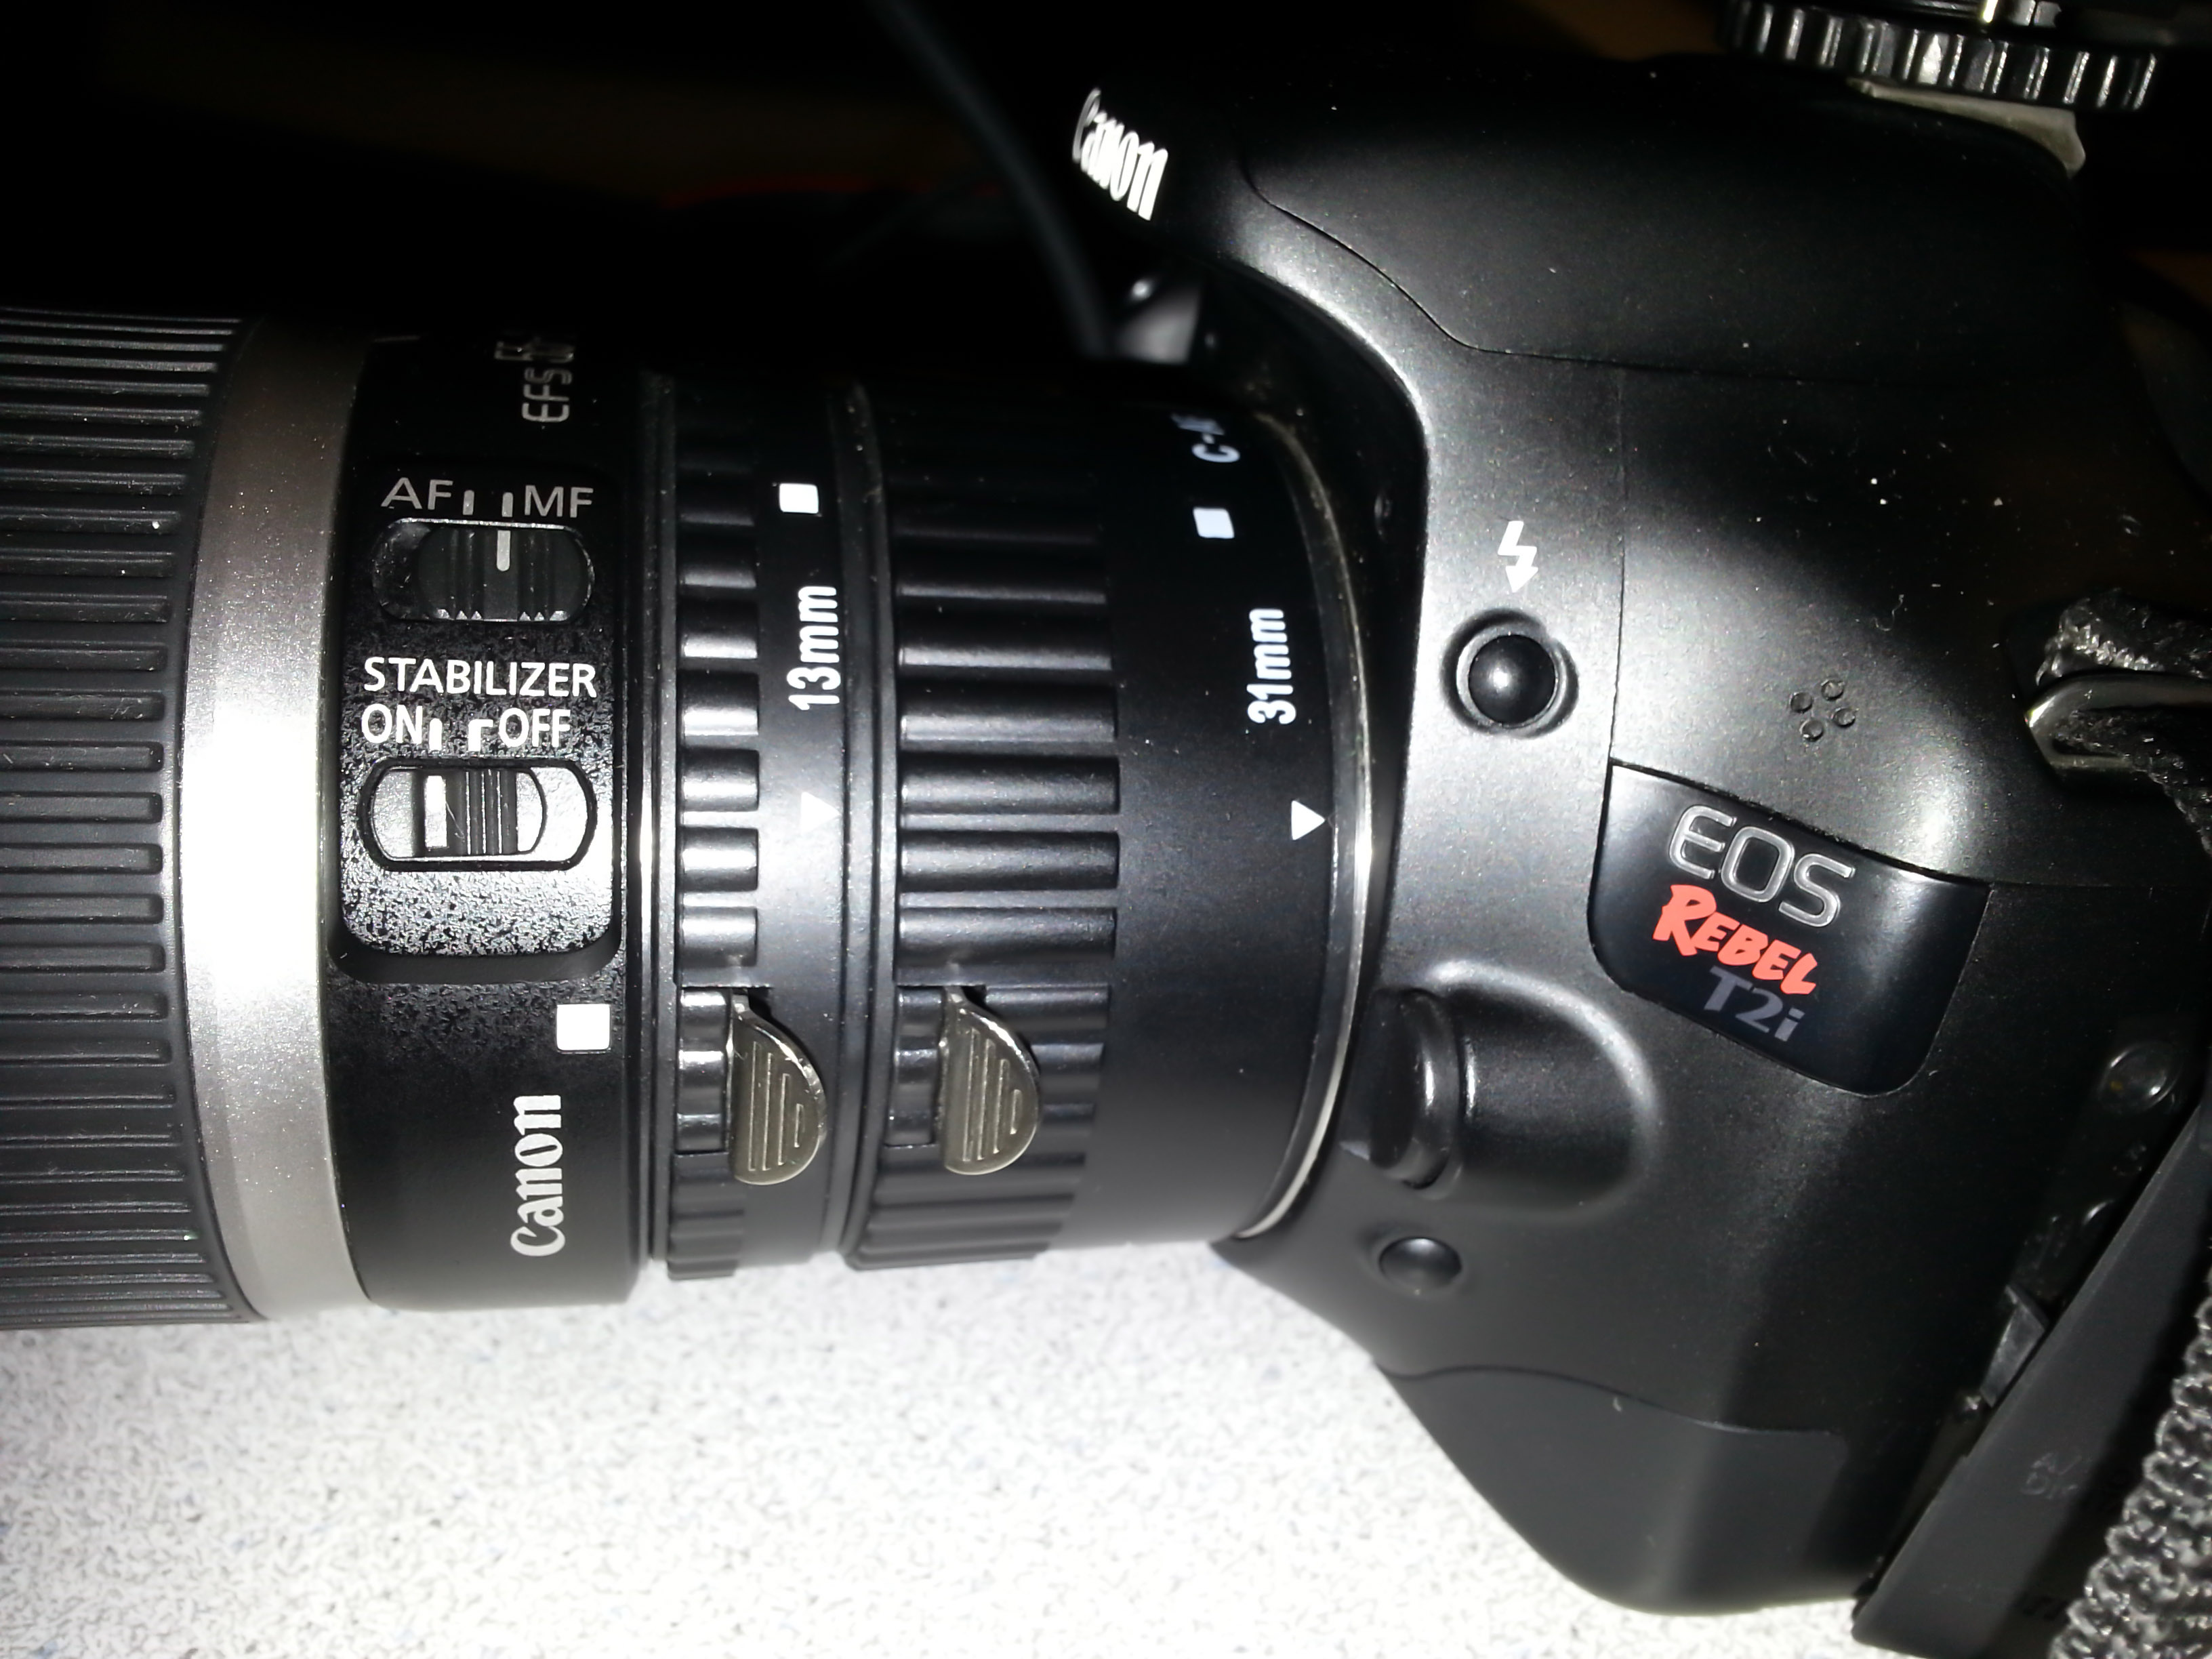
I’m using the 31mm and 13mm extension tubes on a Canon EF-S 55-250mm lens.
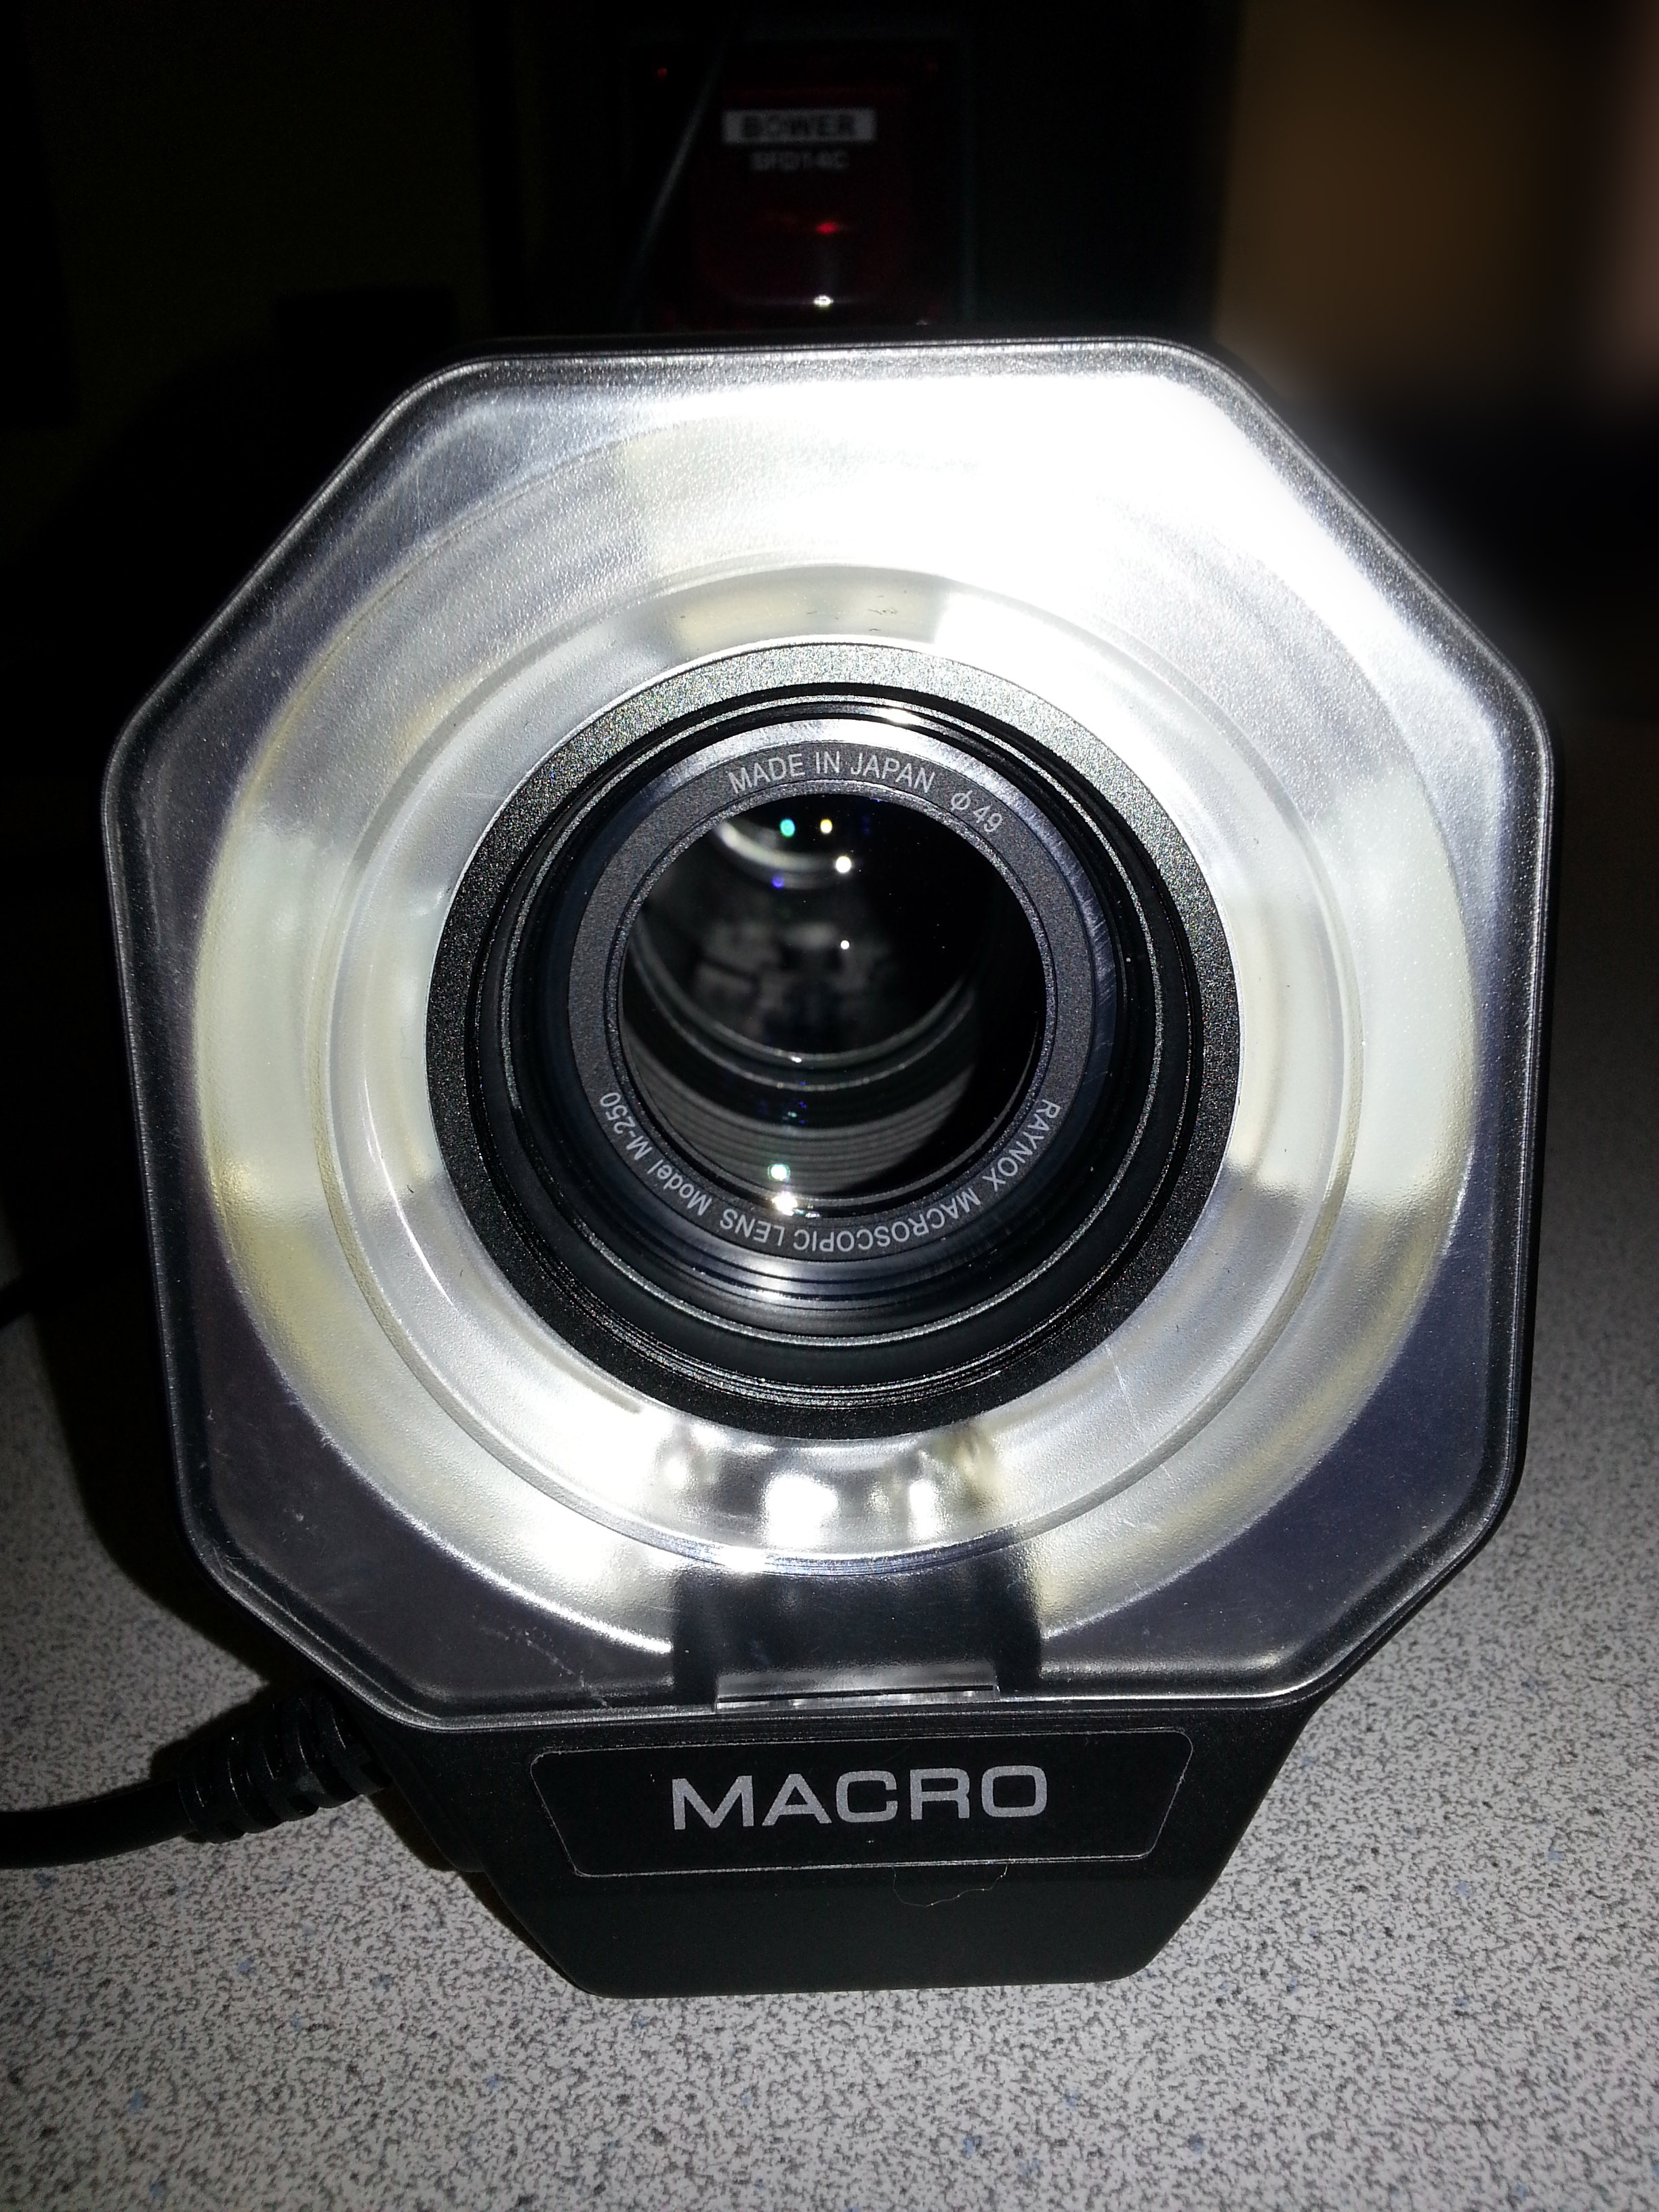
The Raynox DCR-250 enables me to zoom 2.5 times more so that I’m able to fill the entire frame with the insect only.
On top of that I’ve added the Bower Macro Ring Flash which enables me to take pictures with good depth of field between F/25 and F/32 which is crucial when dealing with a slim focus line.
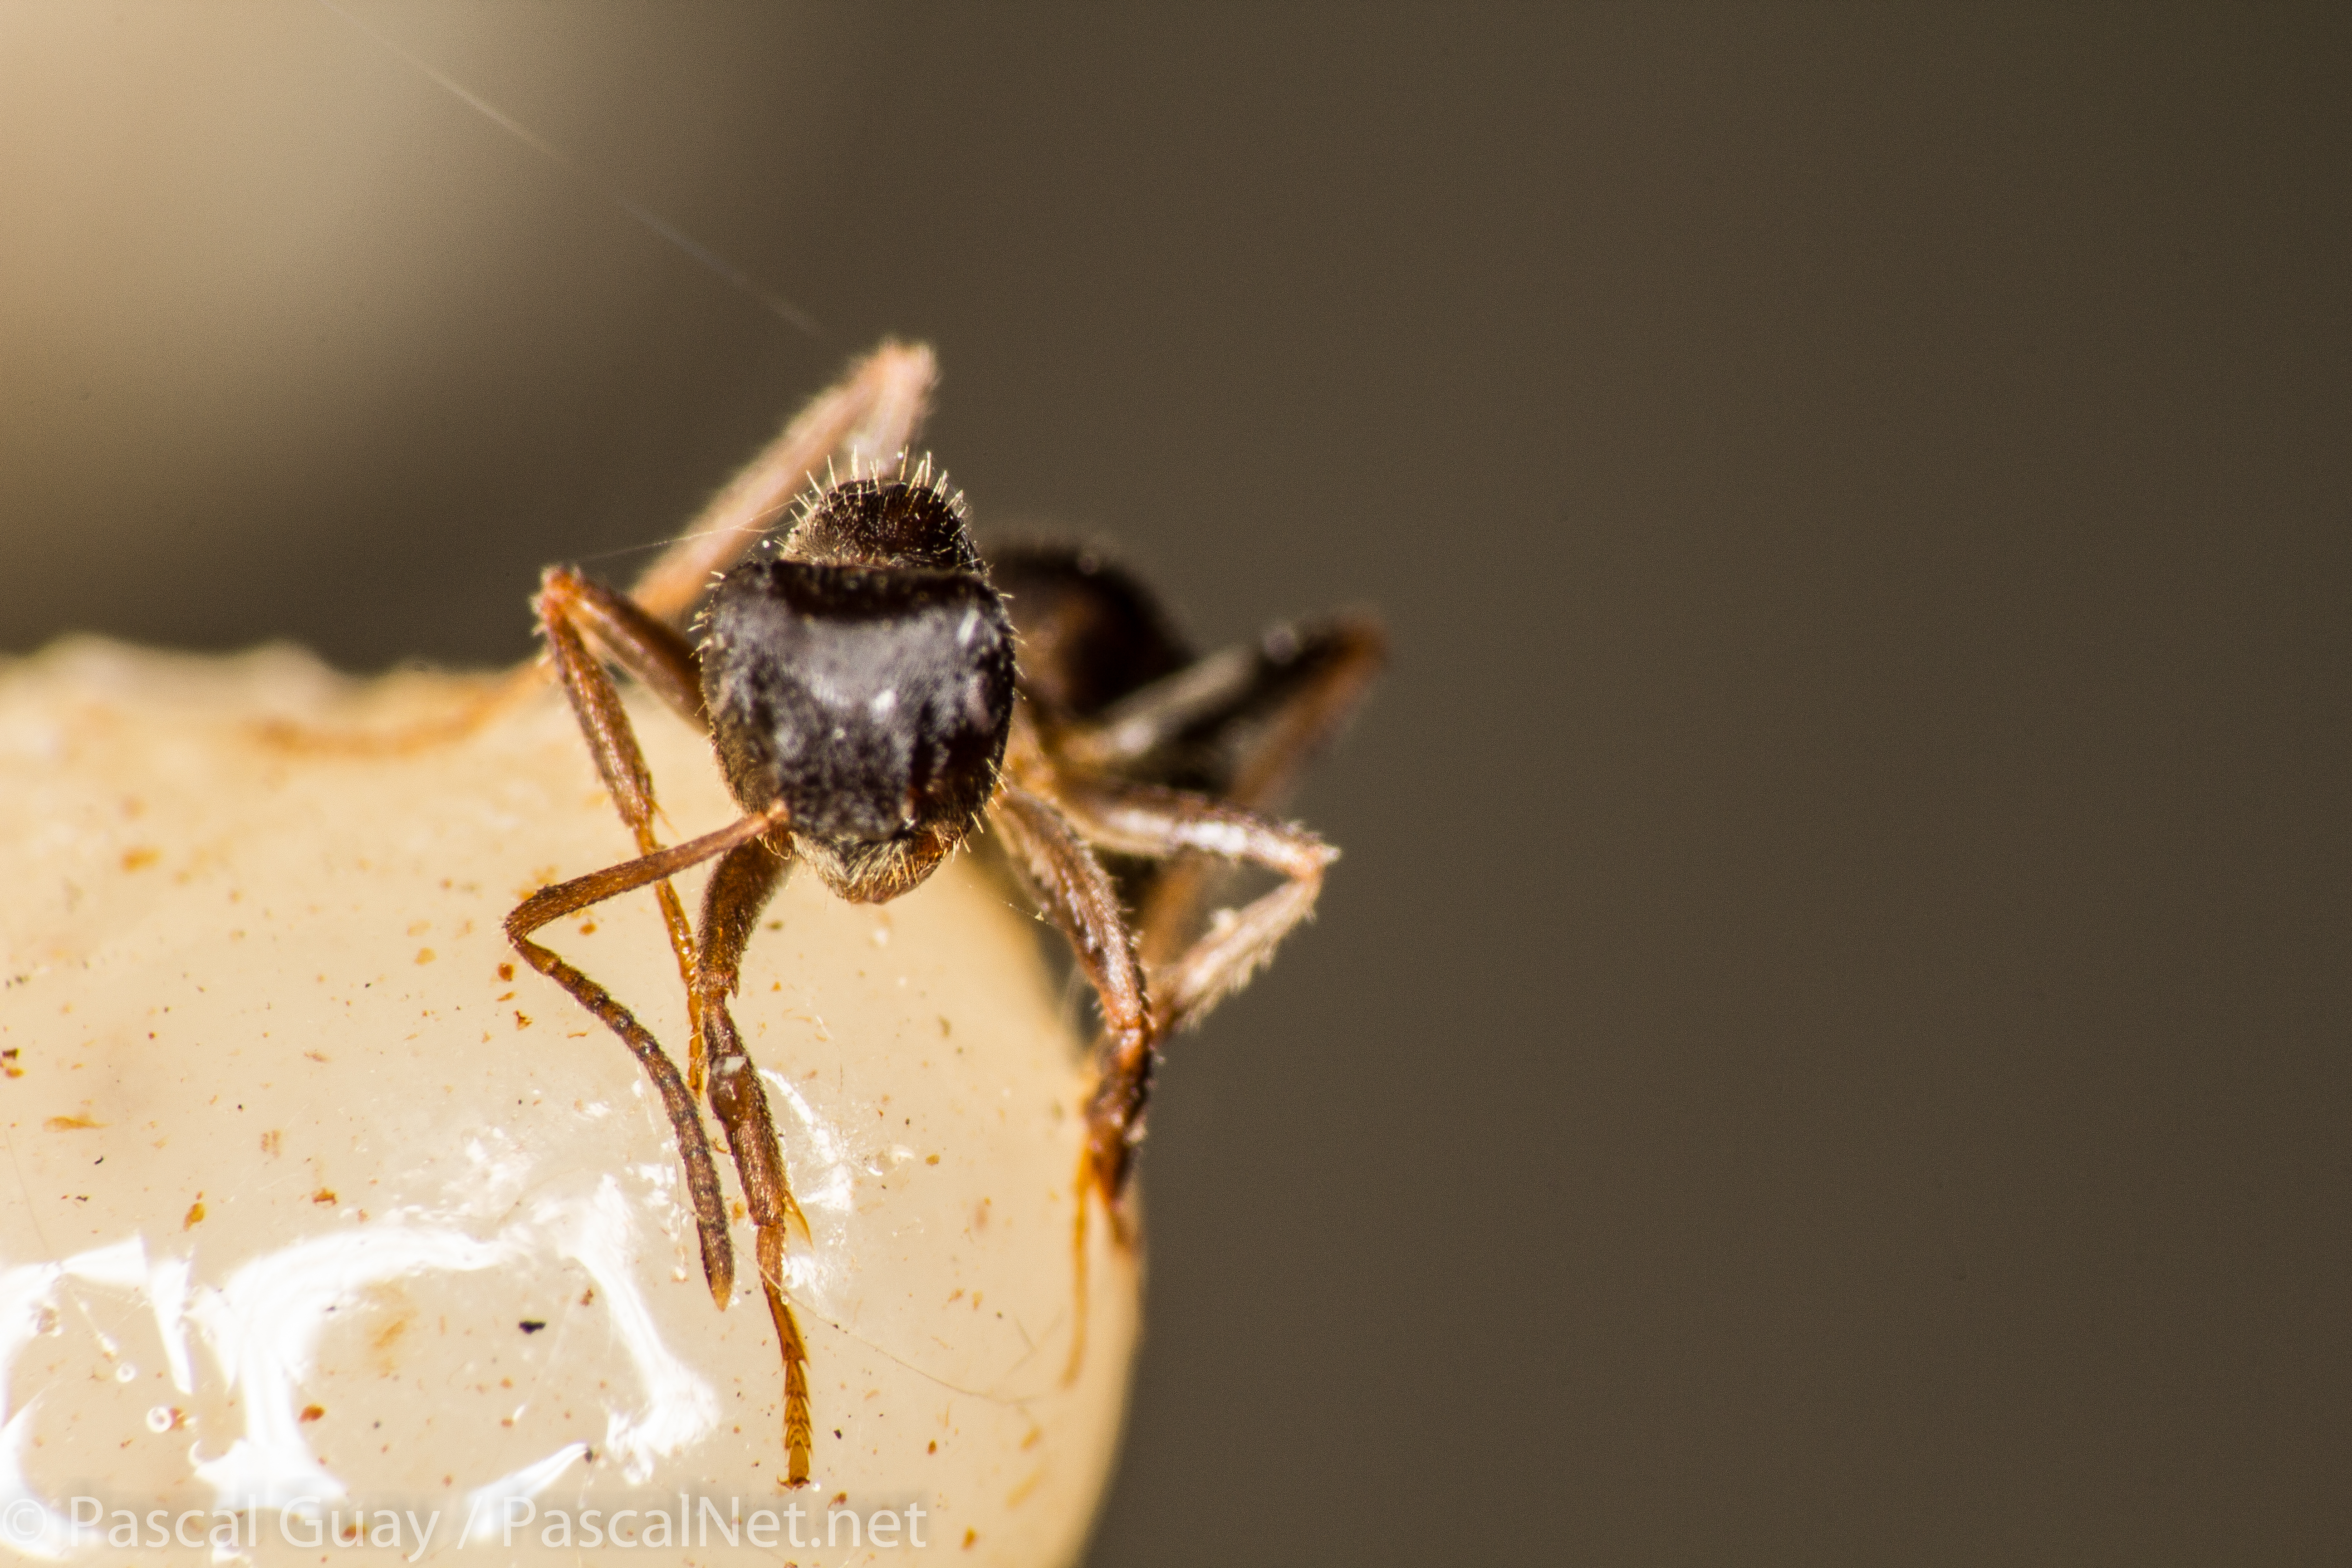
The only drawback of the macro ring flash I’m using right now is that it really brightens some parts of the insect too much as we can clearly see the ring of light reflected right off. To fix this issue I would need to get a diffuser.
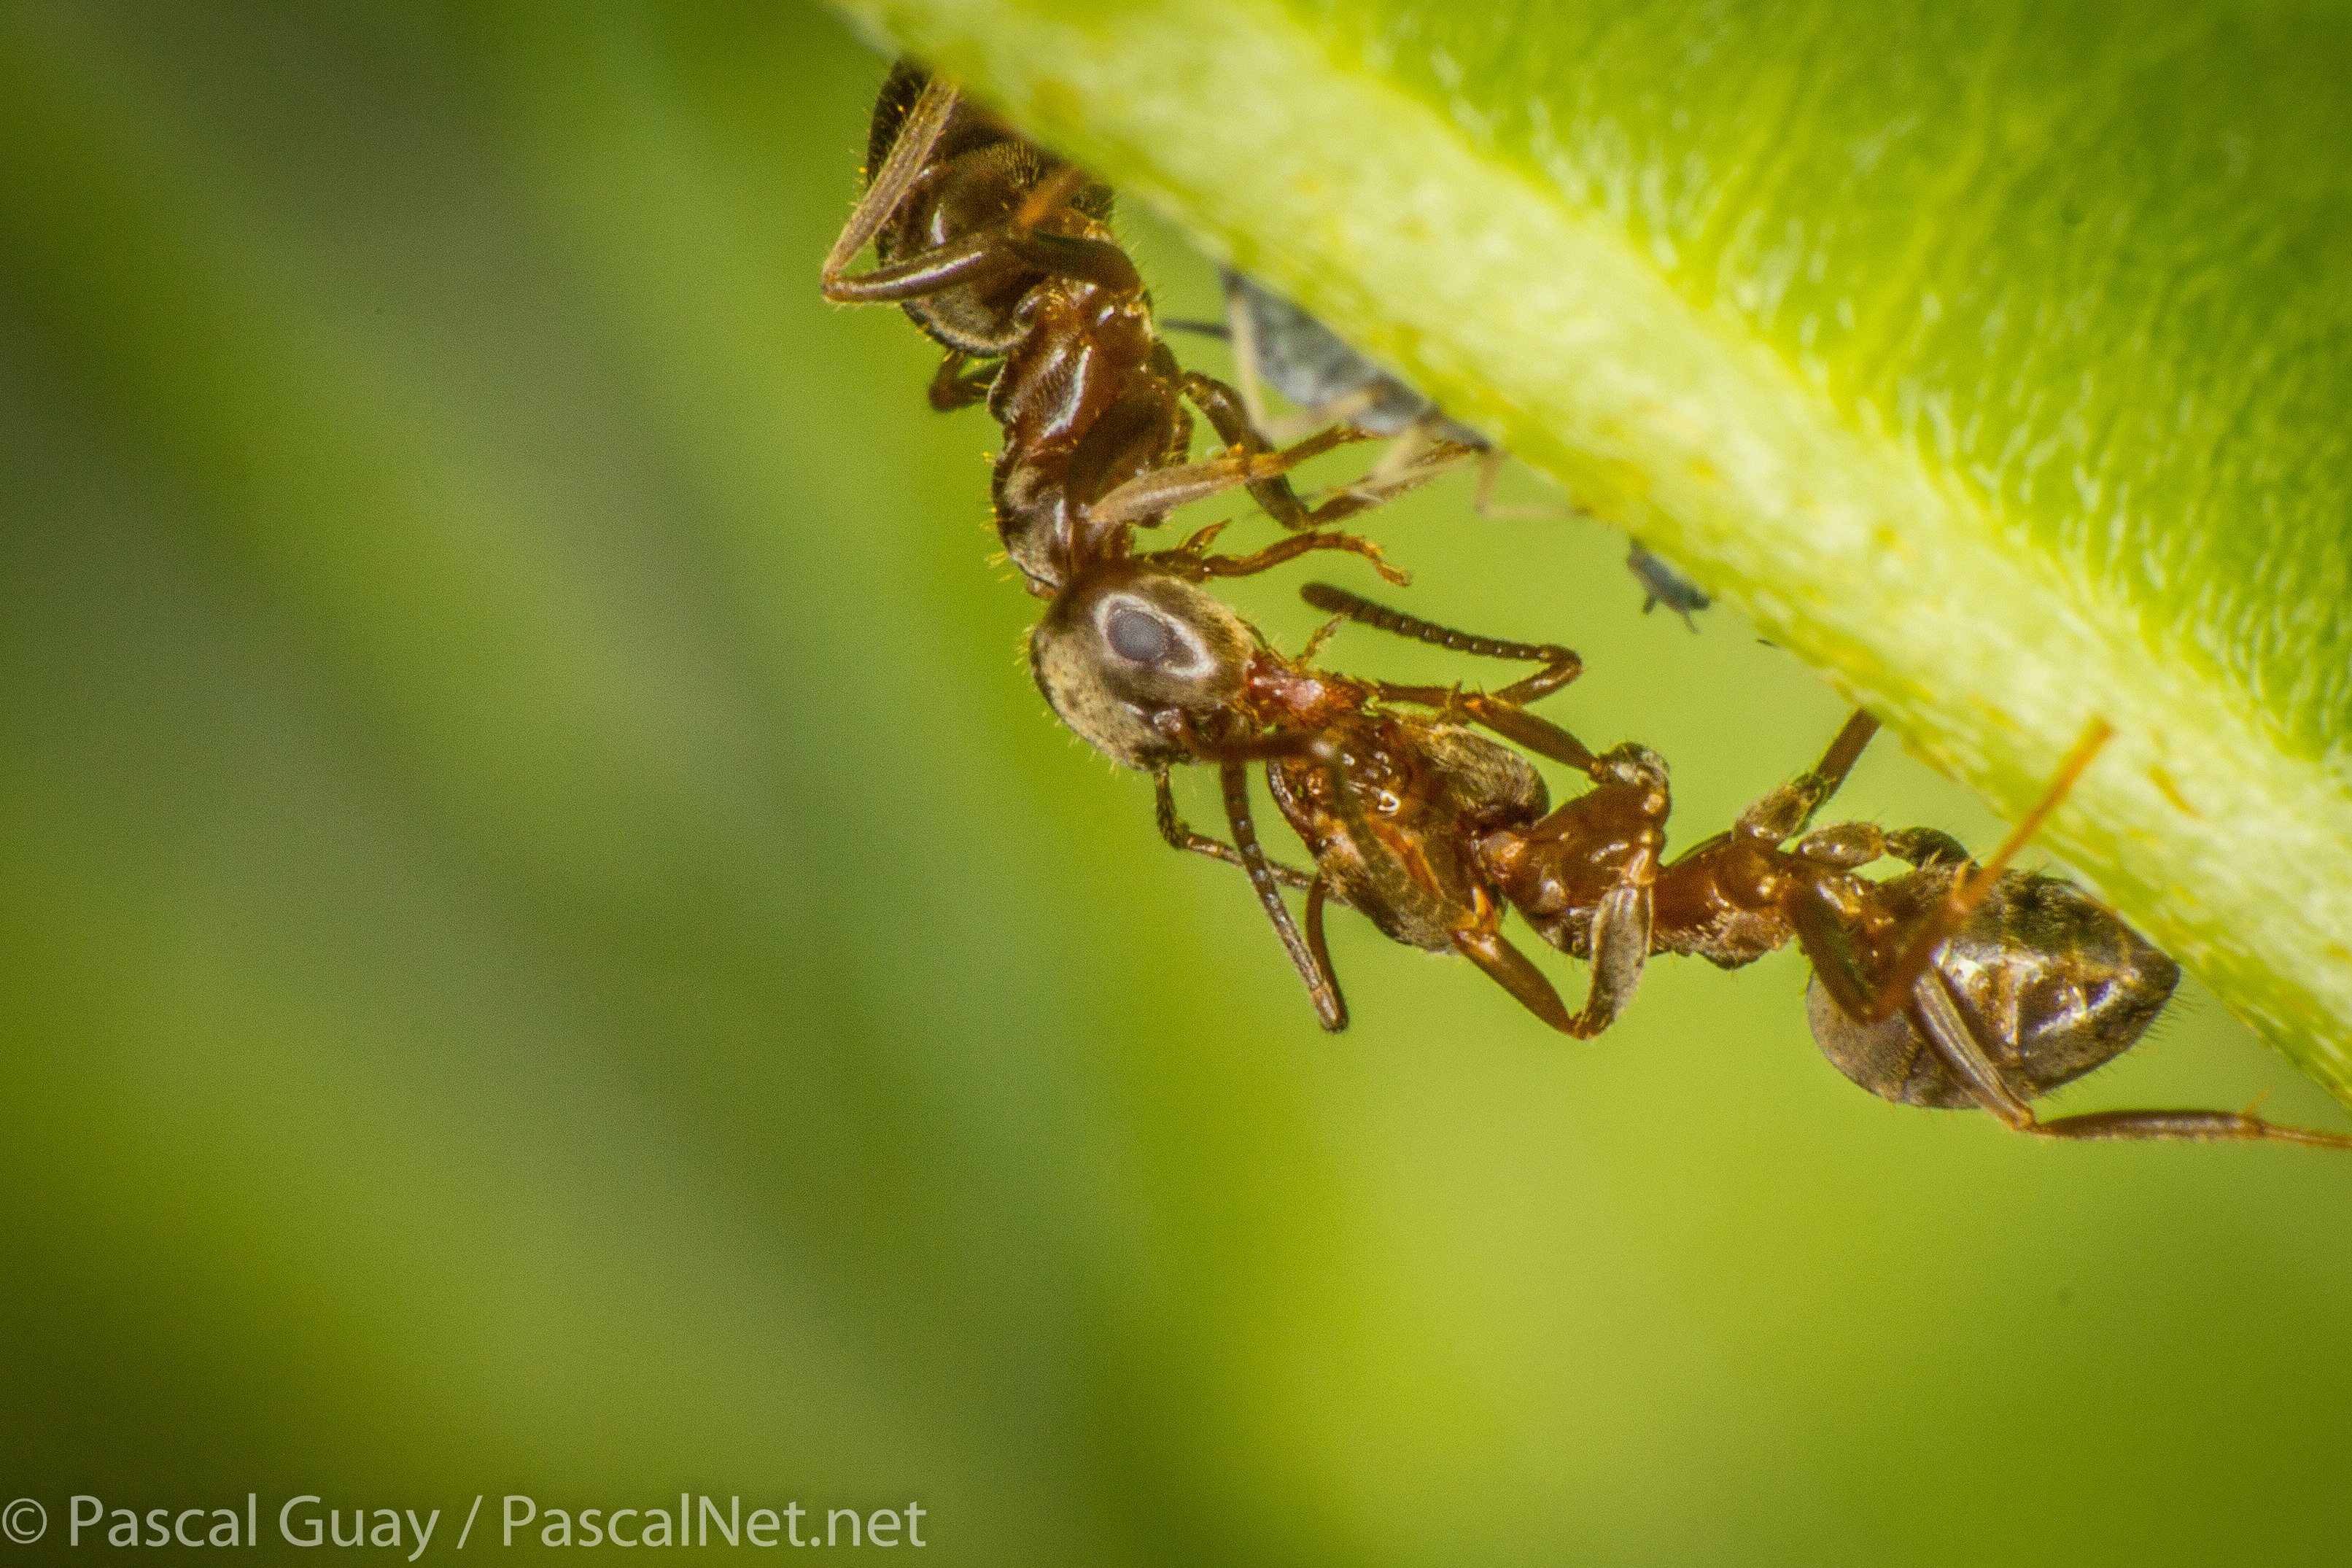
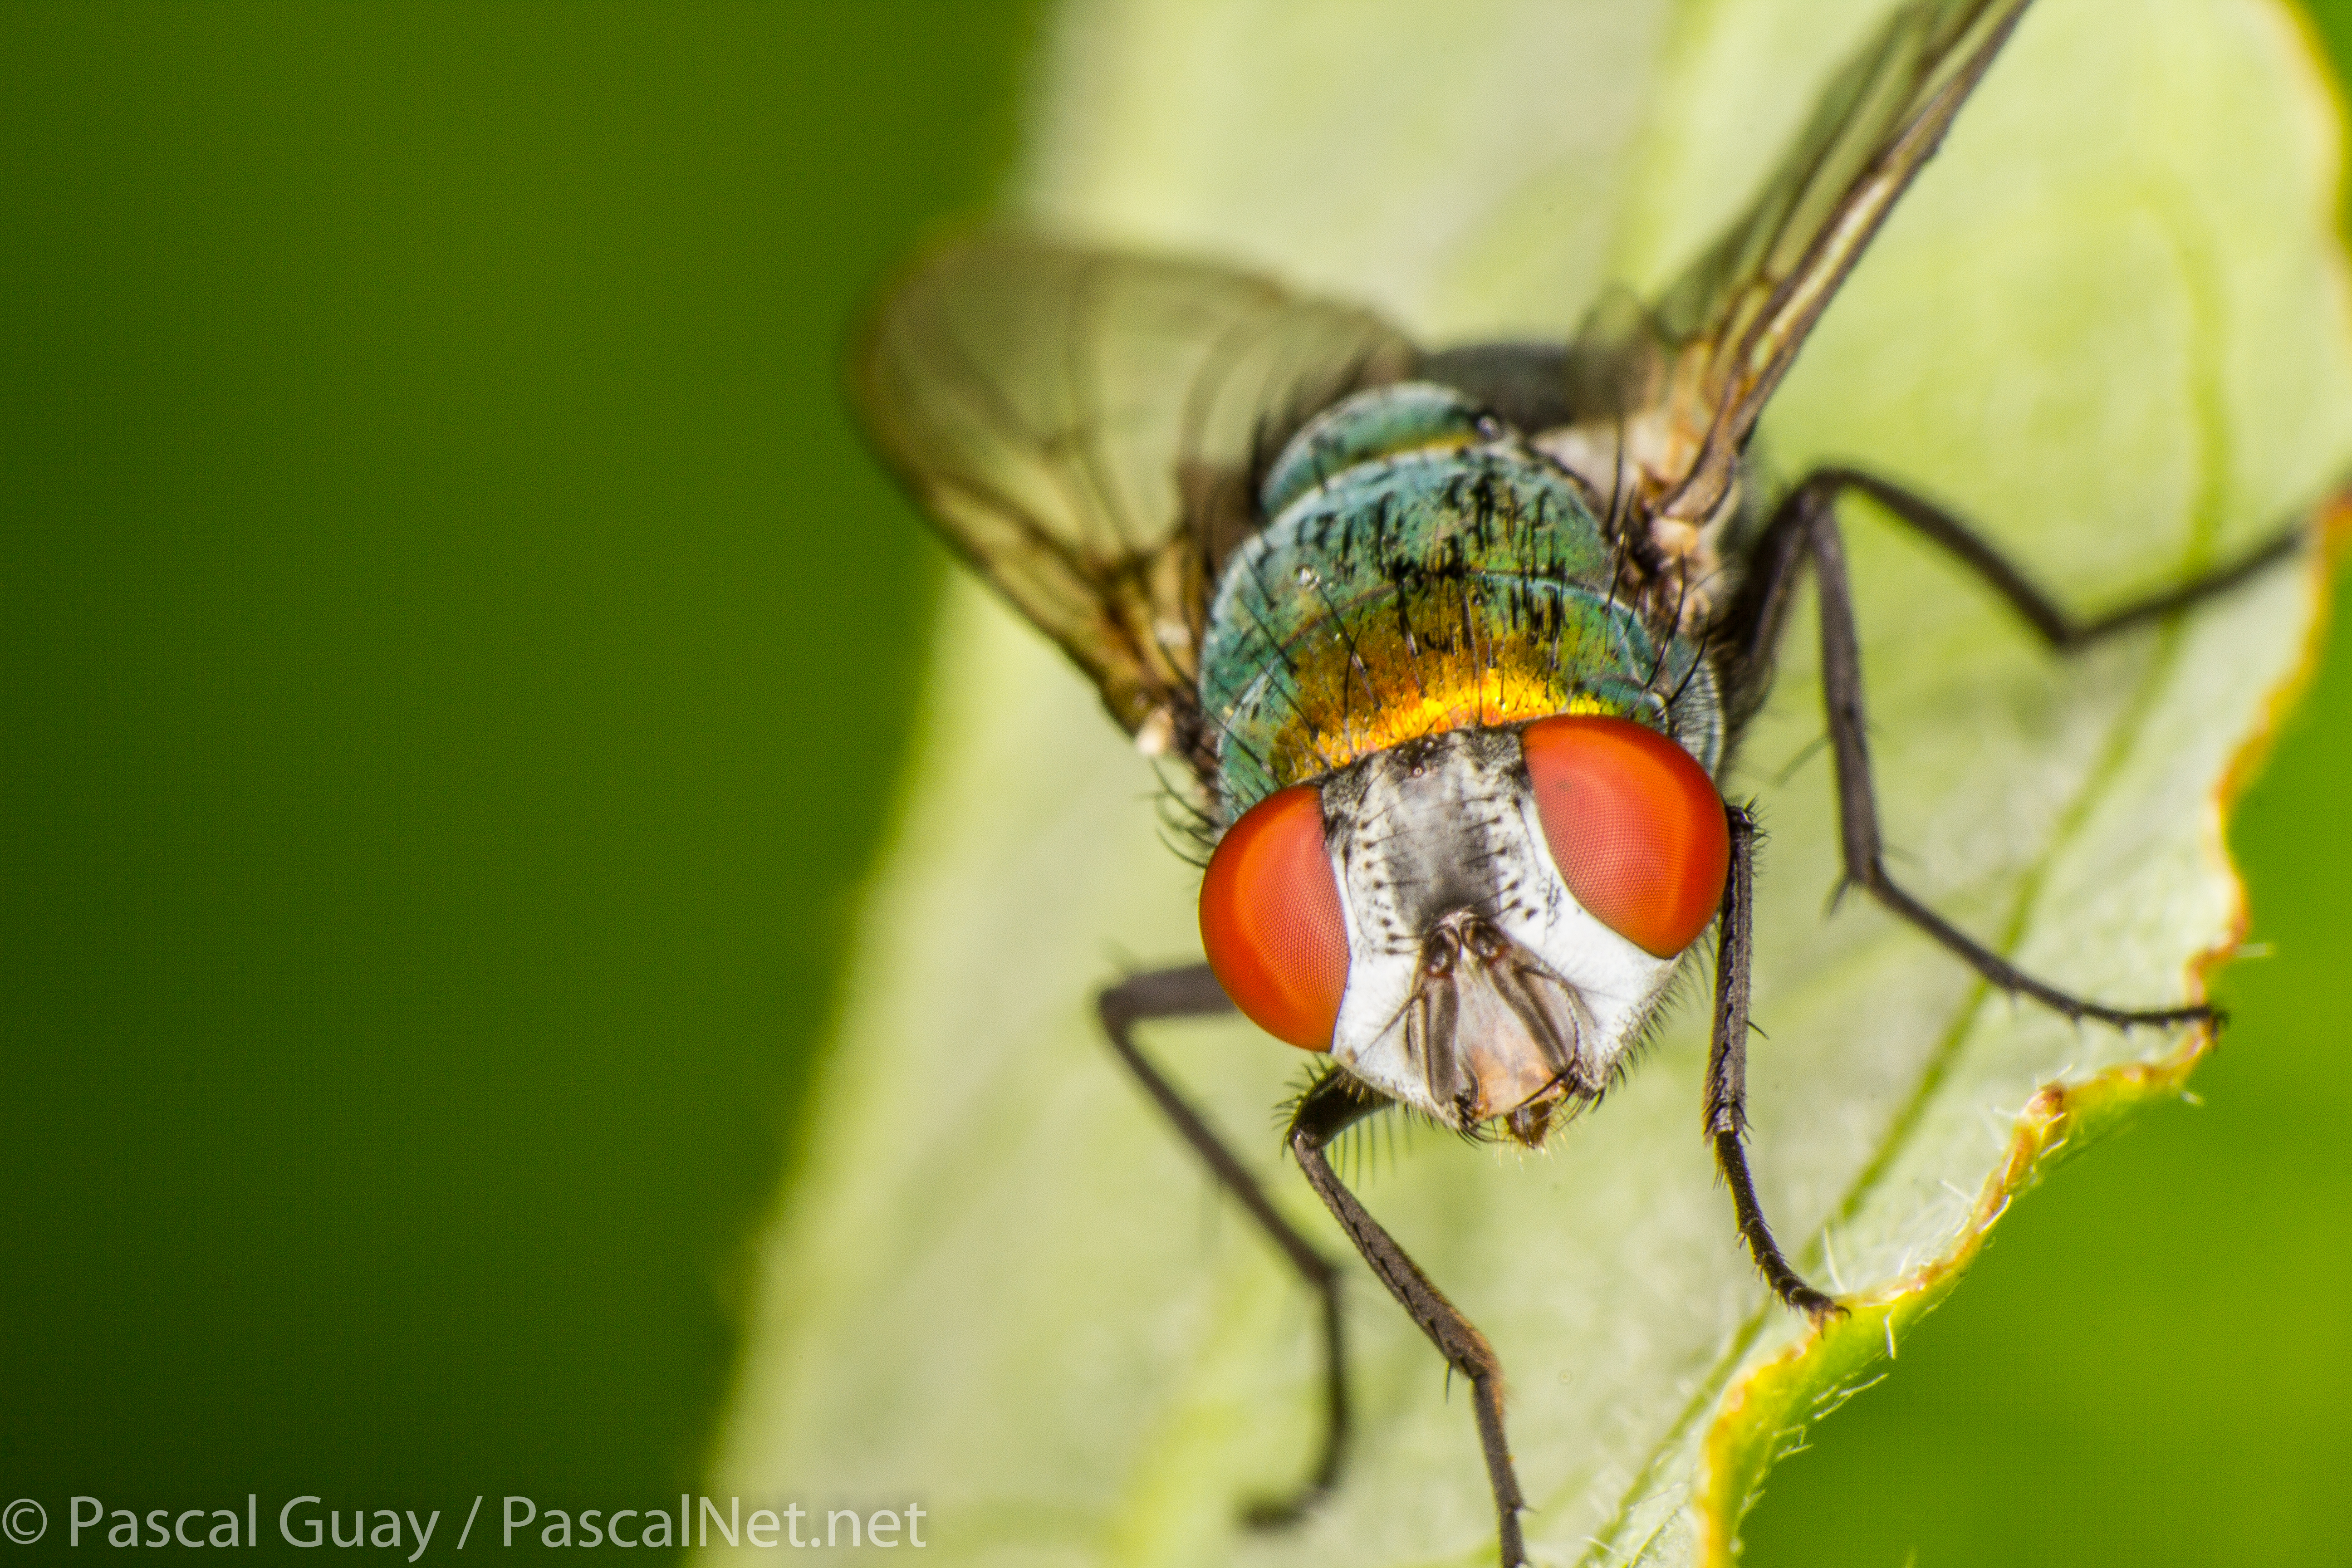
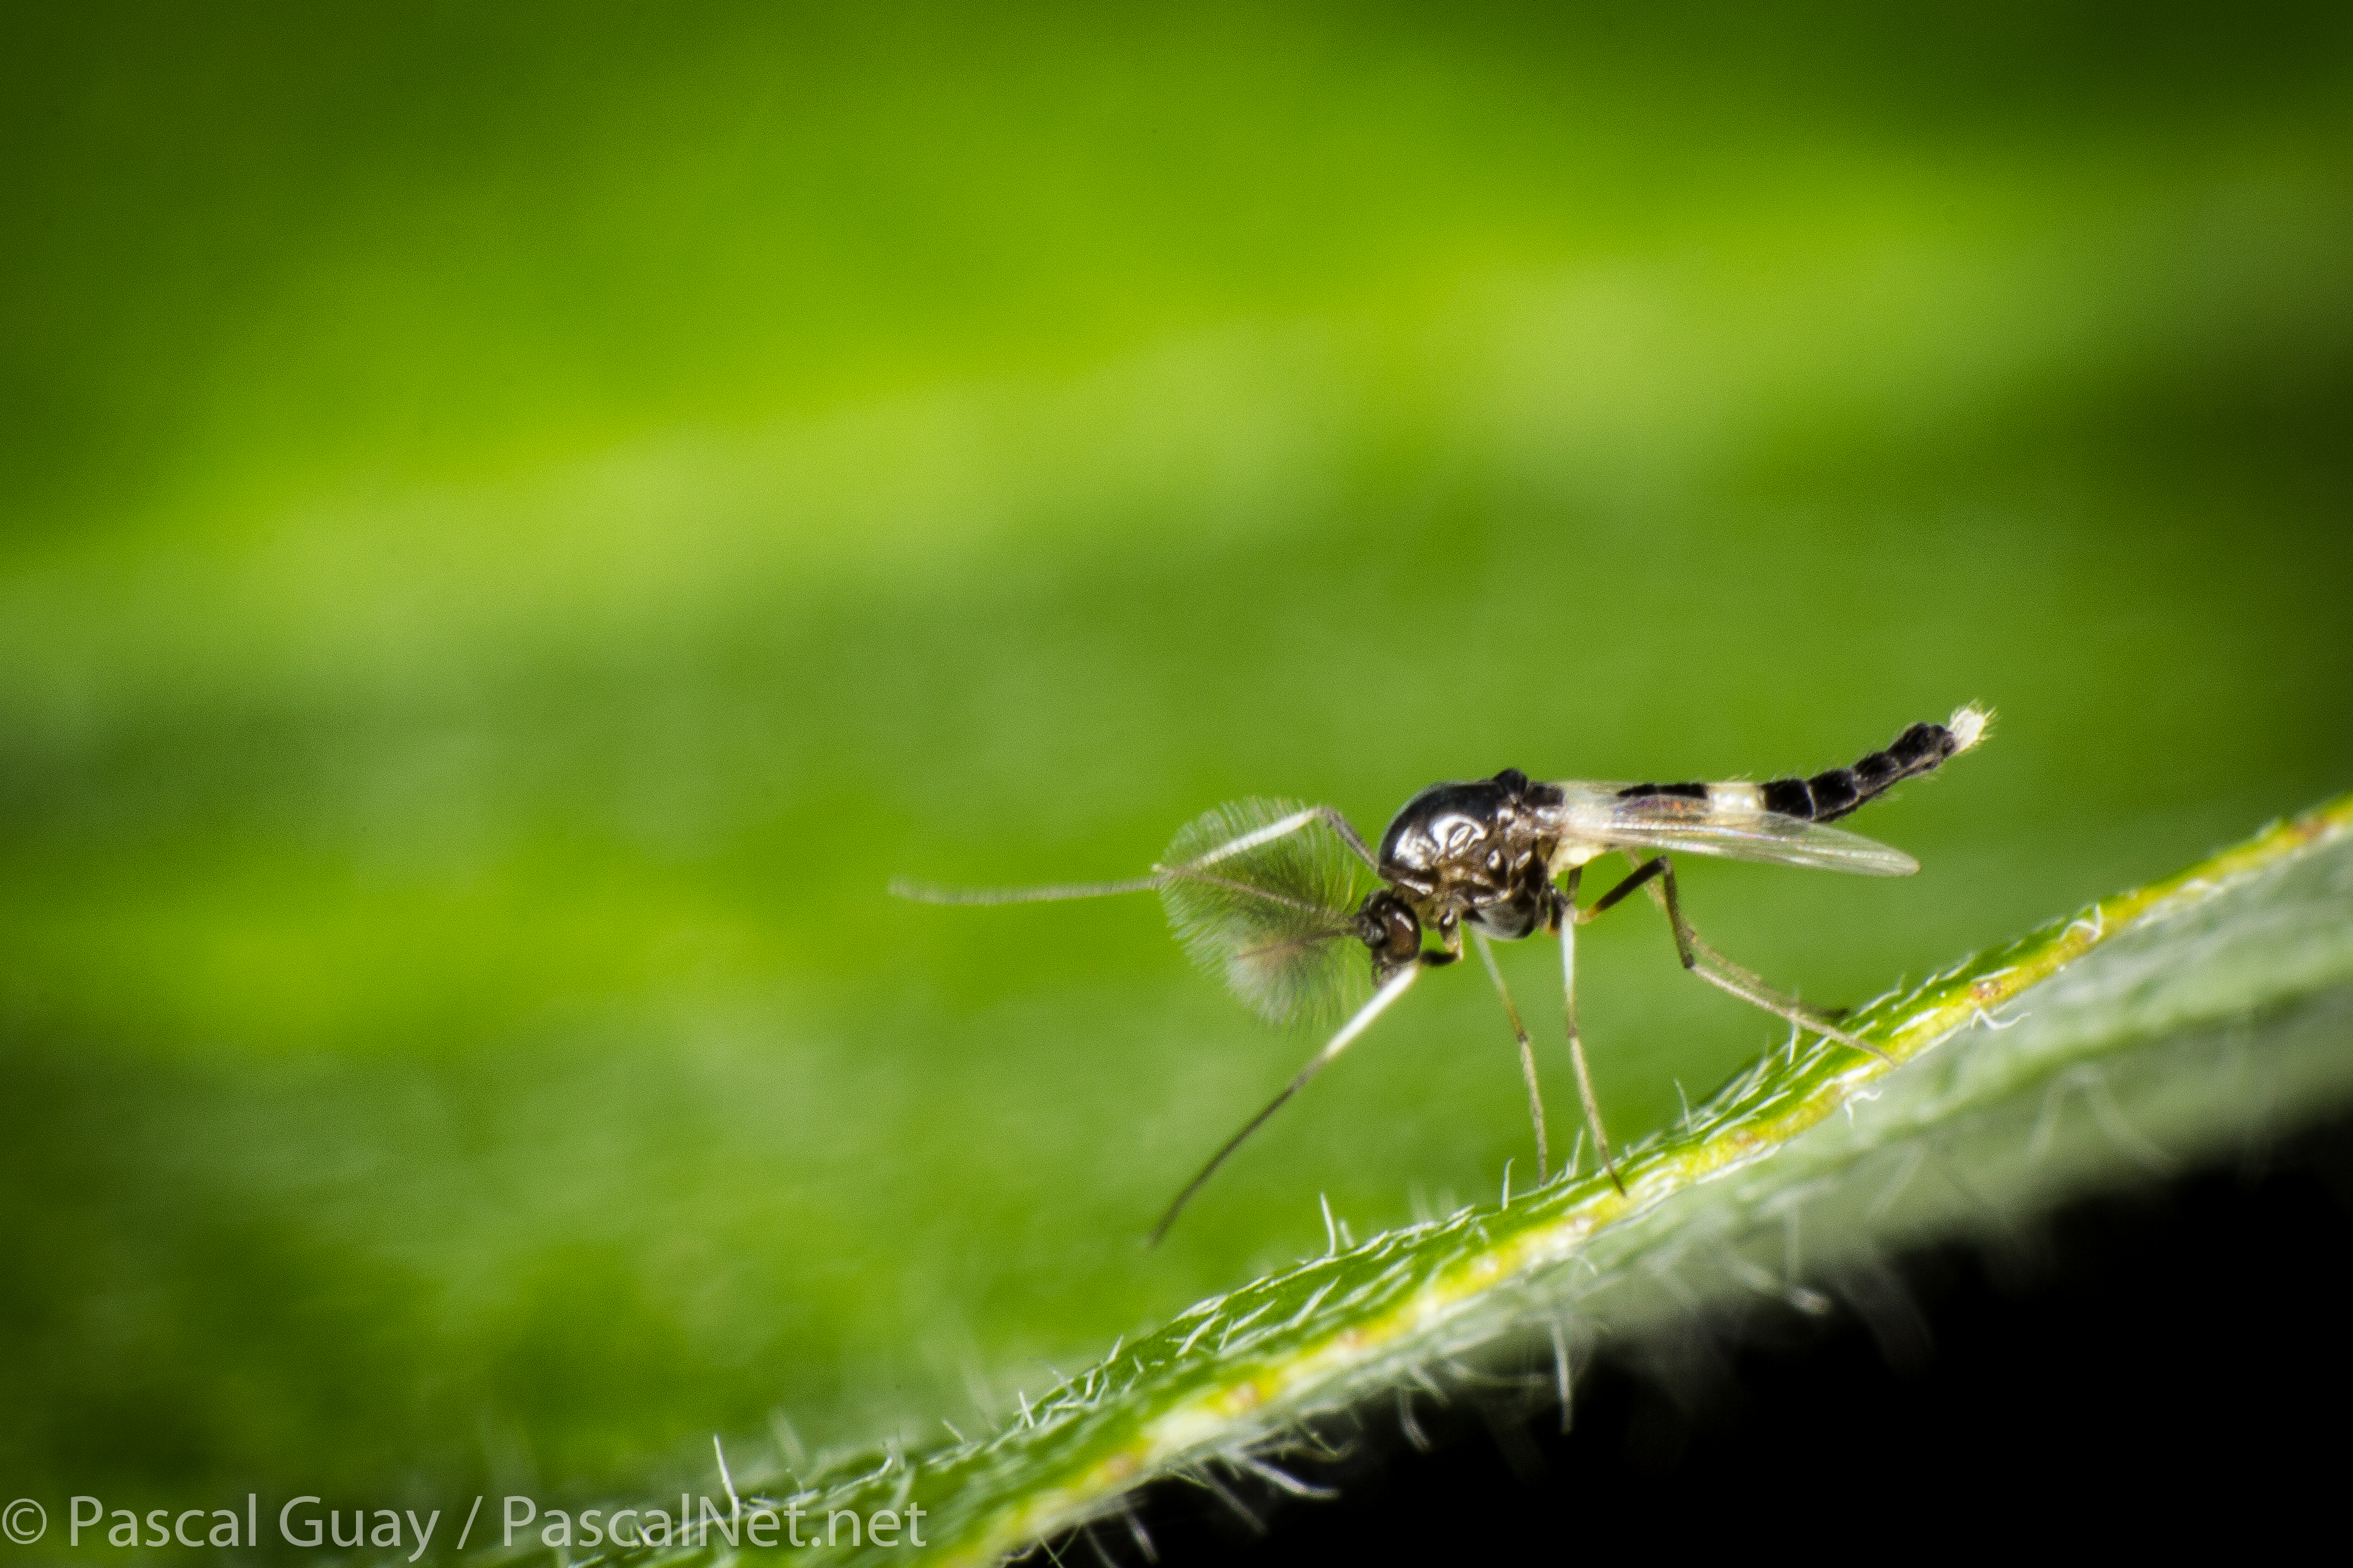
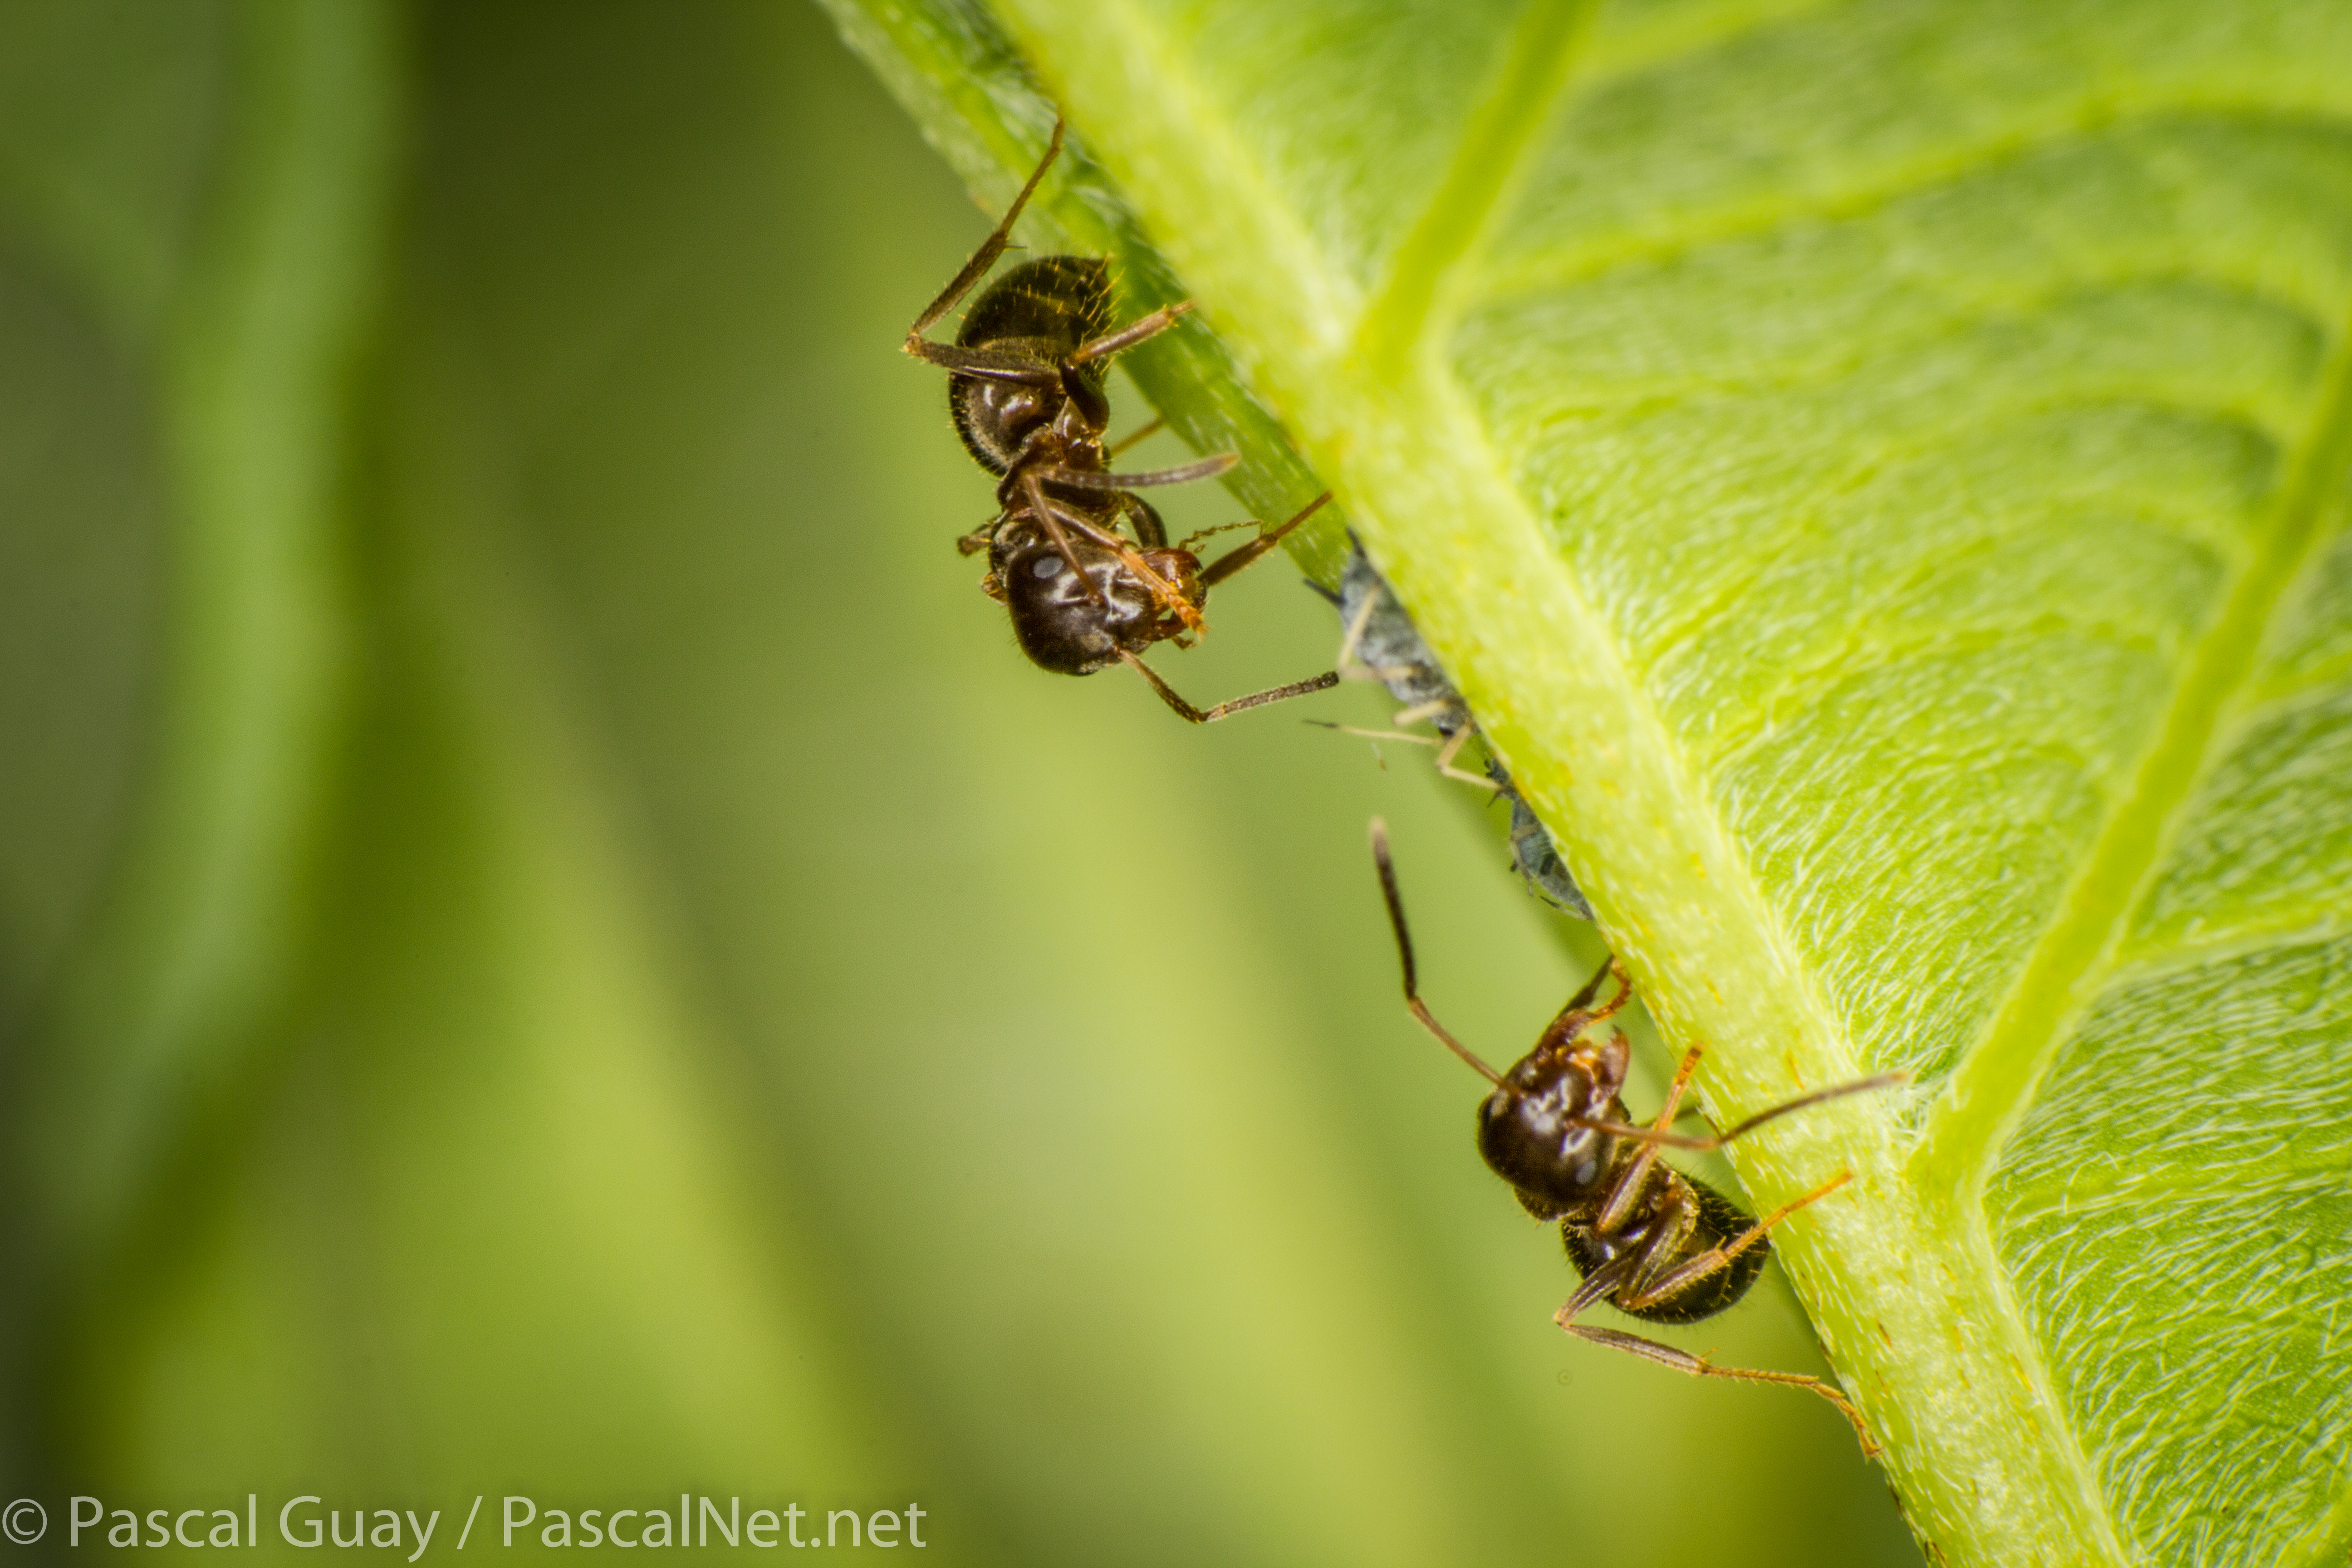
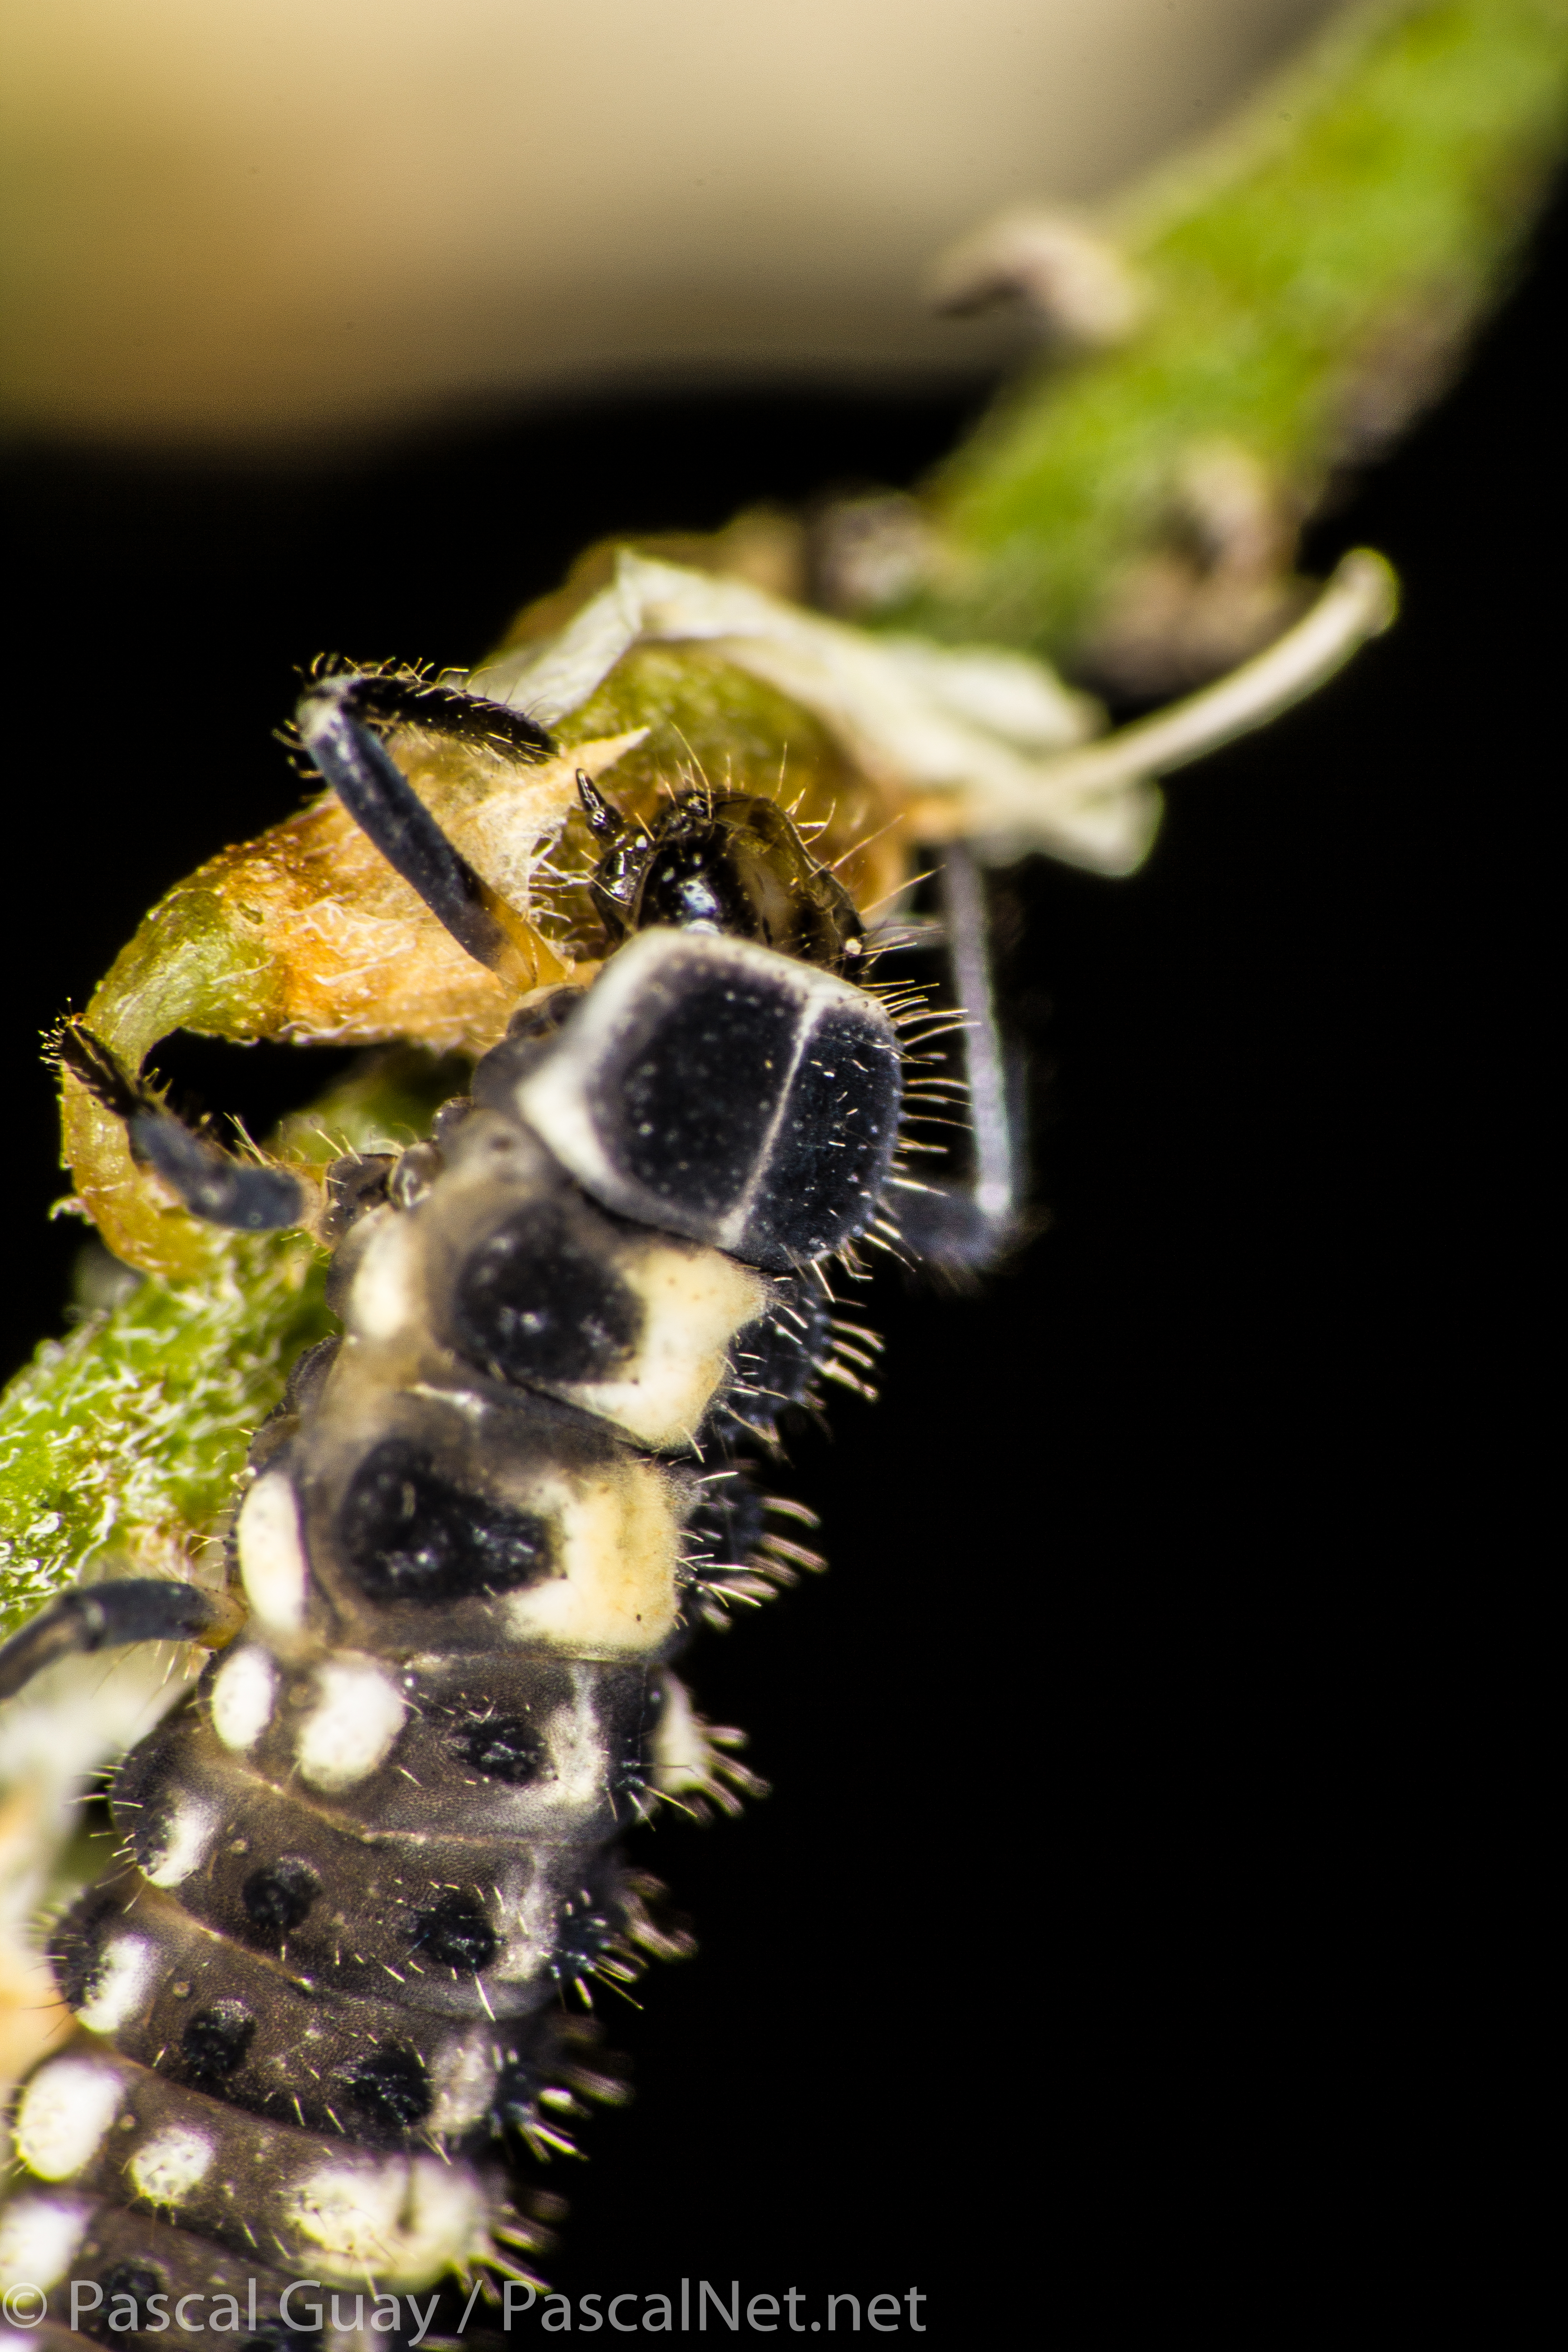
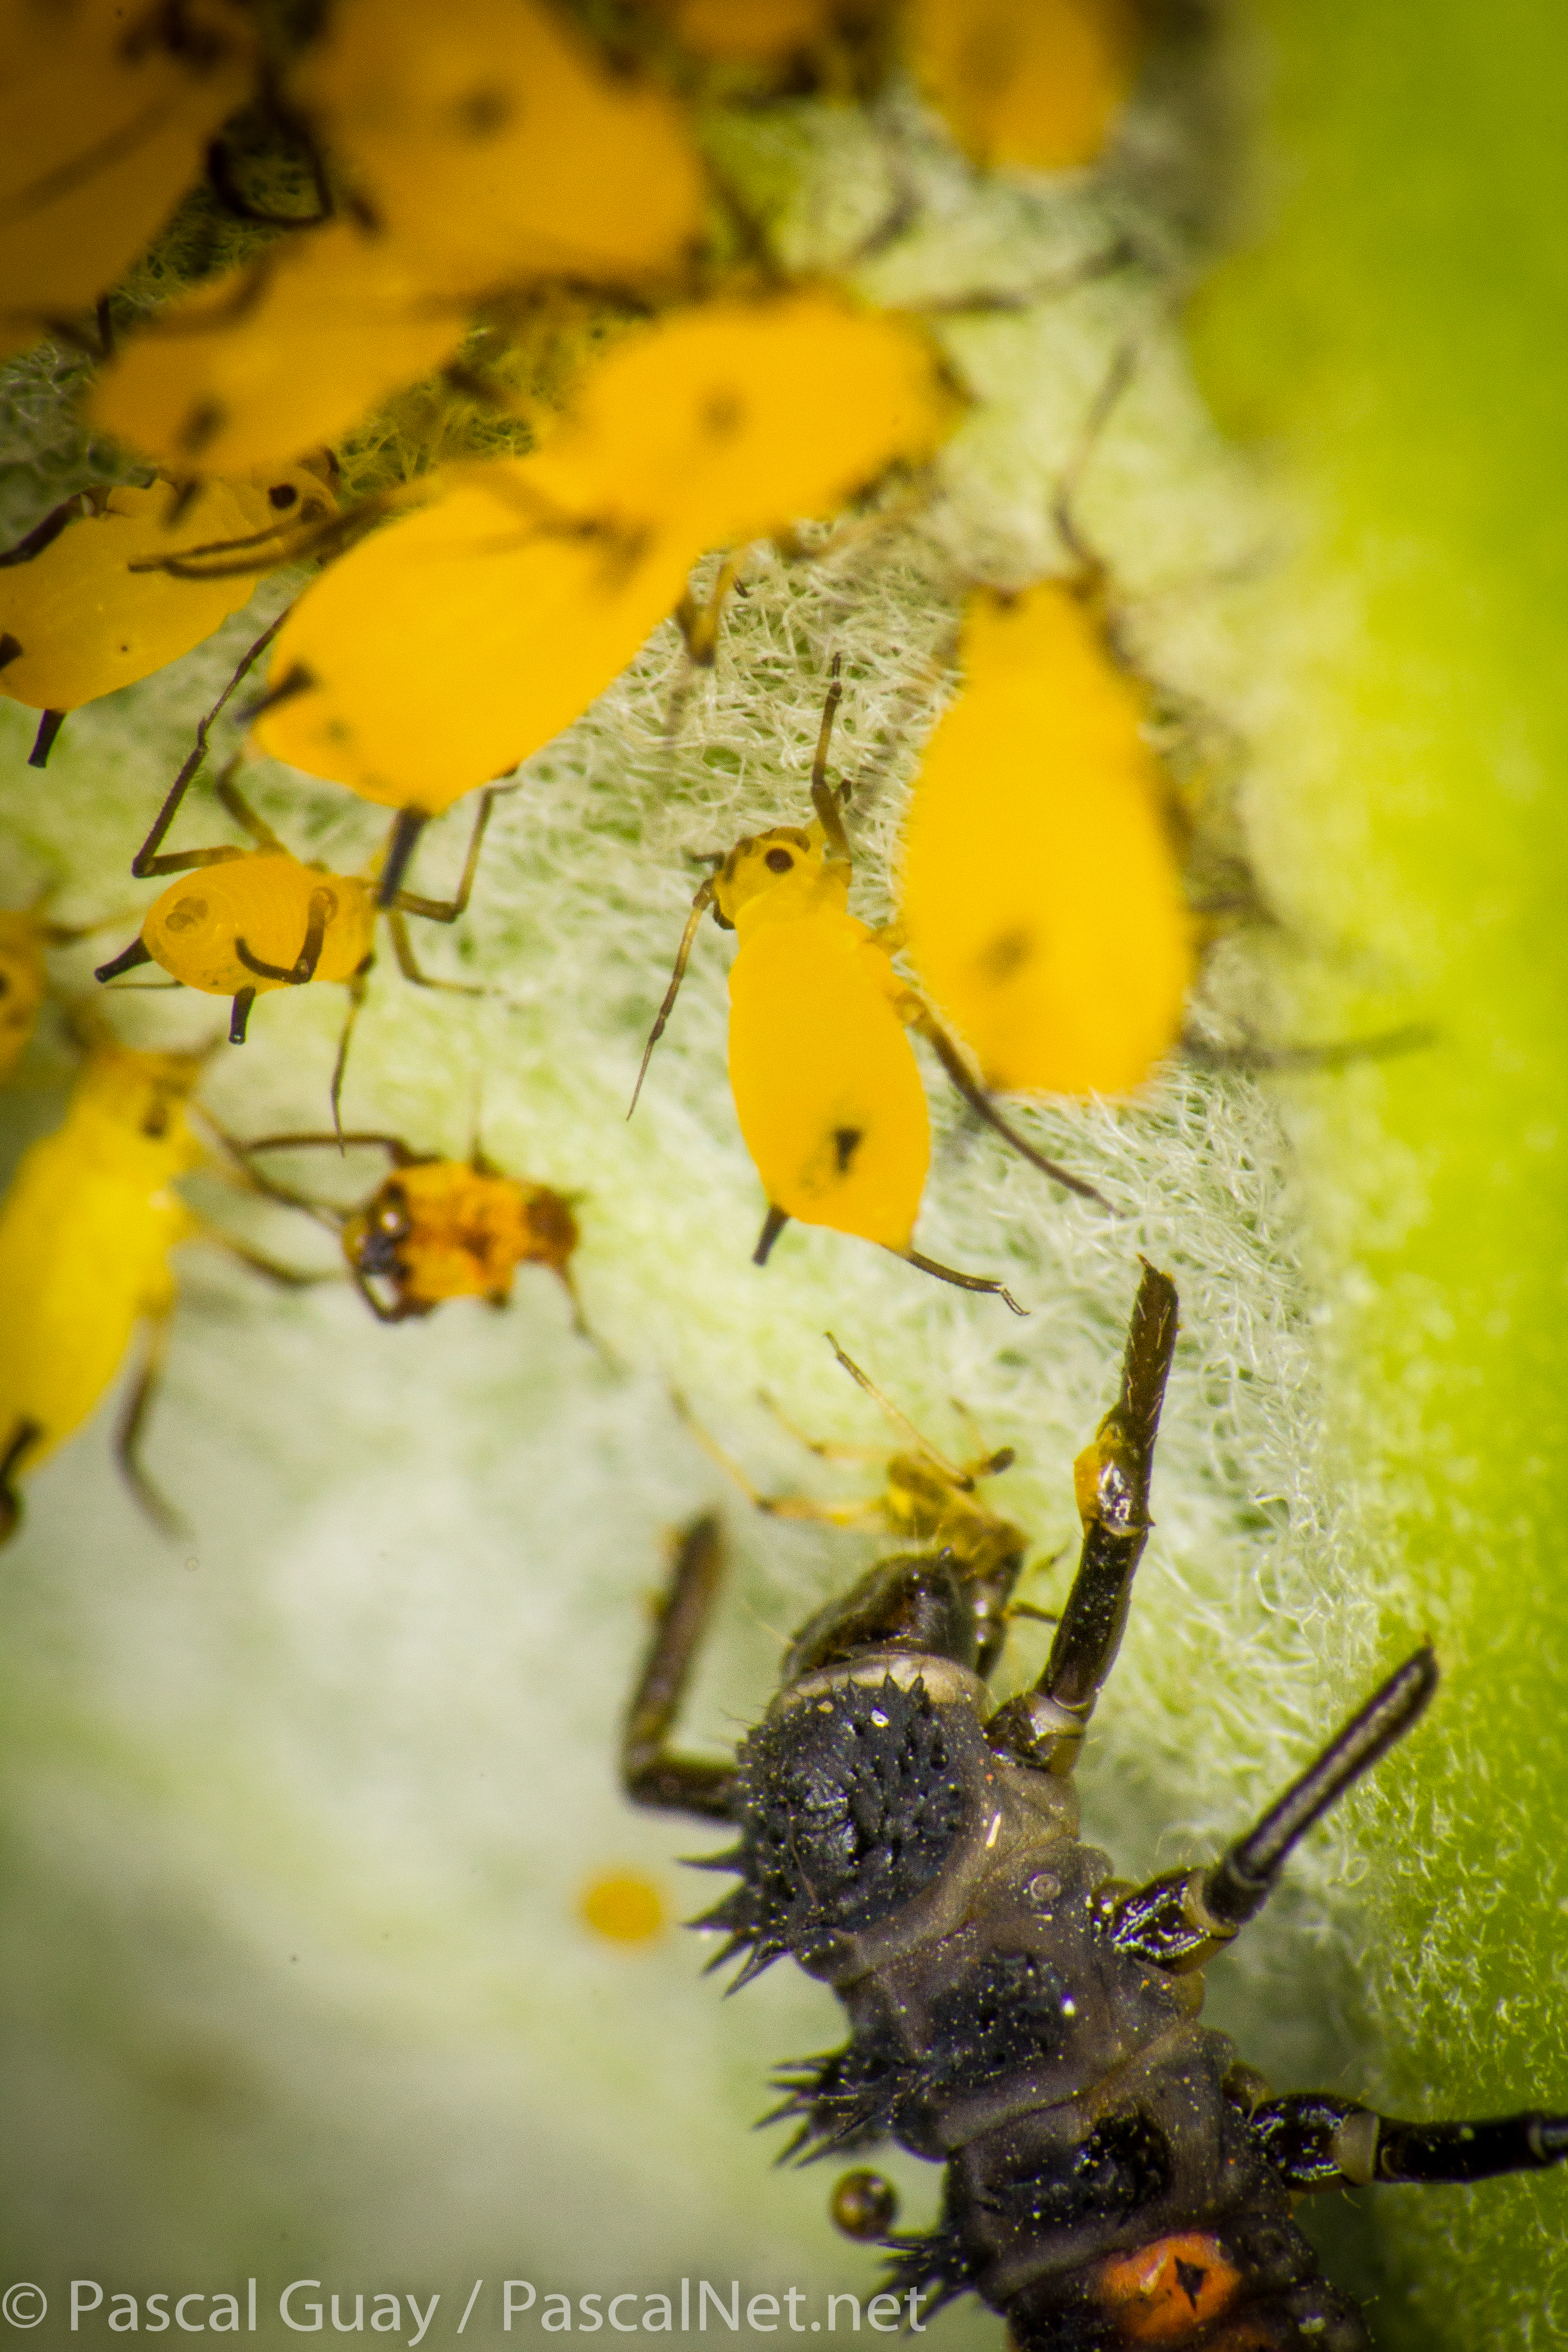
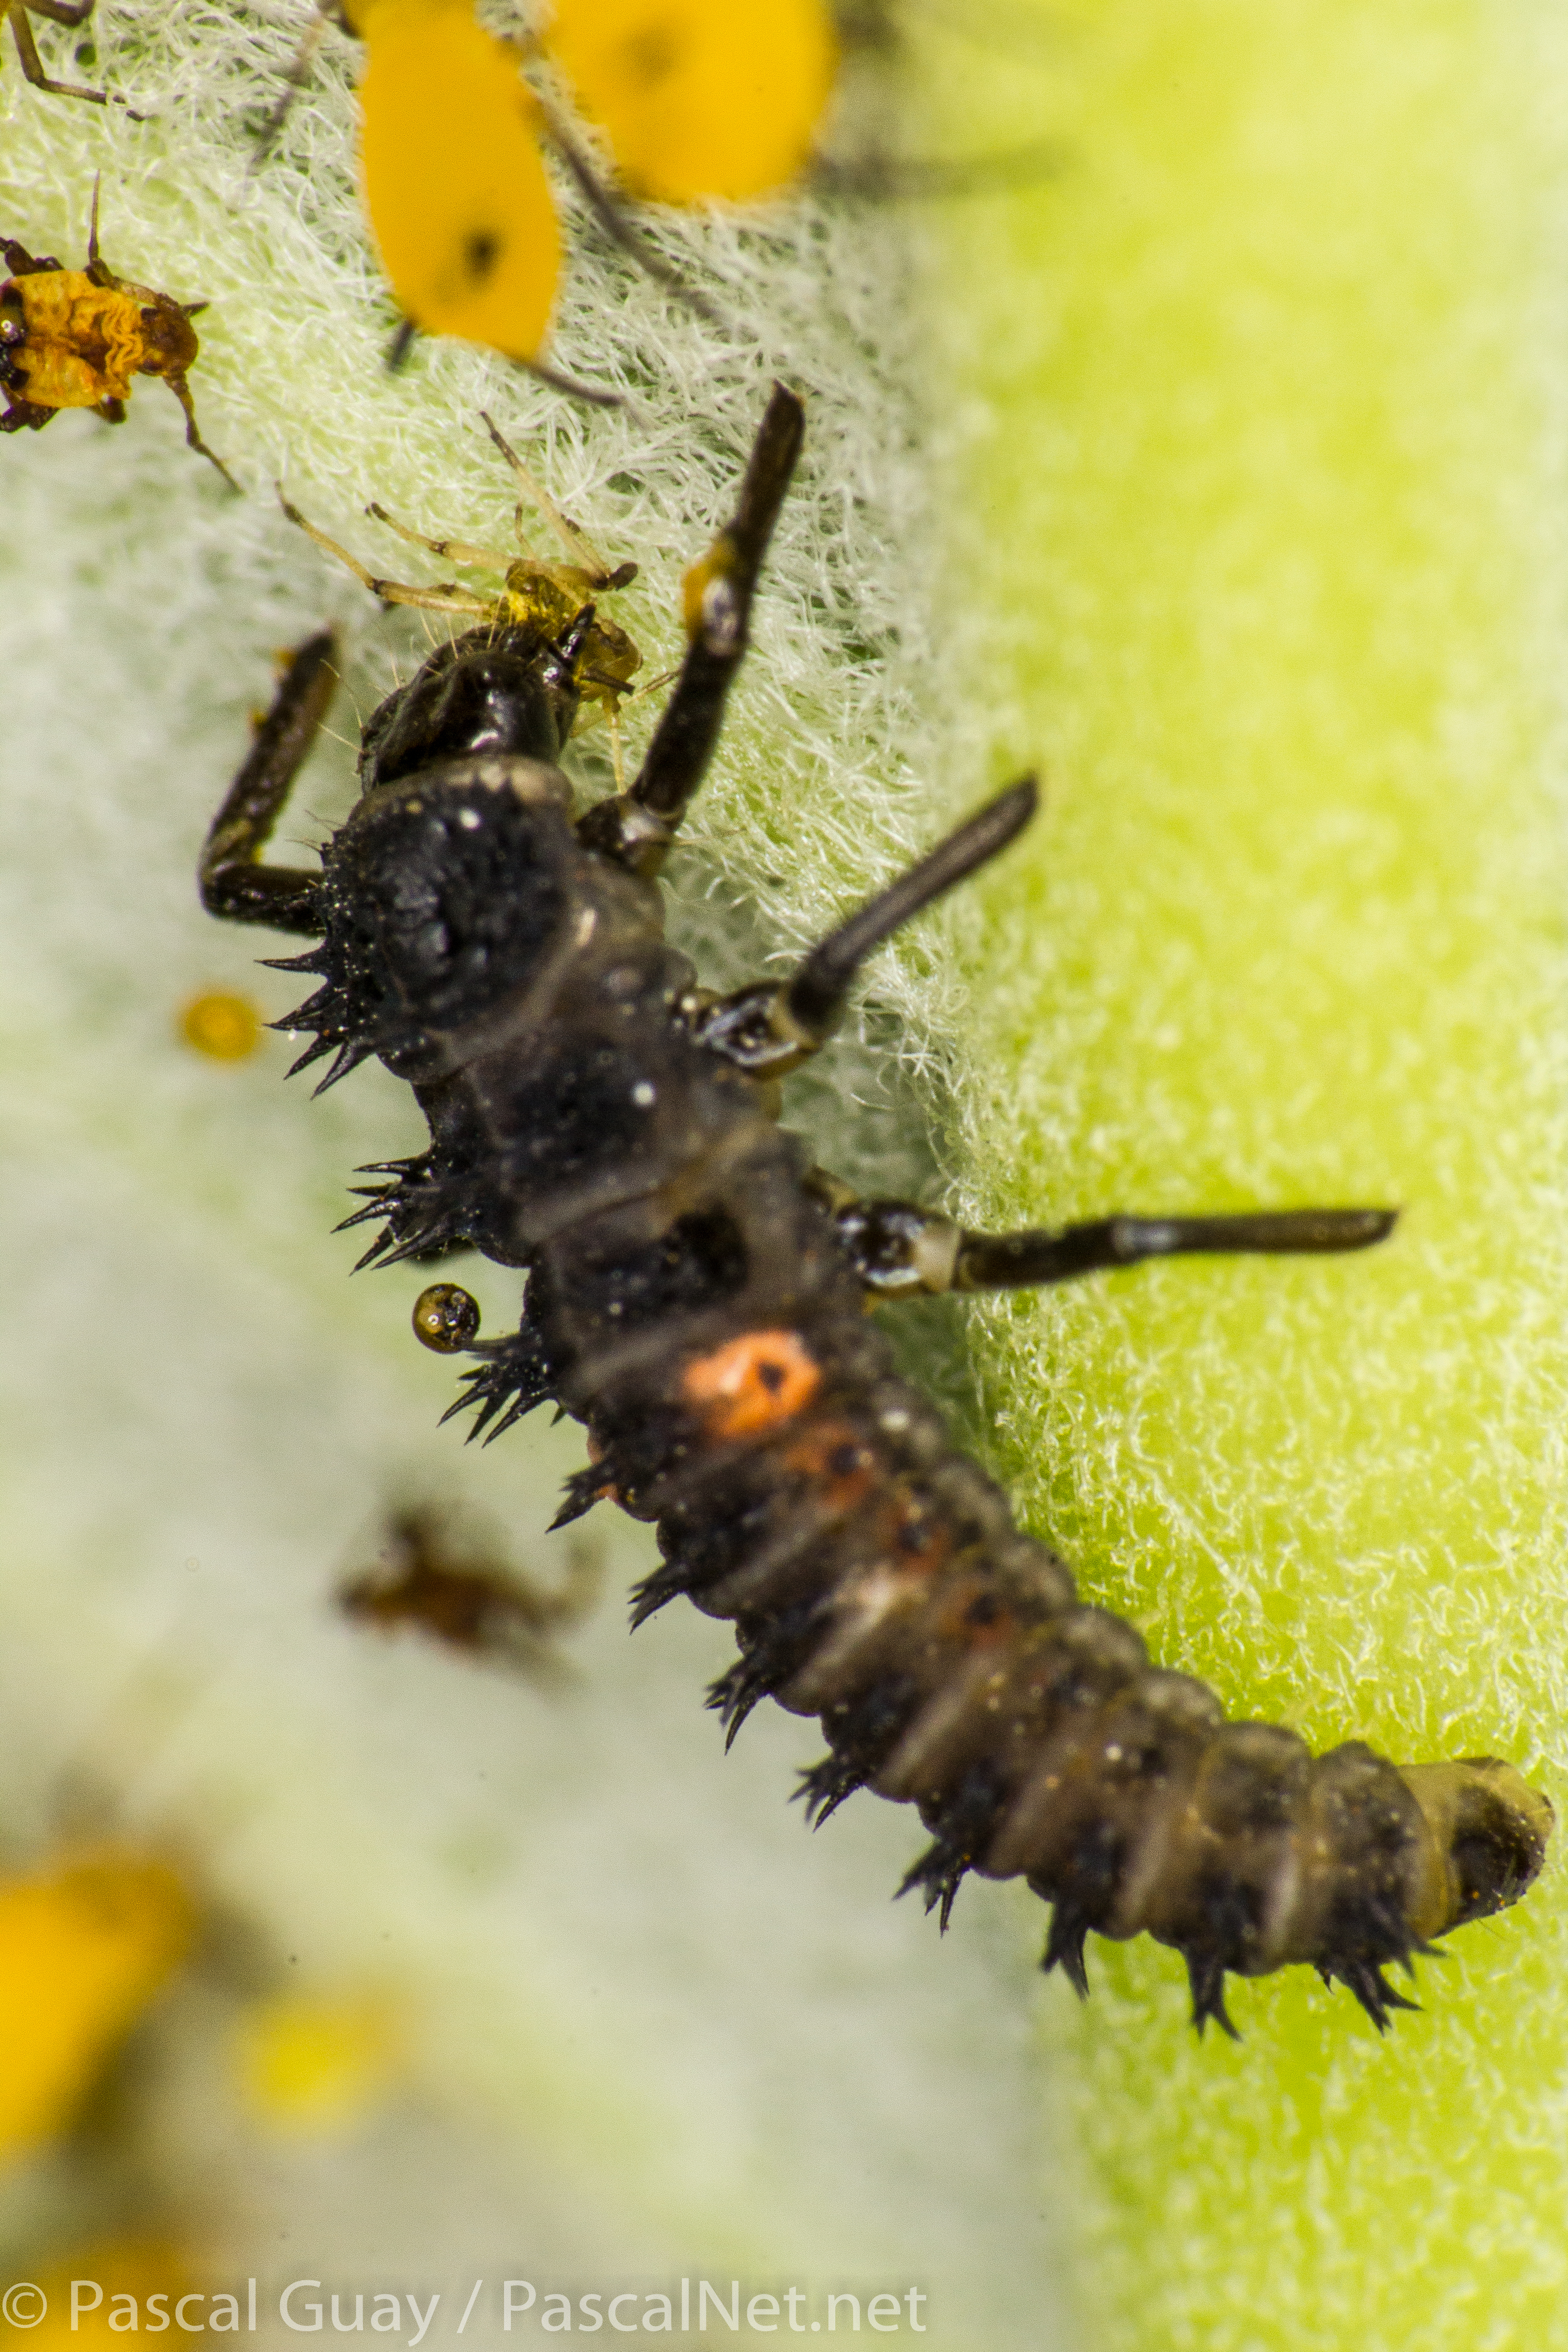
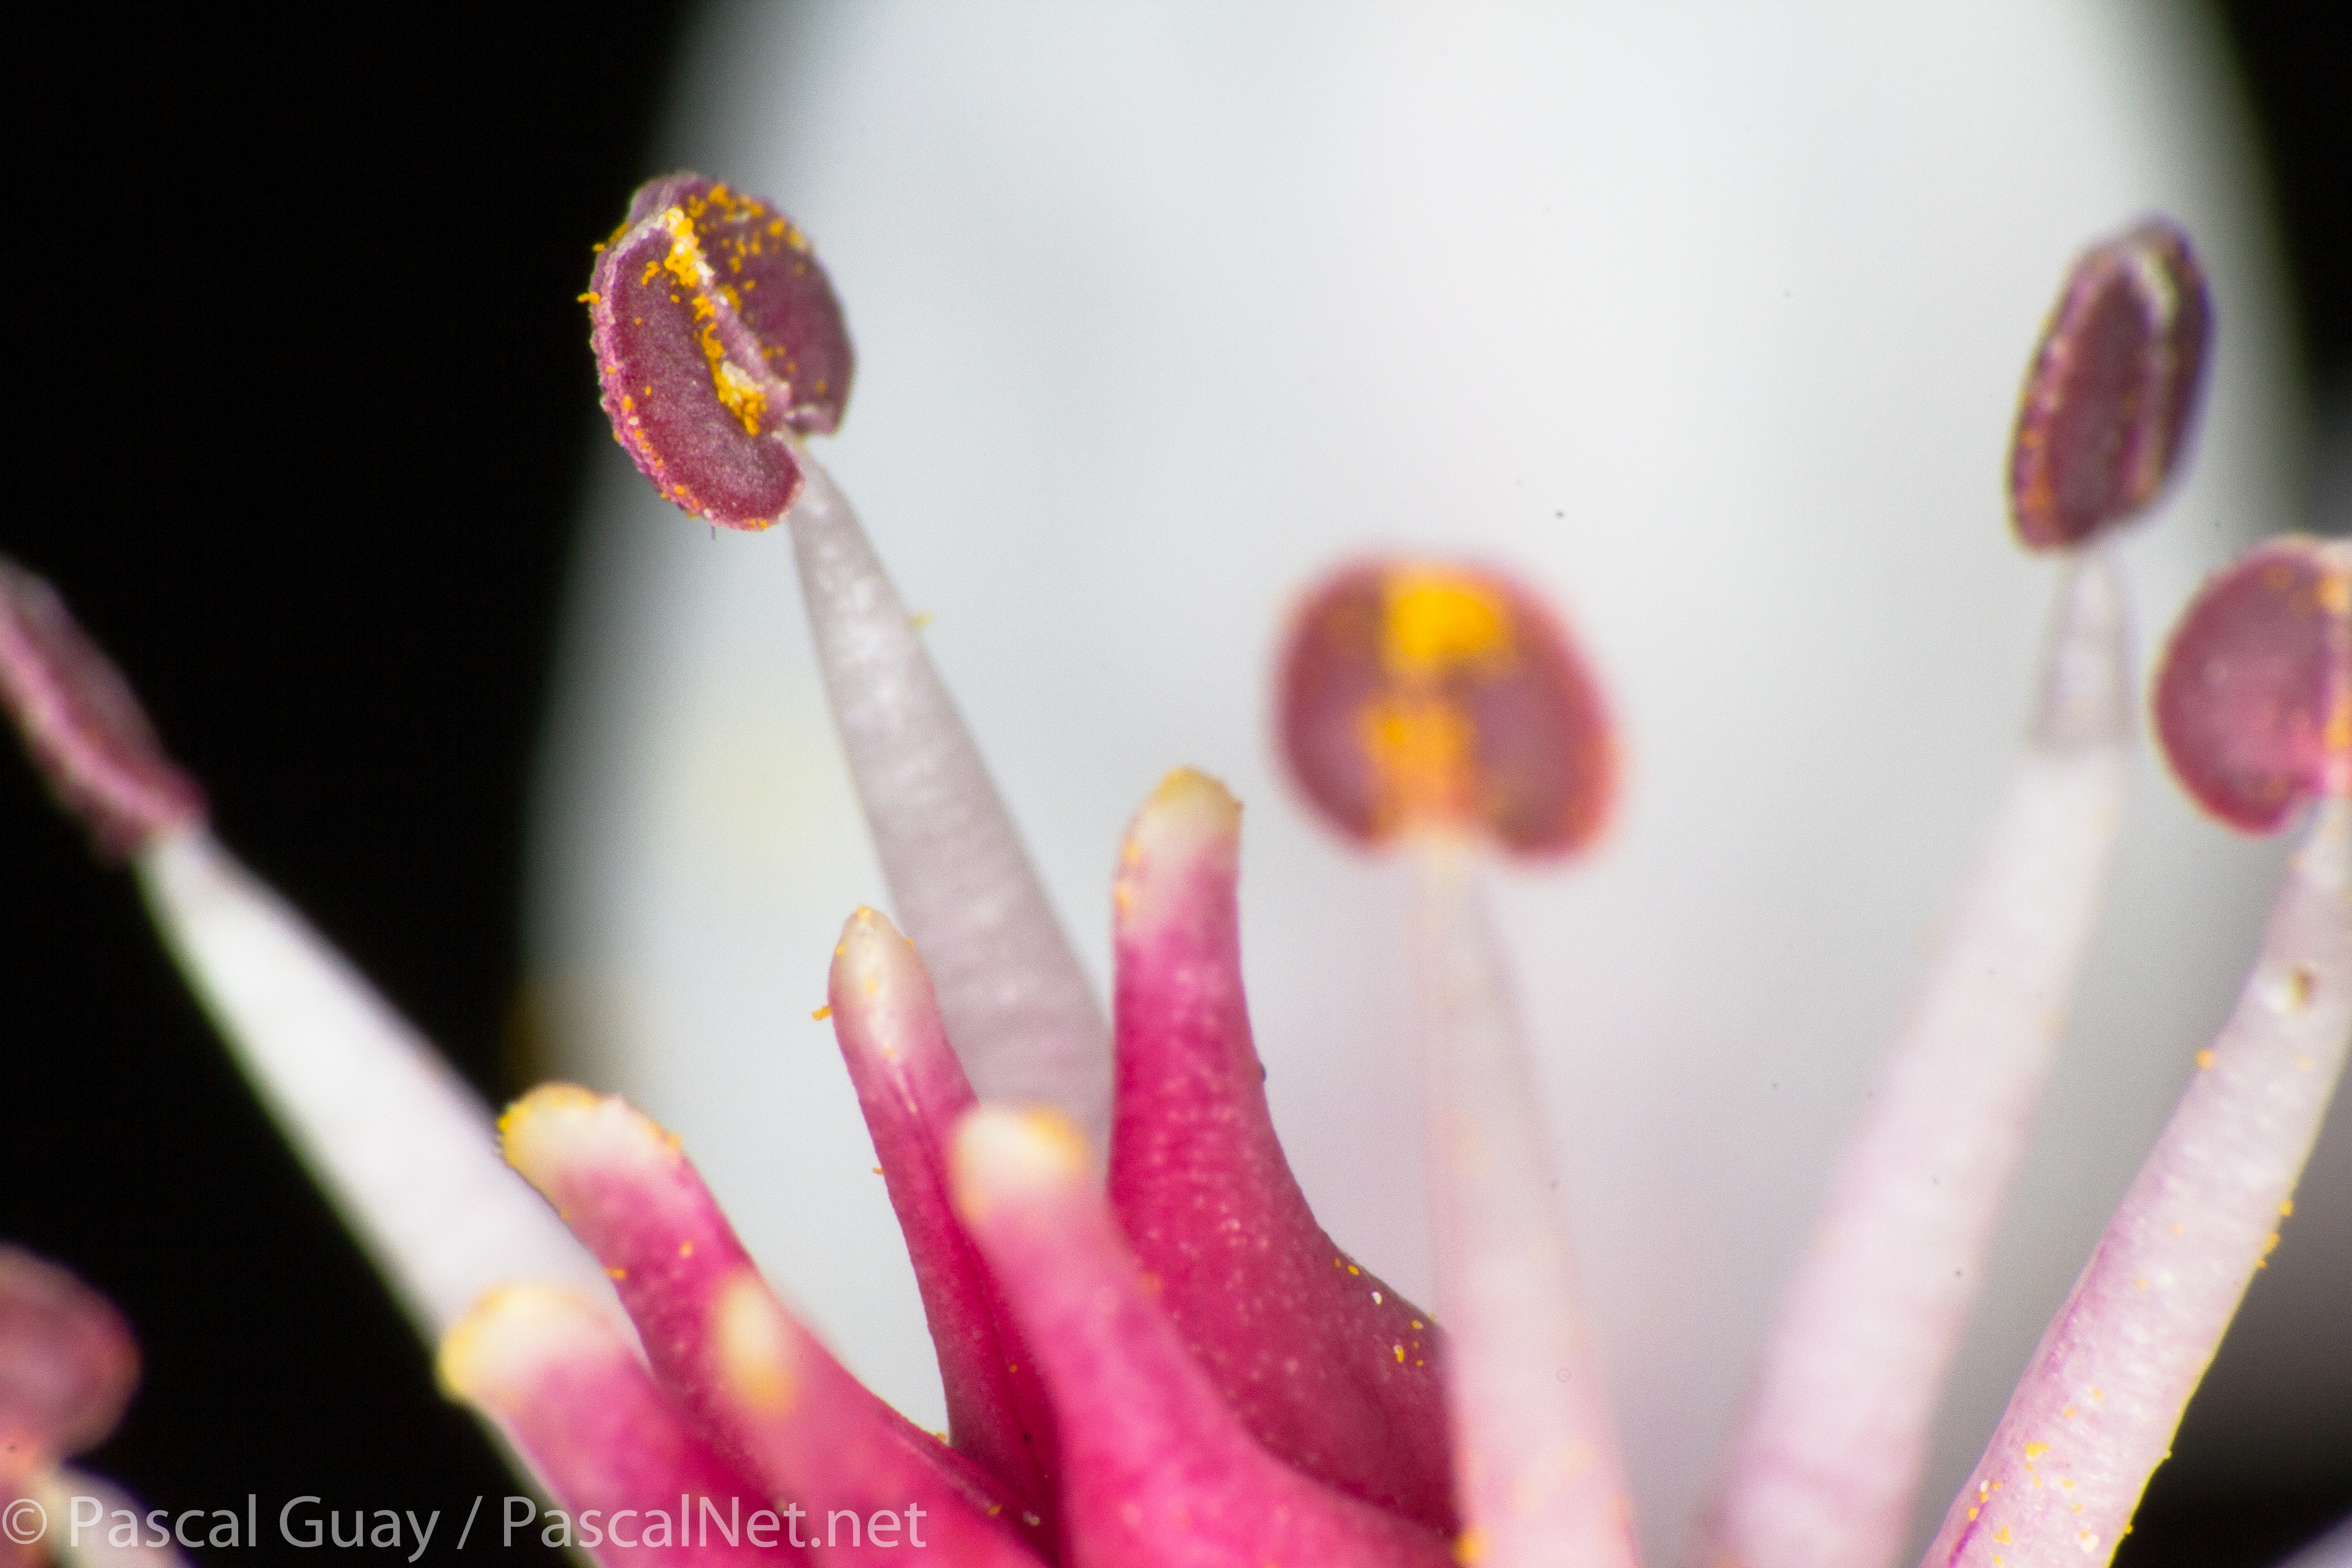
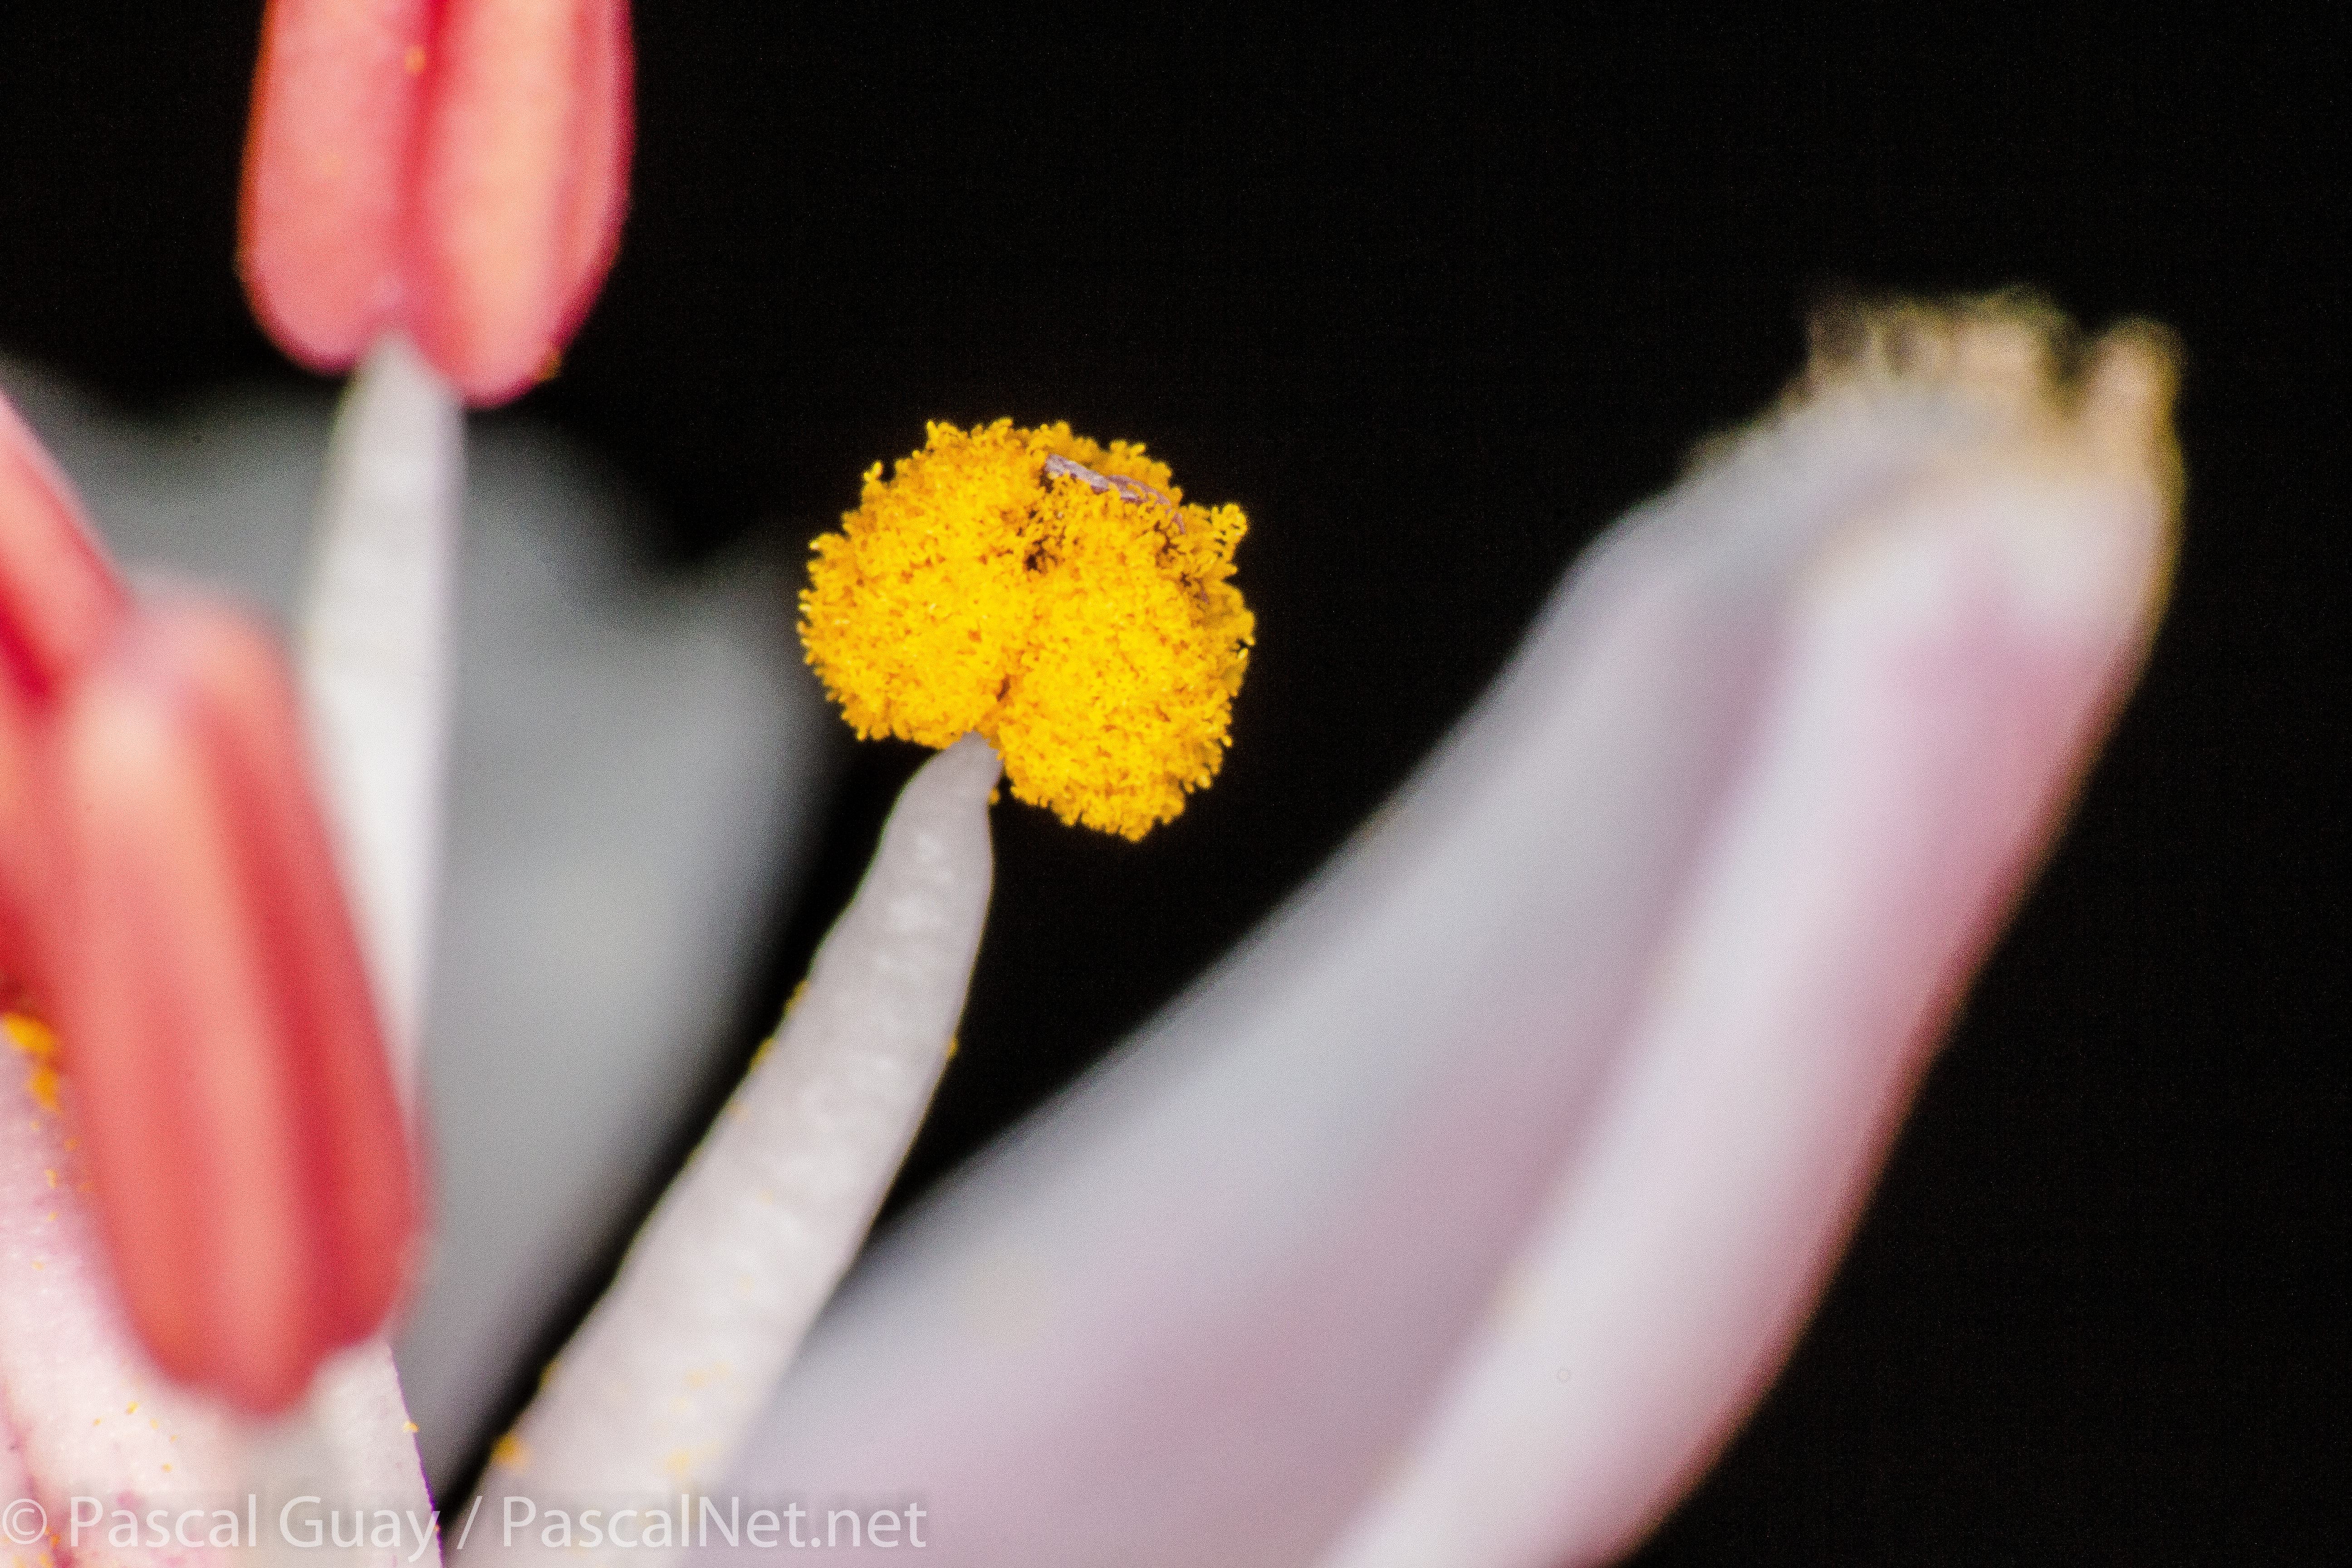
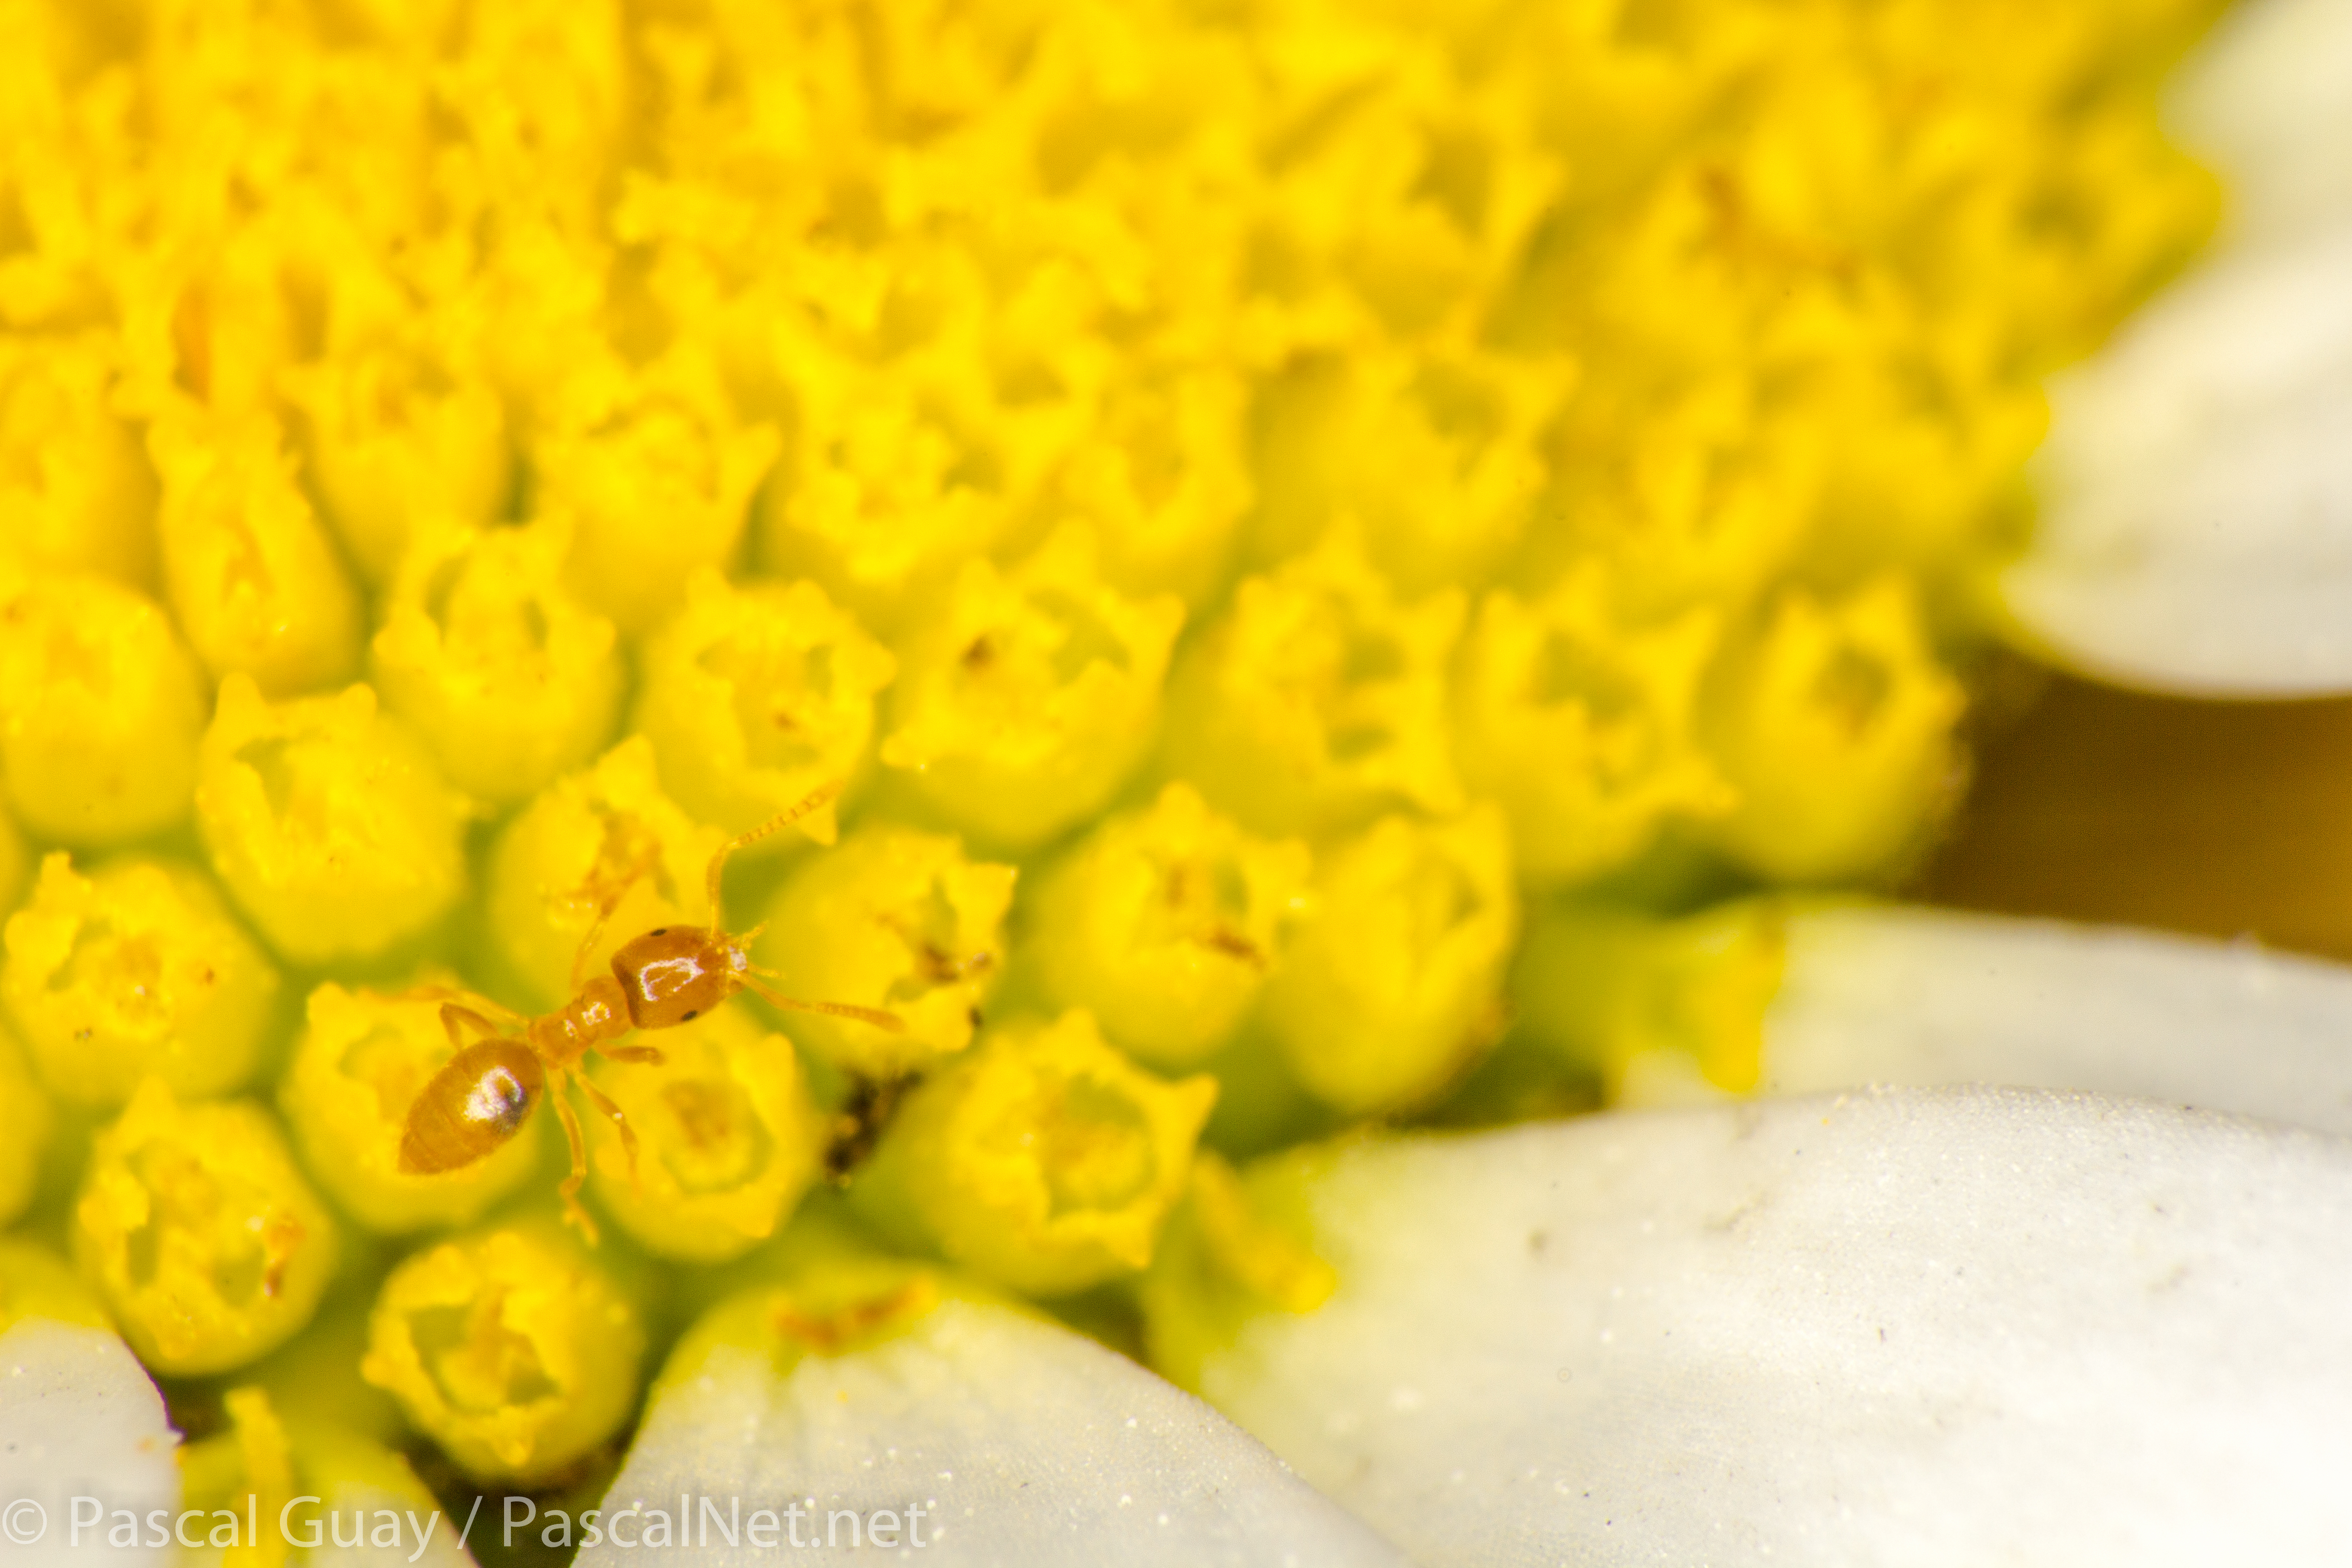
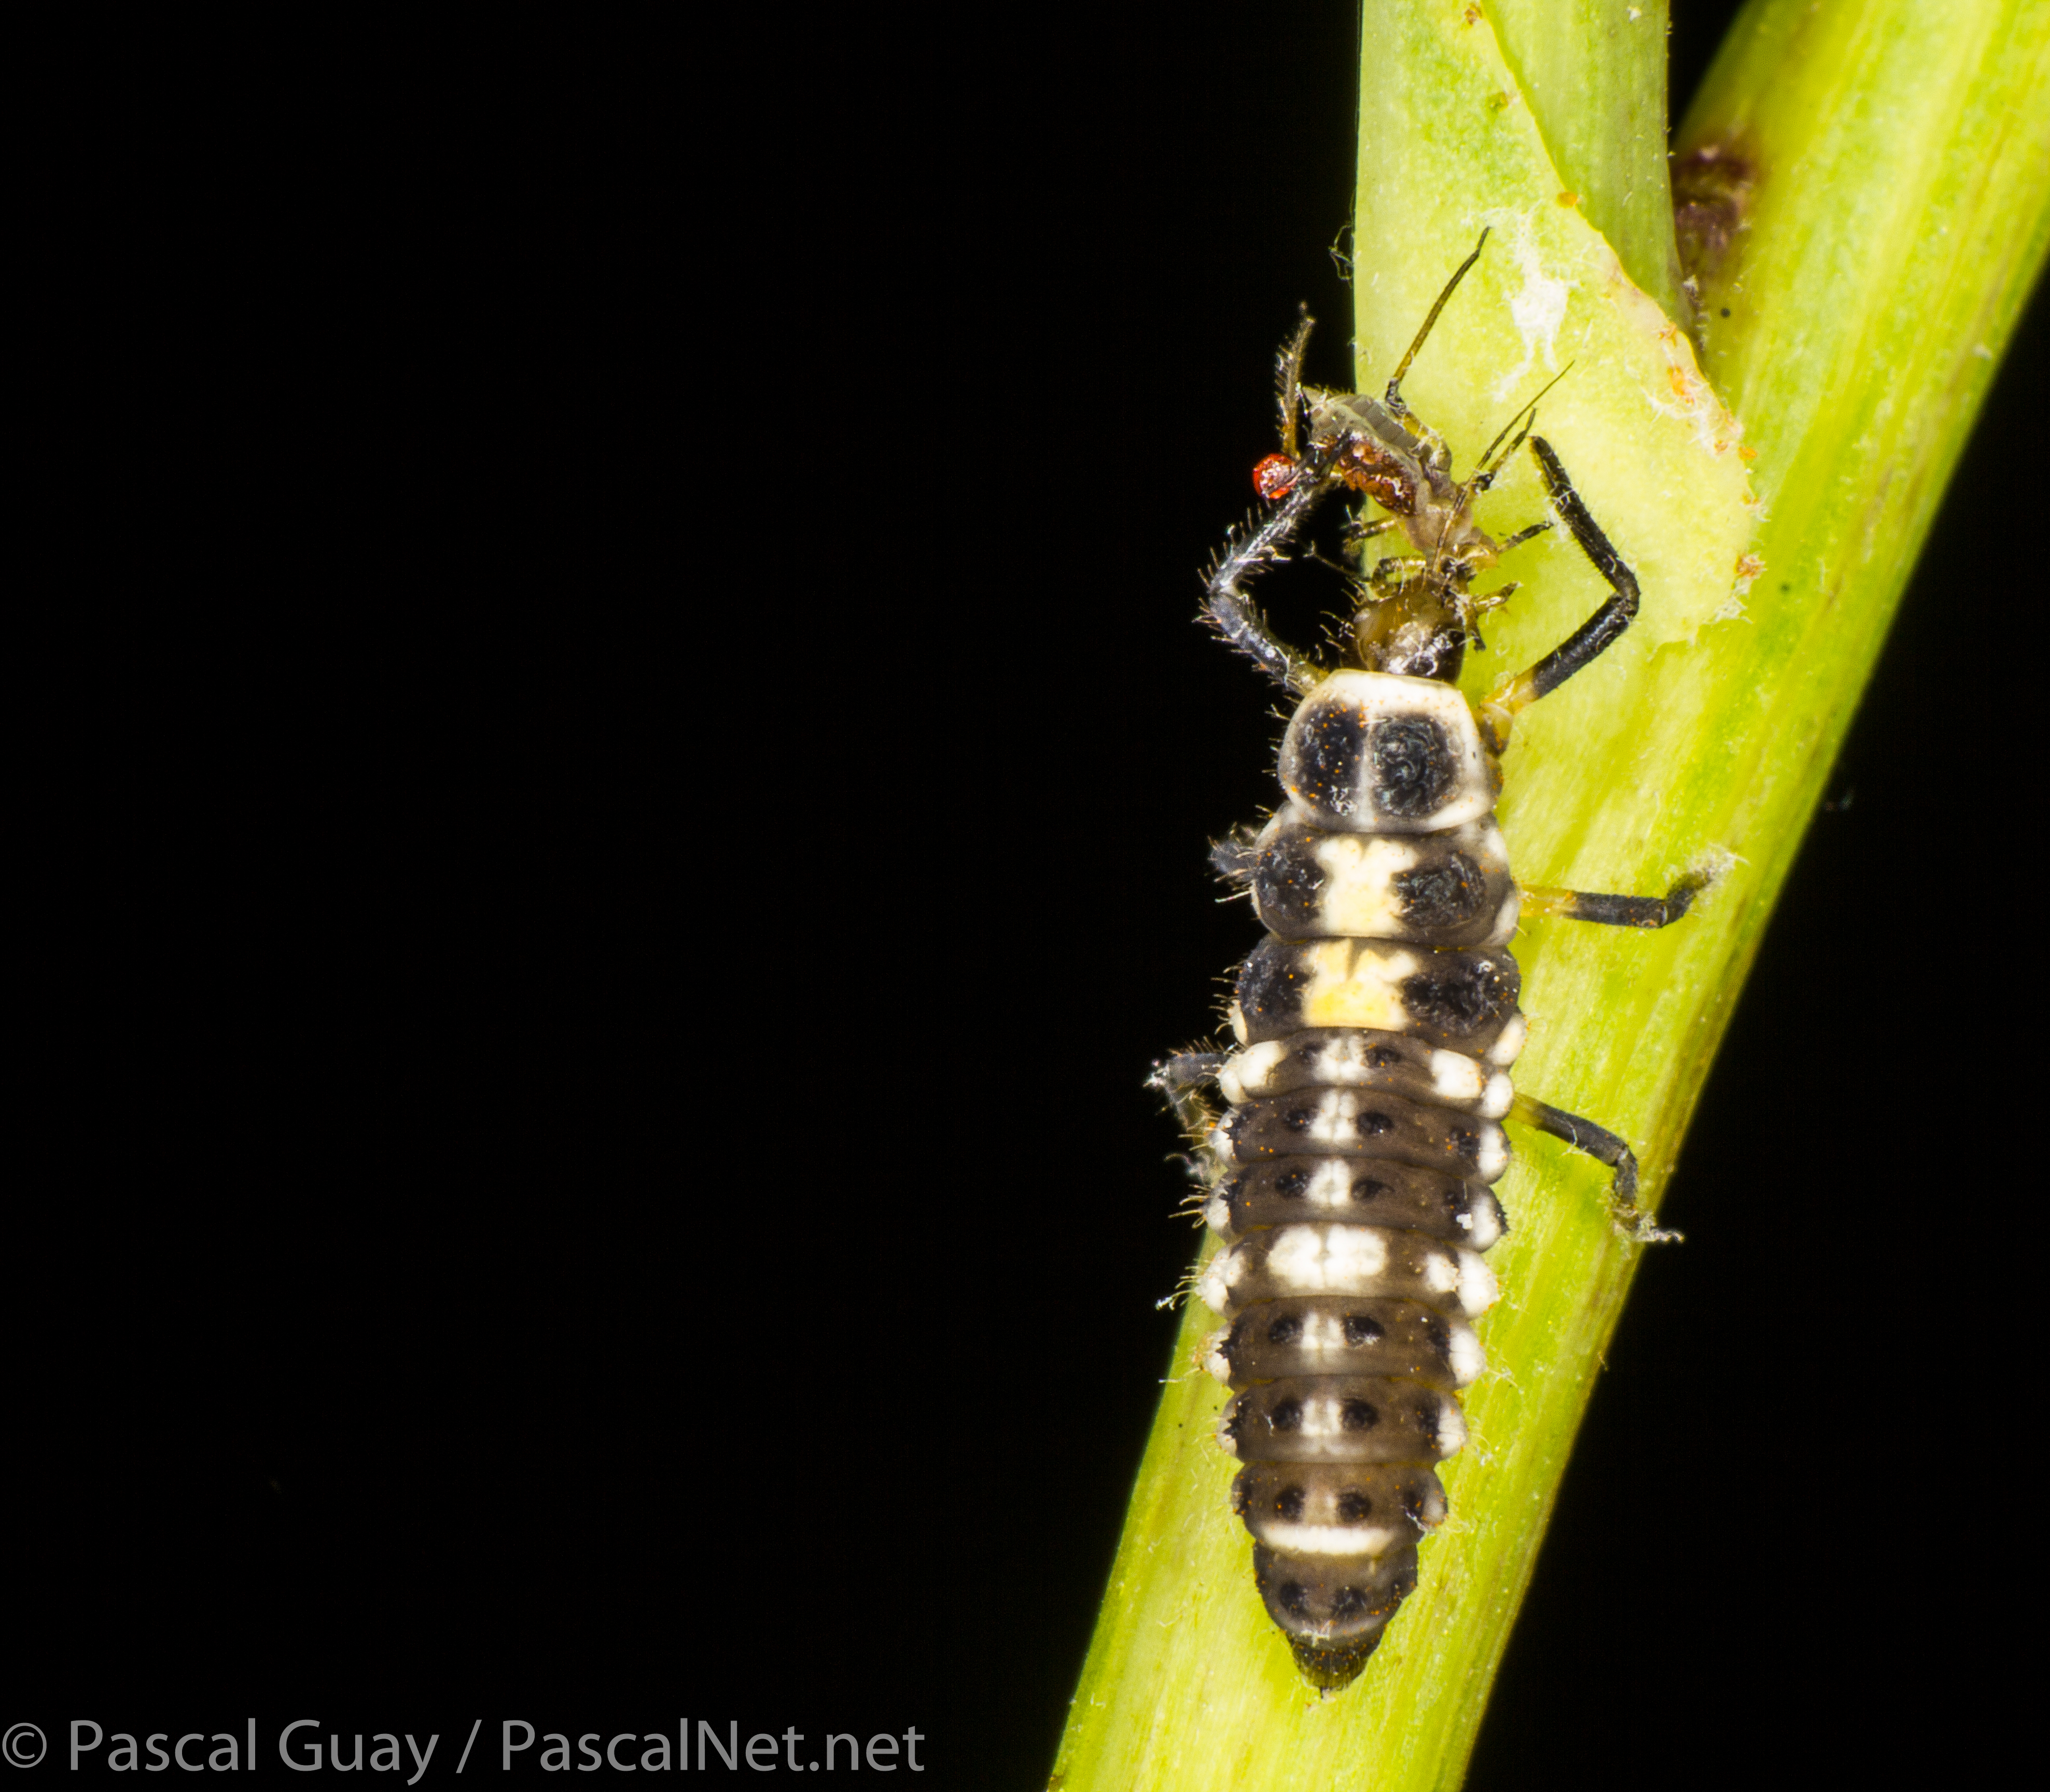
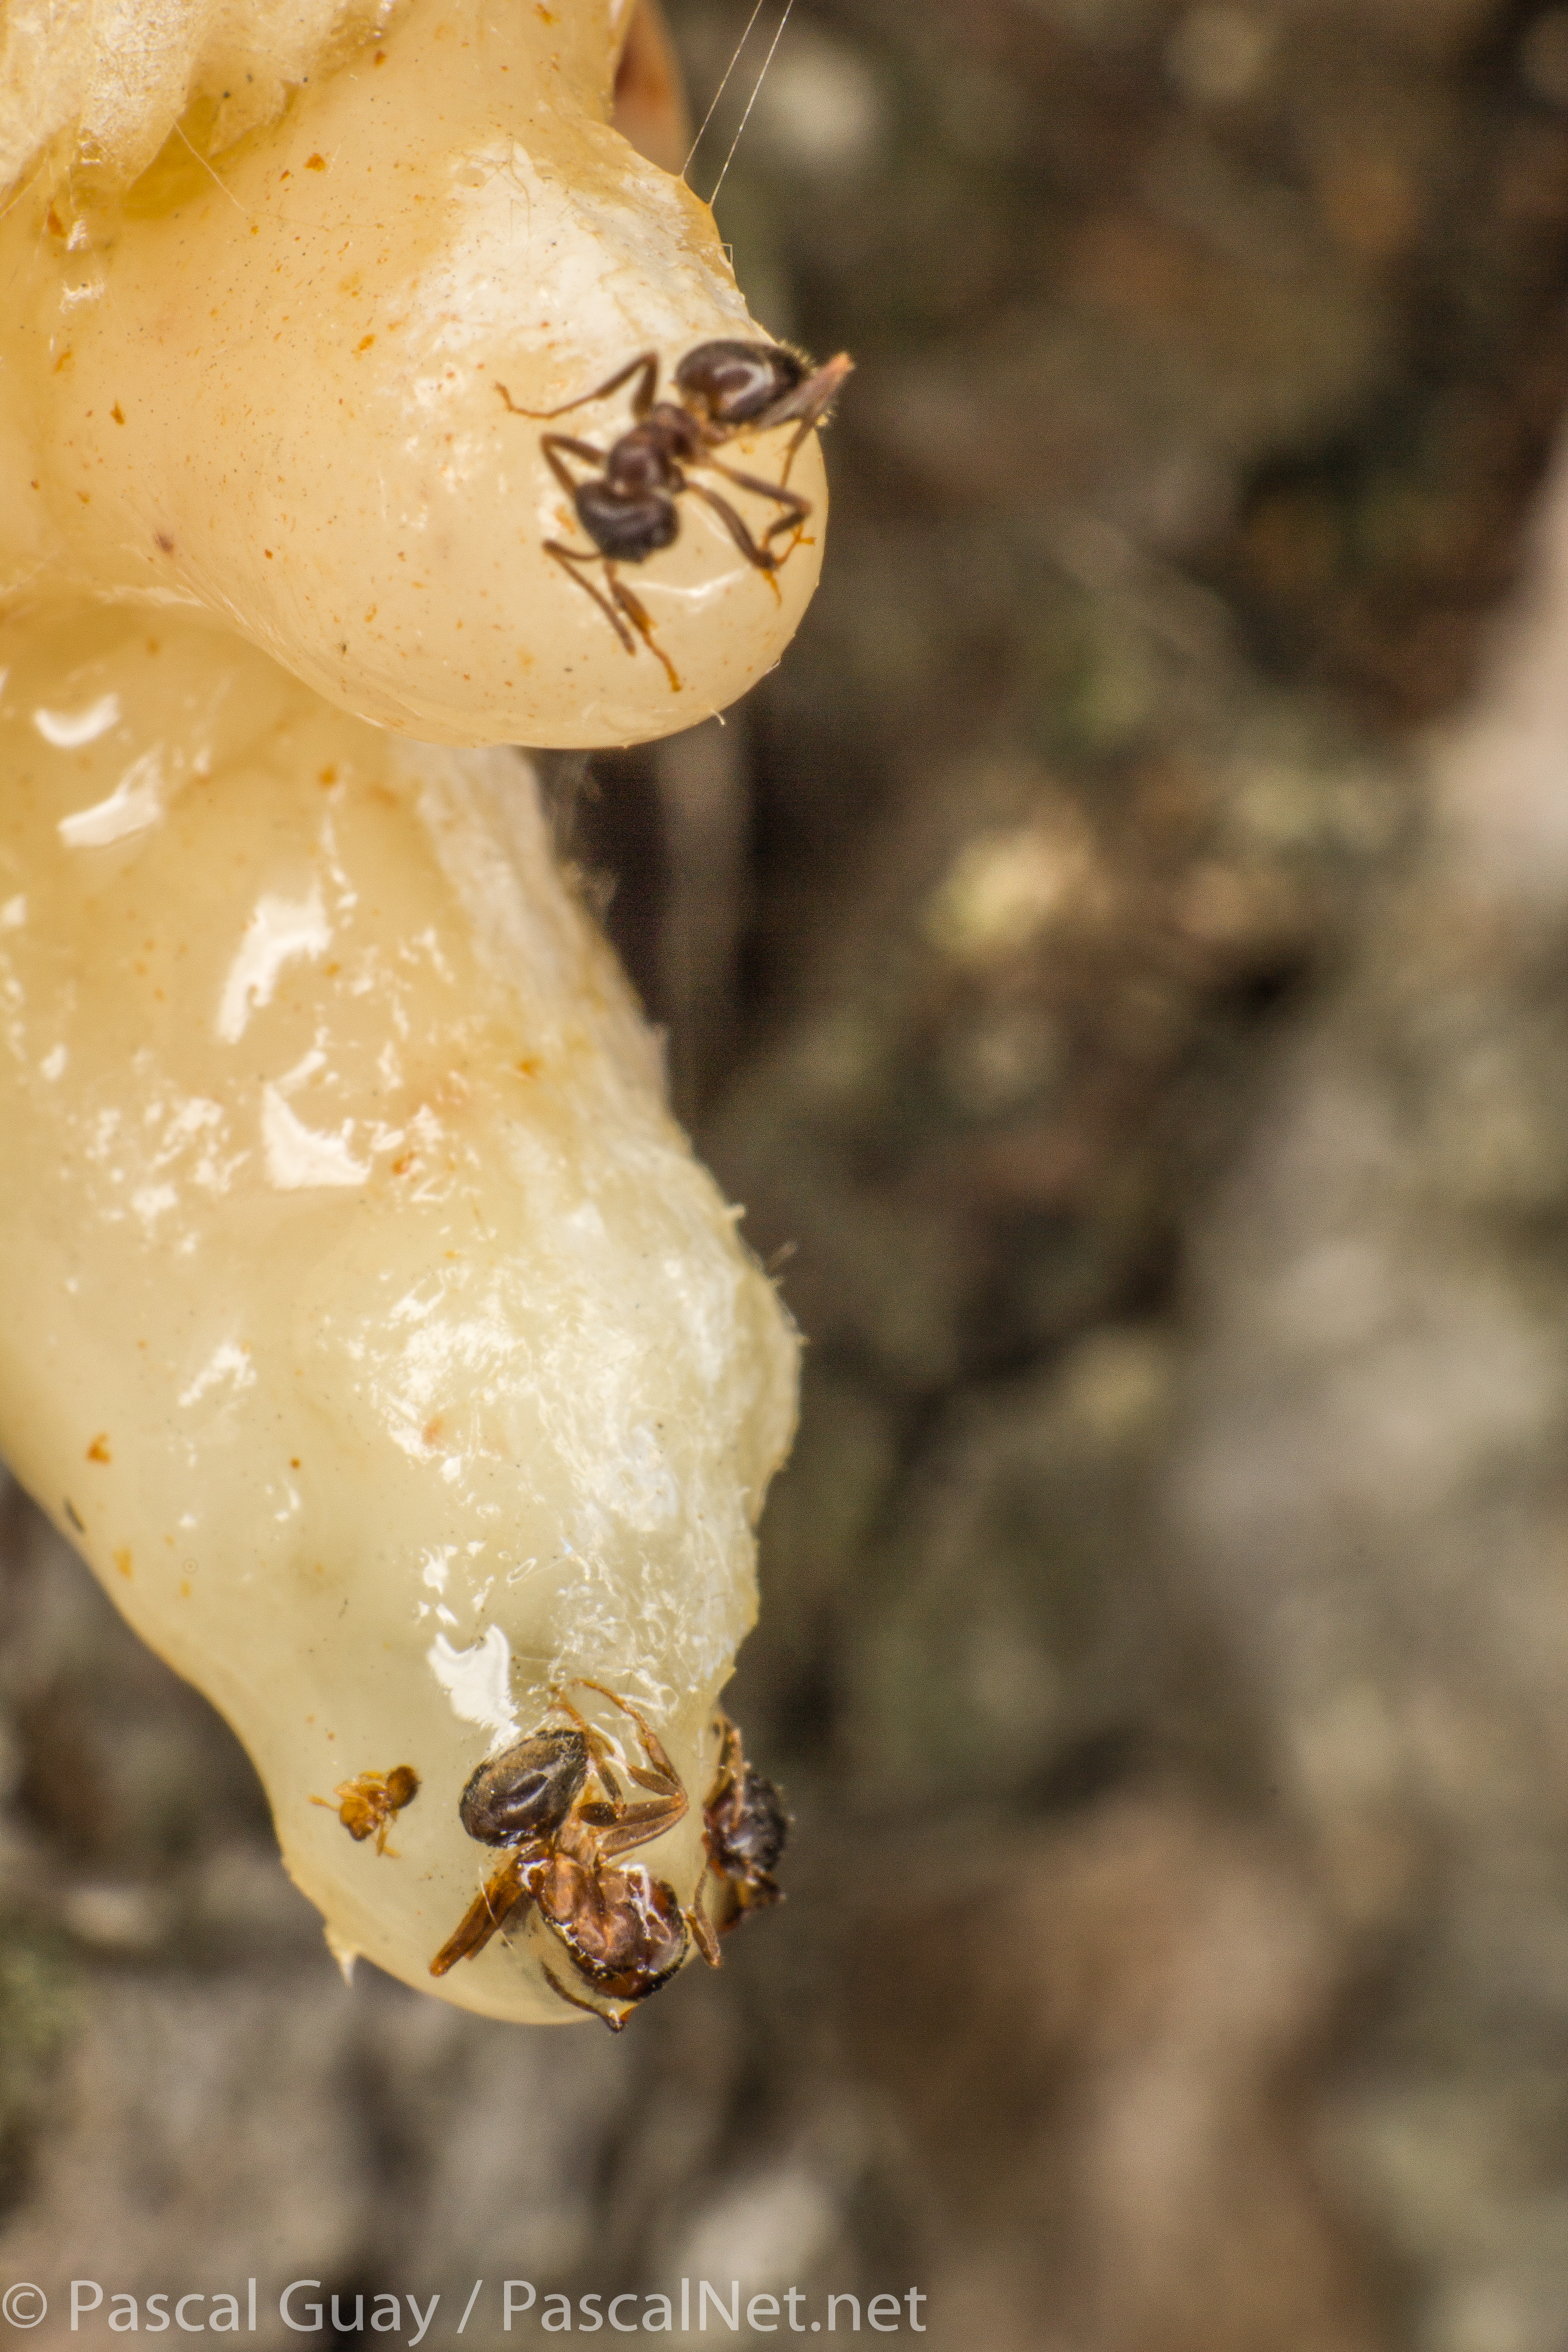
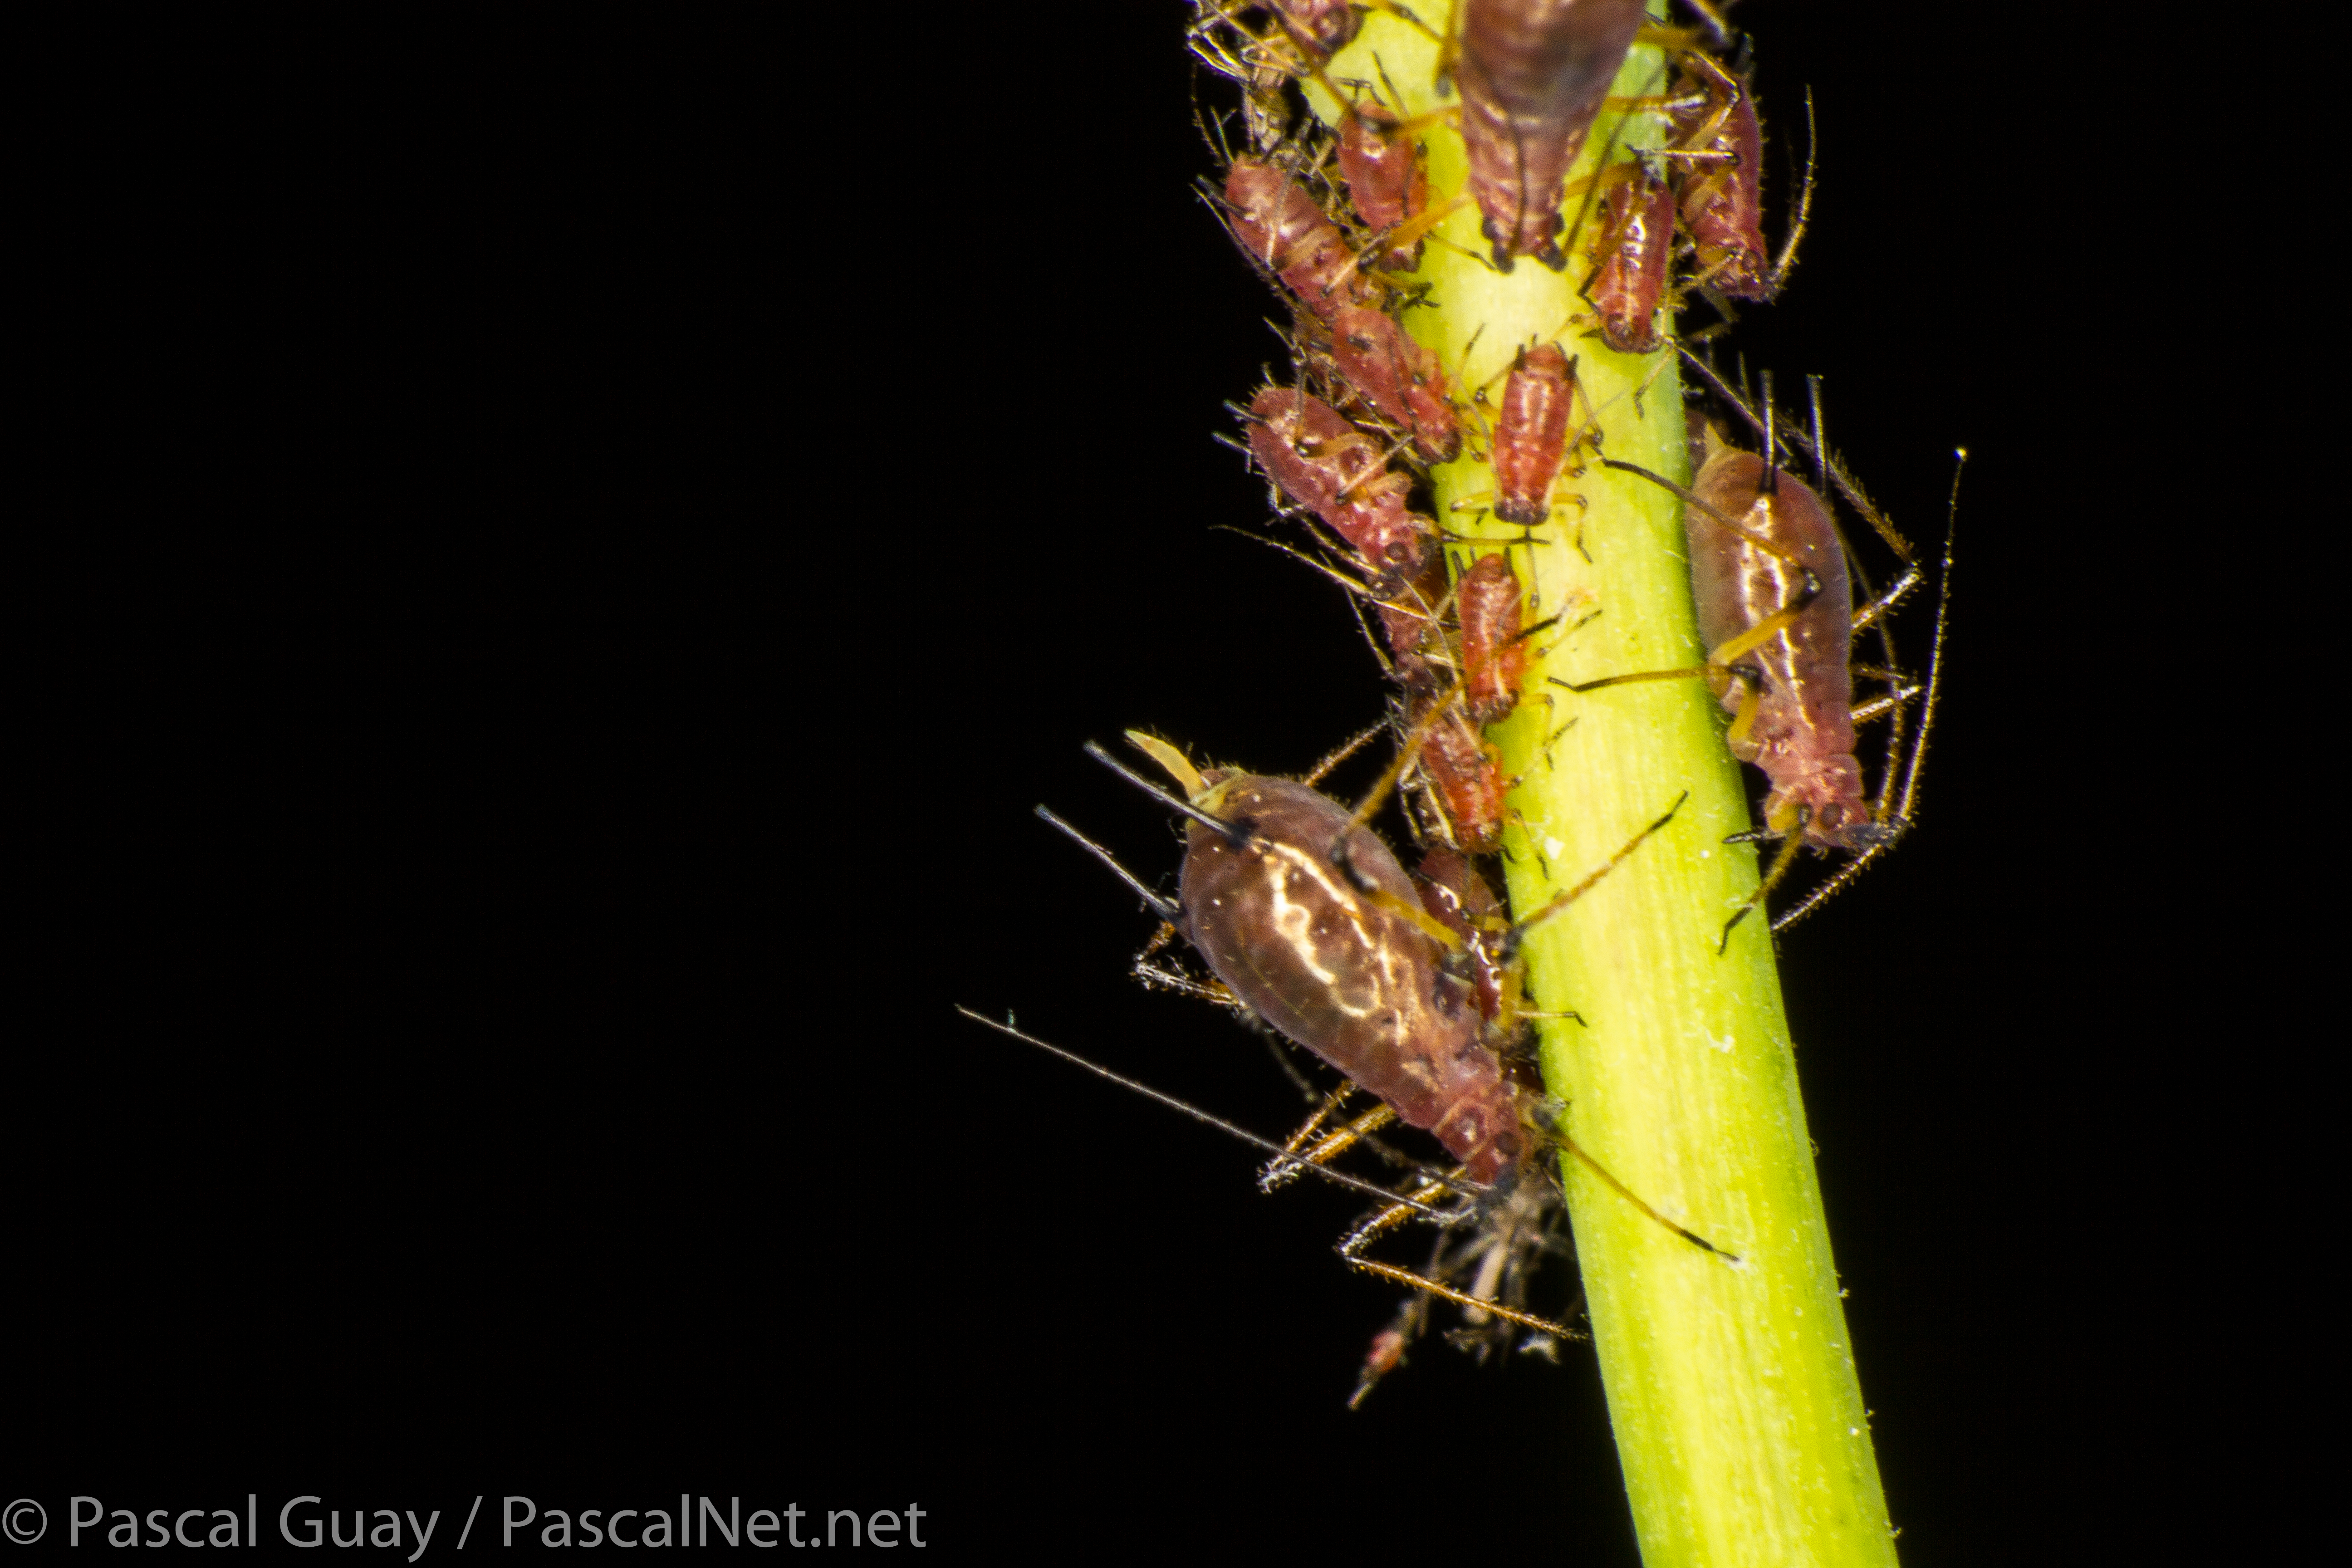
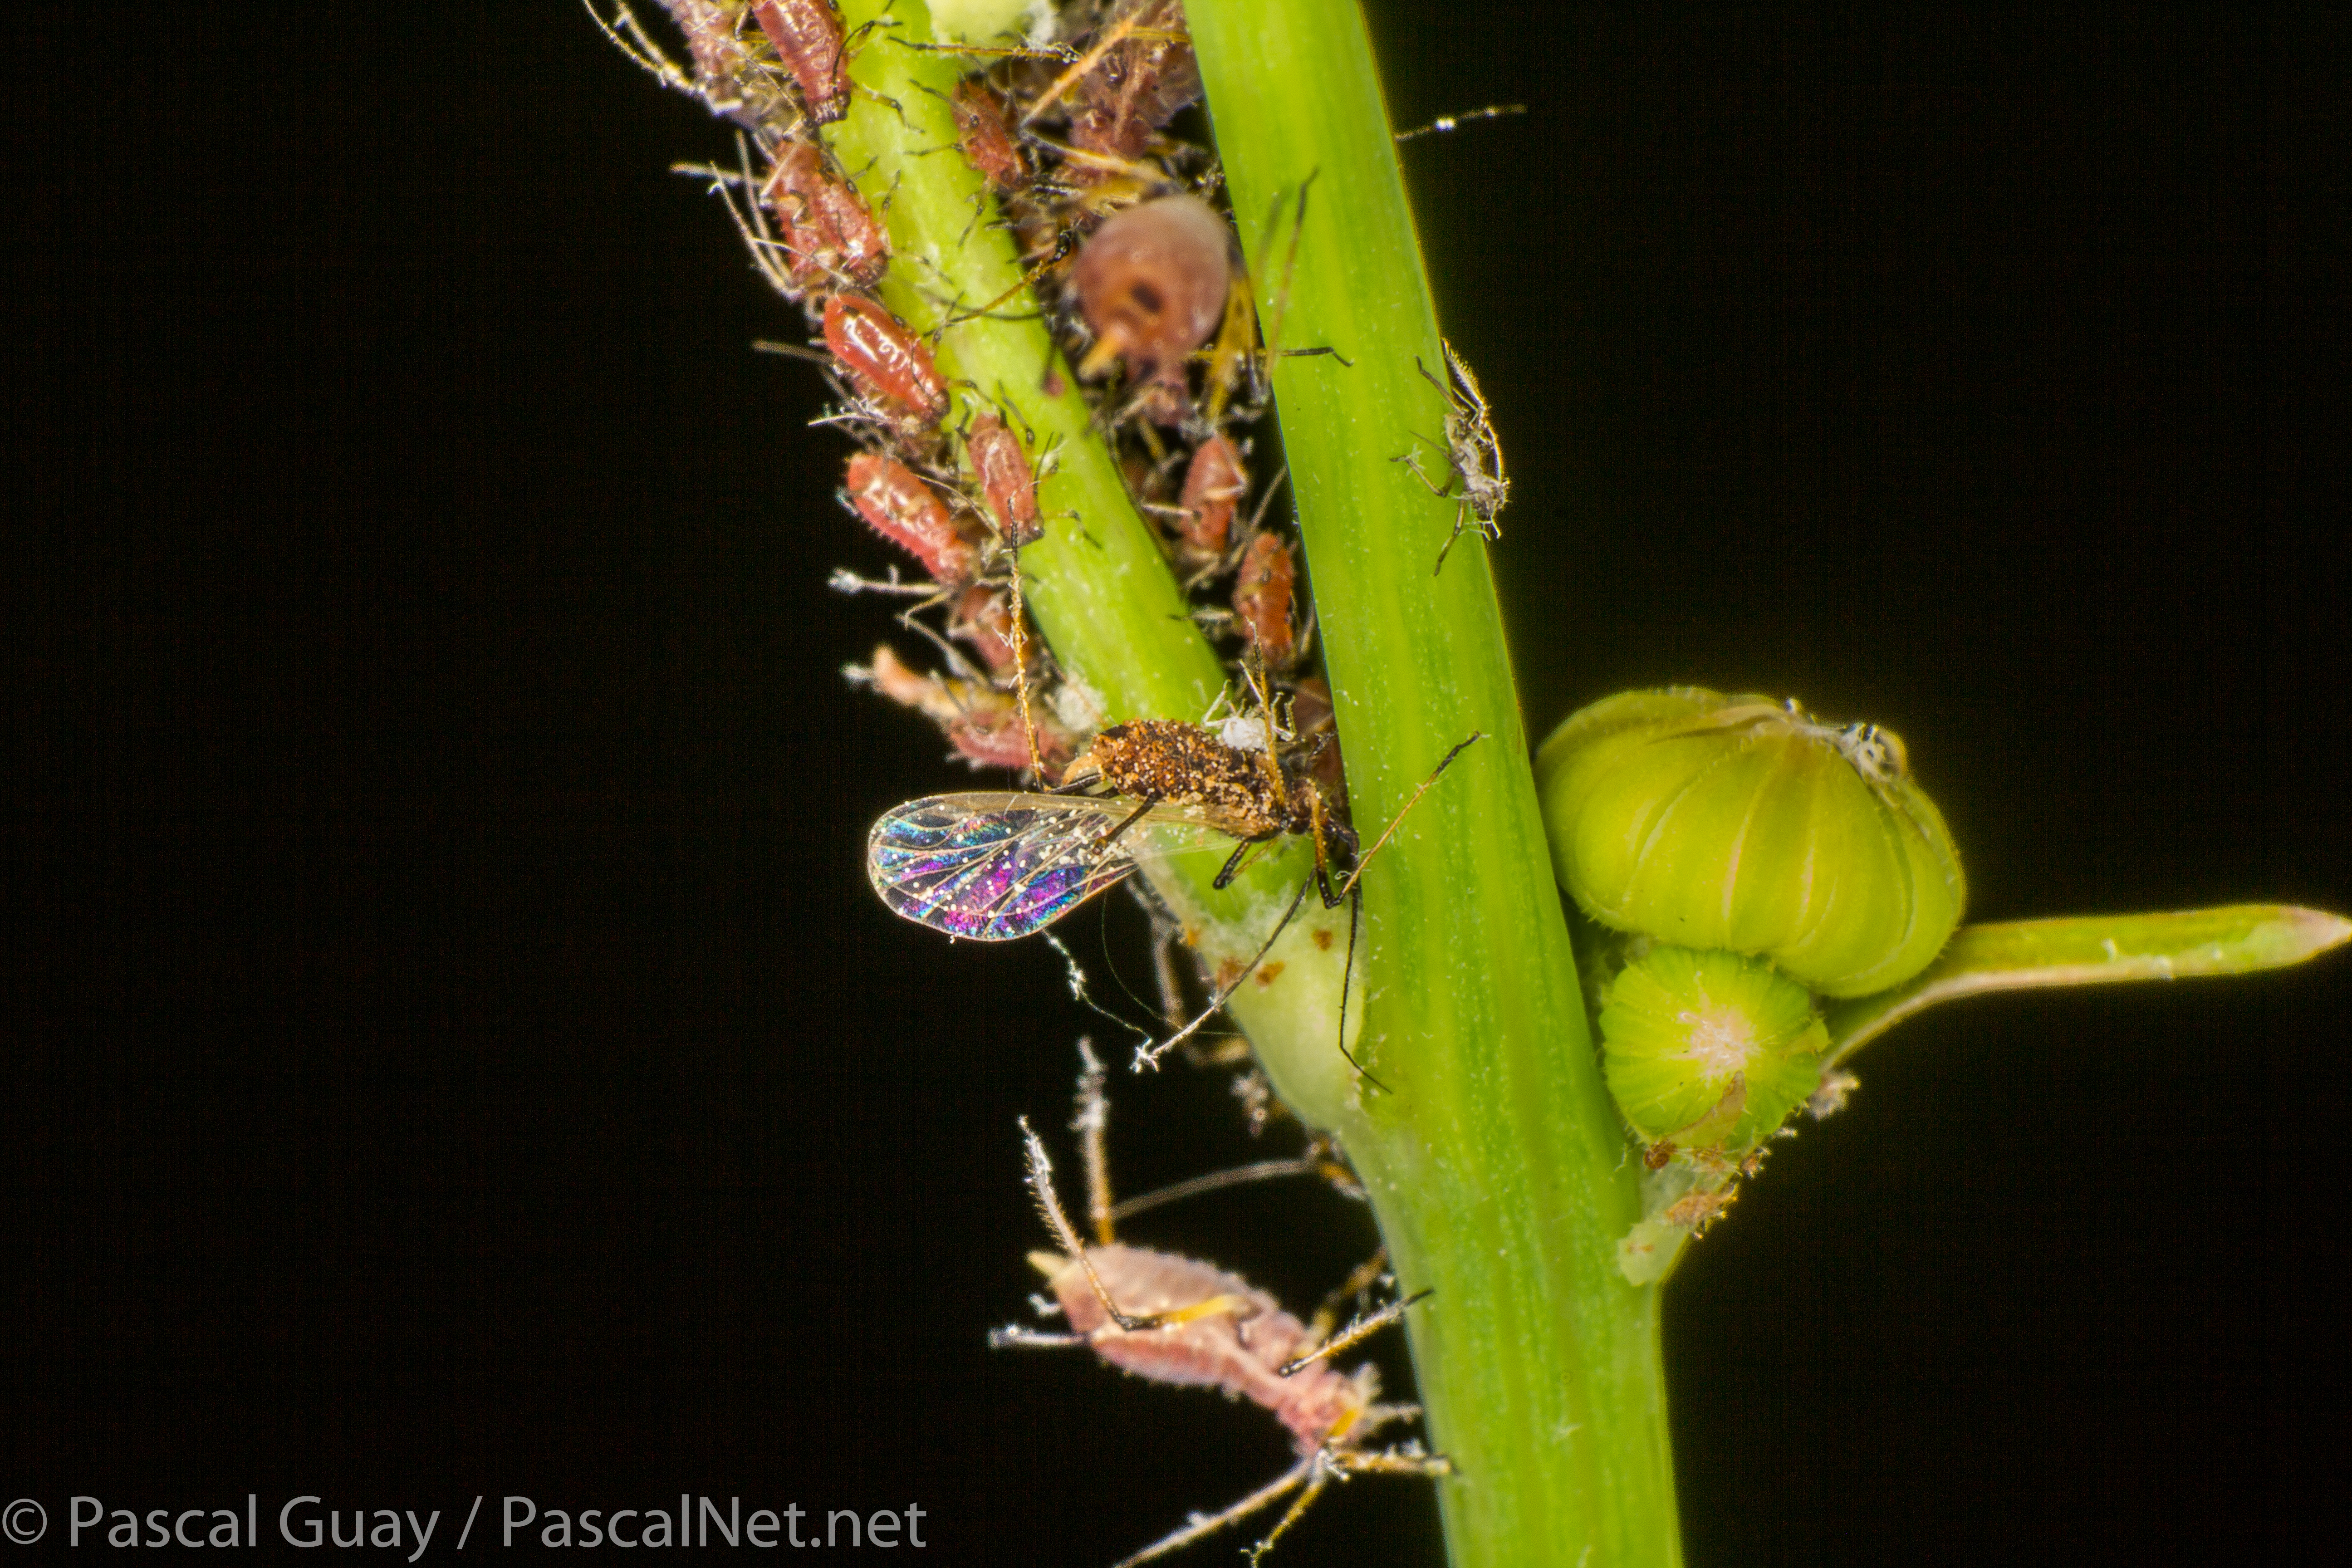
Here’s the result of some super macro pictures I took this week-end with this setup: